The almond milk in your fridge is likely 2% almonds, 98% water—plus a laundry list of gums, thickeners, and preservatives to hold it together. You are paying a premium for something you could easily make in your blender with two pantry staples. Homemade almond milk is fresher, creamier, and costs about a third of the supermarket price per quart.
In this beginner-friendly guide, you'll learn the full process end to end: soaking, blending, straining, and storing. You'll also discover how to adjust the ratio for creamy vs. light milk, how to flavour it café-style, and how to fix common problems like graininess and separation. By the end, you'll have a jar of creamy, dairy-free milk that puts the carton to shame.
Active time is about 15 minutes, plus an overnight soak (8–12 hours). Every other step takes minutes, and you only need a blender and a kitchen towel you don't mind getting milky. It's one of the easiest and most rewarding DIY kitchen swaps.
▸What You'll Need
- •1 cup raw almonds (not roasted or salted)
- •4 cups filtered water, plus extra for soaking
- •A high-speed blender (700 watts or more recommended)
- •Nut milk bag or 3 layers of cheesecloth
- •Large mixing bowl or 4-cup glass measuring pitcher
- •Fine-mesh strainer (optional, for extra silky results)
- •Pinch of fine sea salt (optional)
- •1–2 pitted dates or 1 tablespoon maple syrup (optional)
- •1 teaspoon vanilla extract (optional)
- •Clean glass jars or bottles with lids for storage
Estimated Time: 15 minutes active time, plus 8–12 hours (overnight) for soaking almonds
Difficulty: beginner
▸Step-by-Step Instructions
Step 1: Soak the Almonds Overnight
Place 1 cup of raw almonds in a large bowl and cover them with 2–3 inches of filtered water. Add a pinch of salt to the soaking water—it helps soften the nuts and seasons the milk slightly. Soak for 8–12 hours, or simply overnight while you sleep.
Soaking is non-negotiable for great almond milk. It plumps the almonds, which makes them blend much more smoothly. It also neutralizes phytic acid and enzyme inhibitors, making the nuts easier to digest and the nutrients more absorbable. You'll notice the almonds swell and the water becomes slightly cloudy—that's a good sign.
After soaking, the almonds should feel soft and squishy when pressed between your fingers. If they still feel rock-hard, give them another hour or two.
💡 Tips:
- •Start soaking the evening before you plan to make almond milk—set a reminder.
- •Longer soaking (up to 24 hours) produces creamier, richer milk.
- •Use room-temperature water for soaking; hot water can make the almonds bitter.
⚠️ Warnings:
- •Don't soak for more than 24 hours—the almonds can become slimy, sour, and unsafe.
- •In warm climates, refrigerate the almonds if soaking for more than 12 hours.
Step 2: Drain and Rinse the Almonds
Pour the soaked almonds into a colander and discard the murky soak water. This water contains the phytic acid and enzyme inhibitors that soaked out of the nuts—you don't want them in your final milk. Rinse the almonds under cold running water for 30–60 seconds, rubbing them gently between your fingers.
As you rinse, you'll notice the brown skins slipping off. That's completely fine. You can rub off as many skins as you like—fewer skins gives you a whiter, more neutral-tasting milk, while leaving the skins on adds a slightly nuttier flavor and a pale tan hue. Both are good options, so go with whichever appeals to you.
Once rinsed, the almonds are ready to blend. Give the colander a good shake to remove excess water.
💡 Tips:
- •You don't need to remove every skin; a few remaining skins won't affect the texture.
- •If you're following a low-FODMAP diet, peeling the skins fully can be easier on digestion.
⚠️ Warnings:
- •Never reuse the soak water in your milk—it tastes bitter and astringent.
Step 3: Blend Almonds with Fresh Water
Transfer the rinsed almonds to your blender. Pour in 4 cups of fresh, cold filtered water for a standard, milk-like consistency. For a richer, dessert-style almond milk, use just 3 cups of water instead. Start the blender on low, then gradually ramp up to high speed.
Blend on the highest setting for 60–90 seconds, or until the mixture looks uniformly milky and frothy. Use a rubber spatula to scrape down the sides halfway through. The goal is to pulverize the almonds into a fine powder so their natural oils and proteins emulsify with the water. A longer blend time extracts more creaminess and flavor—but avoid blending for more than 3 minutes straight, as friction can warm the milk slightly.
You'll know the blend is ready when the liquid is pale white, frothy on top, and you can just barely see tiny almond flecks suspended throughout. Don't worry if it tastes grainy at this stage—the straining step removes those particles.
💡 Tips:
- •4 cups of water yields a light, grocery-store-style milk; 3 cups yields a thicker, decadent cream.
- •If your blender is small (32 oz or less), blend in two batches: ½ cup almonds with 2 cups water per batch.
- •Add a tablespoon of sunflower seeds or a few soaked cashews for a creamier mouthfeel.
⚠️ Warnings:
- •Never use boiling or even hot water in the blender—it can make the almonds bitter and could crack the blender jar.
- •Never fill the blender more than two-thirds full; hot or foamy liquids can burst the lid off.
Step 4: Strain the Mixture Through a Nut Milk Bag
Set your nut milk bag or a triple layer of cheesecloth over a large mixing bowl or a 4-cup glass measuring pitcher. If you're using cheesecloth, line a fine-mesh strainer with it and leave a generous overhang so you can gather the edges later.
Slowly pour the blended almond mixture into the bag. The liquid will begin to drain through the weave almost immediately—this is the almond milk. Let gravity do the work for the first minute; you'll see the bag gradually fill with a drier, sand-like pulp as the liquid passes through.
Dampen the bag or cheesecloth with a little water before pouring in the mixture. This simple step prevents the cloth from absorbing the first few precious ounces of milk. A wide-mouth bowl or pitcher works best here, because it gives you room to squeeze without splashing over the rim.
💡 Tips:
- •A 4-cup measuring pitcher is ideal for straining—it shows you exactly how much milk you produced.
- •Use a jar funnel if you're straining directly into a storage bottle.
- •Work over the sink if your bowl is small; an overflow is the messiest mistake in this recipe.
⚠️ Warnings:
- •Don't substitute paper towels or thin napkins for cheesecloth—they shred and leave paper fibers in your milk.
- •Make sure the weave of your nut milk bag is fine enough to catch almond dust; a coarse bag will leave your milk gritty.
Step 5: Squeeze Out the Remaining Liquid
Once the bulk of the liquid has drained, gather the top of the nut milk bag together and twist it closed to form a ball of pulp. With clean hands, squeeze the bag firmly—but not with all your strength—to press out the remaining milk. Start gently and increase pressure gradually.
As you squeeze, you'll feel the pulp getting drier and denser. Keep going until only a few slow drops come out. This final squeeze can yield up to half a cup of extra almond milk that gravity alone won't release. Your reward is a bowl of fresh, creamy milk and a bag of compact, almost-dry almond pulp.
If the bag seams feel like they're straining, stop and transfer the pulp to a second bag, or simply use your hands to massage the milk out instead of twisting harder.
💡 Tips:
- •Knead and massage the bag with your fingertips while squeezing—gentle pressure moves more liquid than brute force.
- •Add a few drops of water to the pulp and squeeze again to extract any last bit of milk.
- •If the milk looks cloudy with fine particles, strain it a second time through a clean bag or fine-mesh sieve.
⚠️ Warnings:
- •Squeezing extremely hard can push tiny almond particles through the weave, making the milk gritty.
- •Watch the seams of your nut milk bag—overfilling and twisting too hard can pop them open, losing the pulp into the milk.
Step 6: Flavor and Sweeten the Milk (Optional)
Give your fresh almond milk a taste. It will naturally be subtly sweet and gently nutty. If you'd like a sugar-comparable, commercial taste, return the milk to the blender (or use an immersion blender) and add your flavorings: 1–2 pitted dates, 1 tablespoon maple syrup, or 1 teaspoon vanilla extract, plus a pinch of fine sea salt. Blend for about 30 seconds to fully incorporate.
The pinch of salt is the pros' secret: it doesn't make the milk salty—it smooths out any bitter edges and rounds out the flavor. Dates add a caramel-like depth, maple syrup gives a clean sweetness, and vanilla alone makes the milk taste closer to a dessert. Start with half the amount and adjust to your palate.
If you plan to use the milk in coffee or savory recipes, skip the sweetener altogether—the natural almond flavor pairs beautifully with a rich espresso or a pinch of cinnamon in a curry.
💡 Tips:
- •Only add sweetener to the whole batch if you know you'll finish it within a few days; sugar shortens shelf life.
- •Add a teaspoon of coconut oil or a few drops of almond extract for an extra-decadent flavor.
- •For luxurious foam, use a milk frother after sweetening—homemade almond milk froths beautifully.
⚠️ Warnings:
- •Avoid adding acid like lemon juice, which can make the milk curdle and separate dramatically.
- •Skip the sweetener entirely if you'll use the milk for savory sauces, soups, or curries.
Step 7: Store in an Airtight Eco-Friendly Container
Pour the finished almond milk into a clean glass jar or bottle with a tightly fitting lid. Label the container with the date you made it—you'll want to use it within 3–5 days. Refrigerate immediately.
Because homemade almond milk contains no stabilizers or emulsifiers, it will naturally separate as it sits. The creamy fat rises to the top, and a clearer liquid collects at the bottom. This is not spoilage; it's a sign you made it fresh. Just shake the jar vigorously before every pour.
For longer-term storage, freeze the milk in ice cube trays or freezer-safe jars for up to 3 months. Thaw overnight in the fridge and shake well before using. Frozen almond milk works especially well in smoothies, where the slightly grainier texture goes unnoticed.
💡 Tips:
- •Use smaller 8-oz jars if you tend to use milk slowly—less air means longer freshness.
- •Filling jars to the brim reduces oxidation and keeps the milk tasting sweet longer.
- •Rinse and invert your jars to dry fully before filling; traces of water can dilute or spoil the milk.
⚠️ Warnings:
- •Never leave almond milk out of the fridge for longer than 2 hours.
- •If the milk smells sour or tastes sharp/tart, throw it out—it's already spoiled.
- •Freezing in glass mason jars requires leaving at least an inch of headroom to prevent cracking during expansion.
▸Pro Tips
- •Soak almonds for the full 12 hours whenever possible—maximum creaminess and digestibility come from a complete soak.
- •Invest in a high-speed blender such as a Vitamix or Blendtec; they pulverize almonds into a powder in under a minute, producing noticeably creamier milk.
- •Save the leftover pulp: spread it on a baking sheet and dehydrate at 175°F for 2–3 hours, then blitz into homemade almond flour for baking.
- •Adjust your water ratio for the intended use: 3 cups = rich milk for coffee and cereal, 4 cups = lighter milk for smoothies and teas.
- •Add 1–2 tablespoons of soaked raw cashews or a few sunflower seeds to the blender for a silkier, more indulgent finish.
- •Taste your milk before sweetening it—commercial brands add sugar, so you'll be surprised how sweet plain almond milk already is.
- •Freeze extra milk in ice cube trays; pop a couple of cubes into smoothies or overnight oats for an instant dairy-free hit.
- •Make a double batch and freeze half; you'll save effort later and never run out when a recipe calls for almond milk.
▸Common Mistakes to Avoid
- •Skipping the overnight soak to save time—the milk will come out thinner, grainier, and slightly bitter, and the almonds become harder on digestion.
- •Using boiling or very hot water to speed up the blend—the heat oxidizes the nuts and turns your milk bitter and musty.
- •Going overboard with sweeteners and vanilla—these mask the delicate fresh almond flavor; always start with a pinch of salt instead.
- •Throwing away the almond pulp—it's a baker's goldmine for flour, energy bites, and veggie burgers; discarding it wastes half the value.
- •Hoping the milk will last a full week like store-bought versions—without preservatives, 3–5 days is the safe maximum; freeze any surplus.
▸Troubleshooting
Problem: The milk is very thin or watery.
Solution: Next batch, reduce the water to 3 cups for every 1 cup of almonds, or blend for a full 2–3 minutes to release more solids into the liquid.
Problem: The milk tastes bitter or sharp.
Solution: The almonds may be old or rancid, or you may have blended with boiling water. Smell your raw almonds before soaking; fresh almonds should smell slightly sweet and nutty. Store almonds in a cool, dark place and use within a year.
Problem: The milk goes bad before 3 days.
Solution: Use supremely clean jars—wash in hot soapy water, rinse, and dry completely before filling. Also ensure the nut milk bag is rinsed thoroughly and left to air-dry, as milk residue trapped in the weave can harbor bacteria.
Problem: The milk is gritty or sandy feeling.
Solution: Blend longer (up to 2 minutes), strain again through a fine-mesh sieve, or soak the almonds for a few extra hours. A finer-weave nut milk bag (70 microns or less) also makes a big difference.
Problem: The blender is too small to handle the recipe.
Solution: Don't overfill. Blend half the almonds and half the water at a time, then combine both batches. Or use a hand blender directly in a large pitcher—although expect a slightly coarser grind.
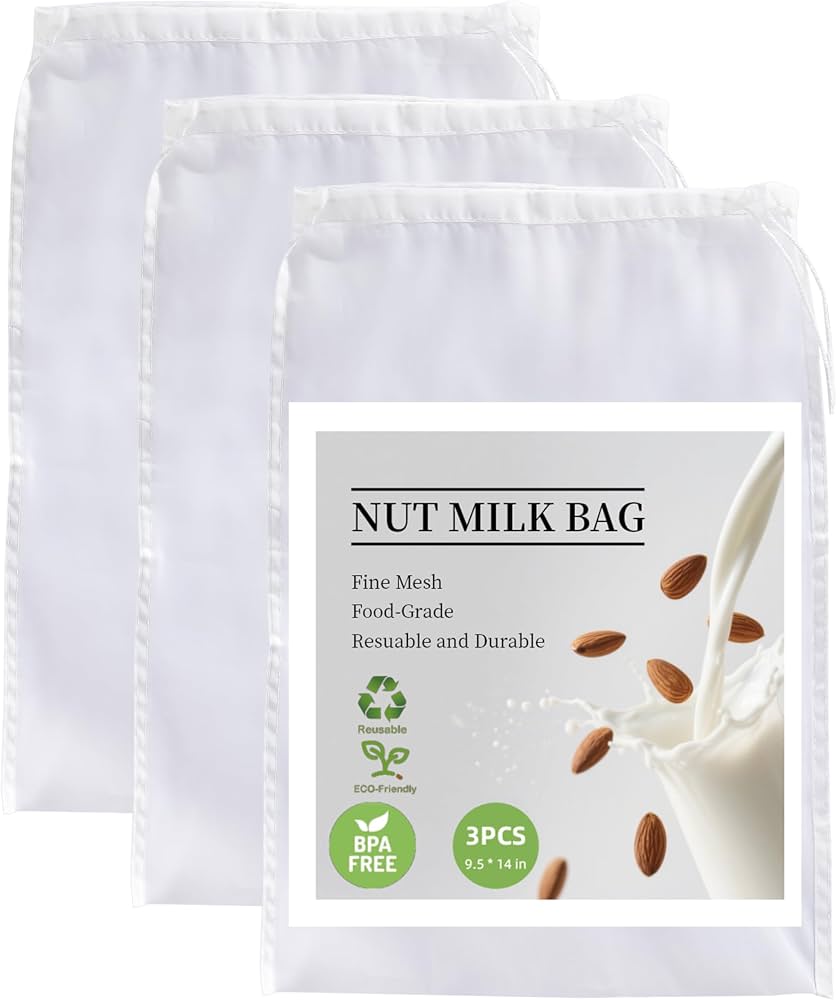
Nut Milk Bag (Extra Fine 3-Pack)
A good nut milk bag is the single most important straining tool for silky, pulp-free almond milk. The extra-fine 70-micron weave lets liquid pass through while catching even fine almond dust, so your milk comes out smooth on the first try. It's reusable for years and works for cold brew coffee, cashew cheese, or squeezing tofu.
Best for: Use in Steps 4 and 5 when pouring and squeezing the blended almond mixture.
Price Range: $10–$20
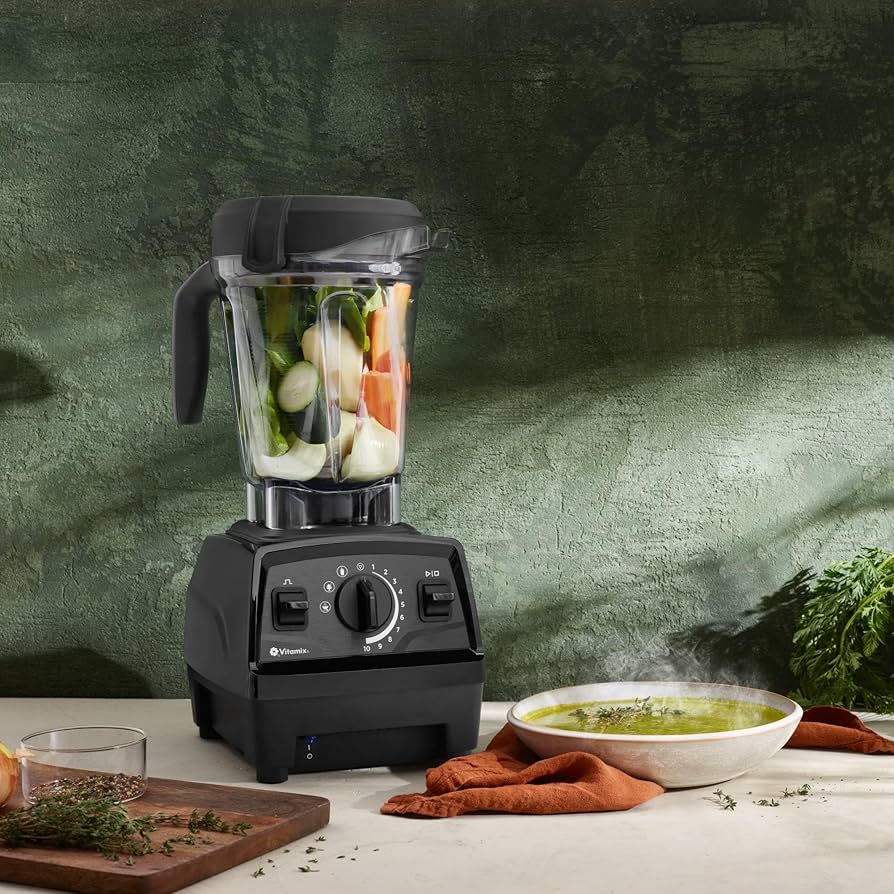
Vitamix Explorian Blender
A high-speed Vitamix motor (1200+ watts) pulverizes soaked almonds into a microscopic powder in under a minute, extracting maximum creaminess from the nuts. The variable speed dial also lets you pulse gently for extra-smooth texture. This is the gold standard for anyone making plant-based milks more than once a week.
Best for: Use in Step 3 for blending the almonds and water; also a lifetime workhorse for smoothies, soups, and nut butters.
Price Range: $350–$500
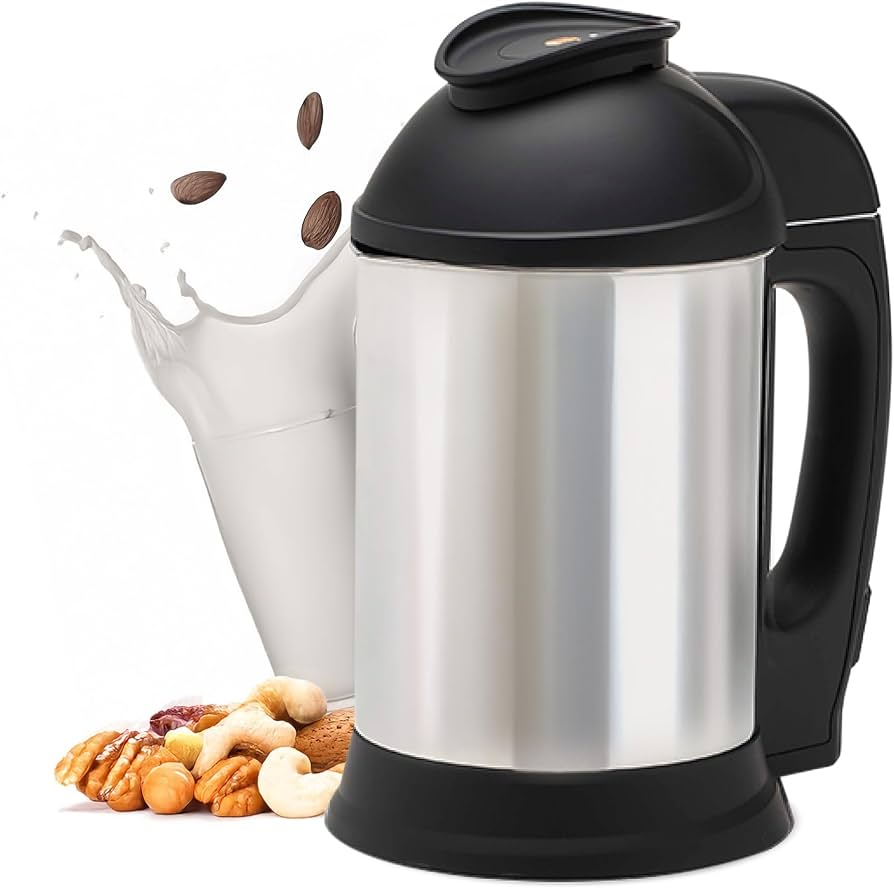
Almond Cow Plant-Based Milk Machine
If you want to skip manual soaking, blending, and straining entirely, this automatic machine does all the work at the touch of a button. Just add nuts and water, and it extracts fresh milk in minutes while collecting the pulp separately. It's a pricier route but unbeatable for folks who drink almond milk daily and want a no-mess ritual.
Best for: A complete alternative to this entire recipe—ideal for daily users who value convenience over the DIY process.
Price Range: $150–$250
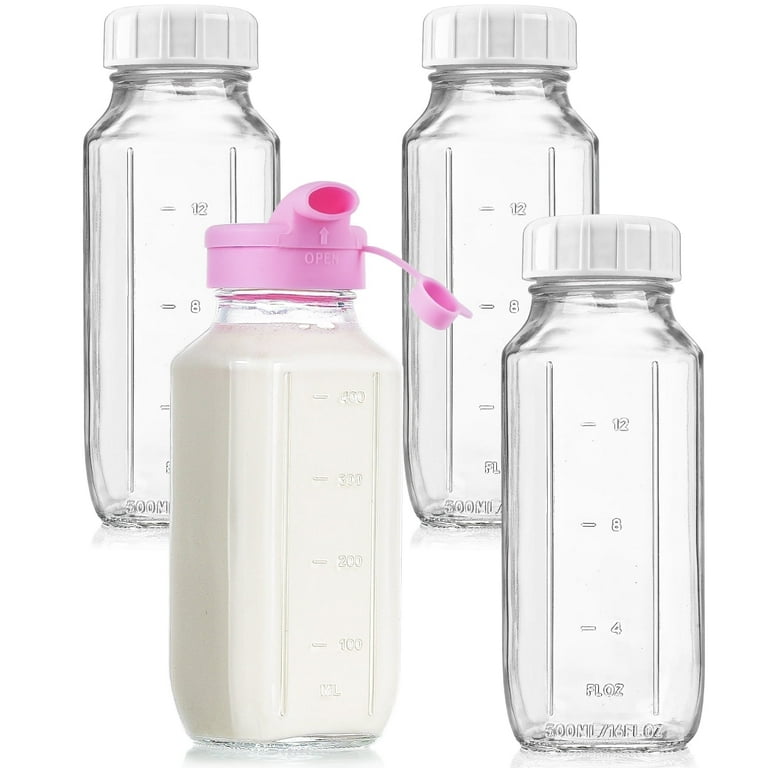
Reusable Glass Milk Bottles with Airtight Lids (16 oz)
Store your fresh almond milk in food-grade glass bottles that seal tightly to keep out odors and bacteria. The 16-ounce size is perfect for a single batch (4 cups = 2 bottles), and clear glass lets you see the natural creaminess and spot any separation. They're also stylish enough to move from fridge to breakfast table.
Best for: Use in Step 7 for refrigerating and storing your finished almond milk; also great for storing other homemade beverages.
Price Range: $15–$30 for a set of 6
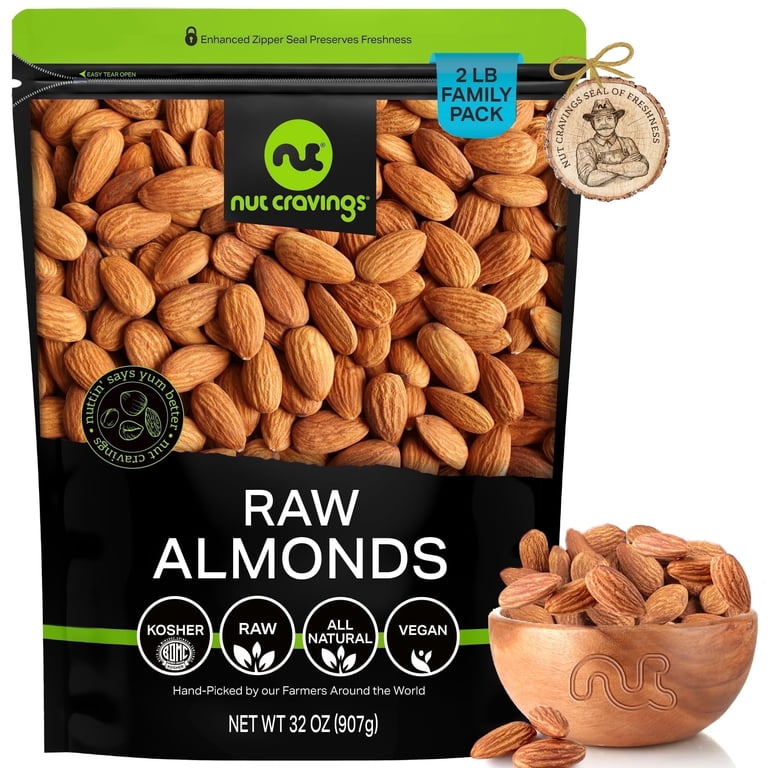
Raw Almonds Unsalted Bulk (2 lb)
Fresh, raw, unsalted almonds are the foundation of delicious almond milk. Buying in bulk online is often 30–50% cheaper than supermarket snack aisles, and you can stock up without worrying about preservatives. Look for 'raw' on the label (not roasted or oil-coated) and store in an airtight container in a cool, dark pantry for up to a year.
Best for: The core ingredient for every batch of almond milk; choose organic if your budget allows.
Price Range: $15–$25 per 2 lb bag