
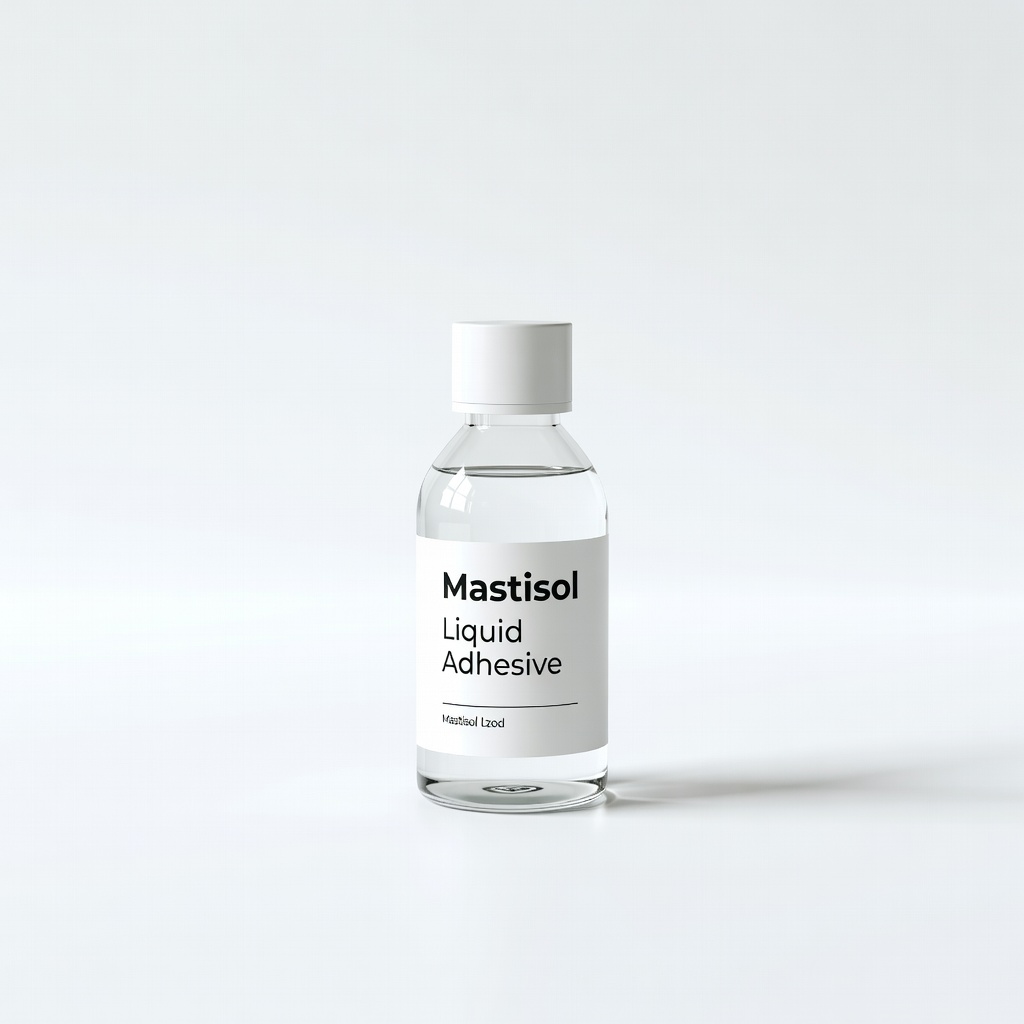
Mastisol Liquid Adhesive
Oily, hairy, or sweaty areas like hands/feet.
$20-25
Mastisol Liquid Adhesive Boosts adhesion on tricky skin, extending hold 2-3x without irritation.
Get the App
Better experience on mobile
Discover simple prep and application tricks to keep adhesive bandages secure for days, preventing peels and reapplications.
Nothing's more frustrating than applying a fresh bandage only for it to peel off within hours, exposing your wound to dirt and slowing healing. Whether from sweat, water, or movement, loose bandages are a common issue for active people, parents, or anyone prone to minor cuts. This guide solves that with proven techniques to extend bandage life up to 3-7 days.
You'll learn a step-by-step process focusing on skin prep, product choice, and flawless application. No advanced skills needed—these methods use household items and optional enhancers. Expect results like waterproof hold during showers or workouts. Total time per bandage: 10-15 minutes.
By the end, your bandages will stay put, reducing infection risk and hassle. Perfect for beginners dealing with scrapes, blisters, or post-minor surgery care.
Estimated Time: 10-15 minutes per application Difficulty: beginner
Start by washing the injured area with mild soap and warm water to remove dirt, oils, and bacteria. Gently pat dry with a clean towel—never rub, as this irritates skin and reduces adhesion.
Why it matters: Oils and moisture create a slippery barrier that prevents bandages from bonding. Clean skin ensures maximum stickiness, cutting peel risk by 50%.
Success looks like: Pink, clean skin with no visible residue or wetness.
💡 Tips:
⚠️ Warnings:
Air-dry for 5 minutes or use a hairdryer on cool setting from 6 inches away. Ensure no dampness remains, as even slight moisture weakens adhesive.
Why it matters: Adhesives need a dry surface to form a strong bond. Wet skin leads to immediate peeling.
Success looks like: Skin feels tacky-dry to the touch, no shine from moisture.
💡 Tips:
⚠️ Warnings:
If the area is hairy (e.g., legs, arms), trim with scissors or clippers. Shaving works but can irritate—clip to 1/8 inch max.
Why it matters: Hair acts like Velcro in reverse, lifting edges. Smooth skin doubles adhesion time.
Success looks like: Bare skin patch around the wound.
💡 Tips:
⚠️ Warnings:
Dab a thin layer of liquid adhesive like Mastisol on the bandage contact area using a cotton swab. Let it dry tacky (1-2 minutes).
Why it matters: Promoters create a 'super glue' effect, extending hold 2-3x on oily or sweaty skin.
Success looks like: Clear, tacky film on skin.
💡 Tips:
⚠️ Warnings:
Choose flexible fabric or waterproof types sized 1/2 inch larger than the wound. Avoid cheap generics—they lack strong adhesive.
Why it matters: Quality bandages have medical-grade glue for multi-day hold.
Success looks like: Bandage covers wound fully with 1/4-inch overlap.
💡 Tips:
⚠️ Warnings:
Peel backing, center over wound, and press firmly from middle outward for 30 seconds. Round corners with scissors if square.
Why it matters: Even pressure activates adhesive; rounded edges prevent lifting.
Success looks like: Flat, wrinkle-free seal with no gaps.
💡 Tips:
⚠️ Warnings:
Add overlapping medical tape on ends if needed. Gently tug edges after 1 minute to check hold.
Why it matters: Extra security for high-movement areas like joints.
Success looks like: No lifting when flexed.
💡 Tips:
Problem: Bandage peels during shower
Solution: Switch to waterproof types like Tegaderm; pat dry immediately after.
Problem: Skin irritation or redness
Solution: Remove gently with oil-based remover; use silicone tape next time.
Problem: Still loose after steps
Solution: Apply promoter layer; consult doctor if wound oozes.
Problem: Adhesive residue on skin
Solution: Soak with baby oil or adhesive remover; scrub gently.
Boosts adhesion on tricky skin, extending hold 2-3x without irritation.
Best for: Oily, hairy, or sweaty areas like hands/feet.
Price Range: $20-25
Waterproof film with strong medical adhesive for multi-day wear.
Best for: Blisters, post-surgery, or moist wounds needing breathability.
Price Range: $10-15
Gel-lined waterproof seal locks out water/dirt for 7+ days.
Best for: Minor cuts in wet/active environments.
Price Range: $6-8
Gentle extra hold without skin damage; painless removal.
Best for: Securing edges on sensitive skin or joints.
Price Range: $12-18
Forms flexible seal without fabric—ideal for no-peel option.
Best for: Fingertips, knuckles, or hard-to-bandage spots.
Price Range: $7-10
Oily, hairy, or sweaty areas like hands/feet.
Mastisol Liquid Adhesive Boosts adhesion on tricky skin, extending hold 2-3x without irritation.
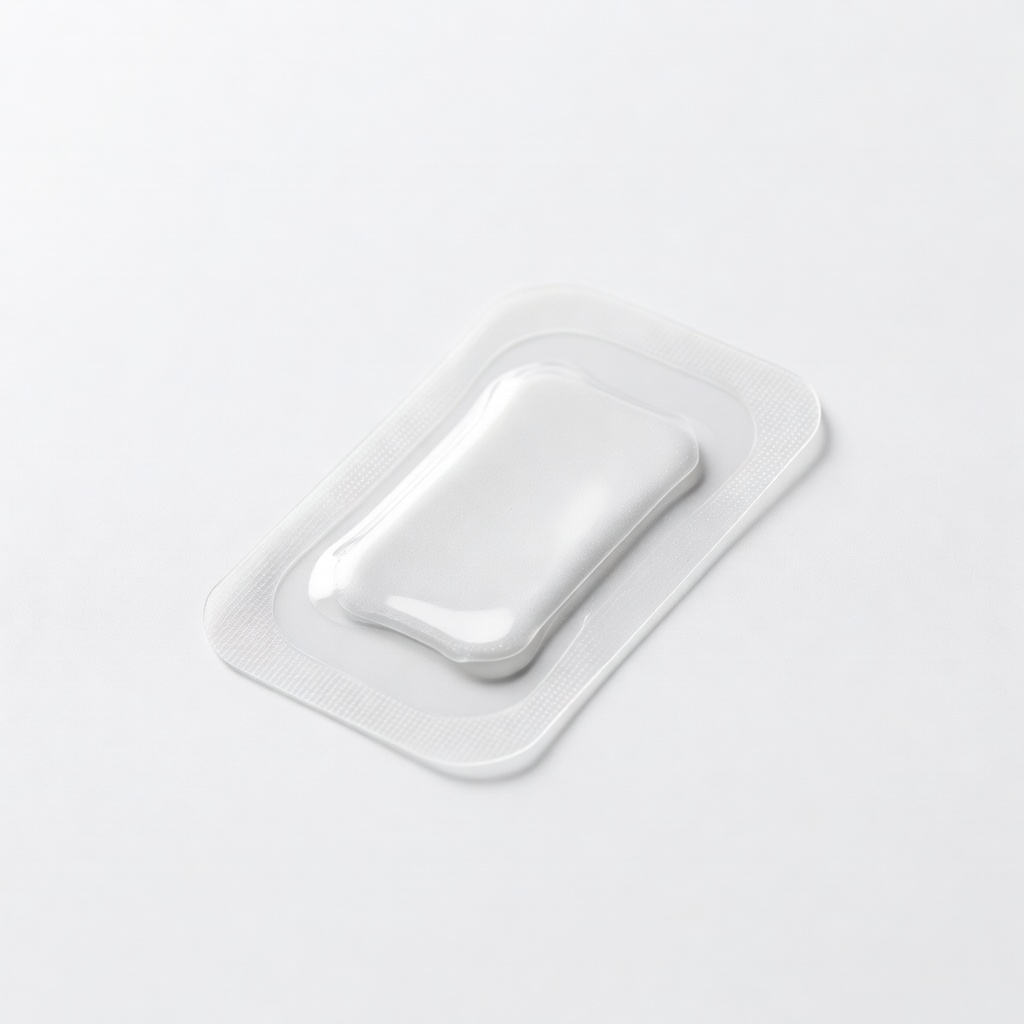
Blisters, post-surgery, or moist wounds needing breathability.
Nexcare Tegaderm Transparent Dressing Waterproof film with strong medical adhesive for multi-day wear.
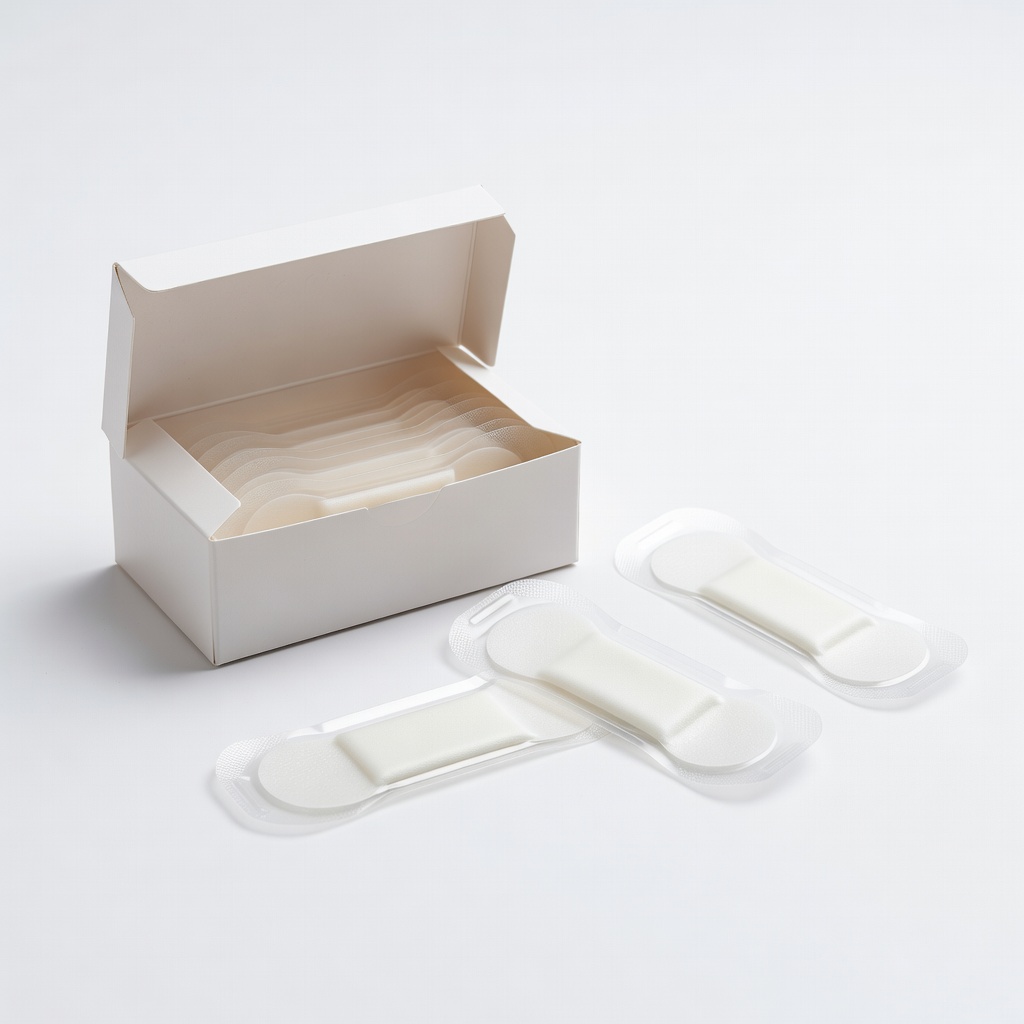
Minor cuts in wet/active environments.
Band-Aid Hydro Seal All Purpose Bandages Gel-lined waterproof seal locks out water/dirt for 7+ days.
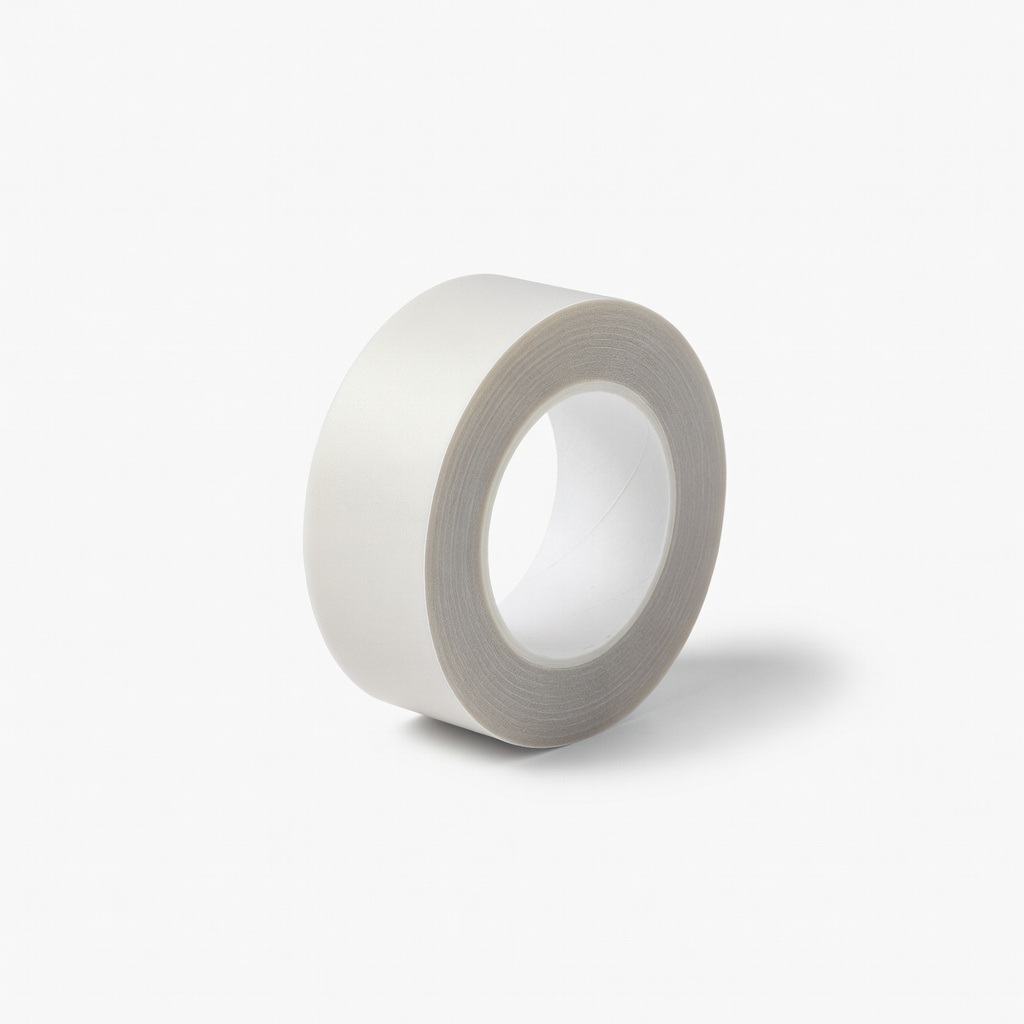
Securing edges on sensitive skin or joints.
3M Kind Removal Silicone Tape Gentle extra hold without skin damage; painless removal.
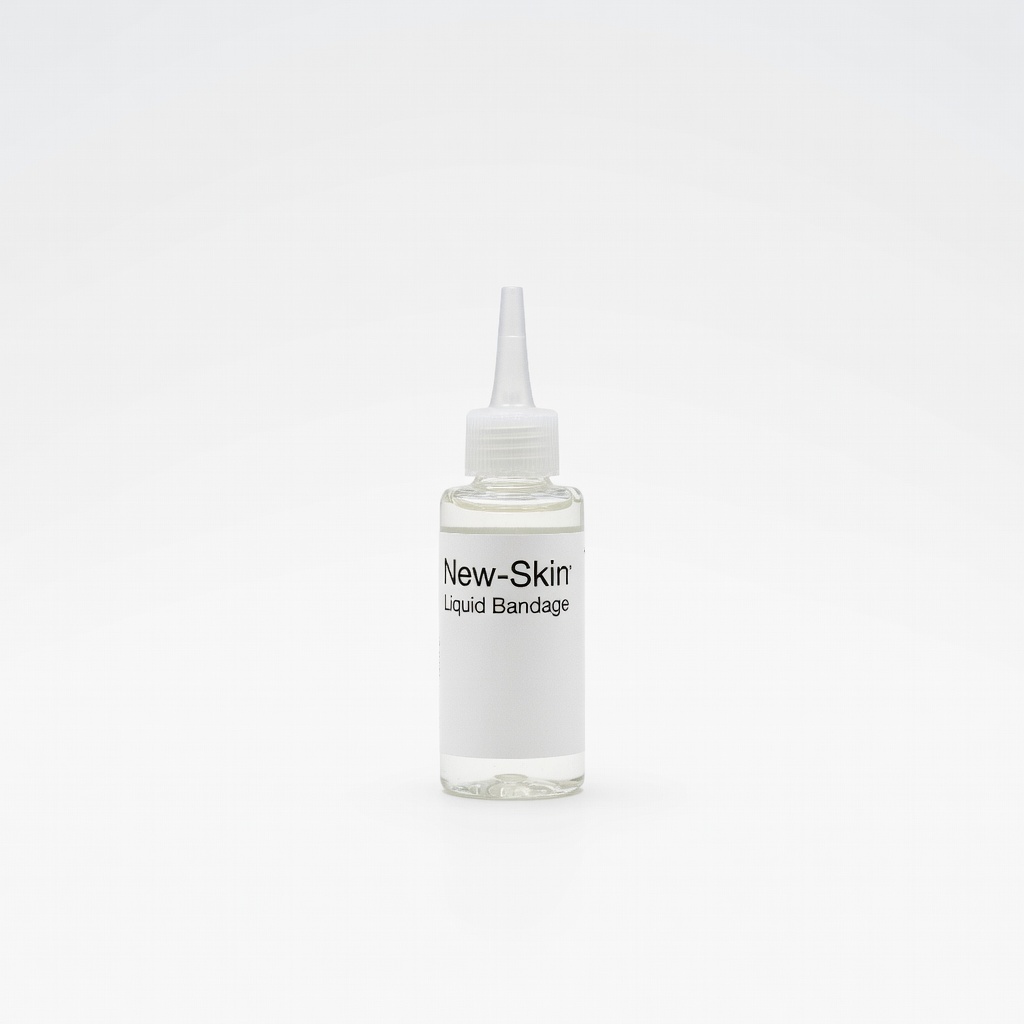
Fingertips, knuckles, or hard-to-bandage spots.
New-Skin Liquid Bandage Forms flexible seal without fabric—ideal for no-peel option.