
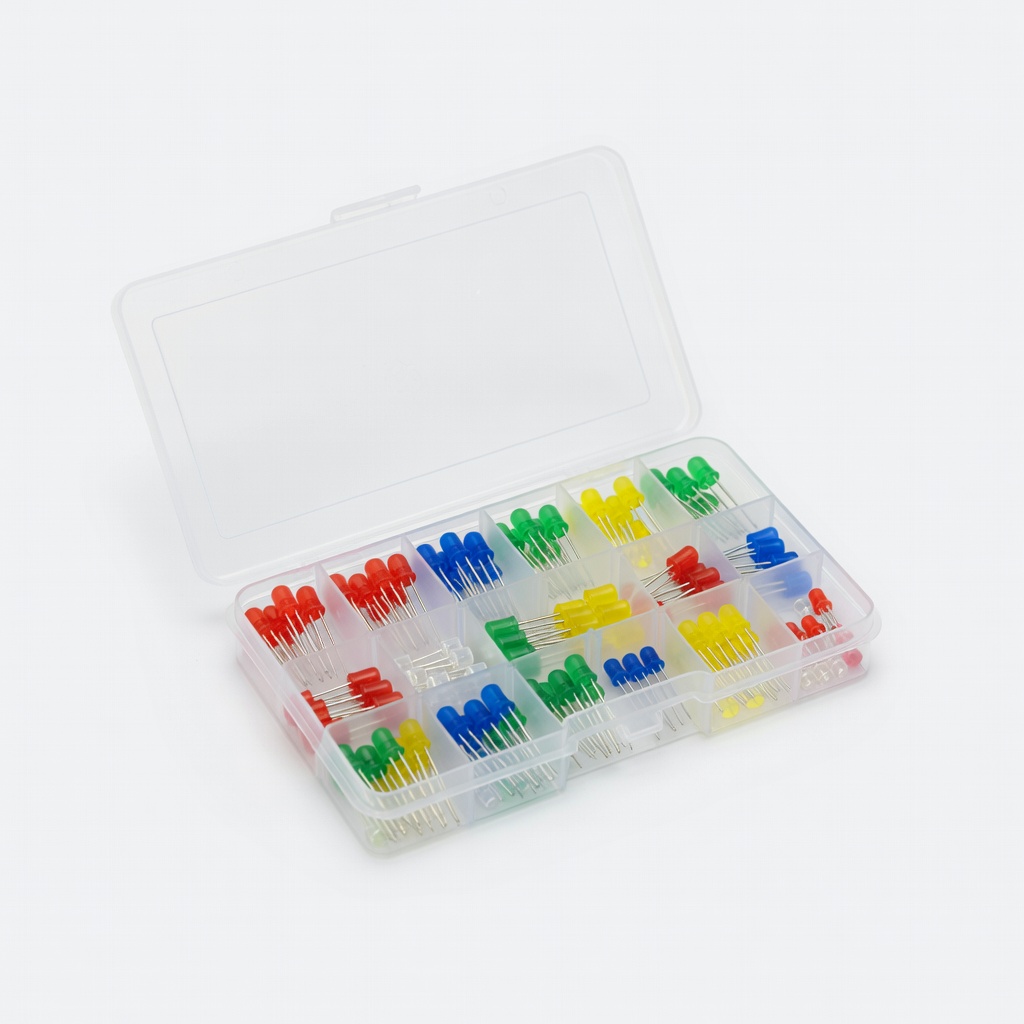
Elegoo 120pcs LED Assortment Kit
Core component for single or multi-LED lights.
$9.98
Elegoo 120pcs LED Assortment Kit High-quality 5mm LEDs with various colors and right brightness for DIY; includes extras for testing.
Get the App
Better experience on mobile
Build portable, energy-efficient LED lights powered by AAA batteries in 20-30 minutes with basic soldering skills.
Ever needed a reliable, portable light for camping, emergencies, or DIY projects but didn't want to rely on bulky batteries or rechargeables? DIY AAA battery-powered LED lights are compact, cheap, and customizable, perfect for flashlights, markers, or decorations.
In this intermediate guide, you'll learn to assemble a simple circuit using AAA batteries, LEDs, resistors, and a battery holder. No advanced electronics knowledge required—just basic soldering or wire twisting. The result: a bright, long-lasting light that runs for hours on standard AAA batteries.
Expect 20-30 minutes total, assuming you have tools ready. We'll cover circuit basics, safe assembly, testing, and troubleshooting for foolproof results.
Estimated Time: 20-30 minutes Difficulty: intermediate
Lay out all items from the 'What You Need' list. Check batteries for charge using a multimeter (should read ~1.5V each) or test in a device. Inspect LEDs: longer leg is anode (+), shorter is cathode (-). Verify resistor color bands: 220Ω is red-red-brown-gold.
Why it matters: Ensures no faulty parts waste time. For 3xAAA setup (4.5V), use one white LED (Vf ~3V); resistor drops excess voltage to prevent burnout.
Success: All parts functional, circuit diagram sketched (battery+ → resistor → LED anode → LED cathode → battery-).
💡 Tips:
⚠️ Warnings:
If your holder lacks a switch, add one inline (cut wires, solder switch between). Strip 1/4 inch insulation from holder wires (red +, black -).
Secure holder in helping hands. Test empty holder with batteries: multimeter should show 3V (2xAAA) or 4.5V (3xAAA).
What to expect: Wires ready for soldering, polarity marked.
💡 Tips:
Solder one resistor leg to LED anode (long leg). Use 220Ω for dimmer/safer light or 100Ω for brighter (R = (Vbat - Vf)/0.02A).
Heat joint 2-3 seconds, apply solder. Cool 10 seconds. Trim excess leads.
Why: Limits current to 10-20mA, extends LED life 1000+ hours.
⚠️ Warnings:
Attach 4-6 inch jumper wires: red to free resistor leg, black to LED cathode (short leg). Solder securely, insulate with tape/heat shrink.
Twist method alternative: Strip, twist tightly, solder over for strength.
Success: Flexible pigtails ready for battery connection.
💡 Tips:
Solder LED red wire to holder red (+), black to black (-). Insert batteries.
Why sequential: Builds circuit step-by-step, easy debug.
Expect glow on first power-up if correct.
⚠️ Warnings:
Power on: LED should light steadily. Measure current (<30mA good). If dim/bright adjust resistor.
Secure with tape/hot glue into case (PVC pipe/3D print). Add more LEDs parallel with own resistors.
Success: Portable light runs 20+ hours continuous.
💡 Tips:
Mount in reflector for flashlight or strip multiple LEDs for panel. Weatherproof with silicone.
Final check: Runtime test overnight.
Problem: LED won't light
Solution: Check polarity, batteries fresh, connections firm. Multimeter voltage drop test.
Problem: LED flickers or dim
Solution: Loose solder—reflow. Wrong resistor value—increase for dim, decrease for bright.
Problem: Gets hot fast
Solution: Short circuit—disconnect, inspect for bare wire touch. Add resistor.
Problem: Short runtime
Solution: High current draw—use higher Ω resistor or quality alkalines.
High-quality 5mm LEDs with various colors and right brightness for DIY; includes extras for testing.
Best for: Core component for single or multi-LED lights.
Price Range: $9.98
Pre-wired with switch, perfect fit for compact builds; durable plastic.
Best for: Base power source for portable lights.
Price Range: $6.99
Exact value for safe LED current limiting; metal film for precision.
Best for: Prevents LED burnout in all battery projects.
Price Range: $5.99
Adjustable temp, includes solder/wire—ideal for intermediate soldering without frustration.
Best for: Reliable joints for permanent circuits.
Price Range: $12.99
Longest life, high capacity for 50+ hours runtime per set.
Best for: Power source for extended use.
Price Range: $12.49
Core component for single or multi-LED lights.
Elegoo 120pcs LED Assortment Kit High-quality 5mm LEDs with various colors and right brightness for DIY; includes extras for testing.
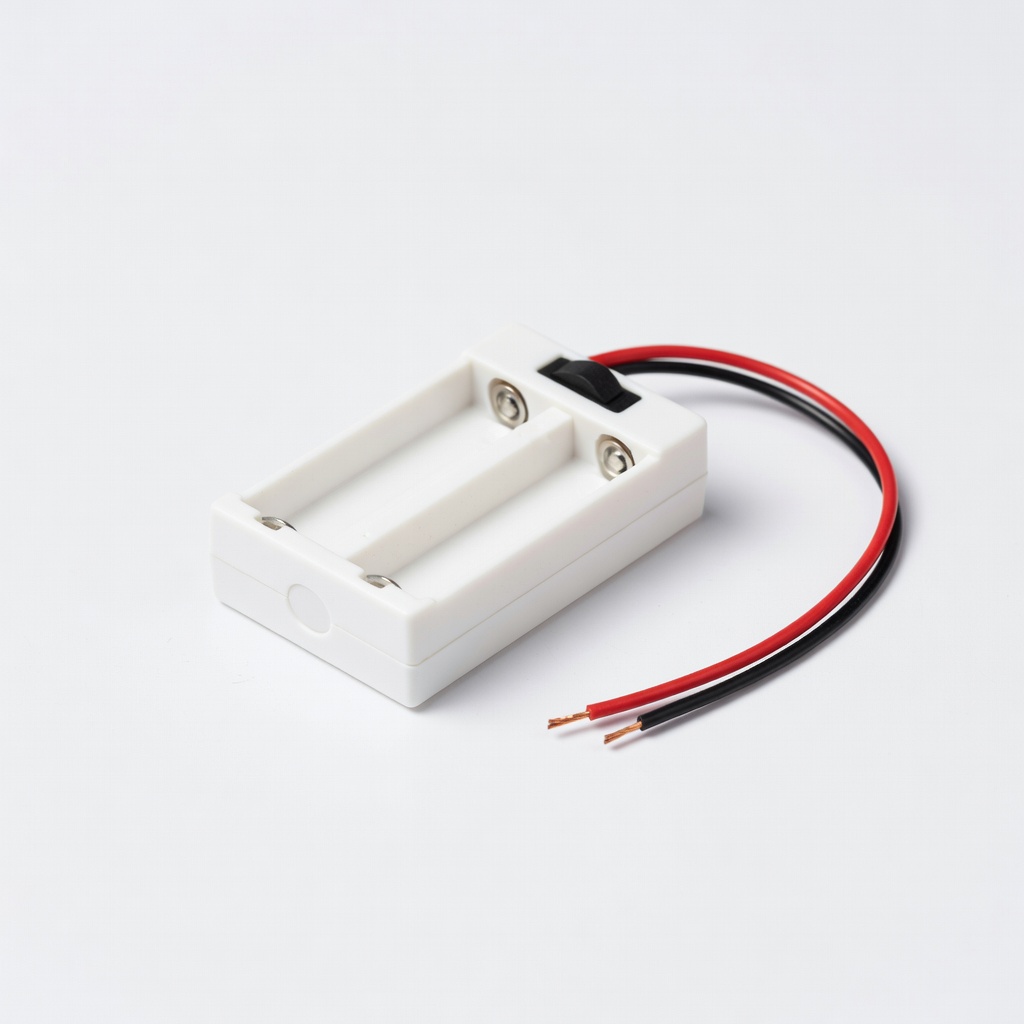
Base power source for portable lights.
HiLetgo 2xAAA Battery Holder with Switch and Wires Pre-wired with switch, perfect fit for compact builds; durable plastic.
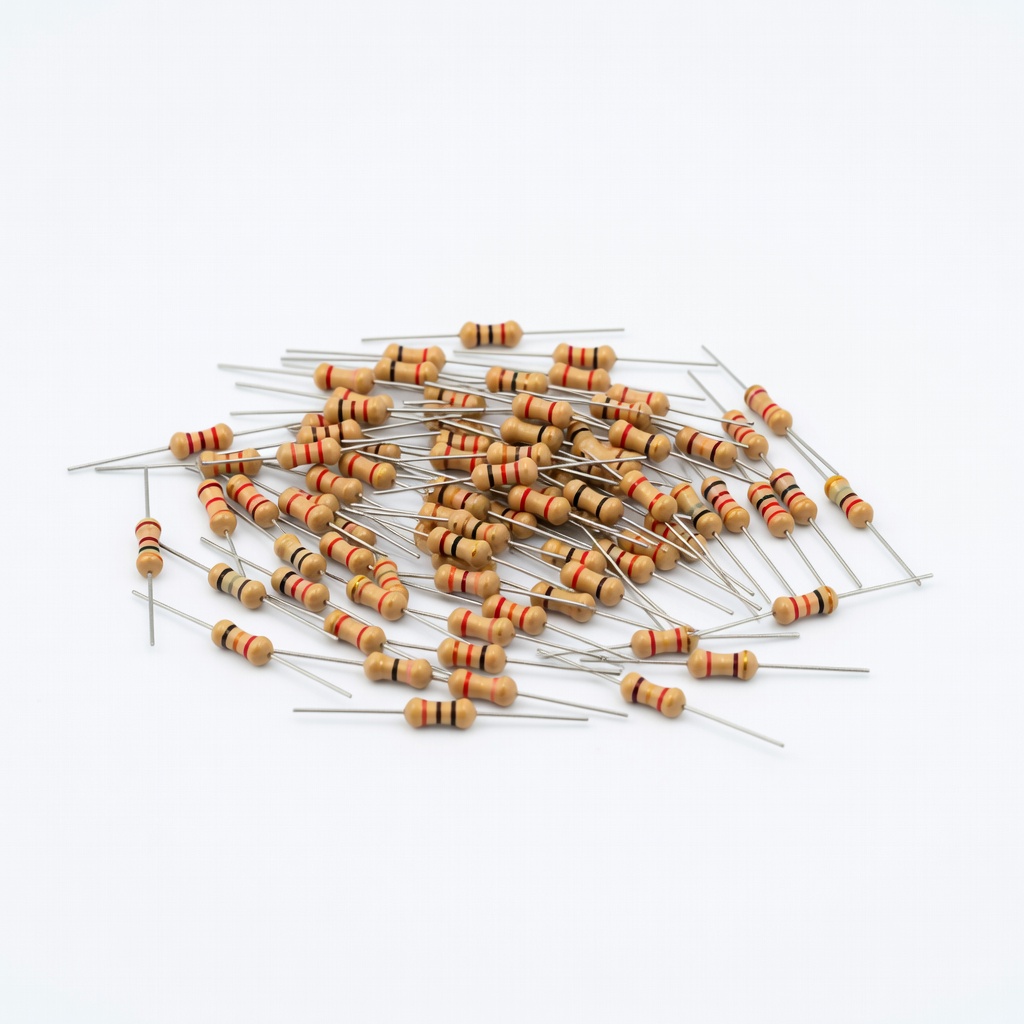
Prevents LED burnout in all battery projects.
Chanzon 100pcs 220 Ohm Resistors (1/4W) Exact value for safe LED current limiting; metal film for precision.
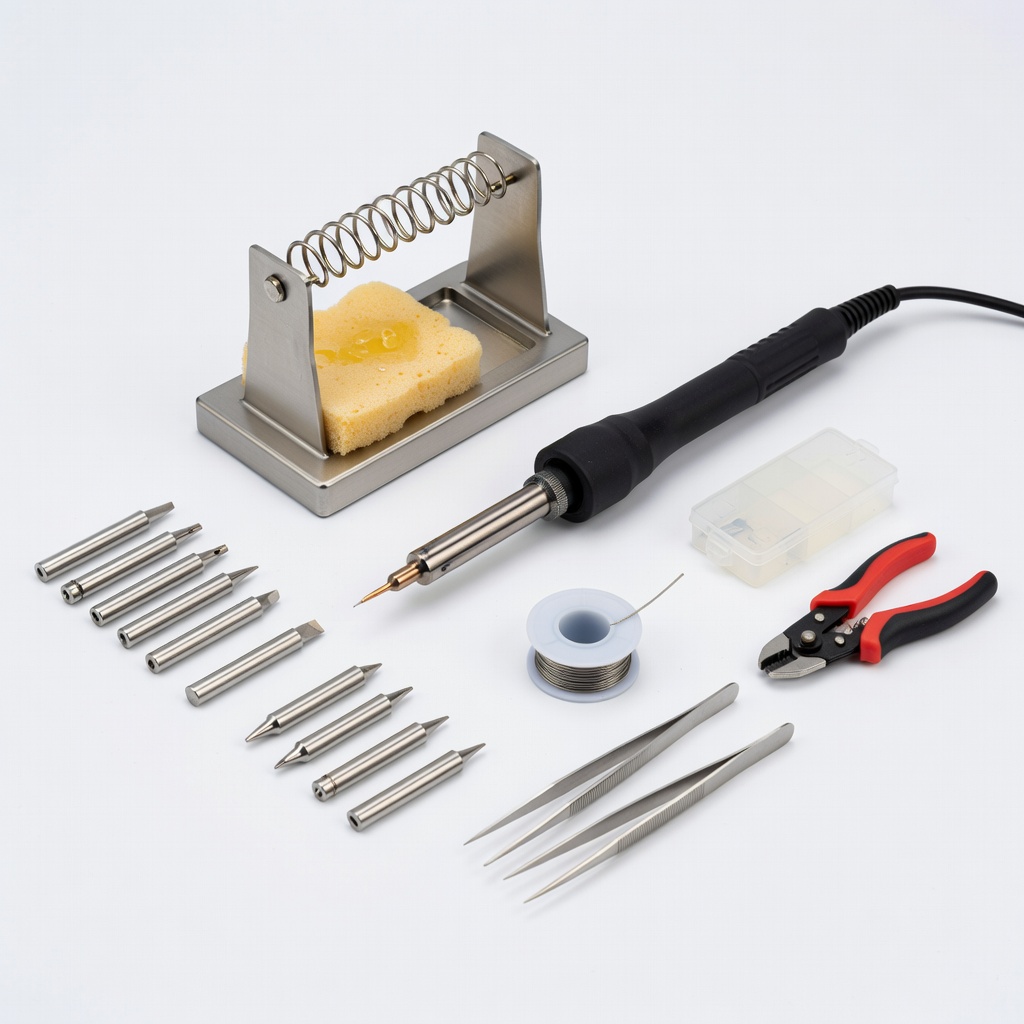
Reliable joints for permanent circuits.
Yosoo Soldering Iron Kit 60W with Stand Adjustable temp, includes solder/wire—ideal for intermediate soldering without frustration.
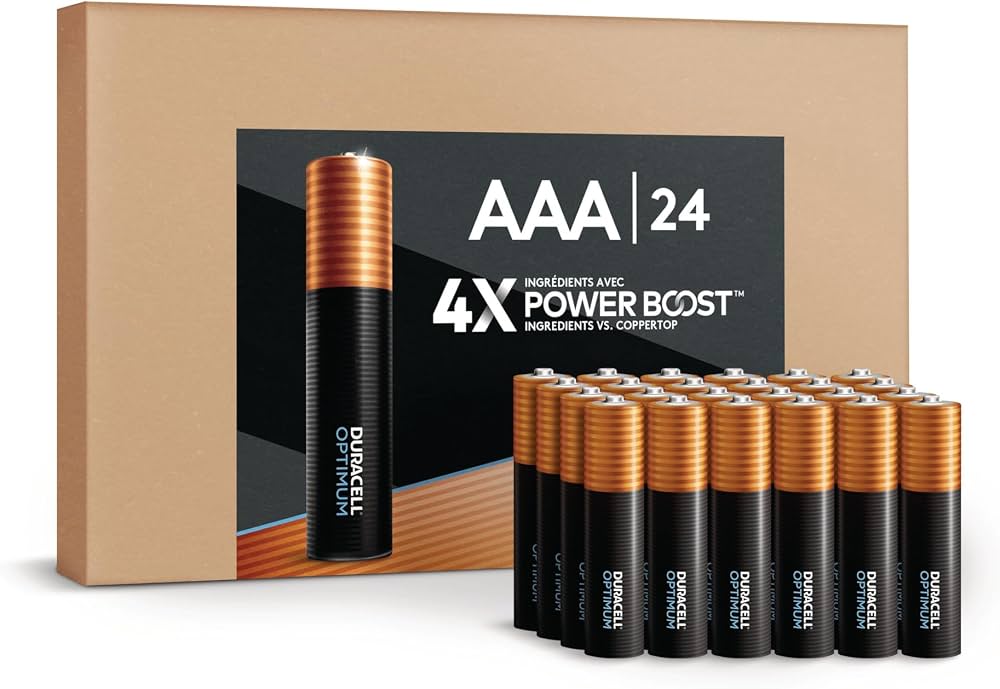
Power source for extended use.
Duracell Optimum AAA Batteries (24 Pack) Longest life, high capacity for 50+ hours runtime per set.