Panasonic Eneloop AAA Rechargeable Batteries (8-Pack)
Core cells for long-term DIY power sources.
$20-25
Panasonic Eneloop AAA Rechargeable Batteries (8-Pack) Low self-discharge, high cycle life (2100mAh)—ideal for reusable parallel packs.
Get the App
Better experience on mobile
Build a high-capacity parallel AAA battery pack for powering devices longer with safe, advanced soldering techniques in under an hour.
Running out of power in remote controls, flashlights, or IoT gadgets? A parallel AAA battery pack multiplies capacity while keeping the same 1.5V (alkaline) or 1.2V (NiMH) output, perfect for advanced DIYers needing reliable, custom power sources without buying expensive pre-made packs.
In this guide, you'll learn to safely connect multiple AAA batteries in parallel using soldering for permanent, low-resistance connections. We'll cover material prep, precise wiring, insulation, and testing. Expect pro-level results: a compact pack with 2-3x runtime.
Time: 30-60 minutes. Difficulty: Advanced (soldering, electrical knowledge required). No prior pack-building needed, but basic electronics experience helps.
Estimated Time: 30-60 minutes Difficulty: advanced
Lay out all tools and materials on a static-free workspace. Visually inspect AAA batteries for damage, dents, or leaks. Use your multimeter to check each battery's voltage: alkalines should read ~1.5V, NiMH ~1.2-1.4V fully charged. Discard any below 1.0V or mismatched.
Why it matters: Parallel packs require identical batteries to balance load and prevent weak cells from dragging down the pack, causing premature failure or overheating.
Match batteries from the same batch for best results. Charge NiMH to full if needed.
💡 Tips:
⚠️ Warnings:
Decide on pack size: e.g., 4x AAA parallel = 1.5V at 4x capacity (~4000mAh total for standard AAA). Sketch positives (+) connected together, negatives (-) together, with output leads.
Success looks like: A simple diagram showing bus wires linking all + tabs and all - tabs.
For advanced users, calculate capacity: mAh rating x number of cells (e.g., 800mAh Eneloops x 4 = 3200mAh).
💡 Tips:
Cut two 4-6 inch bus wires (red +, black -). Strip 1/4 inch insulation from ends. If batteries have tabs, clean with isopropyl alcohol. Apply flux to tabs and wire ends for strong solder joints.
Why: Clean surfaces ensure low-resistance bonds (<0.01Ω ideal for parallel efficiency). Expect shiny metal after cleaning.
Tin wires: Heat iron to 350°C, melt solder on wire ends briefly.
💡 Tips:
⚠️ Warnings:
Clamp batteries side-by-side in helping hands, + ends aligned. Heat bus wire and one tab, add solder until it flows (60% wire, 40% tab). Move to next tab, reheating bus as needed for uniform joint.
Inspect: Joints should be shiny, concave, no cracks. Test continuity across all + with multimeter (beep = good).
Success: All positives electrically connected, no bridges to negatives.
💡 Tips:
⚠️ Warnings:
Repeat for black bus on - terminals. Add 6-inch output leads: solder red to + bus end, black to - bus end.
Why output leads: Allows easy device connection via clips or JST plug.
Cool 1 min, then flex gently—wires shouldn't pull off.
💡 Tips:
Slide heat shrink over bus wires/joints, shrink with heat gun or lighter (keep 2" away). Wrap entire pack in electrical tape or friction-fit into holder, leaving leads exposed.
Test fit: Pack should be compact, no exposed metal.
Advanced: Use Kapton tape for high-temp areas.
💡 Tips:
⚠️ Warnings:
Multimeter: Voltage across outputs = single battery (~1.5V). Continuity + to + all cells, no + to -. Load test: Connect to 100Ω resistor, voltage drop <0.1V/min.
Discharge 10% and recharge (NiMH)—repeatable = success.
Final success: Stable voltage, balanced cells, no heat.
💡 Tips:
Problem: Voltage lower than expected
Solution: Check for weak cells—replace. Verify no partial shorts.
Problem: Pack gets hot under load
Solution: Inspect joints for resistance >0.05Ω—resolder. Ensure matched batteries.
Problem: No continuity between cells
Solution: Cold joint—clean, reapply flux/solder. Test each joint.
Problem: One cell drains faster
Solution: Imbalance—disassemble, individually charge/test.
Low self-discharge, high cycle life (2100mAh)—ideal for reusable parallel packs.
Best for: Core cells for long-term DIY power sources.
Price Range: $20-25
Precise temp control prevents battery damage, professional joints.
Best for: All soldering steps for clean, reliable connections.
Price Range: $90-110
Accurate voltage/resistance/continuity testing essential for safety.
Best for: Prep, testing, troubleshooting phases.
Price Range: $12-15
Promotes strong, bubble-free solder flow on battery tabs.
Best for: Prep and soldering for low-resistance parallels.
Price Range: $15-20
Prevents flex stress on soldered joints, easy enclosure.
Best for: Final assembly for portable packs.
Price Range: $5-8
Core cells for long-term DIY power sources.
Panasonic Eneloop AAA Rechargeable Batteries (8-Pack) Low self-discharge, high cycle life (2100mAh)—ideal for reusable parallel packs.
All soldering steps for clean, reliable connections.
Weller WE1010NA Digital Soldering Station Precise temp control prevents battery damage, professional joints.
Prep, testing, troubleshooting phases.
AstroAI Digital Multimeter Accurate voltage/resistance/continuity testing essential for safety.
Prep and soldering for low-resistance parallels.
MG Chemicals 4860-454G Flux Paste Promotes strong, bubble-free solder flow on battery tabs.
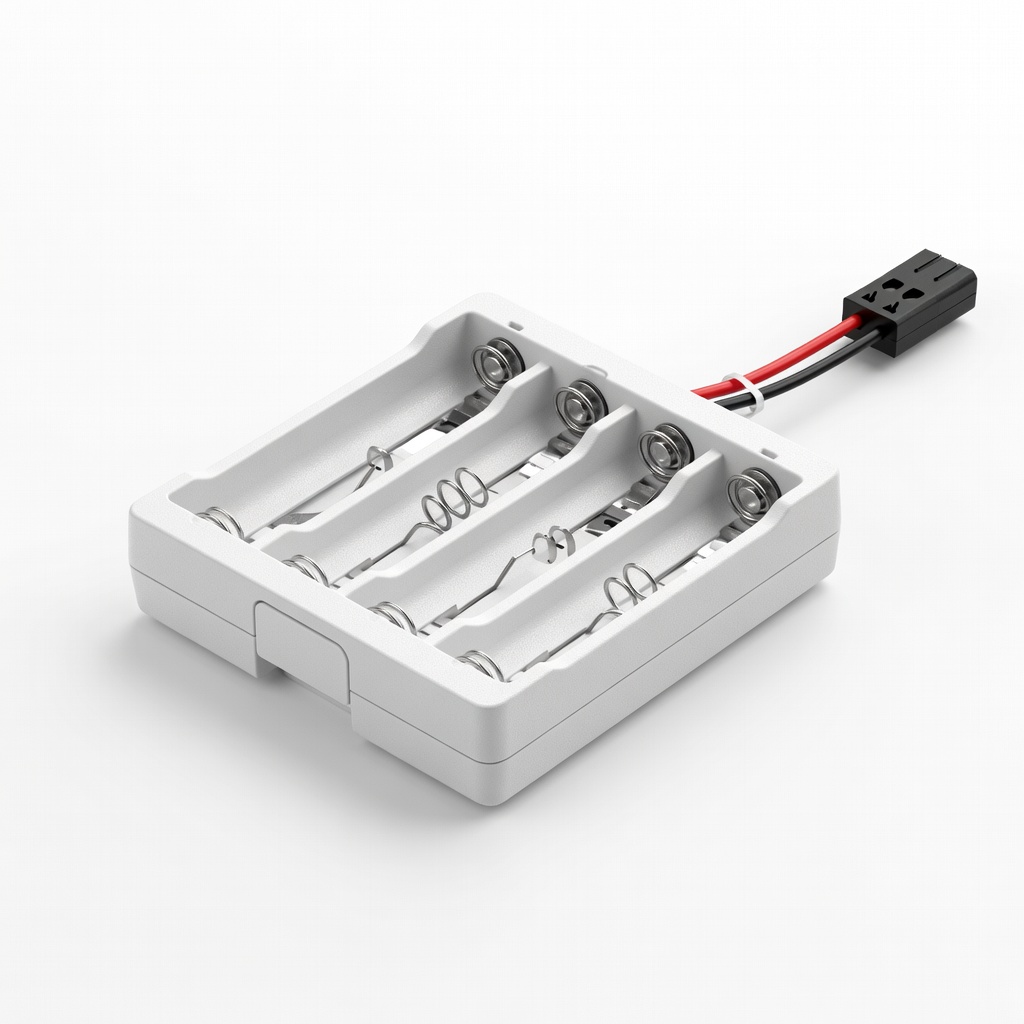
Final assembly for portable packs.
HiLetgo 4x AAA Parallel Battery Holder Prevents flex stress on soldered joints, easy enclosure.