In CoreXY 3D printers, belts are the unsung heroes driving the XY gantry with high precision. Loose, worn, or dirty belts lead to layer shifts, ghosting, ringing artifacts, and even motor strain—common frustrations for advanced users pushing print speeds over 100mm/s. Neglecting maintenance can shorten belt life from years to months.
This guide teaches you a complete belt maintenance routine: visual checks, cleaning, precise tensioning via frequency method, alignment, and full replacement. You'll achieve smoother motion, sharper prints, and belts lasting 2-5x longer. Expect 30-60 minutes total, depending on replacement needs—perfect for intermediate to advanced tinkerers with basic mechanical skills.
No downtime hassles: most steps are tool-light, and we'll cover pro techniques like audio frequency plucking for exact tension.
▸What You'll Need
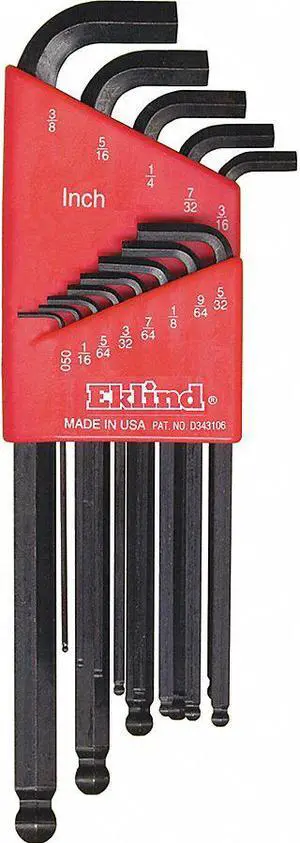
- •Hex keys (1.5mm, 2mm, 2.5mm—required for most CoreXY frames)
- •Isopropyl alcohol (99% purity, required for cleaning)
- •Microfiber cloths or lint-free wipes (required)
- •Smartphone with frequency analyzer app (e.g., Spectroid or Duet3D Belt Tension Meter—required for precise tensioning)
- •Replacement GT2 belts (6mm width, 2mm pitch—optional, but keep on hand)
- •Digital caliper (optional, for measuring belt wear)
- •Belt tensioner clips (optional, for hands-free adjustment)
Estimated Time: 30-60 minutes (15 mins inspection/cleaning, 15-30 mins tensioning, 20-30 mins replacement if needed)
Difficulty: advanced
▸Step-by-Step Instructions
Step 1: Power Off and Prepare the Printer
Begin by fully powering off your CoreXY printer and unplugging it from the wall. Allow any hot components (nozzle, bed) to cool completely to avoid burns. Remove the top cover or panels for belt access—most CoreXY designs like Voron or Rat Rig have hinged or screw-secured enclosures.
Why it matters: Safety first prevents shocks or injuries. Expect clear visibility of the XY belts looping around pulleys, idlers, and tensioners.
Pro tip: Document your printer's current state with photos for before/after comparison.
💡 Tips:
- •Work in a static-free area; ground yourself to avoid ESD damage to electronics.
⚠️ Warnings:
- •Never work on a powered printer—motors can jerk unexpectedly.
Step 2: Locate and Visually Inspect Belts
Identify the two main GT2 belts: one for X-axis, one for Y. Trace from stepper motors through idlers, over the gantry carriage, to tensioners. Look for cracks, fraying, glazing (shiny wear spots), missing teeth, or stretch (gaps >0.5mm between belt and pulley).
Use a flashlight and magnifier. Measure belt width with calipers (should be ~6mm); thin spots indicate replacement time. Success: Belts look uniform, teeth intact—no skips.
This prevents print artifacts; worn belts cause backlash.
💡 Tips:
- •Twang the belt lightly like a guitar string; consistent tone means even wear.
⚠️ Warnings:
- •Don't touch belts with oily hands—contaminants accelerate wear.
Step 3: Clean the Belts Thoroughly
Dampen a microfiber cloth with 99% isopropyl alcohol (no water—dries residue). Gently wipe belts, avoiding soaking. Clean pulleys and idlers too; debris hides in teeth.
Spin pulleys by hand to access full length. Dry completely with clean cloth. Expect: Belts return to matte black, no dust or filament residue.
Why: Dust buildup slips under tension, mimicking looseness.
💡 Tips:
- •Use compressed air for idlers; alcohol evaporates fast for quick dry.
⚠️ Warnings:
- •Avoid WD-40 or oils—belts are dry-run; lubricants attract dust.
Step 4: Measure and Adjust Belt Tension
Pluck the center of each belt span (longest straight section) like a bass string. Use a phone app (Spectroid) to measure frequency: Aim for 100-120Hz for 6mm GT2 belts at factory tension (adjust per printer docs, e.g., 110Hz for Voron).
Loosen tensioner screws (usually 2mm hex), pull belt taut to target Hz, retighten. Recheck after 5 mins settling. Success: Consistent Hz across spans, no twang variance.
Precise tension eliminates ringing.
💡 Tips:
- •Record baseline Hz; track over time for predictive maintenance.
⚠️ Warnings:
- •Over-tension (>140Hz) strains motors/bearings; under (<90Hz) causes shifts.
Step 5: Check and Correct Belt Alignment
Visually ensure belts run parallel to frame rails, centered on pulleys/idlers. Manually move gantry full range; watch for rubbing or pulley wobble.
Adjust idler positions or gantry squaring if off (use frame diagonals or printer calibration). Success: Smooth, bind-free motion.
Misalignment amplifies XY skew.
💡 Tips:
- •Print a belt path alignment test pattern post-maintenance.
⚠️ Warnings:
- •Loose frame bolts mimic belt issues—torque to spec first.
Step 6: Test Printer Motion
Reassemble covers, power on. Home axes, then run manual jogs (10-200mm/s) via interface. Listen for even whirring, no skips. Print a small calibration cube.
Success: Crisp corners, no ghosting, accurate dimensions (±0.1mm).
Confirms all fixes.
💡 Tips:
- •Use Klipper/Voron macros for rapid belt tension checks.
⚠️ Warnings:
- •If motors skip, recheck tension before forcing.
Step 7: Replace Worn Belts (If Needed)
Release tension fully, clip old belt (leave tails for routing). Route new belt identically: motor → idler → carriage → tensioner. Re-tension to 110Hz, trim excess.
Double-knot or crimp ends if looped design. Expect: Fresh belt feels stiffer, prints sharper.
Do both X/Y simultaneously for symmetry.
💡 Tips:
- •Mark routing path with tape before removal.
⚠️ Warnings:
- •Exact length match; too short snaps tensioners.
▸Pro Tips
- •Calibrate tension after every 100 print hours or monthly.
- •Use continuous-loop belts for easier swaps—no crimping.
- •Store spares in ziplocks to prevent dust contamination.
- •Integrate belt checks into pre-print routines via OctoPrint plugin.
- •For high-speed (>150mm/s), target upper Hz range with stiffer belts.
- •Audio-record plucks for app-free comparison over time.
- •Upgrade to Gates PowerGrip belts for 2x durability.
▸Common Mistakes to Avoid
- •Over-tensioning: Causes premature wear and motor burnout—use Hz meter, not feel.
- •Skipping alignment: Leads to skewed prints—always verify parallelism.
- •Using soapy water for cleaning: Leaves residue causing slips—stick to IPA.
- •Ignoring idler bearings: Dirty bearings bind belts—lube sparingly with dry PTFE.
- •Uneven tension between spans: Creates inconsistent motion—recheck all sections.
▸Troubleshooting
Problem: Belts slip during fast moves
Solution: Increase tension to 115-120Hz; clean pulleys; check stepper current.
Problem: Ghosting/ringing persists post-maintenance
Solution: Verify input shaper calibration; inspect linear rails for drag.
Problem: Belt won't hold tension
Solution: Replace stretched belt; tighten tensioner bolts to spec (e.g., 2-3Nm).
Problem: Frequency reads erratic
Solution: Ensure phone mic near pluck point; dampen nearby vibrations.
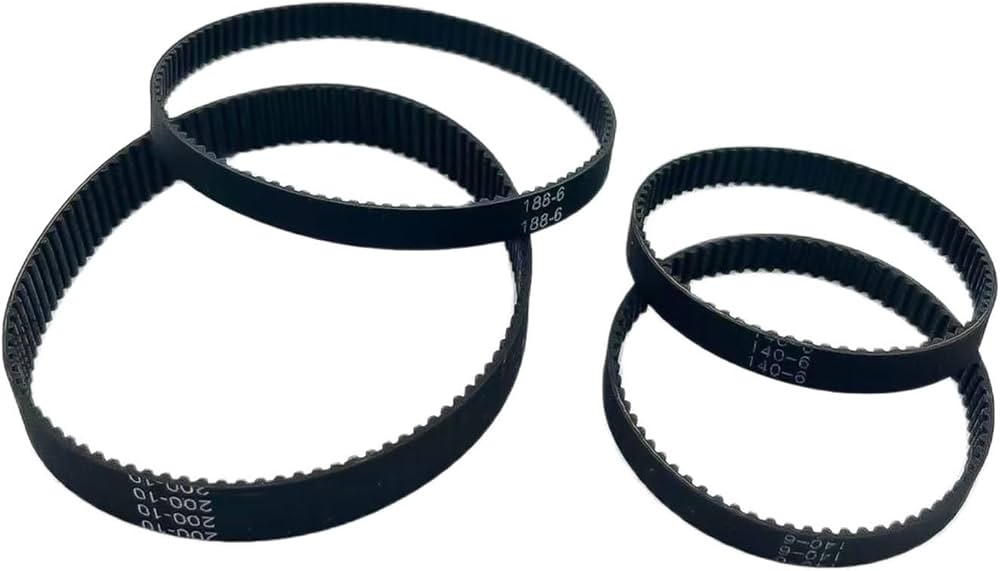
GT2 Timing Belt 10M 6mm Width (Rubber Closed Loop)
Precise replacement for standard CoreXY belts; durable rubber resists stretch better than cheap clones.
Best for: Full belt swap during maintenance; cut to exact length needed.
Price Range: $9.99
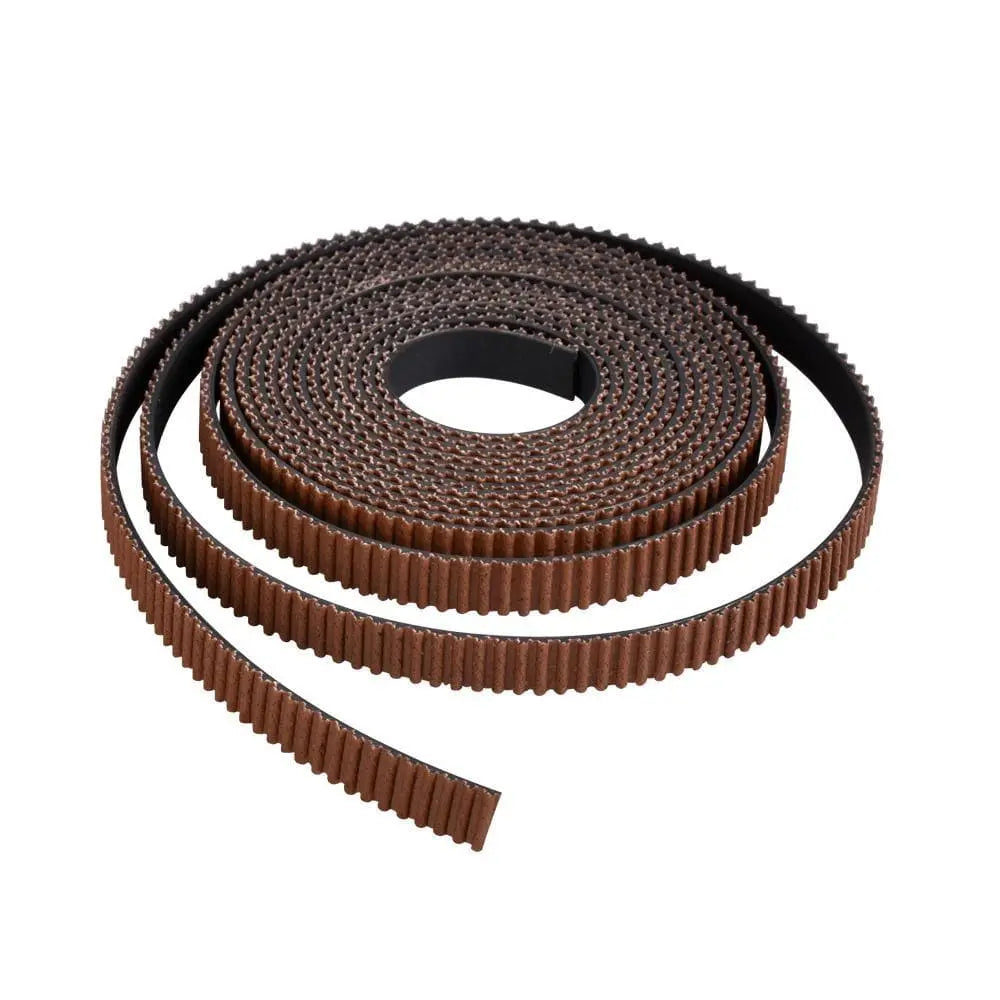
Gates PowerGrip GT2 6mm Belt (Premium Carbon Fiber)
Superior to generic; high modulus resists elongation for high-speed CoreXY.
Best for: Upgrading for 200mm/s+ prints or frequent maintenance.
Price Range: $24.99-$29.99
Wiha 60593 Micro Finish Hex-L Key Set (0.9-3mm)
Precision-machined for tiny tensioner screws; ball-end for awkward angles.
Best for: Adjusting tensioners without stripping M3/M4 bolts.
Price Range: $29.99
Techspray 99% Isopropyl Alcohol (16oz)
Purity evaporates residue-free; safe for plastics and belts.
Best for: Deep cleaning without water spots.
Price Range: $14.99
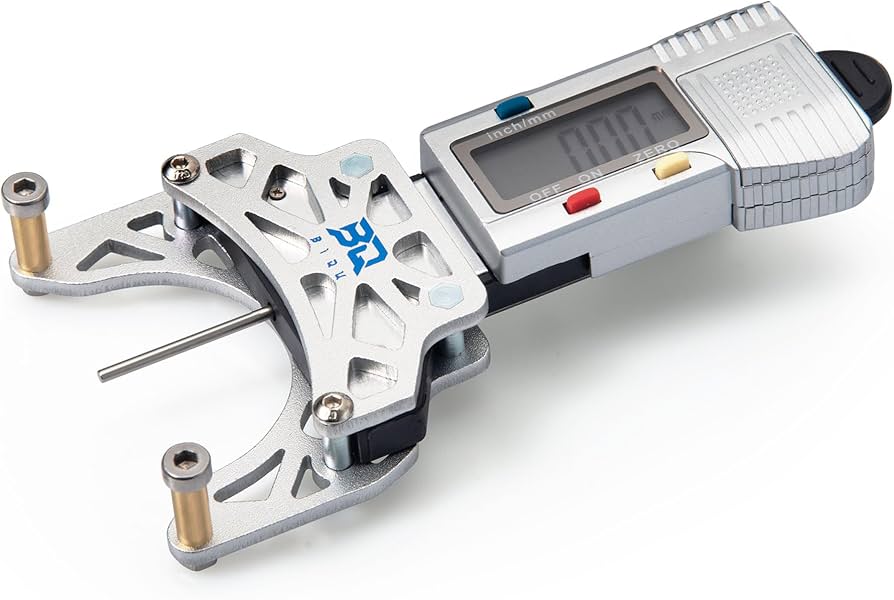
BIQU BX Adjustable Belt Tensioner
Easy clip-on tool for repeatable tension without guesswork.
Best for: Quick checks during routine maintenance.
Price Range: $12.99-$15.99