Your adjustable bench is the backbone of your home gym. It supports you through heavy presses, drop sets, and countless sit-ups, but it also takes a beating. Sweat, dust, and humidity can quickly turn a pristine bench into a squeaky, rusty, slippery mess. Worse, a poorly maintained bench can become a safety hazard.
In this guide, you'll learn how to properly clean and maintain your adjustable bench so it looks great and stays safe for years. We'll walk you through everything from wiping down the upholstery after a workout to tightening bolts and keeping the adjustment mechanism smooth. No special skills are required - just a few basic tools and about 45 minutes.
By the end, you'll have a clear routine for cleaning, conditioning, lubricating, and inspecting your bench, and you'll know exactly when to replace worn parts.
▸What You'll Need
- •Mild detergent or dedicated vinyl/upholstery cleaner
- •Microfiber cloths (at least 3)
- •Soft-bristle brush
- •Vacuum with crevice tool
- •All-purpose cleaner or mild degreaser
- •Silicone or PTFE spray lubricant
- •Allen wrench set (ball-end preferred) and screwdriver
- •Spray bottle with water
- •Rubber gloves
- •Drop cloth or old sheet
- •Optional: leather/vinyl conditioner
- •Optional: fine steel wool (grade 0000)
- •Optional: rust remover and rust-inhibiting touch-up paint
Estimated Time: 30-45 minutes plus 20-30 minutes drying time
Difficulty: beginner
▸Step-by-Step Instructions
Step 1: Gather Your Supplies and Prepare the Area
Lay a drop cloth or old bedsheet on the floor beneath your bench to catch any drips from cleaning sprays or rust remover. If your bench is stored upright, unfold it into a flat position. This gives you full access to the seat, backrest, frame, and moving parts.
Put on rubber gloves to protect your hands from cleaning chemicals and any sharp metal edges. Gather your microfiber cloths, spray bottles, soft-bristle brush, lubricant, Allen wrench set, and the rest of your supplies in a small bucket or caddy so you're not hunting for them mid-clean.
Success looks like this: your bench is positioned in a well-lit area with plenty of room to move around, and every tool you'll need is within arm's reach.
💡 Tips:
- •Work in a ventilated area, especially if you'll be using chemical cleaners or rust removers.
- •Use natural lighting or a portable work light to spot grime and rust you might otherwise miss.
⚠️ Warnings:
- •Don't start cleaning before checking the manufacturer's care label or manual for specific cleaning instructions.
Step 2: Vacuum and Wipe Away Loose Dirt
Before you apply any liquid cleaner, use a vacuum with a crevice tool to pull dust, pet hair, and dead skin cells out of the seams of your bench upholstery. Pay extra attention to the edges where the seat pad meets the frame, as these pockets trap debris.
After vacuuming, wipe the entire upholstered surface with a dry microfiber cloth in a single direction. This lifts dust and prevents it from getting ground into the fabric when you start cleaning with liquids.
Why this matters: If you skip dry dusting, you'll turn the dirt into a muddy smear the moment you spray on cleaner. Dry dusting also makes the deep-clean step more effective.
💡 Tips:
- •Use a dedicated crevice tool attachment to reach tight seams along the edges of the pad.
- •Keep the dry cloth folded so you're always wiping with a clean face.
⚠️ Warnings:
- •Don't press too hard with the vacuum crevice tool on vinyl, as it can leave marks.
Step 3: Deep-Clean the Upholstery
Mix a small amount of mild detergent or a dedicated vinyl/upholstery cleaner with warm water in a spray bottle. You only need a few drops - the goal is a light foam, not soapy puddles. Spray the solution onto a clean microfiber cloth rather than directly onto the bench. This keeps the fabric underneath from soaking through and causing mildew.
Wipe the upholstery in circular motions, working from one end to the other. For stubborn sweat stains, lay the damp cloth over the stained area for a minute to lift the grime, then gently scrub with a soft-bristle brush in small circles.
Once the entire surface is clean, rinse your cloth with fresh water and wipe the bench again to remove any soapy residue. Allow it to air dry completely - typically 20-30 minutes - before continuing or using the bench.
What success looks like: the upholstery is free of visible stains and has a matte, clean finish without any sticky soap buildup.
💡 Tips:
- •For heavily soiled benches, repeat the cleaning step with fresh water and a clean cloth.
- •Add a few drops of mild dish soap to the water if you don't have a dedicated upholstery cleaner.
⚠️ Warnings:
- •Never soak the upholstery. Excess moisture can seep into the padding and cause mildew or rust on the backing board.
Step 4: Condition the Upholstery (Optional but Recommended)
If your bench pad is covered in vinyl, leather, or faux leather, apply a thin layer of leather/vinyl conditioner after it's completely dry. Squirt a small amount onto a clean cloth and rub it into the surface in a gentle, even motion.
Conditioner restores the natural oils that are stripped away by sweat and cleaning products. This prevents the material from drying out, cracking, or fading over time. Wait about 5 minutes, then buff the surface with a dry microfiber cloth to remove any excess.
How often should you do this? Once every 2-3 months is usually enough for home use. If you train heavily and sweat a lot, increase the frequency to once a month. A conditioned pad will look shinier and feel more comfortable under your back.
💡 Tips:
- •Test the conditioner on a small, hidden area of the pad first to ensure it doesn't cause discoloration.
- •Use a dedicated applicator cloth to avoid applying too much product.
⚠️ Warnings:
- •Don't use oil-based conditioners on rubber or high-friction surfaces, as they can make the bench slippery during training.
Step 5: Clean the Frame and Metal Components
Use a mild all-purpose cleaner or a lightly diluted degreaser to wipe down the metal frame, adjustment posts, brackets, and any plastic caps. Spray onto a cloth first, then wipe in line with the grain of the metal. This lifts fingerprints, chalk dust, and the sticky residue left by sweat.
For areas around the pivot points that have built-up grease, apply a small amount of degreaser directly to the joint and scrub with a soft-bristle brush. Let it sit for a couple of minutes, then wipe away.
Dry the frame completely with a clean, dry cloth. Leaving moisture on bare metal is one of the fastest ways to encourage rust, even if the surface has a powder-coated finish.
💡 Tips:
- •Use an old toothbrush to clean around tight corners, bolts, and welded joints.
- •A magic eraser sponge can help remove scuff marks from painted frames without damaging the finish.
⚠️ Warnings:
- •Avoid abrasive scrubbers on powder-coated frames, as they can scratch the finish and expose bare metal to rust.
Step 6: Remove Rust Spots
Now that the frame is clean, inspect it closely for any rust. Look for orange or brown patches, especially around bolt heads, welds, and areas where the powder coating has chipped. Use a flashlight to check underneath and in hard-to-see nooks.
For light surface rust, rub the area with fine steel wool (grade 0000) or a rust-erasing pad. Work in small circles until the spot disappears, then wipe away the residue with a cloth.
For heavier, stubborn rust, apply a rust remover gel or soak following the manufacturer's instructions. Most products take 15-30 minutes to penetrate. Once the rust is gone, clean the area, dry it thoroughly, and apply a rust-inhibiting touch-up paint to seal bare metal and prevent the rust from coming back.
Warning: Wear gloves and work in a ventilated area when using chemical rust removers. Never let the product sit longer than directed.
💡 Tips:
- •For light rust, you can also use a rust eraser, which is a small rubber block infused with abrasive particles.
- •If you can't find a matching touch-up paint, use a clear rust-inhibiting spray.
⚠️ Warnings:
- •Don't use a wire brush on powder-coated finishes - it will strip the coating and make rust worse.
Step 7: Lubricate Pivot Points and Adjustment Mechanisms
Squeaks, sticking adjustment knobs, and uneven locking are almost always caused by dry or dirty pivot points. Apply a dry PTFE or silicone spray lubricant to every moving joint: the backrest hinge, the seat slide, the locking pin, and any tension adjustment knobs.
Spray a small amount onto a clean cloth and apply it to the joint, or use the straw attachment on the can to target the exact spot. Then, move the bench through its full range of positions - from flat to 45 degrees to incline - to work the lubricant into the mechanism.
Wipe away any excess with a cloth. A thin film is all you need. Excess lubricant will attract dust, which ironically makes the joints grittier over time.
💡 Tips:
- •Use a dedicated dry PTFE spray for metal-on-metal contact points.
- •Lubricate the locking pin shaft, not just the release handle, for smoother engagement.
⚠️ Warnings:
- •Avoid WD-40 for pivots - it's a solvent, not a lubricant, and will dry out and leave a sticky residue.
Step 8: Tighten All Bolts and Screws
Asymmetric loading from presses and rows can slowly loosen the bolts on your bench. Take your Allen wrench set and screwdriver and systematically check every fastener on the bench, starting with the feet and working up to the backrest bracket.
Turn each bolt clockwise until it feels snug. Don't overtighten - you're looking for firm contact, not torque-induced stress on the frame threads. If you feel a bolt that won't tighten, check if the threads are stripped. This is common on cheaper benches and requires a replacement bolt.
Pay special attention to the hardware that connects the seat pad to the frame and the backrest to its pivot. These are the two highest-stress points on any adjustable bench. Success looks like this: the bench feels firmer, with zero visible wobble when you push on it from any angle.
💡 Tips:
- •Use a ball-end Allen wrench set so you can approach recessed bolts from an angle.
- •Mark each bolt with a permanent marker after tightening so you can quickly spot loose ones during your next check.
⚠️ Warnings:
- •Don't use a power drill or impact driver to tighten bolts - you'll likely strip the threads.
Step 9: Inspect for Wear and Safety Issues
With cleaning out of the way, it's time to become a quality inspector. Examine all welded joints for cracks, make sure the rubber feet or end caps are intact, and check the locking pin mechanism for excessive play.
Test every bench position. The bench should click into place securely with no hesitation or false latch. If the pin doesn't fully engage, or if the backrest shifts when you lean back, stop using the bench immediately.
Also, check the frame underneath the seat pad and backrest where the padding meets the steel. Over time, the padding can compress and expose the metal backing, giving you less support. If your pad is worn down to the hardboard, it's time to replace it. You can often buy replacement pads from the manufacturer.
💡 Tips:
- •Run your hand along welded joints to feel for any sharp edges that might indicate a developing crack.
- •Take a photo of the bench's model number and manufacturer so you can order the right replacement parts.
⚠️ Warnings:
- •If you find any cracks in welds, bent steel, or a locking mechanism that doesn't fully engage, retire the bench and contact the manufacturer - it's not safe to use.
Step 10: Final Wipe-Down and Motion Test
Do one last pass across the entire bench with a clean, dry microfiber cloth to remove any stray fingerprints or lubricant residue. Move the bench through all six to eight adjustment positions, paying attention to how smoothly each transition feels.
Then, give the bench a functional test. Perform a few bodyweight presses, some seated rows, and a set of step-ups to load the bench in different directions. There should be no movement, creaking, or wobbling. If everything feels solid, your maintenance session is complete.
To keep it this way, adopt the quick wipe-down habit we described in the tips and tricks below. A few minutes of care now will save you from buying a replacement bench years earlier than necessary.
💡 Tips:
- •Record how the bench feels in each position in your phone's notes so you can track changes over time.
- •Set a recurring 2-3 month cleaning reminder on your calendar.
⚠️ Warnings:
- •Don't use the bench until it's completely dry, especially on the upholstery, to avoid trapping moisture.
▸Pro Tips
- •Keep a towel on the bench during workouts to soak up sweat and cut down on deep-cleaning frequency.
- •Use separate microfiber cloths for the upholstery and the metal frame so you don't spread grime.
- •A thin coat of lubricant is all you need-so spray onto a cloth first and apply it precisely to the pivot.
- •Always check your owner's manual for manufacturer-specific care instructions before using any cleaning product.
- •Store your bench in a cool, dry place. Humidity is the number one cause of rust on fitness equipment.
- •After cleaning, air-dry the bench for at least 30 minutes before folding it back up to prevent moisture damage.
- •Apply a UV protectant to the upholstery if your bench is in a sunlit room to keep it from fading and cracking.
- •Add a 5-minute monthly check-up (tightening bolts and wiping down the frame) to your routine to avoid bigger problems.
▸Common Mistakes to Avoid
- •Using bleach, ammonia, or other harsh chemicals on the upholstery - these break down vinyl and cause premature cracking.
- •Over-lubricating moving parts, which creates a sticky film that attracts dust and makes joints feel gritty.
- •Ignoring loose bolts and wobbling, which puts unneeded stress on welds and creates a safety hazard during heavy lifts.
- •Leaving sweat and moisture on the bench after workouts, which encourages rust and causes the padding to deteriorate.
- •Skipping the locking mechanism inspection and continuing to use a bench that doesn't lock securely - this can lead to a crash mid-lift.
▸Troubleshooting
Problem: Bench squeaks when adjusting positions.
Solution: Tighten all bolts and screws, then apply a thin coat of silicone or PTFE spray to each pivot point. If the squeak persists, inspect bushings and hinge welds for wear and replace worn parts.
Problem: Upholstery becomes sticky or tacky.
Solution: Clean with a paste of 3 parts baking soda to 1 part water. Gently rub the paste into the sticky areas, let it sit for 5 minutes, then wipe with a damp cloth and dry completely.
Problem: Rust keeps coming back on the same spot.
Solution: Remove all rust down to bare metal with steel wool or a rust remover, clean, dry, and apply a rust-inhibiting touch-up paint. Keep the bench in a dry area to avoid recurrence.
Problem: Bench wobbles despite tight bolts.
Solution: Check that the floor is level and the rubber feet are intact. If the wobble persists, the frame may be bent; contact the manufacturer for a warranty replacement.
Problem: Locking pin won't engage properly.
Solution: Clean the pin and bracket holes with a degreaser, then apply a dry lubricant. If the pin still won't seat, it may be bent or worn - order a replacement from the manufacturer.
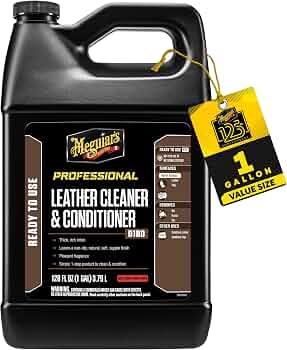
Meguiar's All-In-One Leather & Vinyl Cleaner and Conditioner
This pH-balanced formula cleans and conditions vinyl and leather upholstery in a single pass, saving time and keeping bench pads flexible and crack-free.
Best for: Apply every 2-3 months during your deep-cleaning session to retain padding texture and prevent cracking.
Price Range: $12-$18
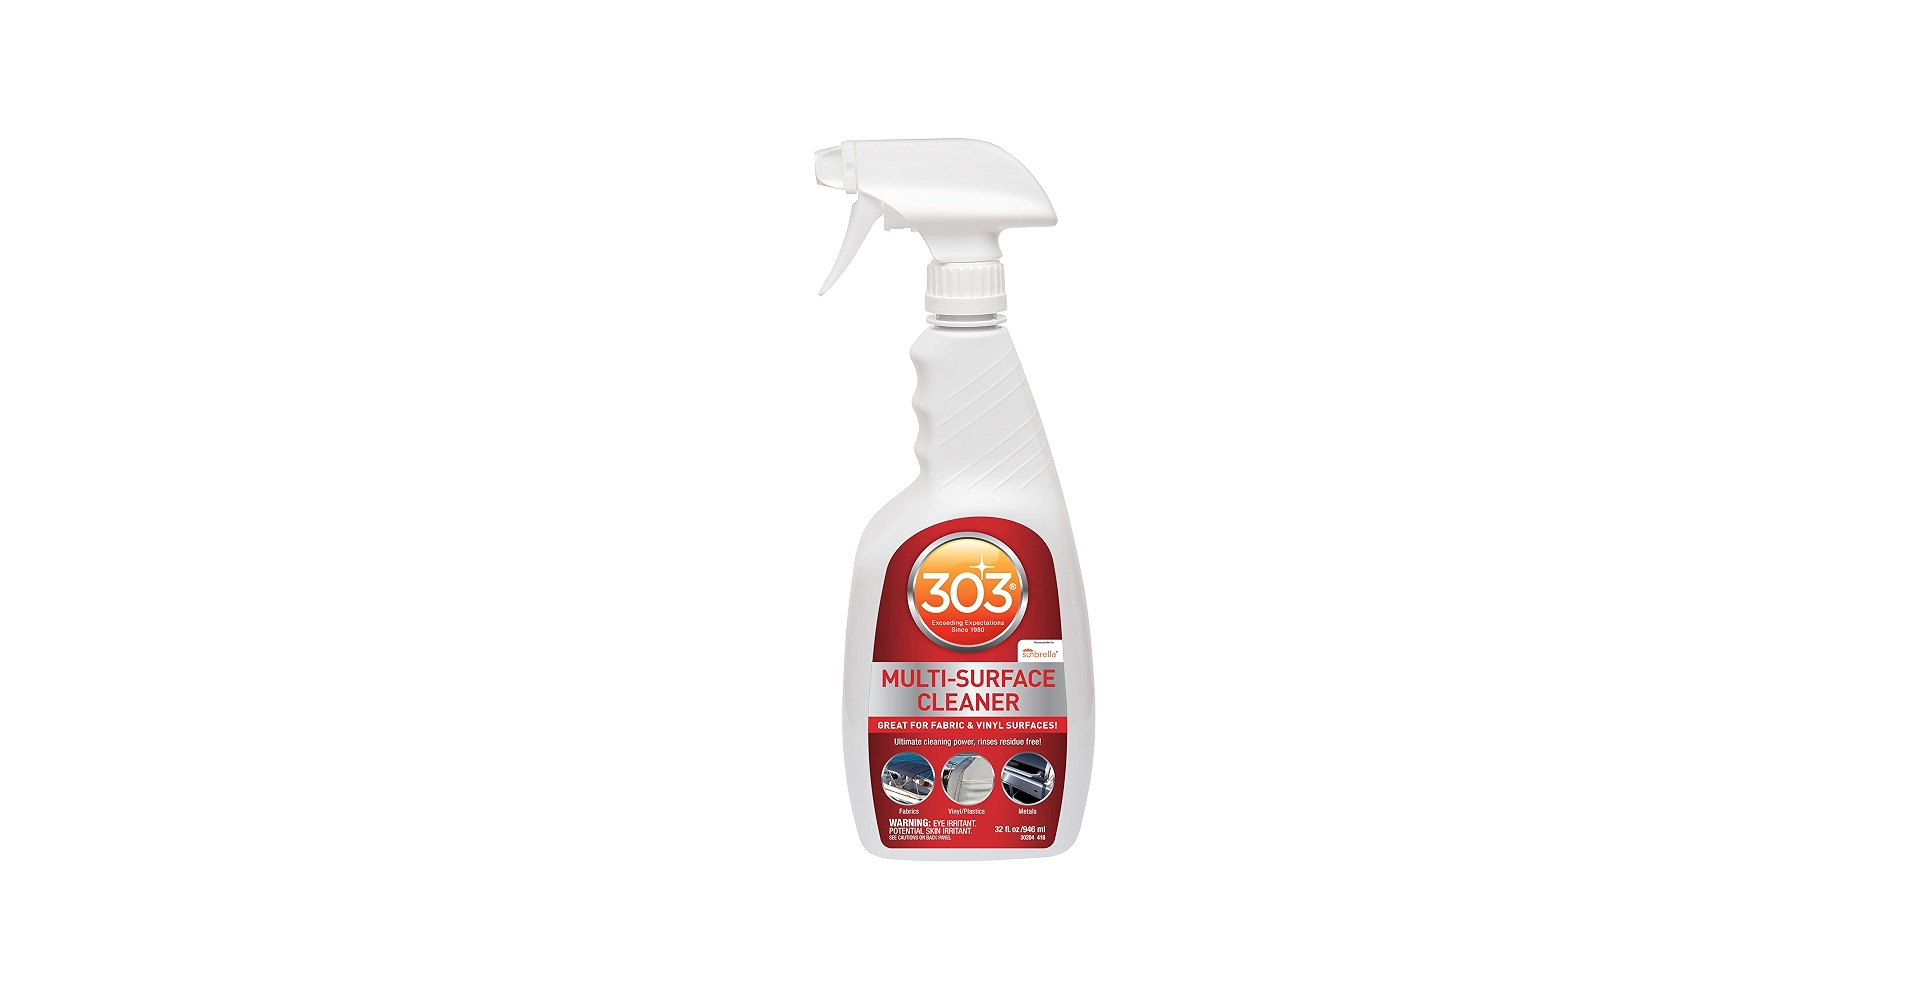
303 Multi-Surface Cleaner
A gentle, non-toxic cleaner that removes sweat, dust, and grime from both upholstery and painted metal frames without dulling the finish.
Best for: Use weekly on the frame and monthly on the upholstery for a fast, streak-free clean.
Price Range: $10-$16
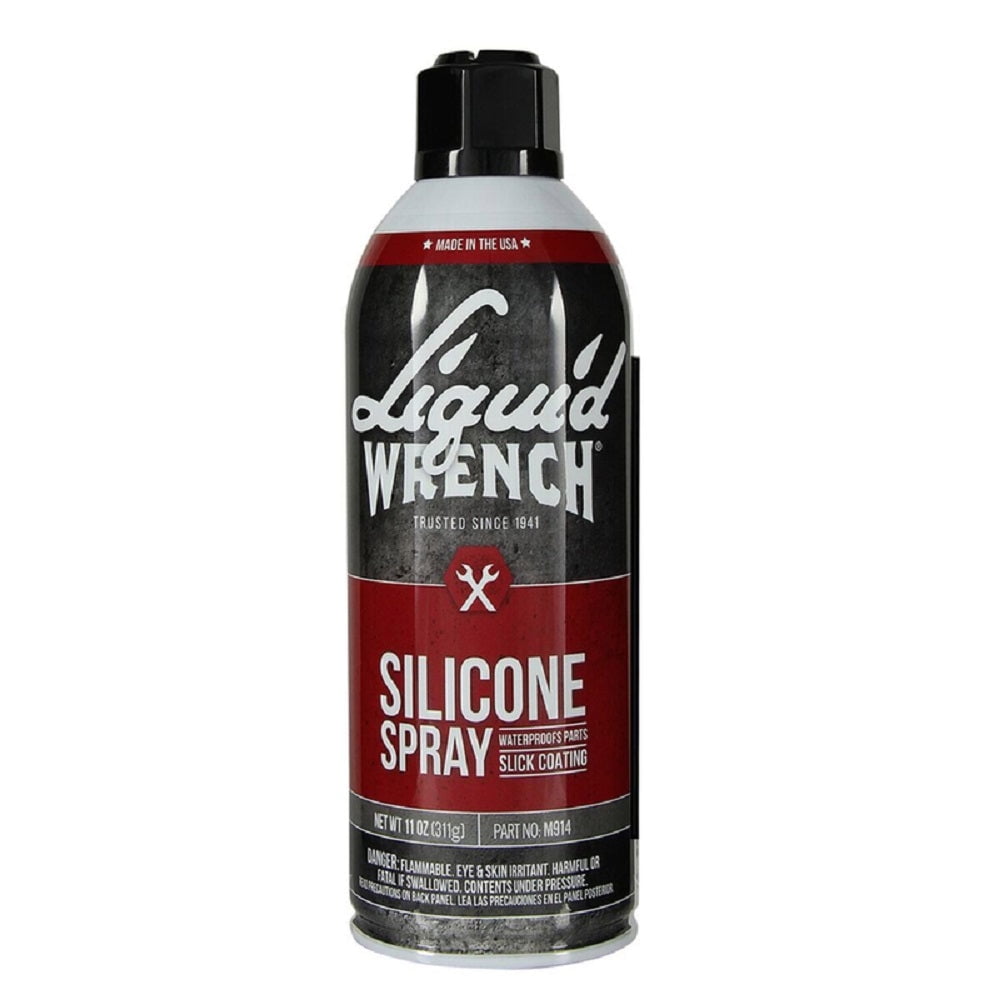
Liquid Wrench Silicone Spray Lubricant
Provides a thin, dry film of lubrication that eliminates squeaks and keeps pivot points moving smoothly without attracting dust and grime.
Best for: Spray on hinges, locking pins, and slide rails during each maintenance session.
Price Range: $8-$14
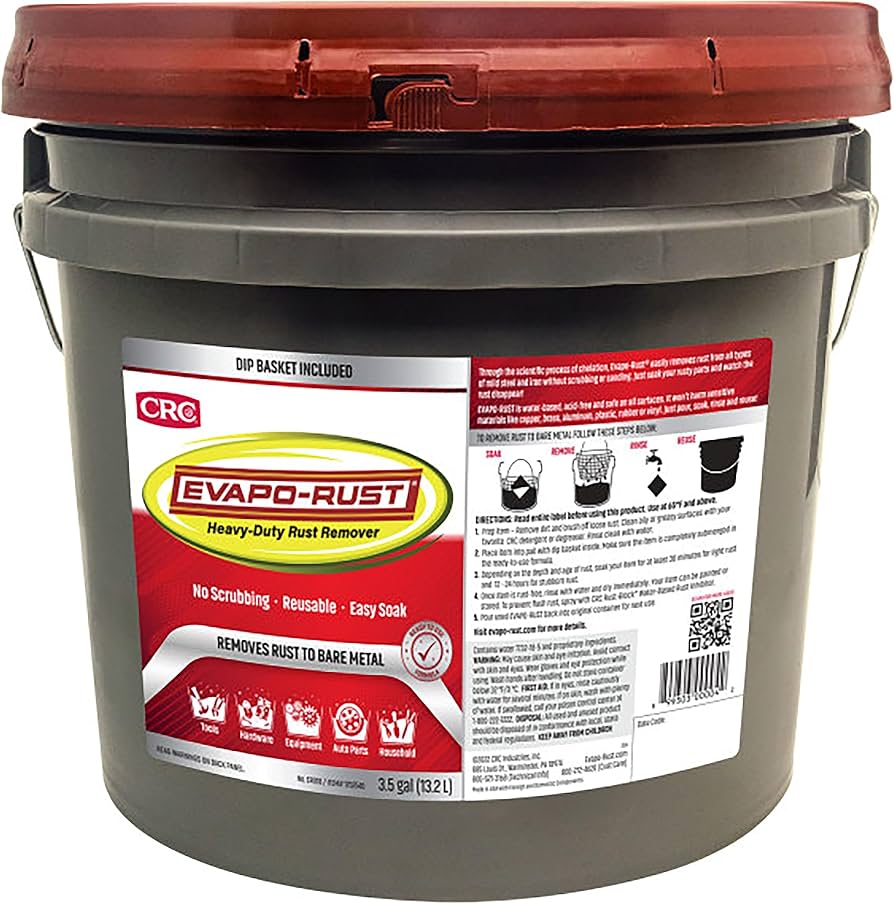
Evapo-Rust Super Safe Rust Remover
A water-based rust remover that is non-toxic and safe on metal, making it easy to treat rust spots on your bench frame without harsh acids.
Best for: Soak rusty bolts or apply to frame areas that have developed heavier rust, then wipe clean before painting.
Price Range: $15-$25
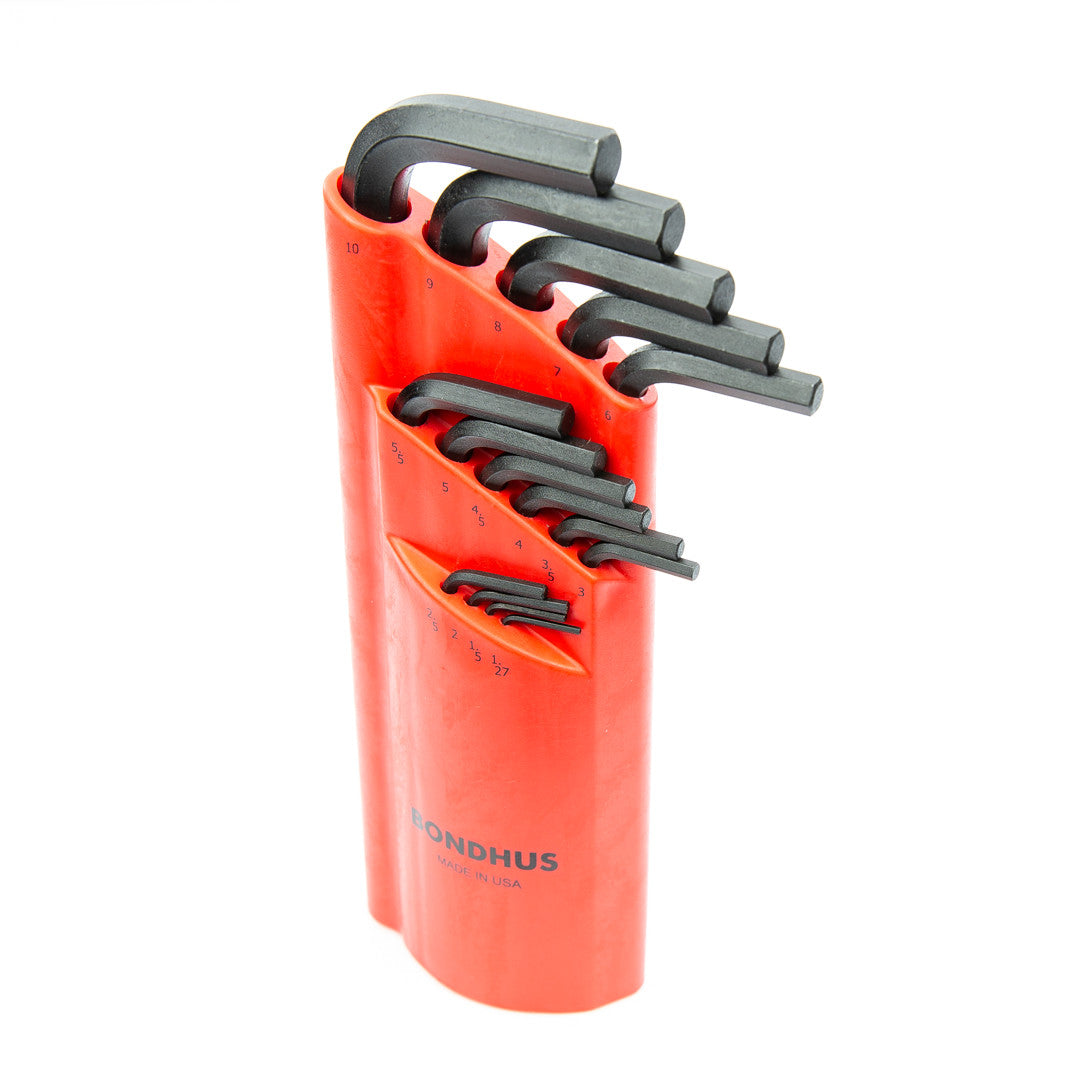
Bondhus Ball-End Allen Wrench Set
A complete set of hex wrenches ensures you have the right size for every bolt on your bench, and the ball-end design lets you work at an angle in tight spots.
Best for: Use to tighten every bolt and screw during each maintenance session and for disassembling the bench if needed.
Price Range: $18-$30