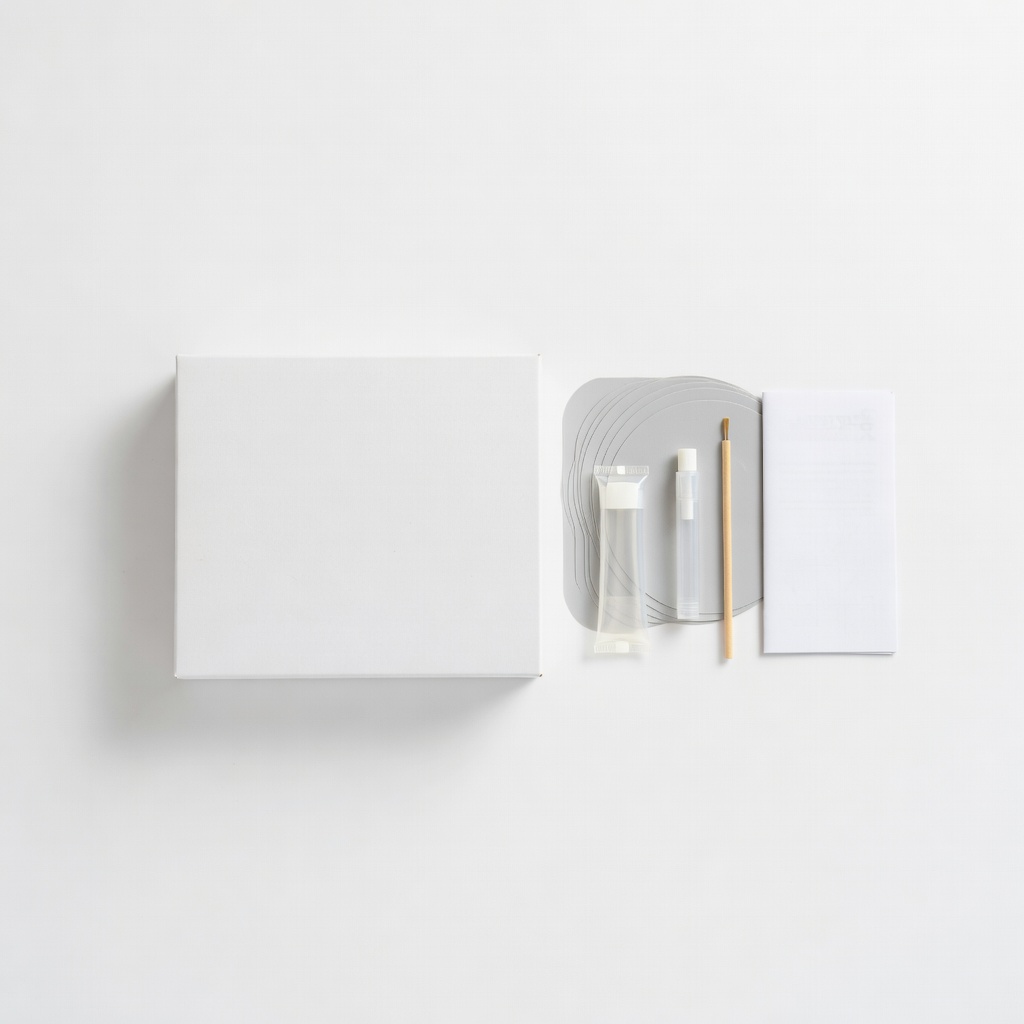
Intex Air Mattress Repair Patch Kit
Quick fixes for punctures during maintenance or on-site.
$5.99-$7.99
Intex Air Mattress Repair Patch Kit Reliable adhesive patches and glue specifically for PVC air mattresses; easy for beginners.
Get the App
Better experience on mobile
Keep your air mattress leak-free and ready for adventure with these simple beginner steps that take under an hour.
Nothing ruins a camping trip faster than a flat air mattress in the middle of the night. Leaks, dirt buildup, and improper storage are common culprits that shorten the life of your gear. Proper maintenance ensures comfort and reliability every time you head outdoors.
In this guide, you'll learn a straightforward, step-by-step process to clean, inspect, repair, and store your air mattress. Whether it's your first season or you're refreshing old gear, these tips will extend its lifespan and save you money on replacements. Expect to spend 30-45 minutes total—perfect for beginners with no special skills needed.
By the end, your mattress will be spotless, patched if necessary, fully dry, and stored to prevent mold or damage over winter.
Estimated Time: 30-45 minutes Difficulty: beginner
Start by completely deflating your air mattress using the built-in valve or your pump in reverse mode. Open all valves to let air escape naturally if no pump is available. This prevents trapped air from causing uneven cleaning or damage during maintenance.
Why it matters: Inflated mattresses are hard to clean thoroughly and can tear if handled roughly. Success looks like a limp, flat mattress ready for wiping—no puffs of air left inside.
Tip: Do this outdoors or in a garage to avoid indoor mess.
💡 Tips:
⚠️ Warnings:
Mix mild dish soap with lukewarm water in a bucket (1 tsp soap per gallon). Dip a soft sponge or cloth and gently wipe the entire surface, focusing on high-touch areas like the valve and seams where dirt accumulates from camping.
Rinse with clean water using another cloth—avoid submerging the mattress fully to protect the valve. Dry immediately with a towel. This removes sweat, dirt, and bacteria that cause odors and degradation.
Expect a clean, residue-free surface that smells fresh.
💡 Tips:
⚠️ Warnings:
Run your hands over the entire surface, feeling for punctures, thin spots, or rough patches. Inflate partially (50%) and listen for hissing or spray soapy water on seams to spot bubbles indicating leaks.
Mark issues with tape. This step catches problems early, preventing total failure on your next trip. Success: A list of any repairs needed or confirmation it's intact.
💡 Tips:
Clean the damaged area thoroughly and dry it. Cut a patch from your repair kit slightly larger than the hole. Apply glue per kit instructions, press the patch firmly, and weigh it down for 24 hours (or as specified).
Why: Quick fixes restore airtightness without buying new gear. Expect full cure in 24 hours—test inflate after.
Pro note: For valve issues, use specific valve repair patches.
⚠️ Warnings:
Remove valve cap and wipe inside with a damp cloth dipped in soapy solution. If accessible, gently clean interior surfaces. Rinse and dry completely.
This prevents clogs and mold. Success: Smooth valve operation with no grime.
💡 Tips:
Wipe with dry towels, then air-dry in shade for 4-6 hours (or overnight). Ensure no moisture remains, especially in folds.
Moisture leads to mold—avoid this for longevity. Feel dry and cool to touch.
⚠️ Warnings:
Sprinkle talcum powder lightly to prevent sticking. Roll loosely from valve end (don't fold sharply). Place in storage bag.
Store in cool, dry place off concrete floors. Success: Compact, protected mattress ready for next season.
💡 Tips:
Problem: Persistent slow leak after patching
Solution: Re-inspect for multiple holes; use larger patch or Seam Grip sealant. Fully deflate and retry.
Problem: Mold spots appear
Solution: Clean with 1:10 vinegar-water mix, dry 48 hours. Discard if extensive.
Problem: Valve won't seal
Solution: Clean and lubricate with silicone spray; replace if damaged (kits available).
Problem: Mattress sticks to itself in storage
Solution: Dust with talc next time; unroll and air out before use.
Reliable adhesive patches and glue specifically for PVC air mattresses; easy for beginners.
Best for: Quick fixes for punctures during maintenance or on-site.
Price Range: $5.99-$7.99
Fast inflation/deflation with multiple nozzles; essential for testing repairs.
Best for: Deflating, testing leaks, and prepping for camping.
Price Range: $35-$45
Waterproof glue for tough repairs on seams and valves; cures flexible.
Best for: Permanent fixes on larger tears or worn areas.
Price Range: $8-$12
Durable, waterproof bag keeps dust and moisture out during off-season.
Best for: Long-term storage to protect from garage conditions.
Price Range: $12-$18
Quick fixes for punctures during maintenance or on-site.
Intex Air Mattress Repair Patch Kit Reliable adhesive patches and glue specifically for PVC air mattresses; easy for beginners.
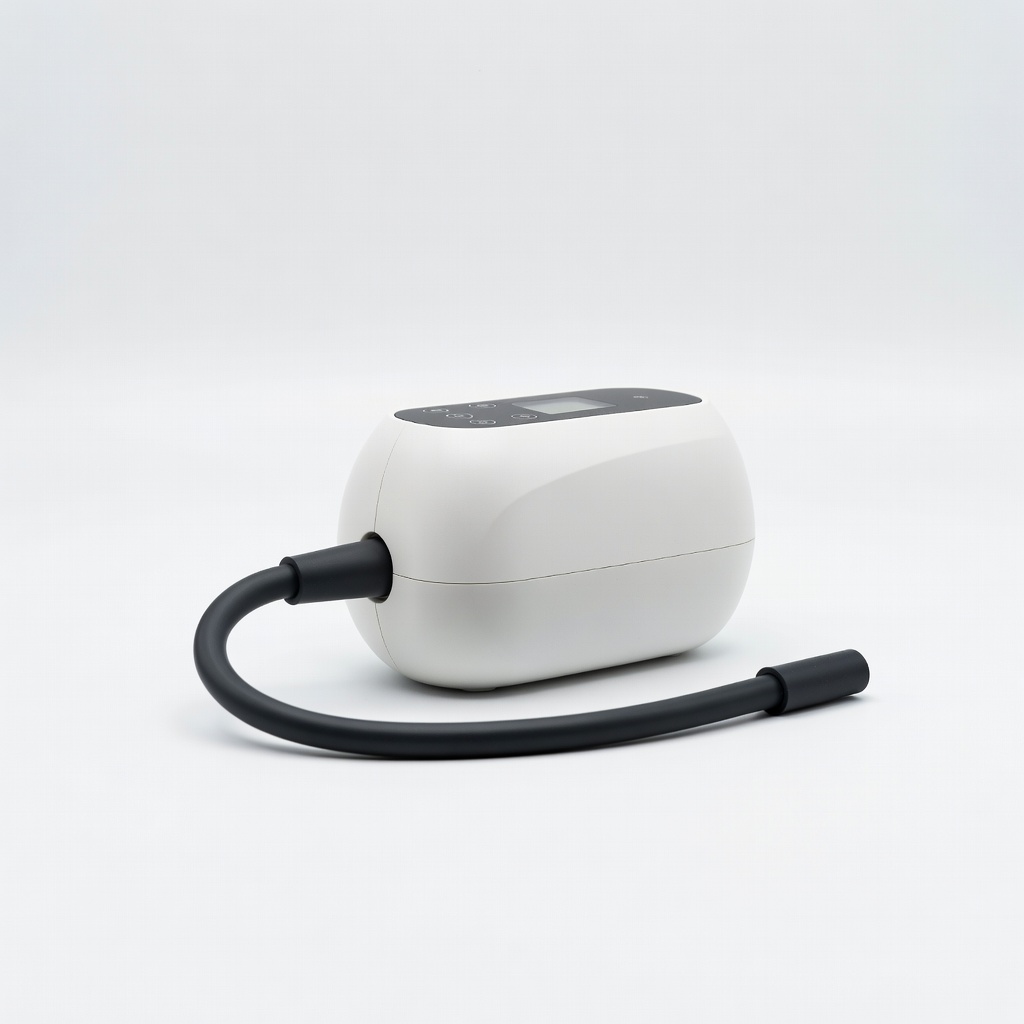
Deflating, testing leaks, and prepping for camping.
SoundAsleep Electric Air Mattress Pump Fast inflation/deflation with multiple nozzles; essential for testing repairs.
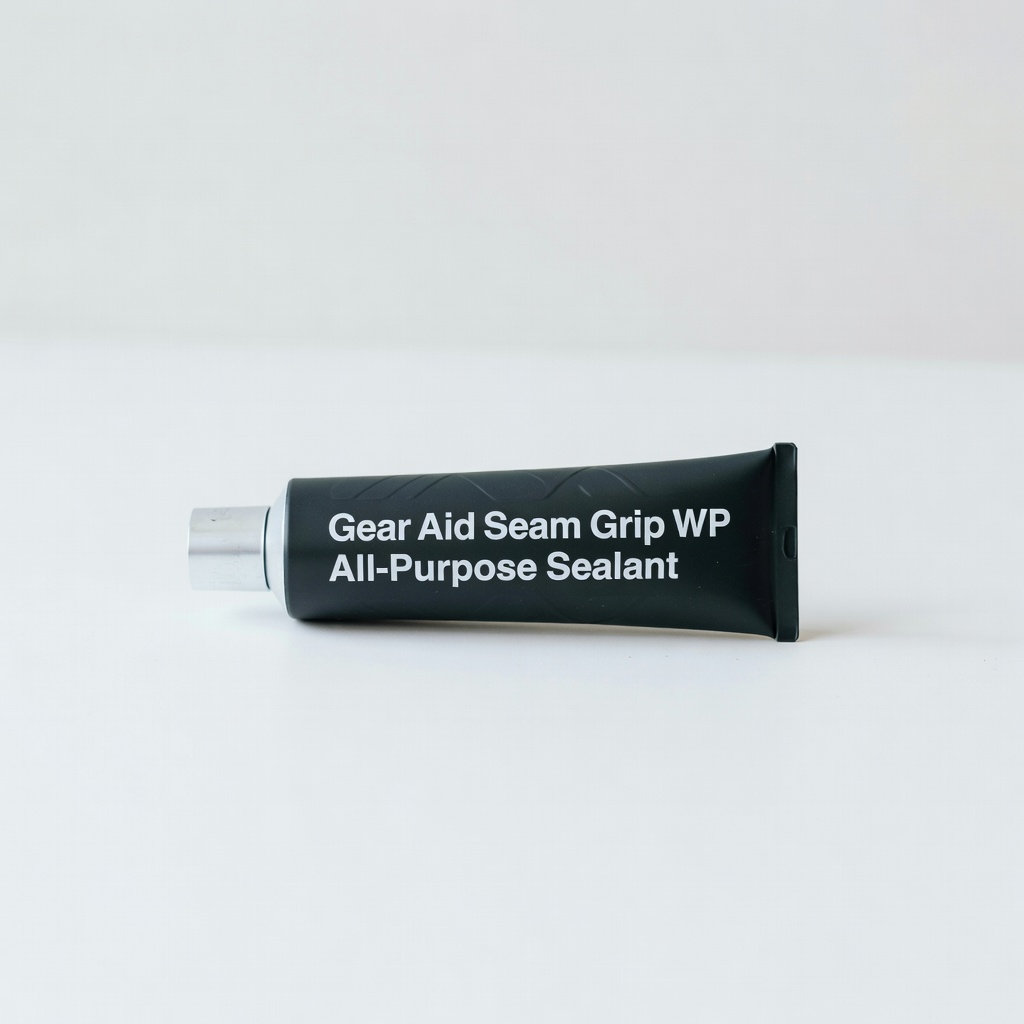
Permanent fixes on larger tears or worn areas.
Gear Aid Seam Grip WP All-Purpose Sealant Waterproof glue for tough repairs on seams and valves; cures flexible.
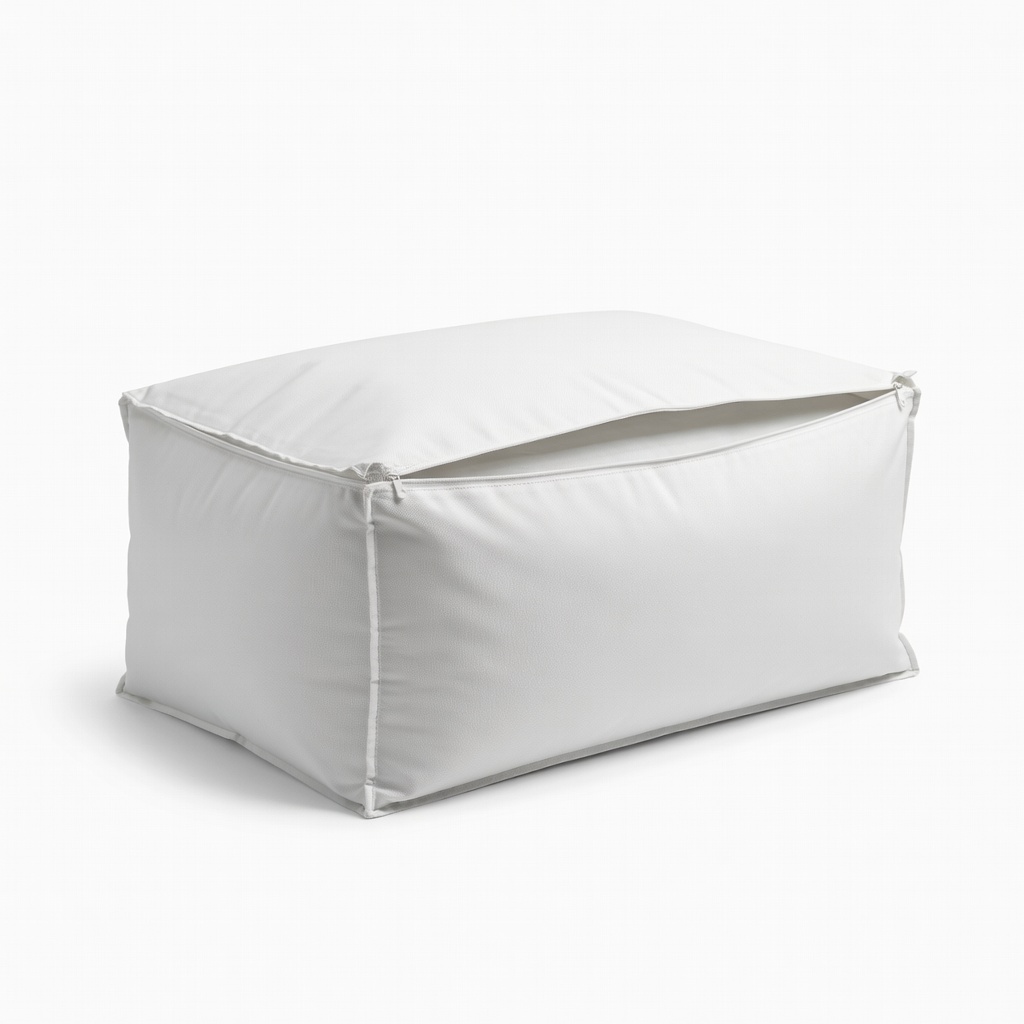
Long-term storage to protect from garage conditions.
King Koil Air Mattress Storage Bag Durable, waterproof bag keeps dust and moisture out during off-season.