
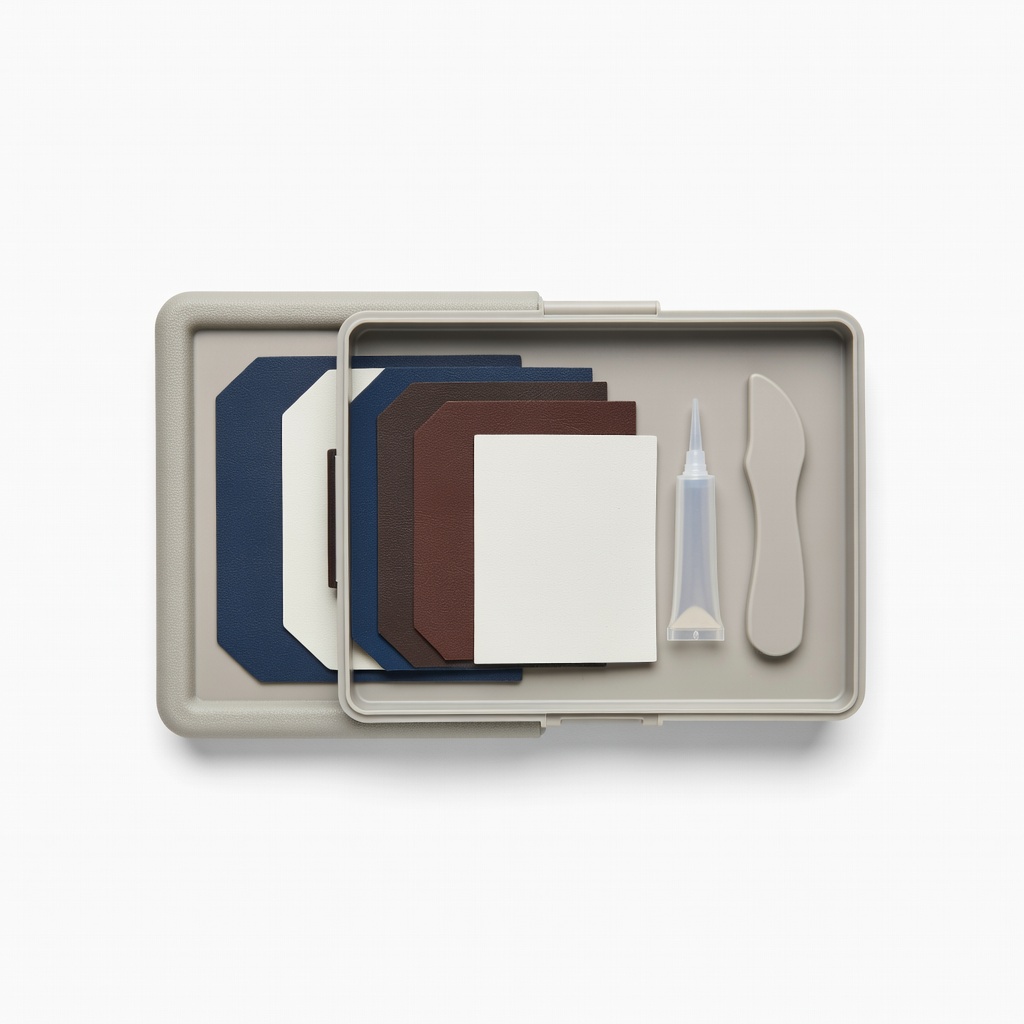
Intex Vinyl Repair Patch Kit
Patching punctures during Step 4; essential for field repairs.
$8-12
Intex Vinyl Repair Patch Kit Reliable for quick PVC fixes with strong adhesive patches in multiple sizes.
Get the App
Better experience on mobile
Extend your air mattress life with simple maintenance steps to avoid leaks and ensure comfy camping trips year after year.
Nothing ruins a camping trip faster than a deflating air mattress leaving you on hard ground all night. With proper maintenance, your air mattress can last seasons of adventures without punctures or mold issues.
In this guide, you'll learn step-by-step how to inspect, clean, repair, and store your air mattress for maximum durability. Whether it's an Intex, Coleman, or SoundAsleep model, these techniques work for most PVC or vinyl camping mats. Expect 20-30 minutes for a full session, suitable for intermediate campers who already set up camp basics.
Follow these steps before and after each trip to keep it reliable—no more emergency duct tape fixes!
Estimated Time: 20-30 minutes per full maintenance session; 5-10 minutes for quick checks Difficulty: intermediate
Start by fully inflating your air mattress using your electric pump until firm. Visually check every inch for punctures, tears, seam separations, or embedded dirt like thorns from camping.
Run your hands over the surface to feel for tiny leaks—listen for hissing. Why it matters: Early detection prevents small issues from worsening. Success looks like a fully inflated mattress holding air for 10+ minutes without noticeable deflation.
Tip: Do this in bright light outdoors for better visibility.
💡 Tips:
⚠️ Warnings:
Deflate slightly if needed, then mix mild soap with warm water in a bucket. Wipe down the entire surface with a soft brush or cloth, focusing on high-wear areas like edges and valves.
Rinse thoroughly with clean water to remove all soap residue—soap left behind can degrade vinyl. Why? Dirt and grime accelerate wear and hide leaks. Expect a clean, residue-free surface ready for drying.
Dry with a towel before full deflation.
💡 Tips:
⚠️ Warnings:
For flocked (topped) mattresses, vacuum loose dirt first. Turn inside out if possible and spot-clean stains with soap solution. Shake out and air dry completely.
This prevents mold from trapped moisture. Success: No odors, stains gone, and surfaces feel fresh. Why it matters: Interiors trap sweat and dirt from use, leading to degradation.
💡 Tips:
⚠️ Warnings:
Locate leaks by submerging suspect areas in soapy water (bubbles indicate holes) or using leak detectors. Clean and dry the area, then apply patch from your repair kit: roughen surface, glue patch, press firmly for 24 hours cure time.
Test by reinflating overnight. Success: No hissing, holds air 24 hours. This keeps your mattress camping-ready without full replacement.
💡 Tips:
⚠️ Warnings:
Lay flat in a shaded, airy spot for 4-6 hours until bone-dry. Spray with vinyl protectant like 303 Aerospace to shield against UV and cracking.
Why? Moisture causes mold; UV fades and brittles material. Expect a supple, protected finish.
💡 Tips:
⚠️ Warnings:
Use valve to slowly deflate, pushing air out from center to edges. Fold accordion-style into thirds, roll tightly from valve end, and store in a cool, dry place in its bag.
Avoid stacking heavy items on it. Success: Compact roll fits easily, no creases that weaken material.
💡 Tips:
⚠️ Warnings:
Before packing, inflate, inspect, and test overnight. Pack with care to avoid sharp objects. This routine ensures durability trip after trip.
💡 Tips:
Problem: Persistent slow leak after patching
Solution: Reinspect seams or valve; use Seam Grip sealant or replace valve core. Test submerged again.
Problem: Mold spots appear
Solution: Clean with 1:10 vinegar-water mix, dry thoroughly, apply protectant. Prevent with full drying.
Problem: Valve won't seal
Solution: Clean valve, apply food-grade silicone lube. Replace if damaged (kits include extras).
Problem: Mattress cracks in cold
Solution: Avoid sub-freezing storage; use protectant. Warm before inflating.
Reliable for quick PVC fixes with strong adhesive patches in multiple sizes.
Best for: Patching punctures during Step 4; essential for field repairs.
Price Range: $8-12
UV and crack protection specifically for vinyl/inflatables; restores flexibility.
Best for: Apply in Step 5 post-cleaning for long-term durability.
Price Range: $12-18
Includes glue, patches, and tools for pro-level repairs on larger tears.
Best for: Advanced fixes in troubleshooting; great for intermediate users.
Price Range: $10-15
Fast inflation/deflation for easy testing; auto-shutoff prevents overfill.
Best for: Steps 1,4,7 for inspections and tests.
Price Range: $20-30
No-glue instant patches for waterproof, flexible repairs on wet surfaces.
Best for: Emergency fixes during camping; backup to kits.
Price Range: $15-20
Patching punctures during Step 4; essential for field repairs.
Intex Vinyl Repair Patch Kit Reliable for quick PVC fixes with strong adhesive patches in multiple sizes.
Apply in Step 5 post-cleaning for long-term durability.
303 Aerospace Protectant Spray UV and crack protection specifically for vinyl/inflatables; restores flexibility.
Advanced fixes in troubleshooting; great for intermediate users.
Camco Vinyl Repair Kit Includes glue, patches, and tools for pro-level repairs on larger tears.

Steps 1,4,7 for inspections and tests.
Intex Quick-Fill AC Electric Pump Fast inflation/deflation for easy testing; auto-shutoff prevents overfill.

Emergency fixes during camping; backup to kits.
Gear Aid Tenacious Tape Repair Tape No-glue instant patches for waterproof, flexible repairs on wet surfaces.