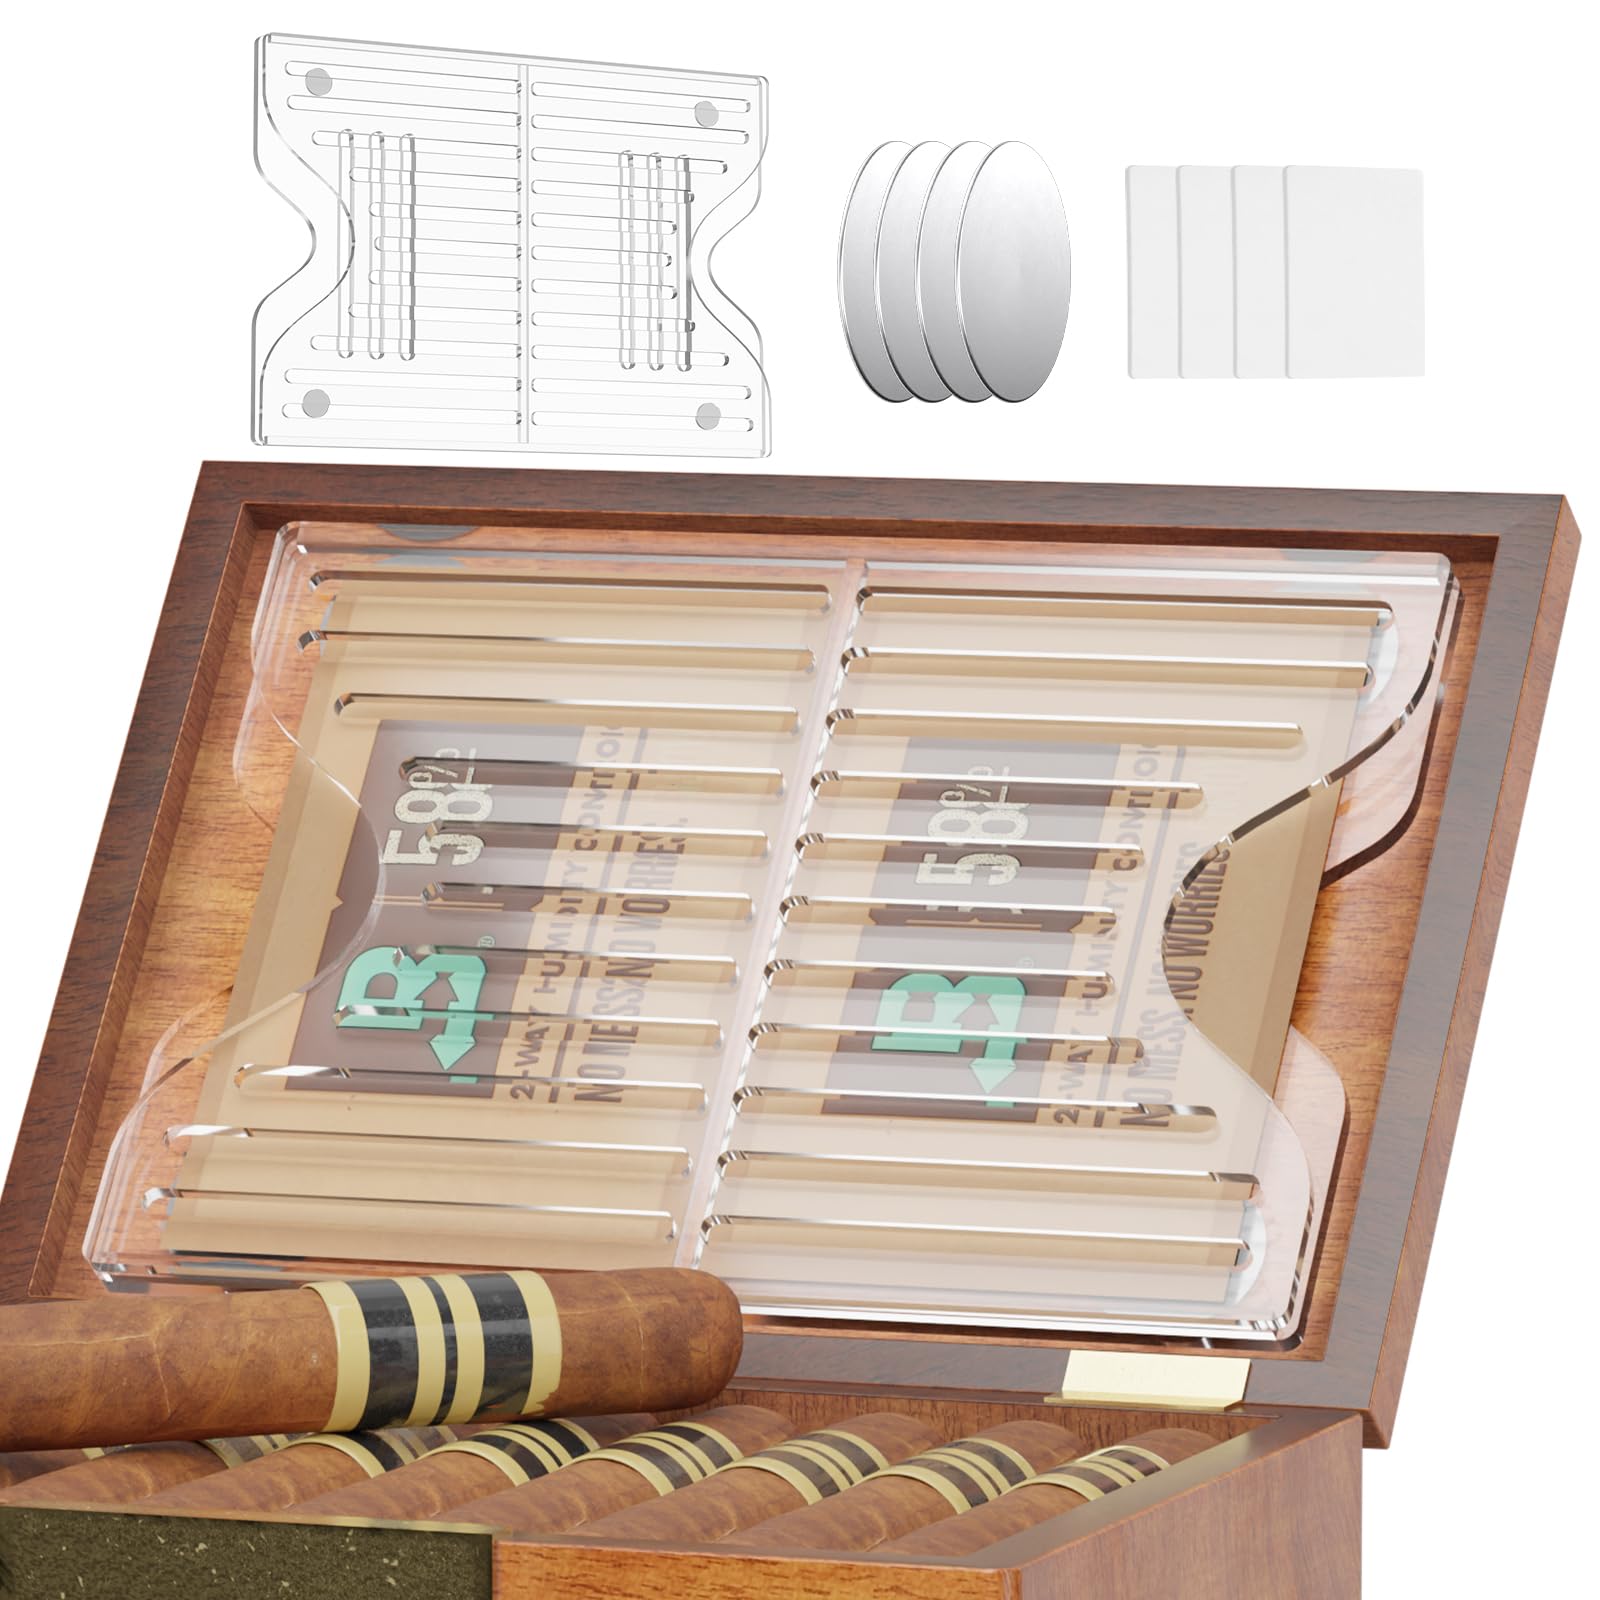
D'Addario Humidipak Two-Way Humidity Control
Place in case year-round, especially in dry winters.
$14.99
D'Addario Humidipak Two-Way Humidity Control Prevents warping from humidity fluctuations, essential for wood stability.
Get the App
Better experience on mobile
Master step-by-step bridge maintenance to ensure optimal tone, playability, and instrument longevity for your acoustic viola.
The bridge on your acoustic viola is crucial for sound projection and string vibration transfer, but rosin buildup, humidity changes, and daily play can cause it to lean, warp, or lose height, leading to buzzing strings or dull tone. Neglecting it risks costly repairs or replacement. This guide empowers intermediate players to perform essential maintenance safely at home.
You'll learn to inspect, clean, adjust position and height, and fit the bridge feet properly. No luthier visit needed for routine care. The process takes 20-30 minutes, requires basic tools, and assumes familiarity with tuning and string changes.
Expect clear results: straighter bridge, clearer tone, and better action. Always work in a stable environment to avoid damage.
Estimated Time: 20-30 minutes Difficulty: intermediate
Use a peg winder or tuning wrench to fully loosen all four strings by turning the pegs counterclockwise. This relieves tension on the bridge, preventing it from snapping or slipping during maintenance.
Why it matters: A tensioned bridge can warp further or cause strings to break. Slack strings make repositioning safe and easy. Expect the tailpiece to droop slightly.
Lay the viola flat on a soft cloth to protect the finish.
💡 Tips:
⚠️ Warnings:
Examine the bridge top, sides, and feet. Look for cracks, warping (curved top), leaning (not perpendicular to strings), excessive wear grooves, or loose fit on the soundboard.
A healthy bridge stands straight like a soldier, with even string spacing and height. Note any issues like deep rosin buildup or misaligned feet. This step identifies if DIY maintenance suffices or if professional help is needed.
💡 Tips:
⚠️ Warnings:
Dampen a microfiber cloth with isopropyl alcohol and gently wipe the bridge top, sides, and notch areas. Use a rosin eraser for stubborn spots. Avoid soaking the wood.
Rosin residue dampens vibration and attracts dirt. Cleaning restores brightness. The bridge should look clean and smooth, no sticky residue.
💡 Tips:
⚠️ Warnings:
Measure string height at the fingerboard end (ideal 5-7mm for viola). The bridge should be centered between f-holes, perpendicular to the string plane (use a straightedge).
Gently rock the bridge forward/back with thumbs on top, fingers under feet to reposition. Secure loosely with rubber bands if needed.
💡 Tips:
⚠️ Warnings:
Hold the top with thumb/index, gently twist base to straighten (clockwise for right lean). Use feeler gauges under feet to even height.
Straight bridge ensures even string tension and tone. It should stand 90 degrees without support.
💡 Tips:
⚠️ Warnings:
Rock bridge on feet to match soundboard curve using a rocker tool or knife. Lightly sand high spots (400 grit) for flush fit—no gaps >0.5mm.
Perfect fit transfers vibrations efficiently. Feet should 'kiss' the plate evenly.
💡 Tips:
⚠️ Warnings:
Retighten strings in pairs (outer first), tuning to pitch slowly over 10-15 minutes. Pluck and check bridge stays put.
Gradual tension seats the bridge. Play test for buzz-free action and clear tone.
💡 Tips:
⚠️ Warnings:
Problem: Bridge keeps leaning after adjustment
Solution: Secure with bridge clamp during tuning; check string tension balance. If persists, feet may need refitting.
Problem: Buzzing strings post-maintenance
Solution: Re-measure height (too low); shim feet or raise bridge. Ensure even notches.
Problem: Dull tone after cleaning
Solution: Rosin strings lightly; play in for 10 minutes. Check for over-cleaning varnish.
Problem: Bridge warps despite care
Solution: Replace it; seek luthier for custom fit. Use humidity control immediately.
Prevents warping from humidity fluctuations, essential for wood stability.
Best for: Place in case year-round, especially in dry winters.
Price Range: $14.99
Quickly removes stubborn rosin without alcohol damage.
Best for: Weekly cleaning of bridge and fingerboard.
Price Range: $9.99
Precision tool for fitting feet perfectly without excessive sanding.
Best for: Intermediate adjustments to match soundboard curve.
Price Range: $35-45
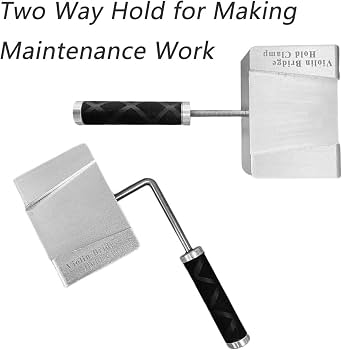
Holds bridge securely during adjustments and tuning.
Best for: When bridge slips or for solo maintenance.
Price Range: $19.99
Easily rocks and fits bridge feet for optimal contact.
Best for: Quick foot shaping without knives.
Price Range: $12.99
Place in case year-round, especially in dry winters.
D'Addario Humidipak Two-Way Humidity Control Prevents warping from humidity fluctuations, essential for wood stability.
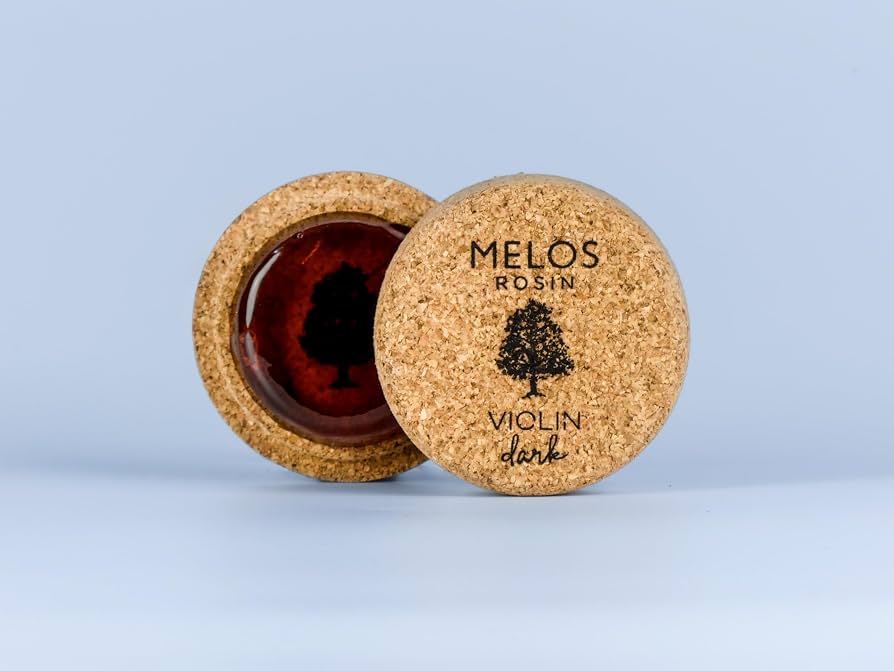
Weekly cleaning of bridge and fingerboard.
Melos Rosin Eraser Quickly removes stubborn rosin without alcohol damage.
Intermediate adjustments to match soundboard curve.
Herdim Bridge Fitting Knife Set Precision tool for fitting feet perfectly without excessive sanding.
When bridge slips or for solo maintenance.
K&M 15040 Bridge Clamp Holds bridge securely during adjustments and tuning.
Quick foot shaping without knives.
Bobelock Bridge Rocker Easily rocks and fits bridge feet for optimal contact.