Krasser Accordion Reed Wax
Rewaxing blocks during step 6.
$12.99
Krasser Accordion Reed Wax Premium low-melt wax for secure reed seating without warping.
Get the App
Better experience on mobile
Master advanced reed care techniques to extend your accordion's life by decades, ensuring crisp tone and reliable response.
Accordion reeds are the heart of your instrument's voice, but dust, humidity swings, and wear can cause buzzing, flat notes, or total failure. Advanced players know neglected reeds lead to costly repairs—up to $500+ per set. This guide equips you with pro-level maintenance to prevent that, saving time and money.
You'll learn a complete step-by-step process: inspecting, cleaning, adjusting, and protecting reeds. Expect 1-2 hours per full session, done quarterly. No prior disassembly experience? This advanced tutorial assumes you can handle reed block removal; if not, review basics first.
By the end, your reeds will sound brighter, seal better, and last 20+ years with regular care. Let's dive in.
Estimated Time: 1-2 hours per full maintenance session (quarterly) Difficulty: advanced
Set up a clean, well-lit area with good ventilation. Lay out tools on a soft mat to avoid scratching reeds. Remove the accordion's reed blocks carefully—unscrew or unclip per your model's specs (consult manual).
Why? Dust-free disassembly prevents contamination. Expect 10 reed blocks (treble/bass); handle gently to avoid bending tongues.
Success: All blocks out, reeds facing up, no fingerprints.
💡 Tips:
⚠️ Warnings:
Use a loupe and light to check each reed: look for bends, cracks, dull edges, wax buildup, or corrosion. Test seal by blowing gently—leaks cause weak notes.
Why it matters: Early detection prevents cascading failure. Advanced users note: measure tongue gap (0.2-0.4mm) with feeler gauge.
Success: Catalog issues (e.g., '5 bent reeds') in a log.
💡 Tips:
⚠️ Warnings:
Brush off dust with a soft reed brush. Dip cloth in isopropyl alcohol, wipe tongues and plates lightly—no soaking. Dry immediately with microfiber.
Why? Debris causes buzzing; alcohol dissolves oils without rusting (if dried fast).
Success: Reeds shine, no residue; smell faintly of alcohol.
💡 Tips:
⚠️ Warnings:
Grip reed base firmly, use tongs to gently bend tongue back to parallel with plate (gap even). Test by sighting along edge.
Why? Misalignment kills response. Advanced: Match factory curve.
Success: Tongue flat, vibrates freely when plucked.
💡 Tips:
⚠️ Warnings:
Lightly file striking edges with fine grit file at 45° angle, removing burrs only. Polish with cloth.
Why? Sharp burrs snag air, causing squeals.
Success: Edges mirror-smooth, no filings left.
💡 Tips:
⚠️ Warnings:
Melt wax gently (hot plate, not direct flame), scrape old wax, clean slots. Pour thin wax layer, press reeds in while hot, trim excess.
Why? Poor wax = leaks/vibrations.
Success: Reeds secure, no gaps.
💡 Tips:
⚠️ Warnings:
Apply tiny drop of reed lubricant to tongue sides. Polish all surfaces.
Why? Reduces friction for faster speech.
Success: Reeds glide smoothly.
💡 Tips:
⚠️ Warnings:
Reinstall blocks, play scales/chords. Monitor humidity.
Why? Confirms work.
Success: Clear, even tone across range.
💡 Tips:
⚠️ Warnings:
Problem: Buzzing after maintenance
Solution: Check for debris under tongue or uneven gap—reclean/file.
Problem: Weak notes on reassembly
Solution: Verify reed seating in wax; re-melt if loose.
Problem: Rust spots appearing
Solution: Dry thoroughly post-clean; store with silica packs. Polish with oil.
Problem: Pitch drifting
Solution: Advanced: Voicing needed—seek luthier if not experienced.
Premium low-melt wax for secure reed seating without warping.
Best for: Rewaxing blocks during step 6.
Price Range: $12.99
Precision 400/600 grit for burr-free edges without metal loss.
Best for: Smoothing reed tips in step 5.
Price Range: $24.99-$29.99
Maintains 45-55% RH to prevent reed corrosion/warping.
Best for: Storage and daily case use.
Price Range: $19.99
Non-gumming lube reduces friction for faster reed speech.
Best for: Final lubrication in step 7.
Price Range: $7.99
Lint-free for streak-free reed polishing without scratches.
Best for: Cleaning and final buff in steps 3/7.
Price Range: $9.99
Rewaxing blocks during step 6.
Krasser Accordion Reed Wax Premium low-melt wax for secure reed seating without warping.
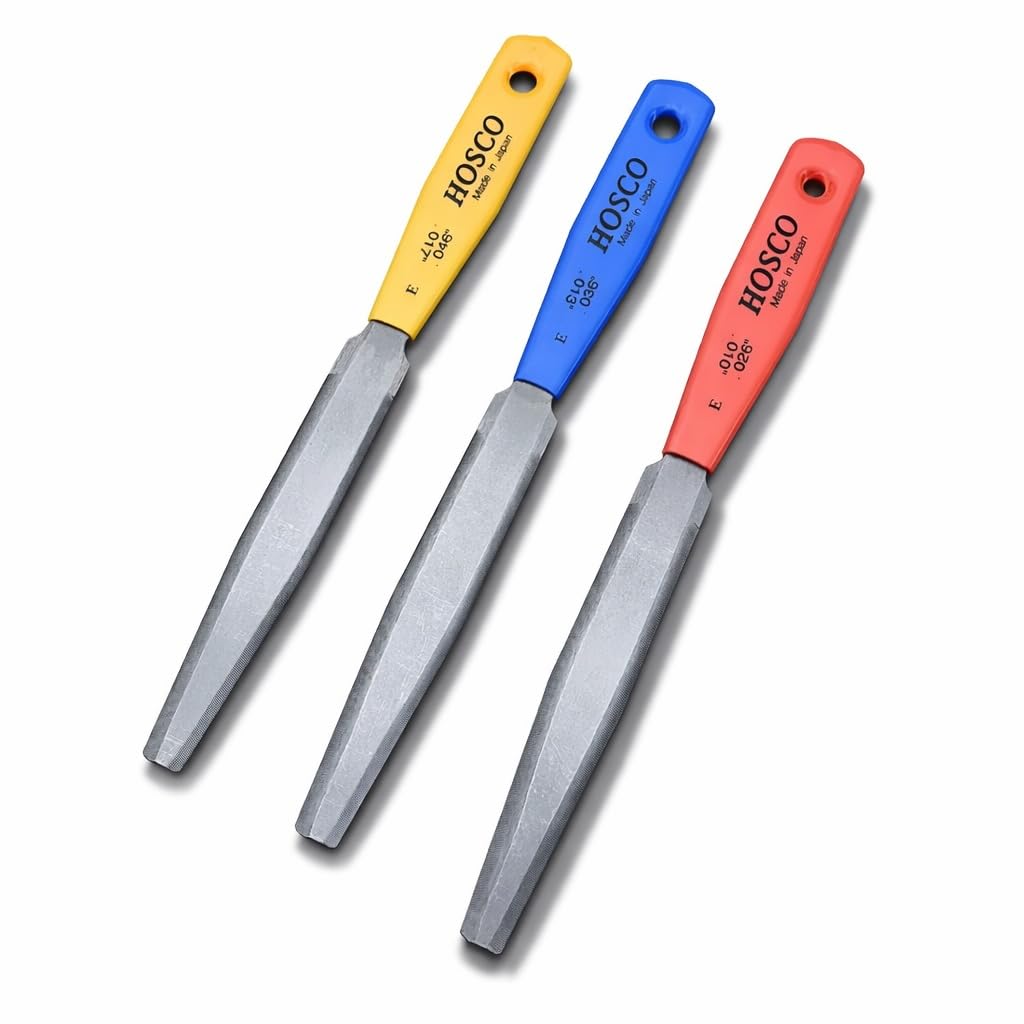
Smoothing reed tips in step 5.
Hosco Diamond Reed File Set Precision 400/600 grit for burr-free edges without metal loss.

Storage and daily case use.
D'Addario Humidipak Accordion Humidity Control Maintains 45-55% RH to prevent reed corrosion/warping.
Final lubrication in step 7.
Super Sensitive Key Oil (Reed Lubricant) Non-gumming lube reduces friction for faster reed speech.
Cleaning and final buff in steps 3/7.
Celestial Silk Microfiber Polishing Cloths Lint-free for streak-free reed polishing without scratches.