
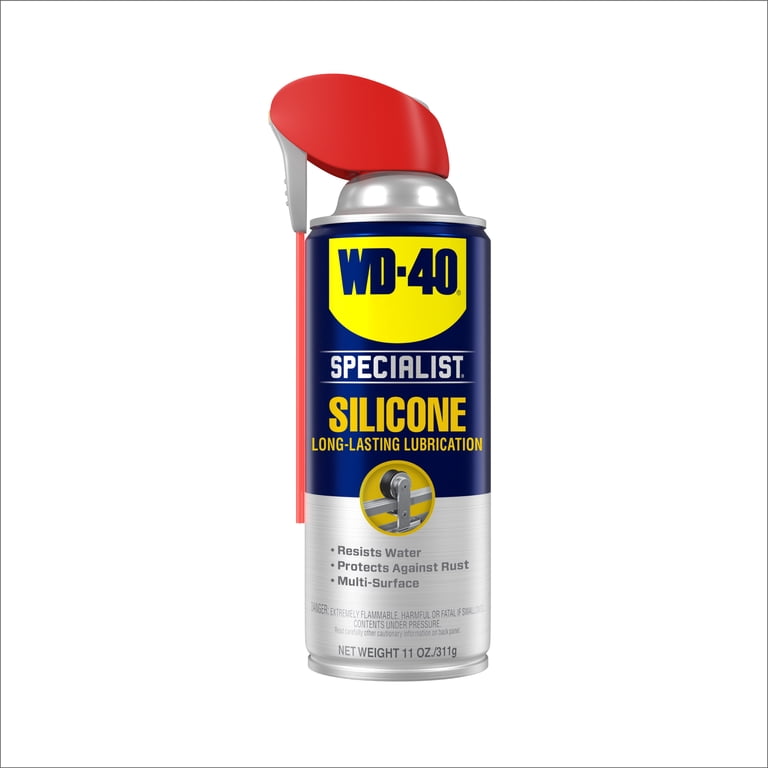
WD-40 Specialist Silicone Lubricant 11 oz
Lubricating folds, grips, and pivots without residue.
$8-12
WD-40 Specialist Silicone Lubricant 11 oz Safe for rubber/plastic, won't attract dirt like oil lubes.
Get the App
Better experience on mobile
Master step-by-step maintenance to extend the life of your electric scooter's tires, brakes, grips, and more for safer rides and fewer repairs.
Electric scooters are fun and convenient, but neglecting accessory parts like tires, brakes, grips, lights, and fenders can lead to safety hazards, breakdowns, or expensive replacements. Dusty roads, rain, and daily wear take a toll—proper maintenance keeps everything running smoothly and your scooter looking new.
In this guide, you'll learn how to inspect, clean, lubricate, and tighten key accessories on most popular e-scooters (like Segway, Xiaomi, or Gotrax models). Expect a thorough routine covering visual checks to test rides. It's intermediate-level, perfect if you're comfortable with basic tools.
Total process takes 45-60 minutes every 1-2 months, depending on usage. Follow these steps to achieve a fully inspected, cleaned, and tuned scooter ready for the streets.
Estimated Time: 45-60 minutes Difficulty: intermediate
Park your scooter on a flat, stable surface away from traffic. Turn it off and remove the battery if possible (consult your manual for models like Ninebot or Hiboy). This prevents accidental starts and ensures safety.
Wipe down the deck and frame with a dry cloth to remove loose dirt. Why? Buildup hides issues like cracks or loose parts. Success looks like a scooter ready for close inspection—no power connected, stable position.
Pro tip: Work in good lighting; use a flashlight for under-deck areas.
💡 Tips:
⚠️ Warnings:
Examine tires for cuts, bulges, or uneven wear; check grips for cracks; scan brakes, fenders, lights, and mirrors for damage or looseness. Tug on handlebars, seats (if equipped), and baskets.
Note any wear—tires should have even tread (at least 1-2mm deep), brakes no glazing. This step identifies issues early, preventing failures. Expect to find minor dirt or loose screws; mark them with tape.
If damage is severe (e.g., cracked frame), stop and consult a pro.
💡 Tips:
⚠️ Warnings:
Mix mild soap in a bucket, dip microfiber cloth, and wipe tires, rims, and spokes. Use a brush for stubborn grime. Rinse with clean water, dry thoroughly.
Why? Debris causes slips and accelerates wear. Success: Tires shine, no embedded rocks, ready for pressure check. Avoid high-pressure washers—they force water into bearings.
💡 Tips:
⚠️ Warnings:
Use gauge to measure pressure (check manual: typically 35-50 PSI). Inflate with a floor pump to spec. Inspect tread and patch small punctures if needed.
Proper pressure ensures smooth rides and even wear. Success: Gauge reads exact PSI, tire feels firm but not rock-hard.
💡 Tips:
Squeeze levers; pads should contact disc/rim firmly without drag. Clean pads with isopropyl alcohol, replace if thinner than 1mm.
Clean calipers too. Why? Worn brakes = danger. Success: Smooth, responsive braking with no squeals.
💡 Tips:
⚠️ Warnings:
Spray silicone lube on folding mechanisms, brake pivots, throttle twist, and chain/belt if present. Wipe excess.
Lube reduces friction, prevents rust. Success: Parts move smoothly without squeaks.
💡 Tips:
⚠️ Warnings:
Use Allen keys to snug bolts on handlebars, stem, fenders (torque 5-8 Nm). Wipe grips/deck with soapy cloth, condition rubber grips with silicone.
Loose parts vibrate loose. Success: No rattles when shaken.
💡 Tips:
Reconnect battery, test lights, horn, display. Take a short test ride: check handling, brakes, stability.
Everything works? You're done! Success: Smooth ride, all functions operational.
⚠️ Warnings:
Problem: Squeaky brakes after cleaning
Solution: Reapply light lube to pivots only; ensure pads are dry.
Problem: Loose handlebars won't tighten
Solution: Check for stripped threads; use lock nut or replace stem.
Problem: Tire won't hold air
Solution: Locate puncture, patch, or replace tube; seek shop for tubeless.
Problem: Lights flicker
Solution: Clean connections; test battery voltage. Replace wiring if needed—pro help.
Safe for rubber/plastic, won't attract dirt like oil lubes.
Best for: Lubricating folds, grips, and pivots without residue.
Price Range: $8-12
pH-neutral, safe for scooter plastics and rubber.
Best for: Cleaning tires, deck, and frame without damage.
Price Range: $10-15
Compact with all needed hex keys and screwdrivers for scooters.
Best for: Tightening bolts during routine maintenance.
Price Range: $30-35
Accurate digital readout for precise PSI.
Best for: Weekly tire checks to prevent wear.
Price Range: $25-30
Quick fix for flats during maintenance.
Best for: Temporary seal for punctures before full repair.
Price Range: $25-35
Lubricating folds, grips, and pivots without residue.
WD-40 Specialist Silicone Lubricant 11 oz Safe for rubber/plastic, won't attract dirt like oil lubes.
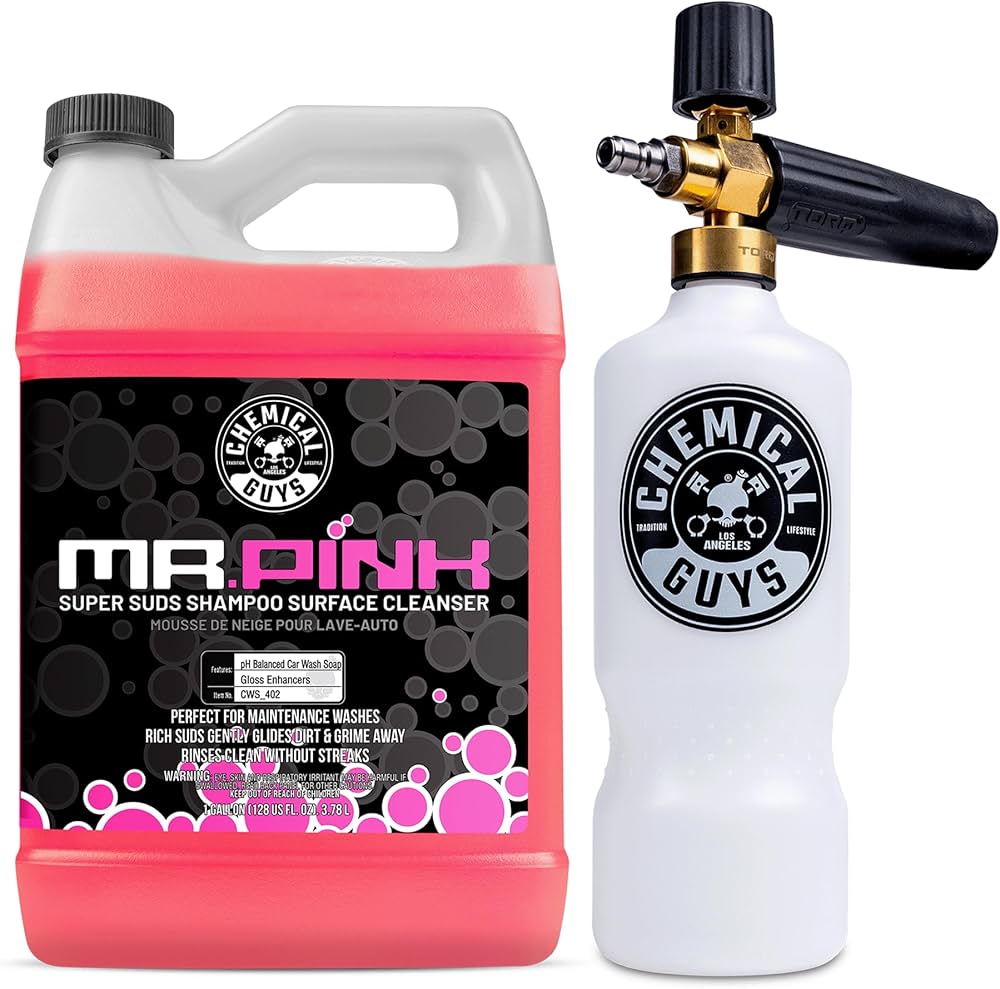
Cleaning tires, deck, and frame without damage.
Chemical Guys Mr. Pink Super Suds Shampoo pH-neutral, safe for scooter plastics and rubber.

Tightening bolts during routine maintenance.
undefined Compact with all needed hex keys and screwdrivers for scooters.

Weekly tire checks to prevent wear.
Topeak SmartGauge D2 Tire Pressure Gauge Accurate digital readout for precise PSI.

Temporary seal for punctures before full repair.
Slime 70005 Emergency Tire Inflator Kit Quick fix for flats during maintenance.