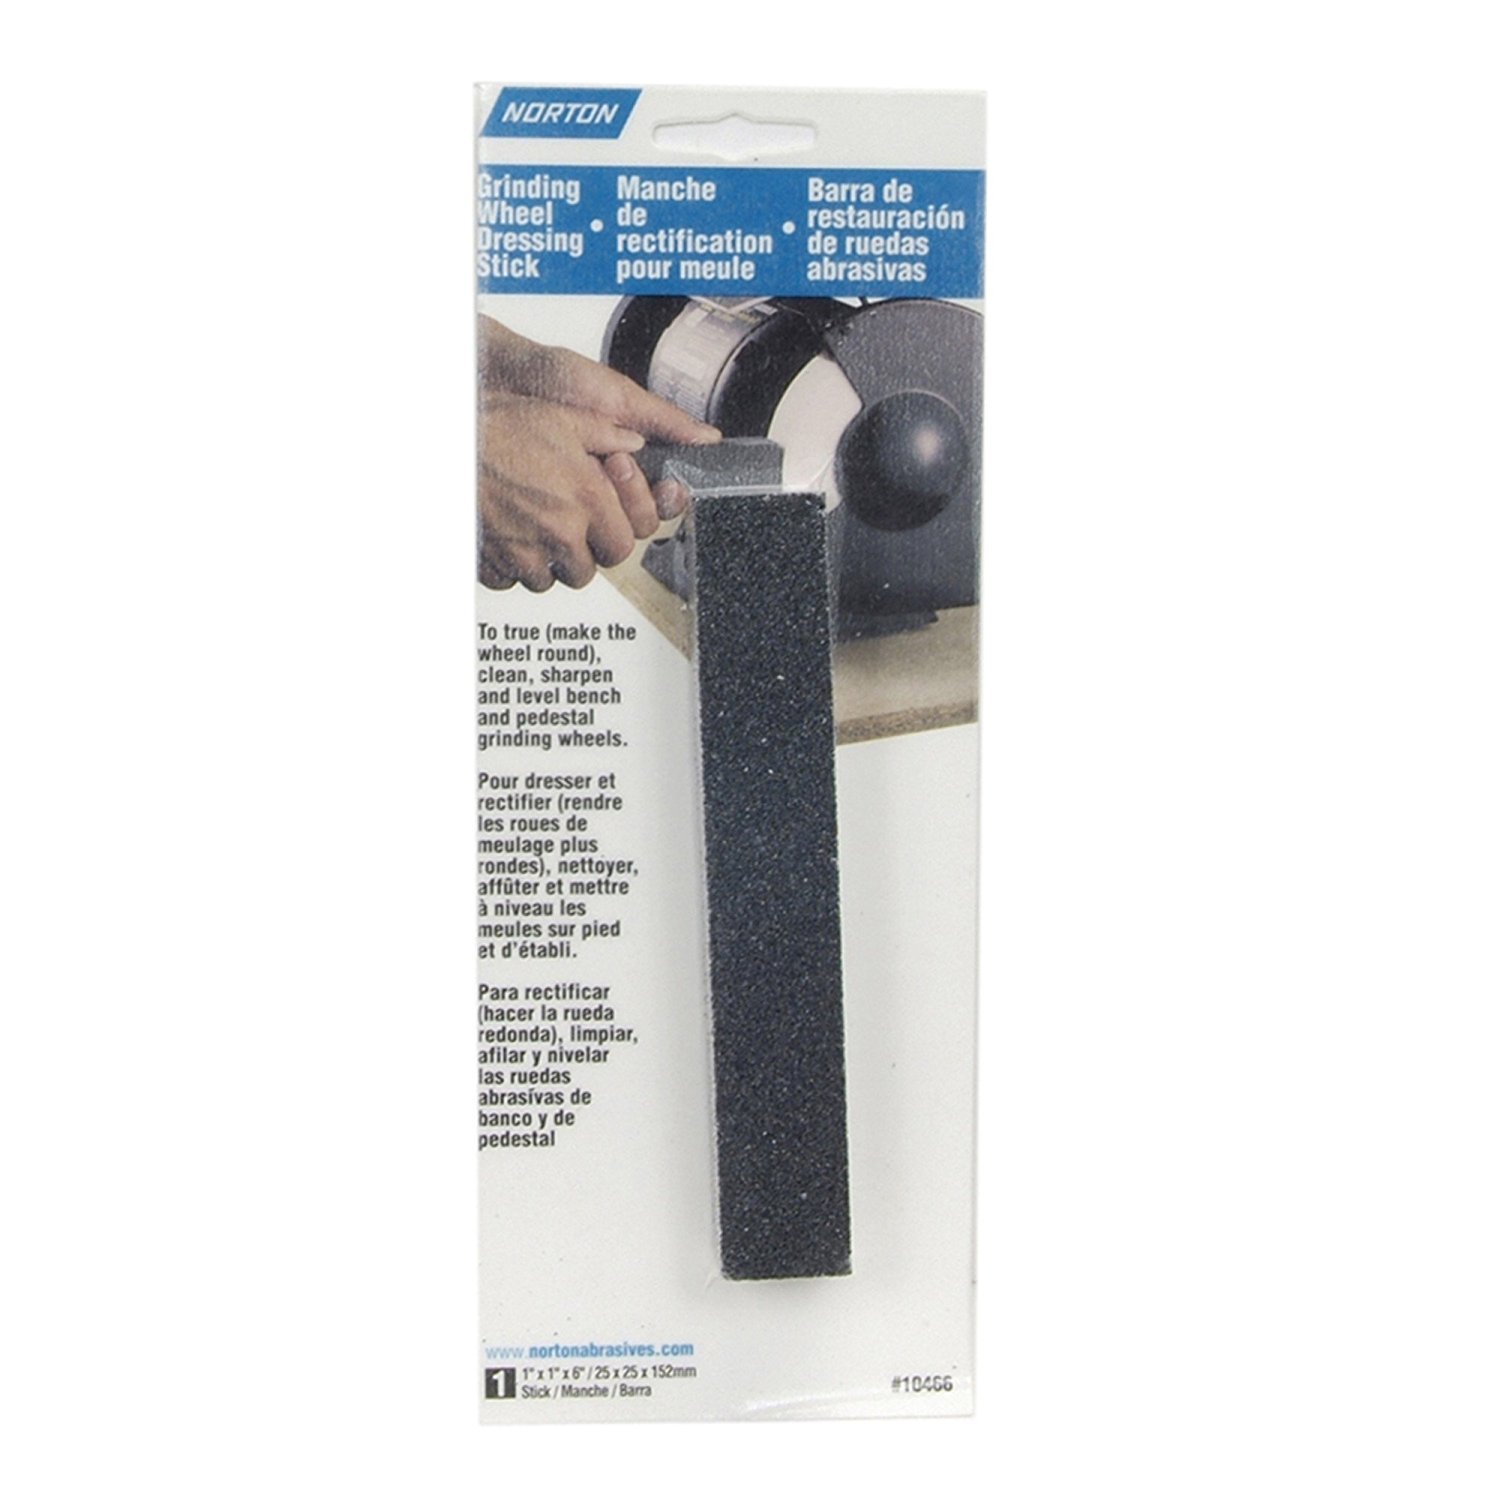
Norton 66261187215 Premium Dressing Stick
Essential for restoring glazed surfaces on aluminum oxide points.
$15-$20
Norton 66261187215 Premium Dressing Stick High-quality silicon carbide for precise, even dressing without excessive removal.
Get the App
Better experience on mobile
Master advanced maintenance techniques to prolong abrasive mounted point life, ensure flawless precision grinding, and avoid costly replacements.
In precision grinding applications like aerospace, toolmaking, or mold repair, abrasive mounted points are your go-to for intricate deburring and shaping. Neglecting maintenance leads to uneven wear, vibration-induced inaccuracies, and premature failure—costing time and money in high-stakes work. Proper upkeep keeps surfaces sharp and balanced for micron-level precision.
This guide teaches advanced users how to inspect, clean, dress, and store mounted points step-by-step. You'll learn pro techniques used in professional shops to extend tool life by 2-3x. Expect a 20-30 minute routine per batch, requiring intermediate mechanical skills and safety awareness.
By the end, your points will perform like new, reducing scrap rates and boosting workflow efficiency.
Estimated Time: 20-30 minutes per 10-20 points Difficulty: advanced
Clear a well-lit, dust-free bench area away from flammables. Don safety glasses and gloves to shield against abrasive particles. Why? Fine grit can embed in skin or eyes, and imbalanced tools cause fly-off hazards.
Organize tools within arm's reach. Remove points from mandrels if mounted, using a puller to avoid shank damage. Expect a tidy setup that prevents cross-contamination.
💡 Tips:
⚠️ Warnings:
Examine each point under bright light for cracks, chips, glazing (shiny dull spots), or uneven wear. Run a gloved finger lightly over the surface—feel for flat spots or loading (metal/clogged pores).
Discard irreparable points immediately. This step catches 80% of failures early, preserving precision. Success: All points graded as 'good,' 'dressable,' or 'discard.'
💡 Tips:
⚠️ Warnings:
Gently brush the abrasive surface with a nylon or brass brush in one direction, following the grit pattern. Rotate the point while brushing to dislodge swarf and embedded particles.
This exposes true wear patterns. Expect visible grit exposure and lighter weight. Why vital? Debris causes loading, leading to heat buildup and shape loss.
💡 Tips:
Hold point firmly and direct 90 PSI air stream at 45° angle across the surface for 10-15 seconds. Work from shank to tip to avoid re-depositing.
Air dries and evicts fine dust. Post-clean, surfaces should gleam with fresh abrasive grains. This step halves dressing time.
💡 Tips:
⚠️ Warnings:
Secure point in vise or holder. Lightly drag diamond dresser across the face in overlapping passes at 5-10° angle, using minimal pressure until sharp grains sparkle.
Dress flanks if profiled. This exposes new cutting edges, restoring geometry. Expect 20-30% material removal; stop when flat and aggressive.
Pro note: Dress at 1/3 RPM of normal speed if testing on mandrel.
💡 Tips:
⚠️ Warnings:
Mount on mandrel, spin in die grinder at 10,000 RPM. Use dial indicator to measure radial/axial runout (<0.001" ideal). Balance by removing high spots with dresser.
Precision demands this—vibration ruins finishes. Success: Smooth, whisper-quiet spin.
💡 Tips:
Wipe shank with microfiber cloth; apply thin oil film if corroding. Place in slotted case, separated by grit.
Store at 50-70°F, low humidity. This prevents oxidation and damage. Ready for next use.
💡 Tips:
⚠️ Warnings:
Mount and grind a test piece at operational speed/RPM. Monitor for vibration, heat, or glazing.
Adjust if needed. Confirms precision readiness.
Problem: Persistent vibration post-maintenance
Solution: Re-check mandrel fit and re-balance; replace if >0.002" runout.
Problem: Glazing after dressing
Solution: Dress deeper or switch to coarser dresser; test softer pressure.
Problem: Shank corrosion
Solution: Clean with isopropyl alcohol, apply anti-seize; store in desiccator.
Problem: Uneven wear pattern
Solution: Verify grinder collet tightness; rotate points in use.
High-quality silicon carbide for precise, even dressing without excessive removal.
Best for: Essential for restoring glazed surfaces on aluminum oxide points.
Price Range: $15-$20
Durable diamond surface trues points quickly for advanced users.
Best for: Ideal for frequent maintenance of carbide or vitrified points.
Price Range: $18-$25
Organized slots prevent damage and contamination between uses.
Best for: Post-maintenance storage for 50+ points, sorted by grit.
Price Range: $12-$18
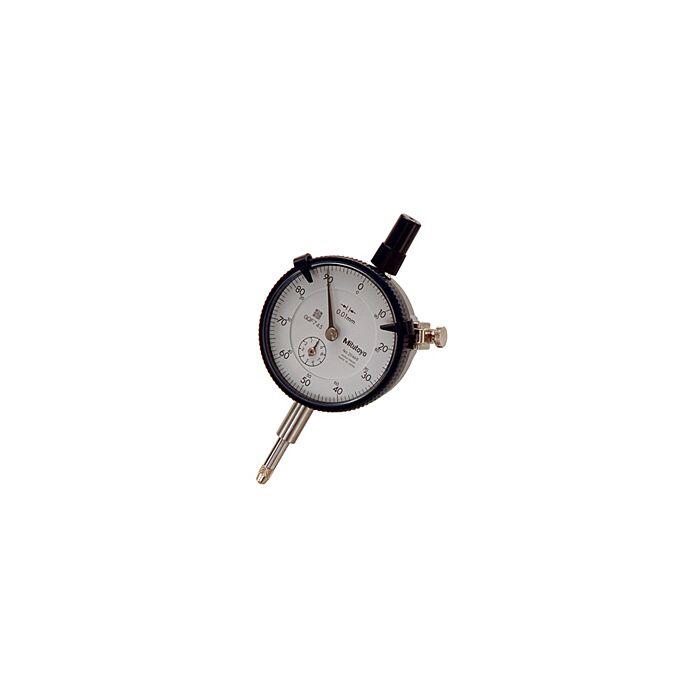
Accurate 0.0005" resolution for pro-level runout checks.
Best for: Balance verification in precision shops.
Price Range: $100-$150
Non-sparking, effective debris removal without scratching shanks.
Best for: Initial cleaning step for all metal-embedded points.
Price Range: $8-$12
Essential for restoring glazed surfaces on aluminum oxide points.
Norton 66261187215 Premium Dressing Stick High-quality silicon carbide for precise, even dressing without excessive removal.
Ideal for frequent maintenance of carbide or vitrified points.
Woodstock D4144 Diamond Dresser Durable diamond surface trues points quickly for advanced users.
Post-maintenance storage for 50+ points, sorted by grit.
S SATC Abrasive Mounted Points Storage Case Organized slots prevent damage and contamination between uses.
Balance verification in precision shops.
Mitutoyo 2110S-10 Dial Indicator Accurate 0.0005" resolution for pro-level runout checks.
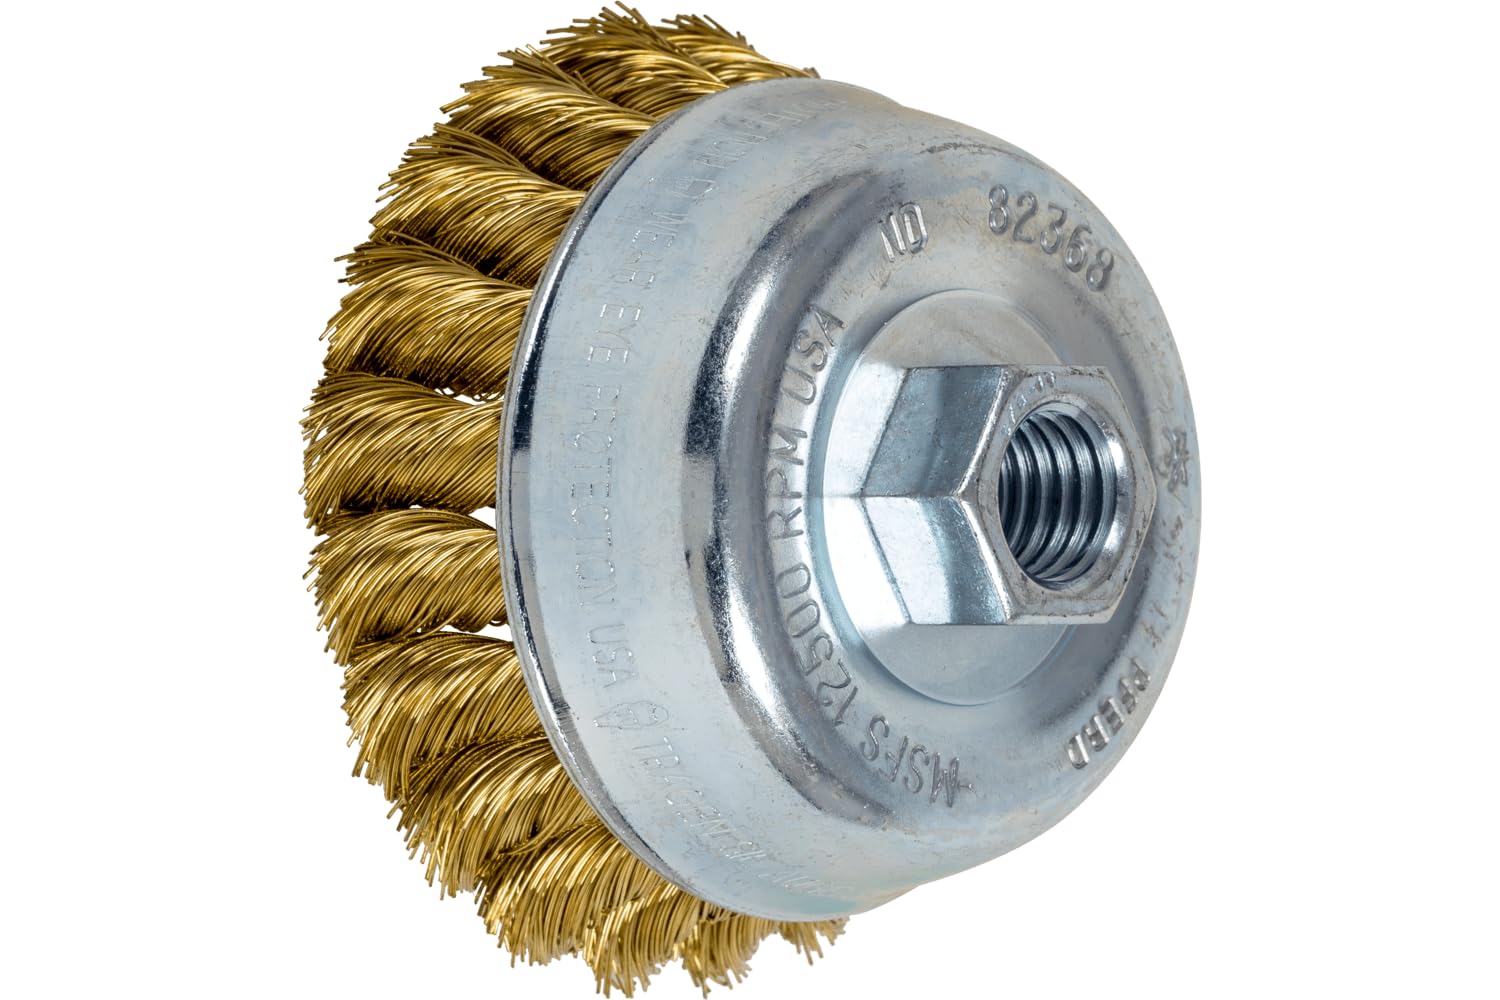
Initial cleaning step for all metal-embedded points.
PFERD 69003110 Brass Wire Brush Non-sparking, effective debris removal without scratching shanks.