▸Why Proper 9V Battery Maintenance is Critical
In medical devices like portable defibrillators, glucose monitors, pulse oximeters, and TENS units, 9V batteries power life-saving functions. A dead or degraded battery can lead to device failure during emergencies, compromising patient safety. Advanced maintenance extends battery life by 20-50%, reduces replacement costs, and complies with regulatory standards like FDA guidelines for medical device reliability.
This guide teaches you precise inspection, testing, cleaning, and storage methods tailored for advanced users. You'll learn to perform load tests, measure internal resistance, and track performance data. Expect 30-45 minutes per session, with intermediate electronics knowledge required.
Follow these steps sequentially for optimal results, using calibrated tools for accuracy.
▸What You'll Need
- •Digital multimeter (with DC voltage and resistance modes, e.g., for load testing)
- •Dedicated 9V battery tester (analog or digital voltmeter style)
- •Isopropyl alcohol (99%) and lint-free cloths for contact cleaning
- •Battery storage case or organizer (anti-corrosion coated)
- •Load resistor (e.g., 50-100 ohm, 5W for simulated draw)
- •Label maker or logbook for tracking
- •Anti-static gloves and safety glasses (required for ESD-sensitive devices)
- •Optional: Battery analyzer for capacity testing (e.g., SkyRC MC3000)
Estimated Time: 30-45 minutes per maintenance cycle
Difficulty: advanced
▸Step-by-Step Instructions
Step 1: Prepare Workspace and Safety Protocols
Set up a clean, static-free workspace with ESD mat if available. Don anti-static gloves and safety glasses. Review the medical device's manual for battery specs (e.g., alkaline vs. lithium chemistry) and removal guidelines.
Why it matters: Medical devices are sensitive to contaminants and static discharge, which can damage electronics or falsify test results. Expect a sterile setup like a lab bench.
Document initial conditions: note device model, battery install date, and usage hours.
💡 Tips:
- •Use a grounded outlet for tools to prevent static buildup.
⚠️ Warnings:
- •Never work near water or in humid environments (>60% RH).
Step 2: Perform Visual Inspection
Remove the 9V battery from the device per manufacturer instructions. Inspect for corrosion (white/green buildup), leaks, dents, or swelling. Check snap connectors for bending or pitting.
Why: Corrosion indicates chemical degradation, reducing capacity by up to 30%. Success: Battery casing intact, terminals shiny. If damaged, dispose as hazardous waste per local regs (e.g., EPA guidelines).
Photograph anomalies for records.
💡 Tips:
- •Use a magnifying loupe for micro-cracks.
⚠️ Warnings:
- •Do not puncture batteries—risk of acid exposure.
Step 3: Clean Contacts and Terminals
Dip a lint-free cloth in 99% isopropyl alcohol and gently wipe battery terminals and device contacts. Avoid soaking; let dry 5 minutes.
Why: Oxide buildup increases resistance, dropping voltage under load. Expect restored conductivity—terminals should gleam.
Test wipe conductivity with multimeter set to continuity mode (beep confirms clean).
💡 Tips:
- •Microfiber cloths prevent scratches.
⚠️ Warnings:
- •No water or vinegar—can promote future corrosion.
Step 4: Conduct Open-Circuit Voltage Test
Set multimeter to DC 20V range. Touch red probe to + terminal, black to -. Fresh 9V should read 9.0-9.6V (alkaline) or 9.2-10.0V (lithium).
Why: Baseline health check. Below 8.0V? Degraded—capacity <50%. Log reading with timestamp.
Advanced: Note no-load vs. rated load spec from datasheet.
💡 Tips:
- •Calibrate multimeter annually for medical precision.
Step 5: Perform Load Test with Resistor
Connect 50-100 ohm load resistor across terminals. Monitor voltage drop after 10 seconds. Drop >0.5V indicates poor performance.
Why: Simulates device draw (e.g., 10-50mA in monitors). Success: Voltage holds >8.2V. Calculate approximate capacity: I = V/R, power loss over time.
Disconnect promptly to avoid deep discharge.
💡 Tips:
- •Use a 9V tester for automated load simulation.
⚠️ Warnings:
- •Overload can damage weak batteries—monitor closely.
Step 6: Measure Internal Resistance (Advanced)
Use multimeter's mΩ mode or dedicated tester. Compare to datasheet (<500mΩ fresh). High resistance (>1kΩ) signals end-of-life.
Why: Predicts real-world performance in high-drain medical apps. Log for trend analysis.
Reinsert if passed, or segregate for replacement.
💡 Tips:
- •Clean probes for accurate mΩ reads.
Step 7: Store and Label Properly
Place in anti-corrosion case at 59-77°F (15-25°C), <50% humidity. Label with test date, voltage, and expiry (typically 5-10 years from mfg).
Why: Proper storage prevents self-discharge (1-2%/month). Rotate stock FIFO.
Update device logbook or app.
💡 Tips:
- •Silica packs absorb moisture in storage.
⚠️ Warnings:
- •Avoid refrigerators—condensation risk.
Step 8: Schedule and Document Maintenance
Log all data in spreadsheet: voltage trends, usage cycles. Set calendar reminders quarterly or per device specs.
Why: Enables predictive replacement, ensuring 99.9% uptime. Review for patterns (e.g., high-drain devices need lithium).
💡 Tips:
- •Use apps like Battery Logger for automation.
▸Pro Tips
- •Prioritize lithium 9V for medical use—3x longer life, leak-proof.
- •Test under actual device load if possible for true simulation.
- •Batch-test multiple batteries to spot lot issues.
- •Track mAh capacity decline; replace at 80% original.
- •Use rechargeable NiMH only if device supports—verify polarity.
- •Store vertically to minimize terminal stress.
- •Annual full discharge/recharge cycle for rechargeables.
▸Common Mistakes to Avoid
- •Mixing battery chemistries—causes uneven discharge and leaks; always segregate.
- •Ignoring load testing—open voltage lies; always simulate draw.
- •Storing in extreme temps—accelerates degradation 2x; stick to 15-25°C.
- •Skipping logs—loses trend data for predictive maintenance.
- •Using uncalibrated tools—inaccurate reads lead to premature replacement.
▸Troubleshooting
Problem: Voltage drops rapidly under load
Solution: Battery sulfated; replace immediately. Clean device contacts and retest new one.
Problem: Corrosion despite cleaning
Solution: Source issue—use dielectric grease on terminals post-clean. Check humidity.
Problem: Inconsistent multimeter readings
Solution: Calibrate tool or check probe connections. Use fresh batteries as reference.
Problem: Device won't power despite good battery
Solution: Inspect internal fuses or switch. Seek biomedical tech if persistent.
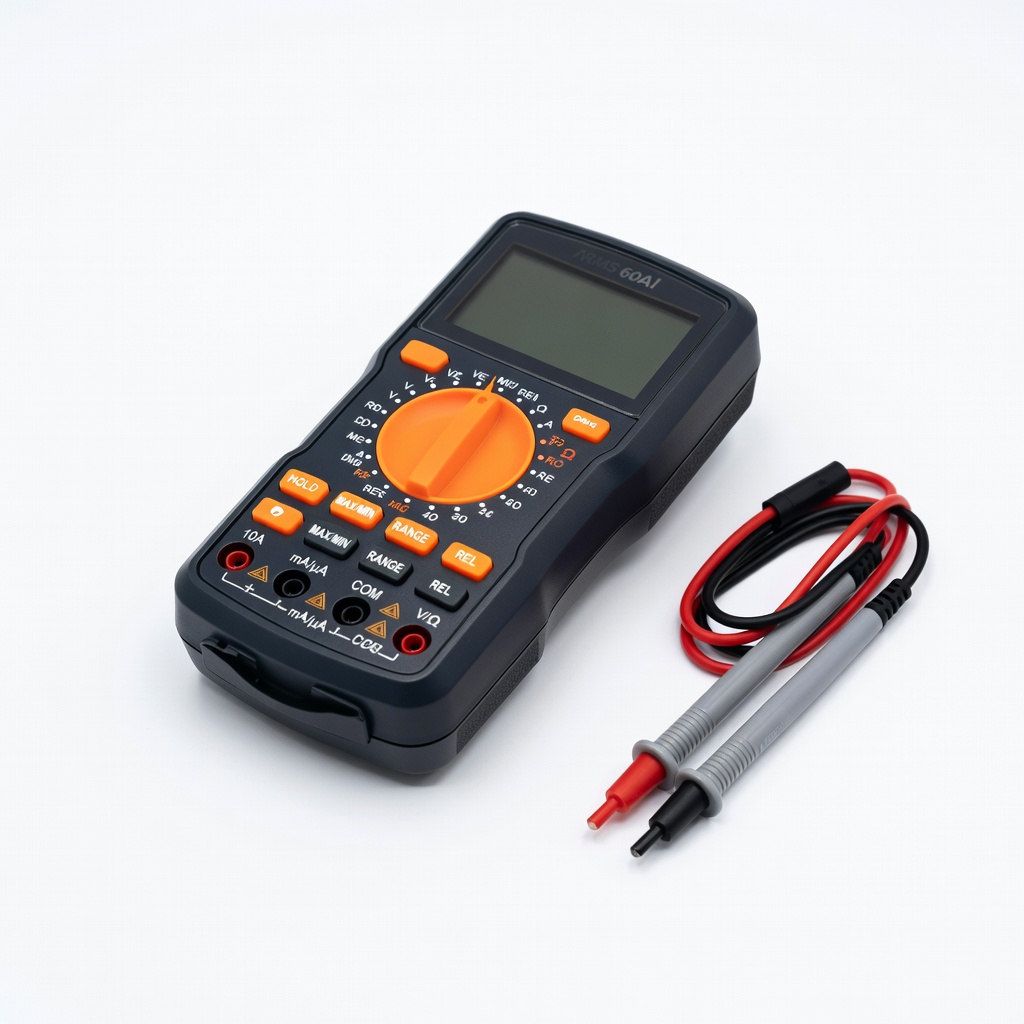
AstroAI Digital Multimeter TRMS 6000 Counts
Precise DC voltage, resistance, and continuity for advanced testing; auto-ranging simplifies load tests.
Best for: Core tool for voltage and internal resistance measurements in medical battery checks.
Price Range: $12.99-$15.99
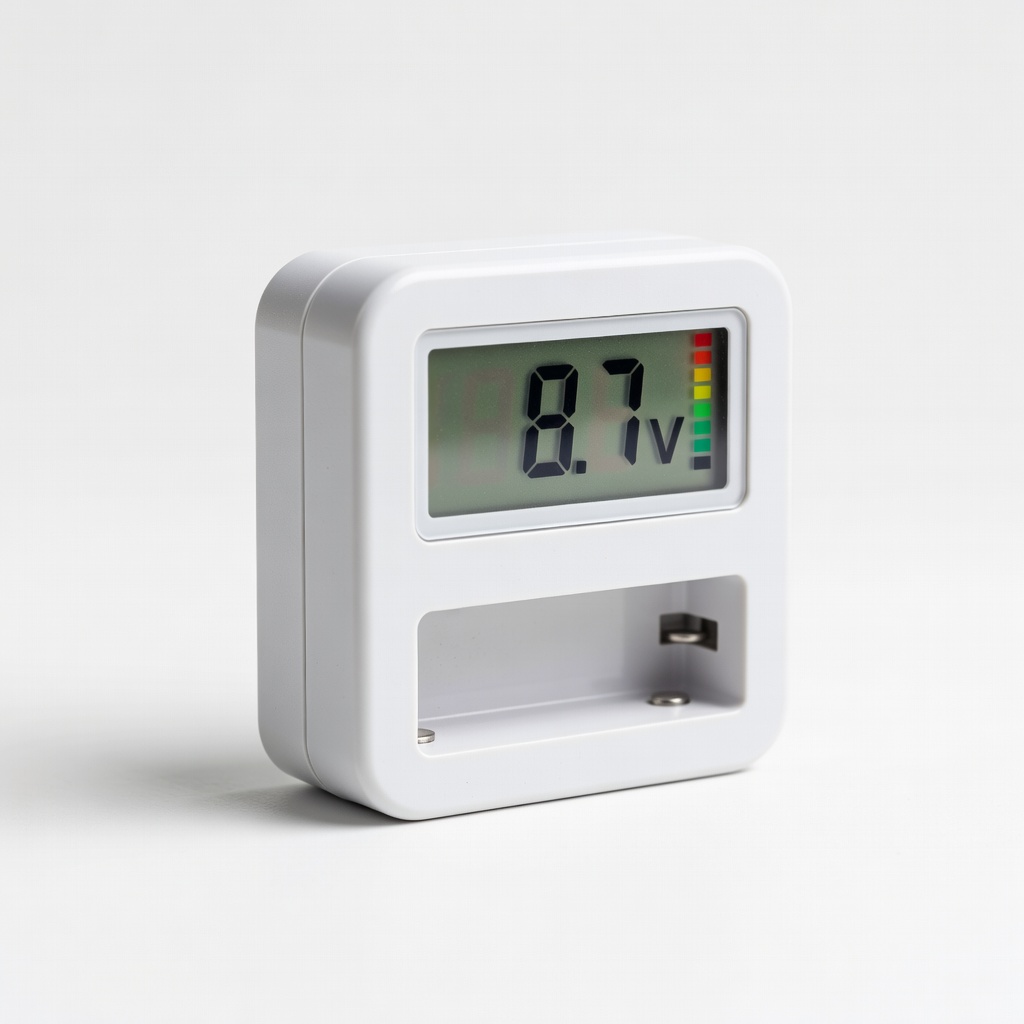
9V Battery Tester Digital Voltmeter
Dedicated load tester with LED indicators for quick health assessment; no batteries needed.
Best for: Field-testing multiple 9V batteries in medical kits without multimeter setup.
Price Range: $9.99-$12.99
Porta-Pack 9V Battery Organizer Storage Case
Holds 10+ 9V batteries with individual slots; corrosion-resistant for safe storage.
Best for: Organizing spare batteries for medical device fleets post-maintenance.
Price Range: $8.99-$11.99
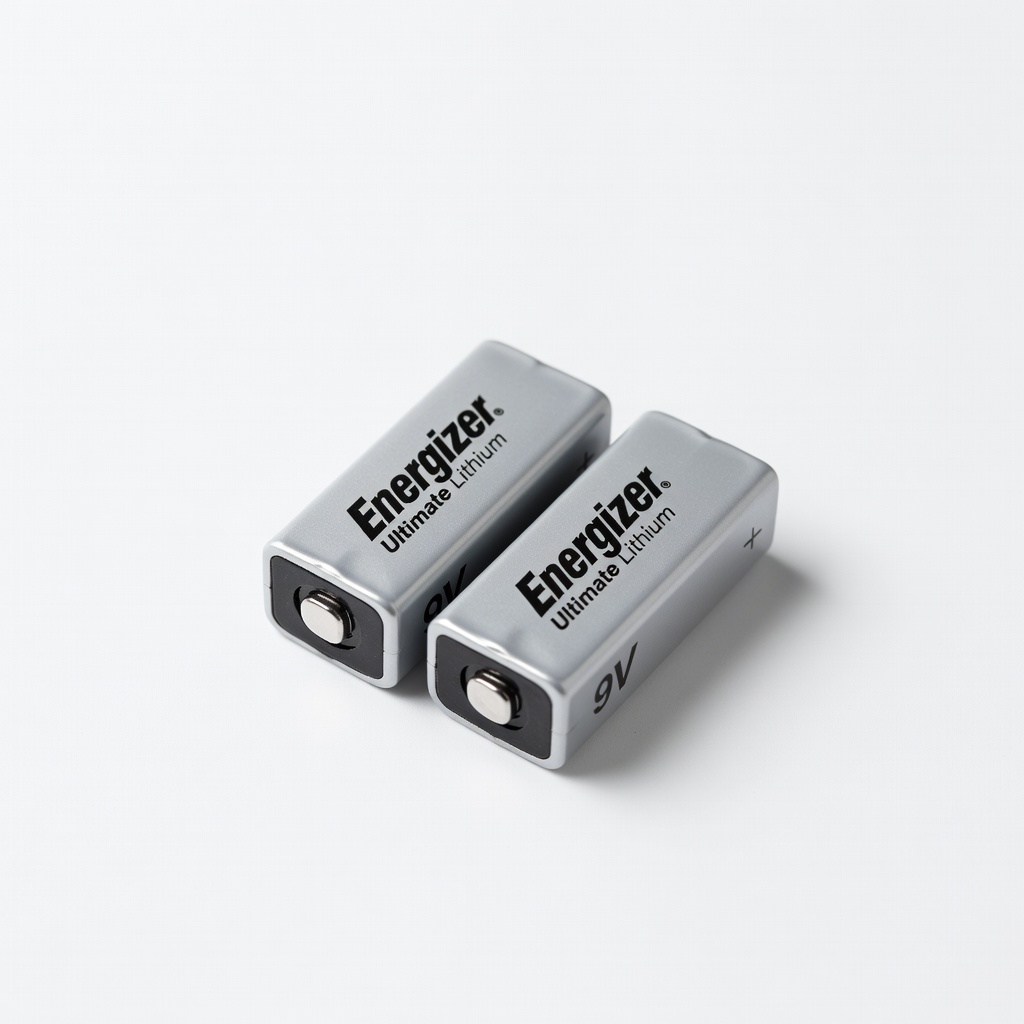
Energizer Ultimate Lithium 9V Batteries (2-Pack)
Longest-lasting for medical devices; leak-proof, -40°F to 140°F range.
Best for: Replacement stock for high-reliability needs like AED backups.
Price Range: $12.99-$15.99
MG Chemicals 99.9% Isopropyl Alcohol
Pure solvent for residue-free cleaning; electronics-grade to avoid damage.
Best for: Routine terminal/contact cleaning without leaving films.
Price Range: $14.99-$19.99