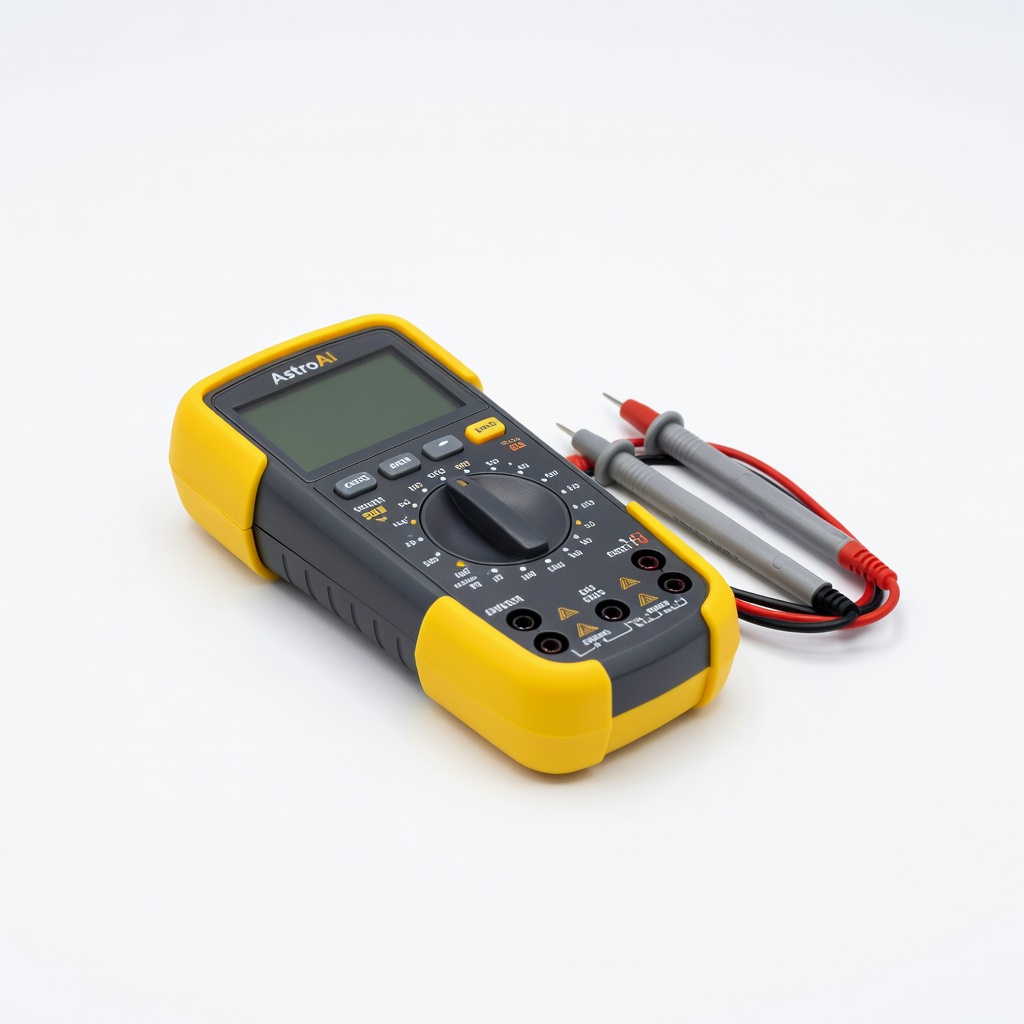
AstroAI Digital Multimeter
Essential for Step 4 voltage checks in all maintenance sessions.
$12.99-$15.99
AstroAI Digital Multimeter Accurate DC voltage testing for 3V batteries with auto-ranging for ease.
Get the App
Better experience on mobile
Master step-by-step maintenance to extend battery life, ensure device reliability, and avoid failures in critical health tools like glucose meters.
Reliable medical devices can mean the difference between accurate readings and health risks—yet many fail due to neglected 3V coin cell batteries like CR2032. These lithium batteries power essentials like thermometers, blood pressure monitors, and hearing aids, but improper storage or dirt buildup shortens their life dramatically.
In this guide, you'll learn proven techniques to inspect, clean, test, and store 3V batteries safely. Expect a straightforward process taking 20-30 minutes per session, suitable for intermediate users with basic electronics familiarity. Follow these steps to keep your devices ready when you need them most.
We'll cover everything from visual checks to voltage testing, with tips to prevent common pitfalls like corrosion damage.
Estimated Time: 20-30 minutes per maintenance session Difficulty: intermediate
Start by powering off the medical device and removing the battery compartment cover. Note the battery markings (e.g., CR2032, DL2032) and size. Common 3V types in medical devices include CR2032 (20mm diameter) for glucose meters and thermometers, or BR2330 for larger aids.
Why it matters: Different batteries have varying capacities (e.g., 220mAh for CR2032), affecting maintenance needs. Success looks like confirming the exact model via label or manual—no guessing.
Take a photo for records.
💡 Tips:
⚠️ Warnings:
Examine the battery for swelling, leaks, dents, or discoloration. Check device terminals for corrosion, dirt, or residue—green/white buildup is common.
Why it matters: Faulty batteries can leak lithium compounds, damaging devices or posing health risks in medical use. Expect a clean, shiny battery and gold-toned contacts if healthy.
Wipe gently with a dry cloth first.
💡 Tips:
⚠️ Warnings:
Dampen a cotton swab with isopropyl alcohol (avoid soaking). Gently clean terminals and battery flats in circular motions. Let dry fully (5-10 minutes) in open air.
Why it matters: Residue causes poor connections, mimicking dead batteries. Success: Sparkling clean surfaces with no residue.
Do not use water or abrasives.
💡 Tips:
⚠️ Warnings:
Set multimeter to DC 20V. Touch red probe to + (flat side), black to -. Reading should be 2.9-3.2V for new; below 2.7V means replace.
Why it matters: Voltage drop under load indicates failure, even if it 'works.' Expect steady reading without fluctuation.
Reinsert and test device function.
💡 Tips:
⚠️ Warnings:
Insert battery (+ side up usually), secure cover. Power on and run full cycles (e.g., 5 readings on thermometer).
Why it matters: Confirms maintenance success. Success: Smooth operation, accurate results matching known values.
Note any errors.
💡 Tips:
⚠️ Warnings:
Place spares in a cool (below 20°C/68°F), dry container separated by plastic dividers. Label with install date.
Why it matters: Heat/humidity halves shelf life (5-10 years normally). Expect no self-discharge issues.
Avoid metal surfaces.
💡 Tips:
⚠️ Warnings:
Replace at 2.8V or 6-12 months use. Log sessions monthly for high-use devices.
Why it matters: Proactive swaps prevent failures. Success: Calendar reminders set.
Dispose used ones per local e-waste rules.
💡 Tips:
⚠️ Warnings:
Problem: Device powers on but readings inaccurate
Solution: Reclean contacts deeply; test voltage under load. Replace if <2.8V.
Problem: Battery voltage drops quickly after install
Solution: Check for internal device short; clean thoroughly or consult manual.
Problem: Corrosion persists after cleaning
Solution: Use vinegar soak (diluted) for 5 min, then alcohol rinse. Seek pro if severe.
Problem: No voltage reading on multimeter
Solution: Verify batteries in multimeter; check probe connections. Replace tester if faulty.
Accurate DC voltage testing for 3V batteries with auto-ranging for ease.
Best for: Essential for Step 4 voltage checks in all maintenance sessions.
Price Range: $12.99-$15.99
High-capacity, long-shelf-life replacements trusted in medical devices.
Best for: Stock spares and immediate swaps when voltage <2.8V.
Price Range: $5.99-$7.99
Compartmented plastic storage prevents shorts and organizes multiples.
Best for: Ideal for Step 6 long-term storage of spares.
Price Range: $14.99-$19.99
Fast-drying, no-residue formula safe for medical device plastics.
Best for: Enhance Step 3 cleaning for stubborn corrosion.
Price Range: $12.99-$16.99
Simple analog tester for quick 3V checks without multimeter skills.
Best for: Portable option for on-the-go medical device maintenance.
Price Range: $9.99-$12.99
Essential for Step 4 voltage checks in all maintenance sessions.
AstroAI Digital Multimeter Accurate DC voltage testing for 3V batteries with auto-ranging for ease.

Stock spares and immediate swaps when voltage <2.8V.
Energizer CR2032 Lithium Coin Batteries (4-Pack) High-capacity, long-shelf-life replacements trusted in medical devices.

Ideal for Step 6 long-term storage of spares.
Portapow 152 Premium Battery Organizer Compartmented plastic storage prevents shorts and organizes multiples.
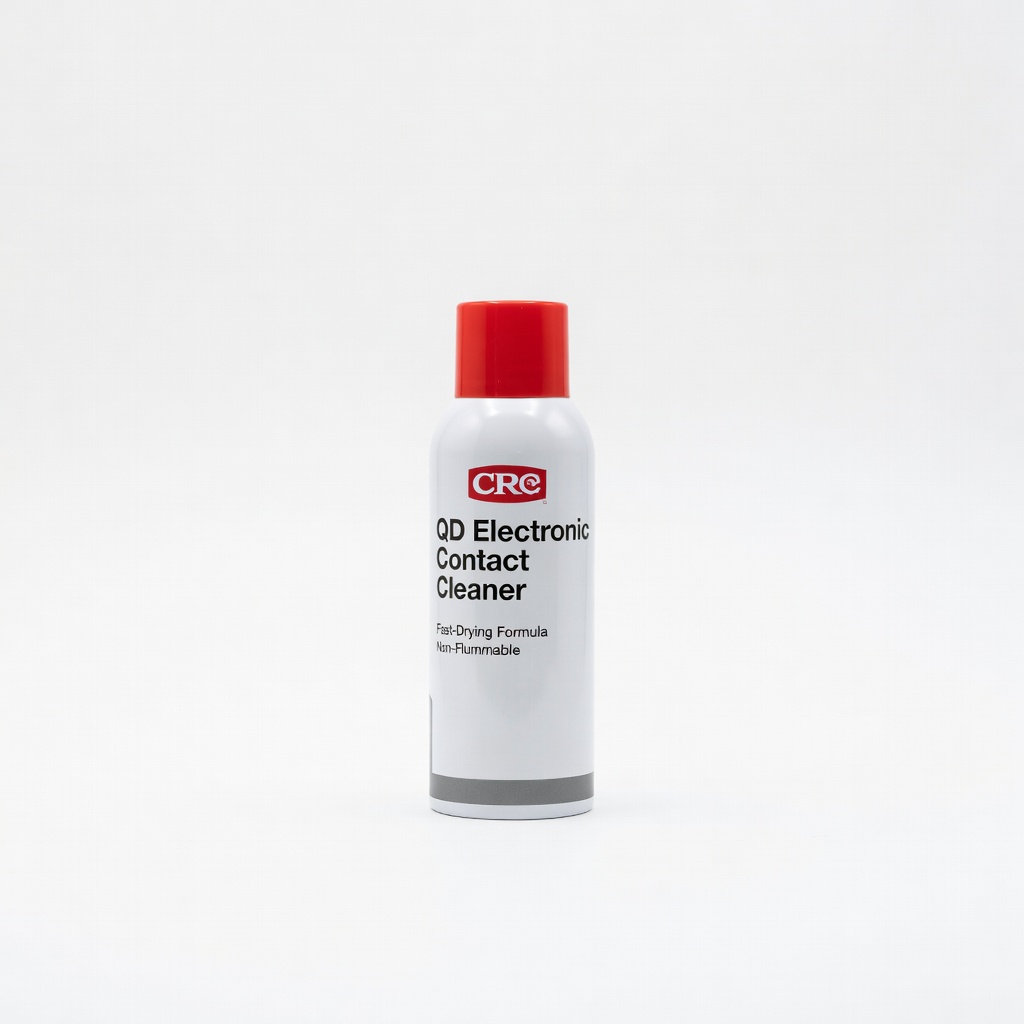
Enhance Step 3 cleaning for stubborn corrosion.
CRC QD Electronic Contact Cleaner Fast-drying, no-residue formula safe for medical device plastics.
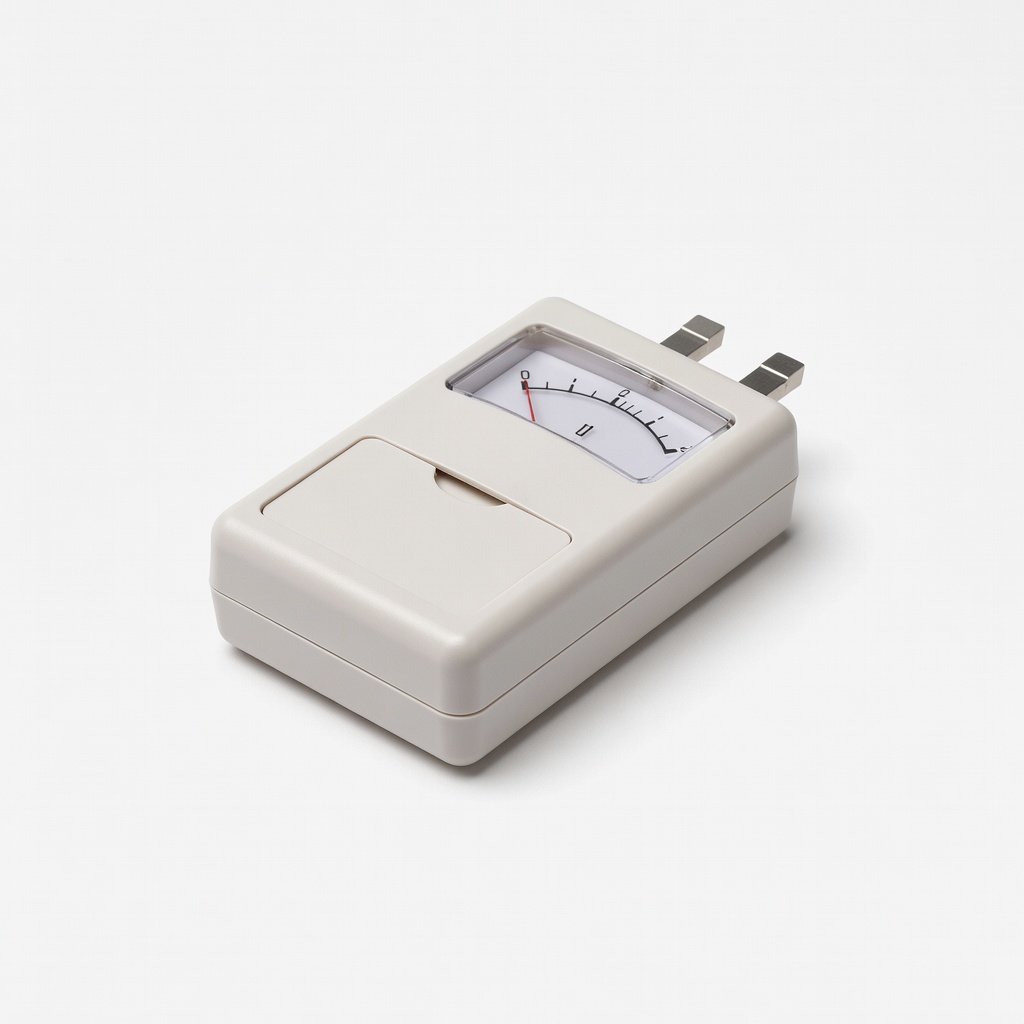
Portable option for on-the-go medical device maintenance.
Elenco Battery Tester (SN-3A) Simple analog tester for quick 3V checks without multimeter skills.