Vintage 3DO accessories like controllers, trackballs, light guns, and flightsticks are rare treasures, but dust, grime, sticky buttons, and oxidized contacts can render them unplayable. Without proper maintenance, these 30+ year-old items degrade quickly, costing you hundreds in replacements or repairs. This guide equips advanced retro enthusiasts with pro-level strategies to extend their life.
You'll learn a complete step-by-step process covering disassembly, deep cleaning, lubrication, and storage—tailored for 3DO's unique plastic housings, membrane buttons, and optical sensors. Expect 1-2 hours per accessory, depending on condition. No prior experience opening vintage hardware required, but precision and patience are key for success.
By the end, your accessories will feel new, function flawlessly, and retain collectible value. Let's preserve 3DO history.
▸What You'll Need
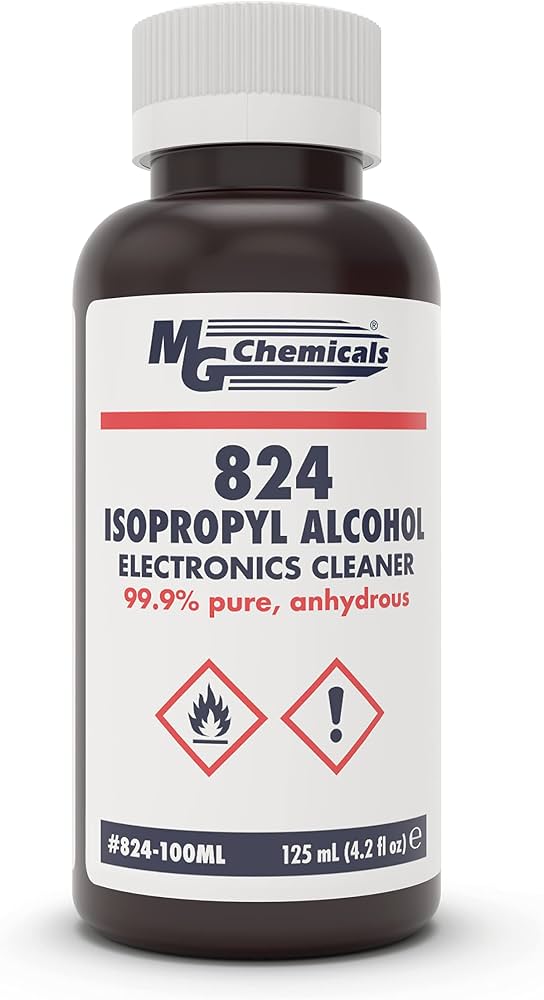
- •99% Isopropyl Alcohol (IPA) - required for cleaning plastics and electronics
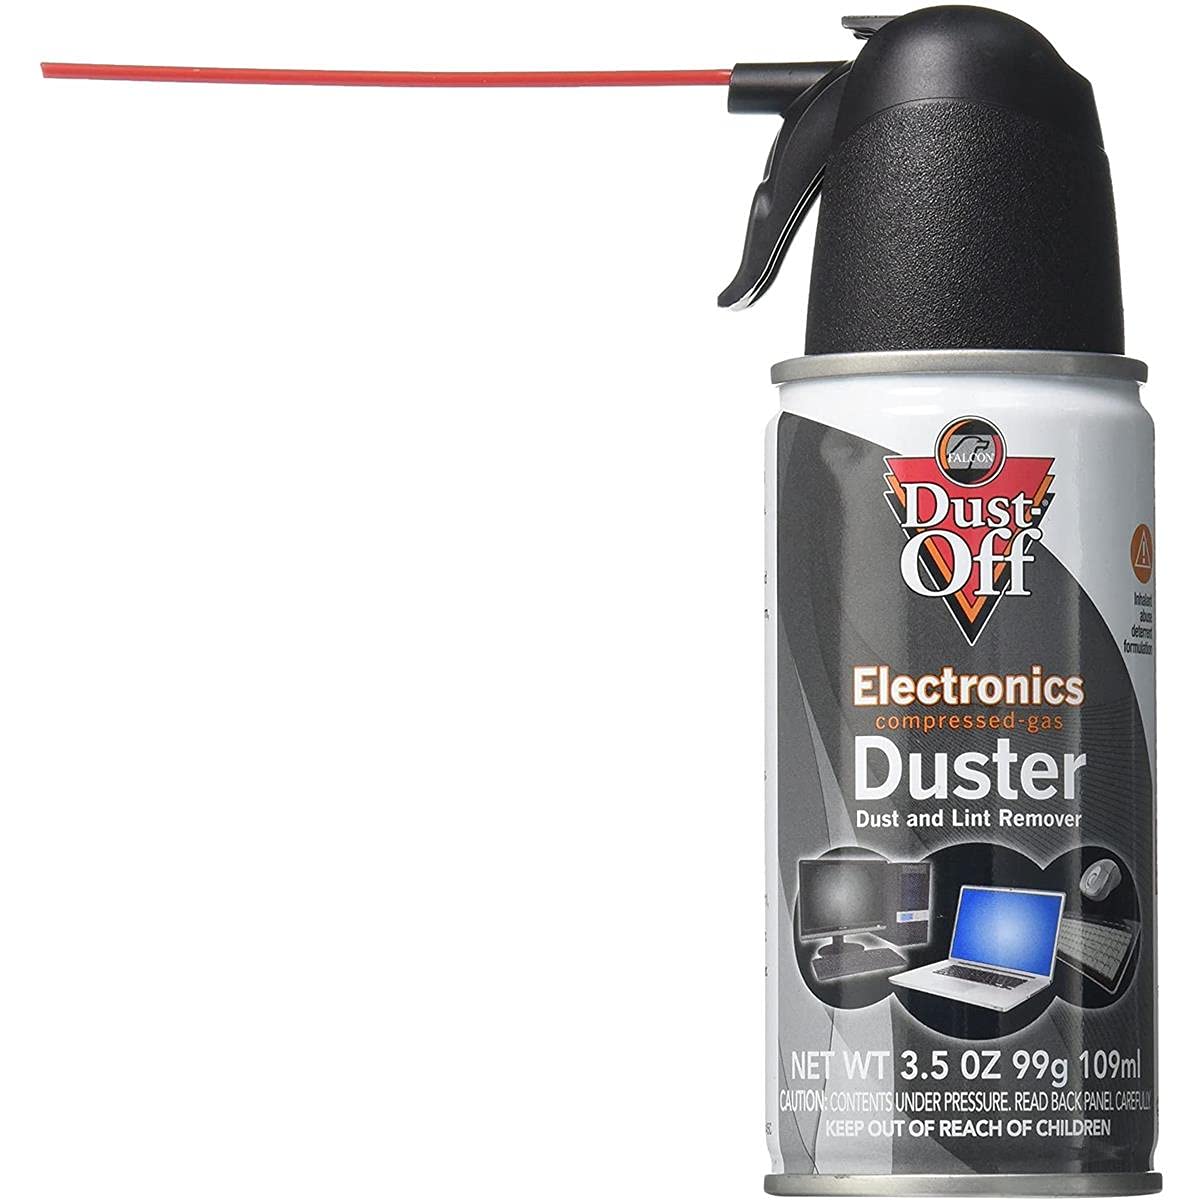
- •Compressed air canister - for dust removal
- •Microfiber cloths (lint-free)
- •Cotton swabs and soft-bristle brush
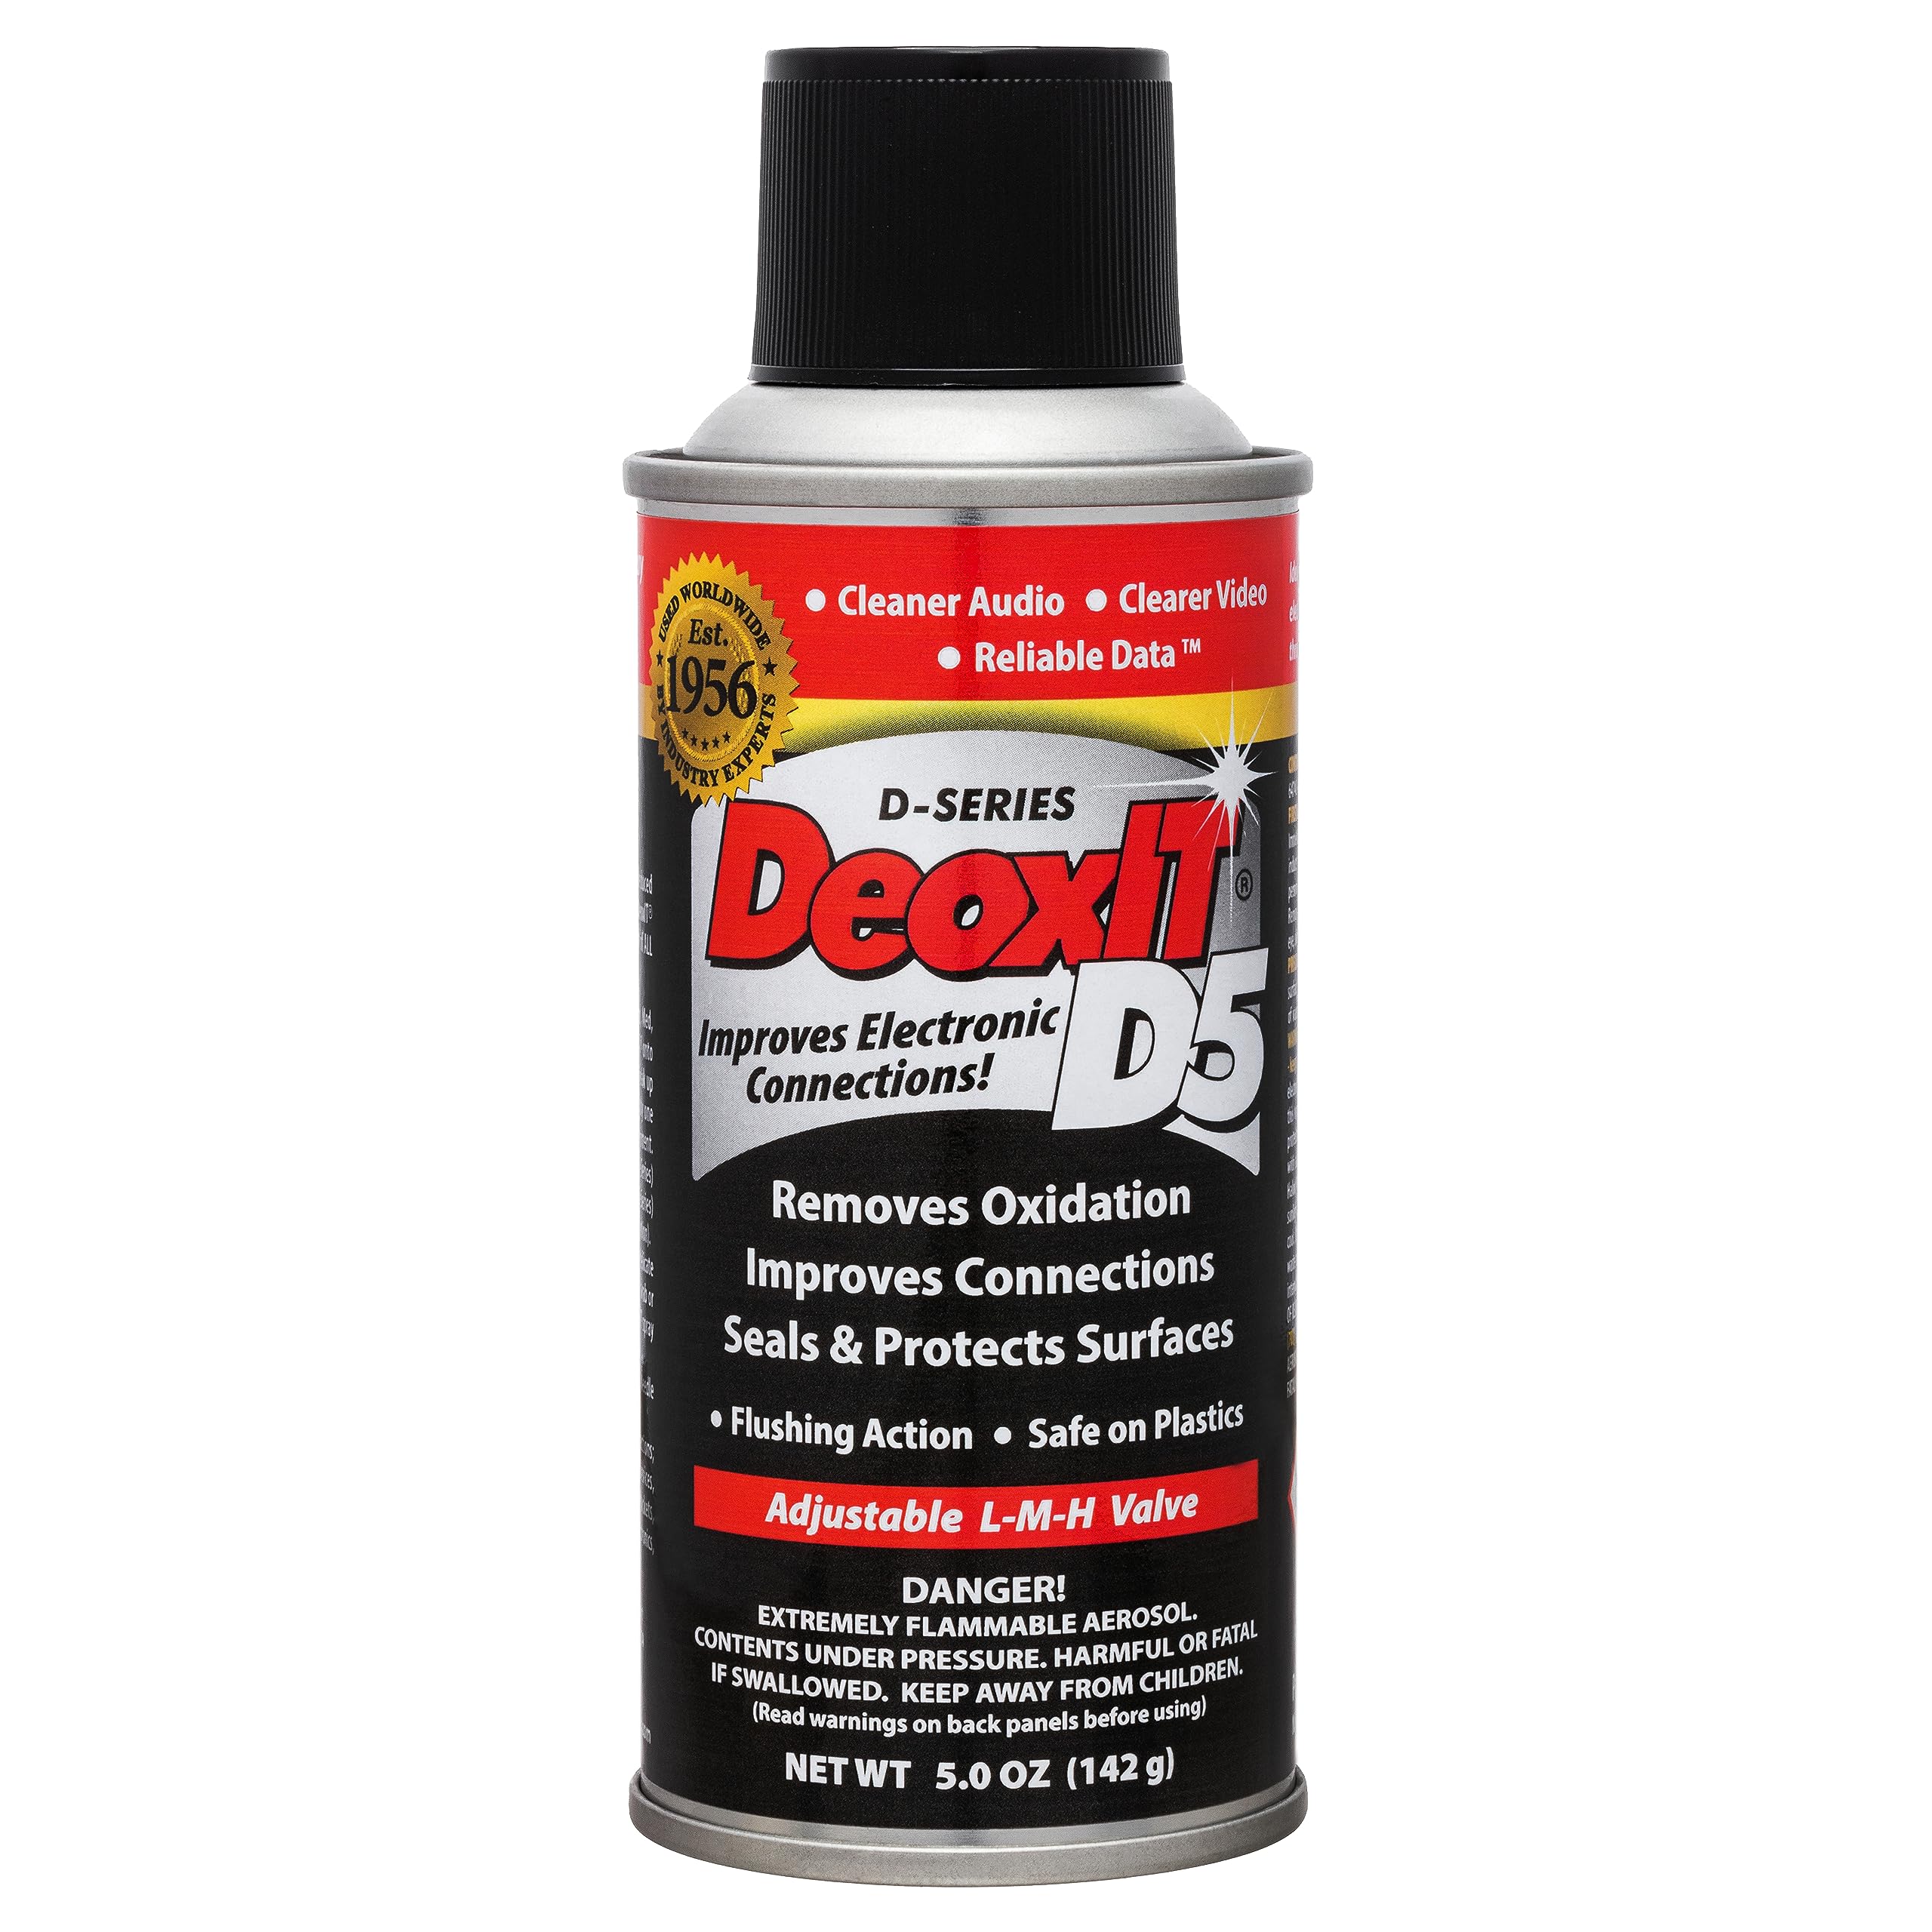
- •DeoxIT D5 Contact Cleaner - for pins and connectors
- •Plastic-safe lubricant (e.g., silicone grease) - optional for trackballs
- •Precision screwdriver set (Phillips #00, Torx T6 if applicable)
- •Anti-static mat and wrist strap - optional but recommended for advanced users
- •Distilled water - for rinsing
Estimated Time: 1-2 hours per accessory (plus drying time)
Difficulty: advanced
▸Step-by-Step Instructions
Step 1: Prepare Your Workspace and Gather Tools
Set up a clean, well-lit, static-free workspace on an anti-static mat. Lay out all tools and wear an anti-static wrist strap to prevent ESD damage to sensitive 3DO electronics. Document your accessory's condition with photos before starting—this aids reassembly and tracks progress.
Why it matters: 3DO accessories from 1993-1996 use fragile PCBs and membranes prone to static. Expect a organized setup that takes 5-10 minutes, ensuring no lost screws or parts.
💡 Tips:
- •Label baggies for screws by disassembly order.
- •Work in a low-humidity room to speed drying.
⚠️ Warnings:
- •Avoid carpeted floors to minimize static.
Step 2: Power Off and Disassemble the Accessory
Unplug any cables and remove batteries from controllers. Use precision screwdrivers to carefully open the housing—3DO controllers typically have 6-8 Phillips screws on the back. Gently pry apart with plastic spudgers, avoiding metal tools that scratch plastics.
Success looks like: Exposed internals without cracked shells or bent pins. Note ribbon cable connections; 3DO trackball controllers have a multi-pin header.
💡 Tips:
- •Refer to online teardowns for your model (e.g., GoldStar controller).
⚠️ Warnings:
- •Don't force glued sections—heat gently with a hairdryer if needed.
Step 3: Remove Dust and Loose Debris
Use compressed air in short bursts to blow out dust from vents, buttons, and PCB crevices. Hold components vertically to let debris fall out. Follow with a soft brush for stubborn particles.
This prevents short circuits and sticky mechanisms. Expect clouds of 30-year dust—your accessory will look cleaner immediately.
💡 Tips:
- •Shake components upside down between air blasts.
Step 4: Clean Exterior Plastics and Buttons
Dampen microfiber cloth with 99% IPA and wipe housings, buttons, and D-pads. For membrane buttons, remove rubber domes, clean with IPA-soaked swabs, and let dry fully (30 mins).
Why: Yellowing plastics and grime cause input failures. Buttons should press smoothly post-clean—no residue or stickiness.
💡 Tips:
- •Test IPA on hidden spot first—safe for ABS plastics.
⚠️ Warnings:
- •Never soak electronics; use minimal liquid.
Step 5: Deep Clean Trackball and Analog Sticks
Remove trackball (twist counterclockwise), clean bearings with IPA, and relubricate sparingly with silicone grease. For light guns, clean lens and sensor with swab.
Success: Smooth rolling without grinding. 3DO trackballs grind from dried lube—restoration feels transformative.
💡 Tips:
- •Rotate trackball while cleaning for full coverage.
Step 6: Treat Contacts and Connectors
Apply DeoxIT D5 to controller pins, PCB edge connectors, and AV ports via swab. Work it in with a cloth, then wipe excess. Let sit 5 minutes before drying.
Restores conductivity on oxidized gold-plated contacts. Pins should shine and connect firmly.
⚠️ Warnings:
- •Too much DeoxIT attracts dust—less is more.
Step 7: Reassemble and Test Functionality
Reassemble in reverse order, ensuring no pinched cables. Connect to 3DO console, power on, and test all buttons, trackball, and sensors in a game like Road Rash.
Full functionality confirms success—no lag or dead inputs.
💡 Tips:
- •Test incrementally before full reassembly.
Step 8: Store Properly for Long-Term Preservation
Store in acid-free bags or cases away from sunlight, humidity >50%, and temperatures >75°F. Use silica packs for moisture control.
Prevents further degradation. Accessories stay pristine for years.
💡 Tips:
- •Inventory label with maintenance date.
▸Pro Tips
- •Perform maintenance every 6-12 months for heavily used items.
- •Use a UV-protectant spray on plastics post-clean for anti-yellowing.
- •Document with video for community sharing on retro forums.
- •Batch process multiple accessories to save time.
- •For light guns, calibrate after cleaning using game menus.
- •Invest in a Parts Organizer for screws—saves frustration.
- •Dry all parts 24 hours before testing to avoid shorts.
▸Common Mistakes to Avoid
- •Using WD-40 on plastics—causes cracking; stick to IPA/silicone.
- •Rushing reassembly—leads to misaligned buttons; double-check photos.
- •Ignoring static protection—fries PCBs instantly.
- •Over-lubricating trackballs—gums up mechanisms.
- •Storing in direct sunlight—fades labels and brittles plastic.
▸Troubleshooting
Problem: Buttons still sticky after cleaning
Solution: Remove domes fully, soak in IPA bath 10 mins, scrub gently. Repeat if needed.
Problem: Trackball doesn't register
Solution: Check optical sensor for dust; clean with IPA and verify bearings are seated.
Problem: Poor console connection
Solution: Reapply DeoxIT to pins; clean console port too. Test cable continuity.
Problem: Plastic cracks during disassembly
Solution: Apply heat (hairdryer low) before prying. Use superglue + baking soda for repairs.
MG Chemicals 99% Isopropyl Alcohol (ASIN: B08D3MP9P6)
Purest solvent for safe cleaning of plastics and electronics without residue.
Best for: Deep cleaning buttons, trackballs, and PCBs during steps 4-5.
Price Range: $15-$20
DeoxIT D5 Contact Cleaner (ASIN: B00006682C)
Gold-standard for restoring oxidized pins on vintage connectors.
Best for: Treating controller and light gun contacts in step 6.
Price Range: $20-$25
Falcon Dust-Off Compressed Air (ASIN: B00YGZI3ZS)
Powerful, non-flammable air for precise dust removal without residue.
Best for: Initial debris clearance in step 3.
Price Range: $10-$15
AmazonBasics Microfiber Cleaning Cloths (ASIN: B07D3Q1Q2Z)
Lint-free and highly absorbent for streak-free polishing.
Best for: Exterior wipes and drying throughout steps 3-7.
Price Range: $8-$12
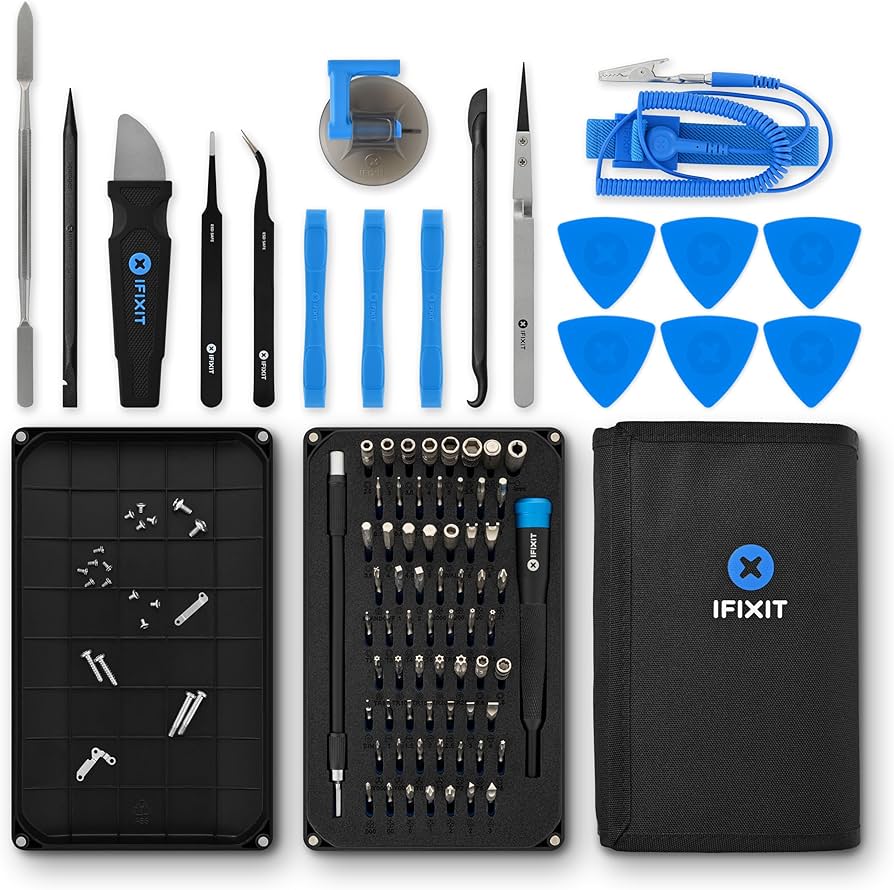
iFixit Pro Tech Toolkit (ASIN: B01KNWCLD2)
Precision drivers perfect for 3DO's small screws.
Best for: Disassembly in step 2.
Price Range: $60-$75