
ThermoPro TP49 Mini Hygrometer
Continuous inside-box tracking; app notifications for maintenance.
$9.99
ThermoPro TP49 Mini Hygrometer Accurate, wireless monitoring with temp/RH alerts essential for dry box success.
Get the App
Better experience on mobile
Keep your 3D printing filament perfectly dry with this step-by-step guide to prevent clogs, bubbles, and failed prints.
Moisture is the silent killer of 3D printing filament. Even a little humidity can cause stringing, oozing, poor layer adhesion, and brittle prints, wasting time and material. If you've invested in a filament dry box, proper maintenance ensures it works flawlessly, extending filament life and print quality.
In this guide, you'll learn how to inspect, clean, regenerate desiccants, and monitor your dry box for optimal performance. Expect clear steps tailored for intermediate 3D printers who already use dry boxes. Initial setup takes 30-45 minutes, with weekly checks under 10 minutes.
By the end, your dry box will maintain <20% RH consistently, ready for reliable prints anytime.
Estimated Time: 30-45 minutes initial maintenance; 5-10 minutes weekly Difficulty: intermediate
Start by visually checking the exterior and interior of your filament dry box. Look for cracks, loose seals, warped lids, or pinholes that could let moisture in. Open the box and examine filament spools for signs of clumping or discoloration.
Why it matters: Compromised seals defeat the purpose of the dry box, allowing humidity to infiltrate. Success looks like a box with intact, flexible seals and smooth surfaces—no gaps or damage.
Pro tip: Test the seal by closing the lid and pressing down; it should compress evenly without air hissing out.
💡 Tips:
⚠️ Warnings:
Place or activate your digital hygrometer inside the box (if not already installed). Note the RH% and temperature. Ideal is 10-20% RH at room temp (20-25°C).
Why it matters: Baseline readings tell you if maintenance is urgent. If >30% RH, desiccants are saturated. Expect readings to stabilize after 5-10 minutes with lid closed.
Remove the hygrometer only after logging data.
💡 Tips:
⚠️ Warnings:
Carefully remove all desiccant packs or beads. Weigh them if possible (many silica gels gain 30-40% weight when saturated). Sort into 'full' (heavy, cool) and 'partial' piles.
Why it matters: Saturated desiccants can't absorb more moisture, spiking humidity. Success: You've isolated wet desiccants ready for regeneration.
Wear gloves to prevent contamination.
💡 Tips:
⚠️ Warnings:
Bake silica gel in an oven at 100-120°C for 2-4 hours until color changes back (e.g., orange to blue). For rechargeable beads, follow device instructions—often microwave or plug-in.
Why it matters: Regeneration restores absorption capacity, saving money vs. buying new. Success: Desiccants return to original color/weight, cool to touch before reuse.
Cool completely in a dry area.
💡 Tips:
⚠️ Warnings:
Wipe surfaces with isopropyl alcohol on microfiber cloth. Remove dust, filament dust, or residue. Use compressed air for crevices. Dry thoroughly before closing.
Why it matters: Dust holds moisture and contaminates filament, causing defects. Success: Box sparkles clean, no streaks or particles.
Avoid water-based cleaners.
💡 Tips:
⚠️ Warnings:
Remove spools and check for moisture (soft spots, popping sounds when flexed). If suspect, dry in a filament dryer at 45-60°C for 4-6 hours based on material (PLA lower, Nylon higher).
Why it matters: Wet filament ruins prints even in a dry box. Success: Spools firm, no odors, ready to store.
Re-spool if ends are damaged.
💡 Tips:
⚠️ Warnings:
Place regenerated desiccants (fill 70-80% capacity), reinstall hygrometer and spools. Close lid firmly. Monitor RH drop to <20% within 1-2 hours.
Why it matters: Proper reassembly confirms functionality. Success: Stable low RH, secure fit.
Label with maintenance date.
💡 Tips:
⚠️ Warnings:
Set calendar reminders: Check RH weekly, regenerate monthly or at 40% saturation. Log data to predict needs.
Why it matters: Consistent habits prevent issues. Success: Routine integrated, prints always crisp.
Store box in cool, low-humidity room.
💡 Tips:
⚠️ Warnings:
Problem: Humidity won't drop below 30% RH
Solution: Replace all desiccants, check for seal leaks with soapy water test, ensure room is dry.
Problem: Desiccants don't change color after baking
Solution: Bake longer at higher temp (up to 120°C) or replace—some are single-use.
Problem: Filament still prints poorly
Solution: Deep-dry filament separately; test print a calibration cube.
Problem: Hygrometer readings erratic
Solution: Replace batteries, calibrate with salt method, or buy new.
Accurate, wireless monitoring with temp/RH alerts essential for dry box success.
Best for: Continuous inside-box tracking; app notifications for maintenance.
Price Range: $9.99
Plug-in rechargeable desiccant alternative to packs—easy regeneration, no oven needed.
Best for: Hands-off humidity control in larger dry boxes.
Price Range: $24.99
Color-changing silica gel optimized for 3D filament, high capacity.
Best for: Core absorbent refill for any dry box.
Price Range: $14.99
Pure, fast-evaporating cleaner prevents residue in sensitive environments.
Best for: Weekly interior wipes without moisture risk.
Price Range: $15.99
If upgrading, this sealed box with desiccant slots excels in maintenance.
Best for: All-in-one for multiple spools.
Price Range: $49.99-$69.99
Continuous inside-box tracking; app notifications for maintenance.
ThermoPro TP49 Mini Hygrometer Accurate, wireless monitoring with temp/RH alerts essential for dry box success.
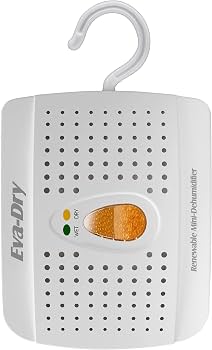
Hands-off humidity control in larger dry boxes.
Eva-Dry E-333 Renewable Dehumidifier Plug-in rechargeable desiccant alternative to packs—easy regeneration, no oven needed.

Core absorbent refill for any dry box.
Sunlu Filament Desiccant Packs (10-Pack) Color-changing silica gel optimized for 3D filament, high capacity.

Weekly interior wipes without moisture risk.
Amazon Basics 99% Isopropyl Alcohol Pure, fast-evaporating cleaner prevents residue in sensitive environments.
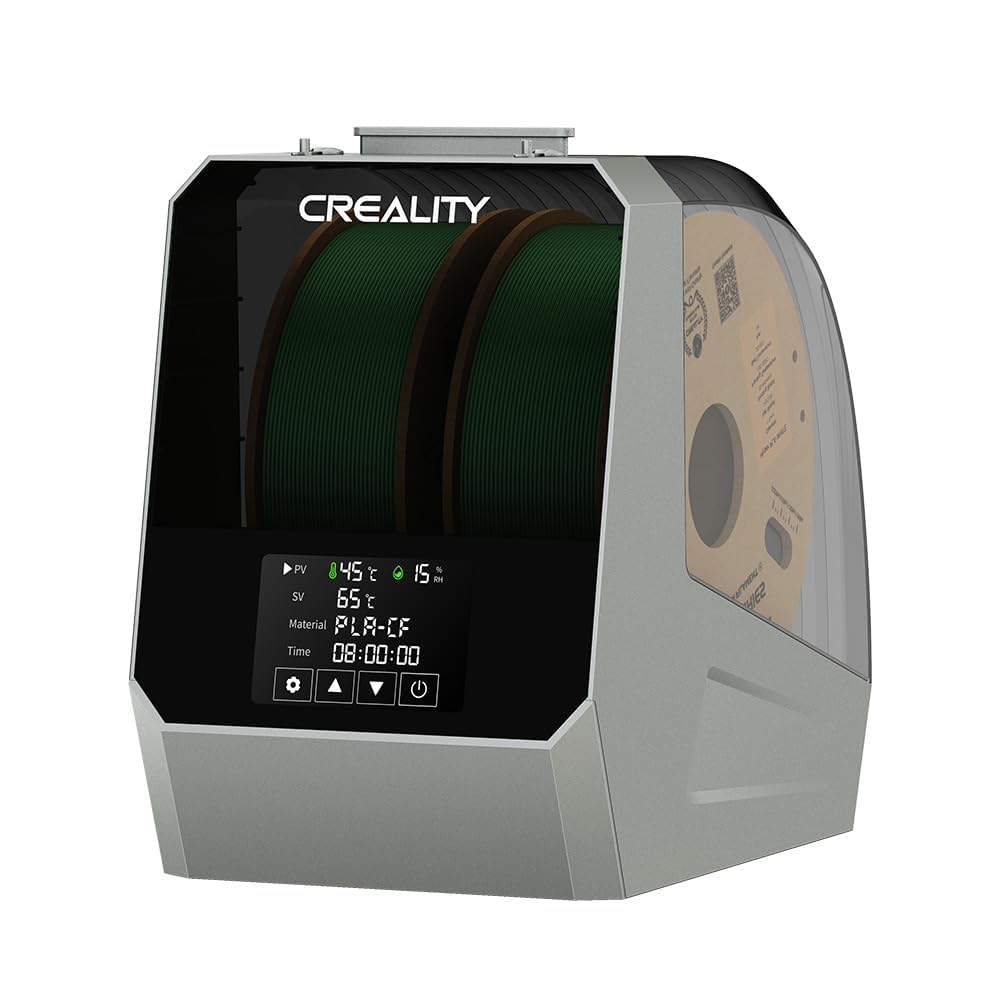
All-in-one for multiple spools.
Creality Filament Dry Box If upgrading, this sealed box with desiccant slots excels in maintenance.