Ever pulled out a load of dishes from your dishwasher only to find them still grimy or covered in spots? You're not alone—poor loading is one of the top reasons dishwashers underperform, leading to wasted time, energy, and detergent. Proper loading ensures water and detergent reach every surface, resulting in cleaner dishes and fewer rewashes.
In this beginner-friendly guide, you'll learn a simple, step-by-step process to load your dishwasher like a pro. We'll cover everything from prepping dishes to final checks, so you can get sparkling results every time. No advanced skills required—this should take just 10-15 minutes and will make your kitchen routine smoother.
By the end, you'll know how to arrange items for optimal water flow, avoid common pitfalls, and maintain your dishwasher for long-term efficiency.
▸What You'll Need
- •Standard dishwasher (top-loading or front-loading model)
- •Clean dishes, utensils, pots, and pans to load
- •Dishwasher detergent pods or powder (e.g., Cascade Platinum)
- •Rinse aid (e.g., Jet-Dry) – optional but recommended for spot-free results
- •Scraper or soft sponge for removing food scraps (required for best cleaning)
- •Mild dish soap for any hand-pre-rinsing (optional)
Estimated Time: 10-15 minutes
Difficulty: beginner
▸Step-by-Step Instructions
Step 1: Scrape Off Food Residue
Start by removing large food particles from your dishes using a scraper, paper towel, or the edge of a plate. Avoid rinsing under running water to save time and water—modern detergents are designed to handle dried-on bits. This step prevents clogs in your dishwasher's filter and ensures even cleaning.
Why it matters: Leftover food can redeposit on other dishes during the cycle, causing spots or odors. Expect your dishes to look mostly clean but not pristine yet; the wash will handle the rest.
For heavily soiled items like pots with baked-on grease, give a quick wipe with a soft sponge and mild soap if needed.
💡 Tips:
- •Use a rubber scraper for non-stick surfaces to avoid scratches.
- •Do this right after meals to prevent food from hardening.
⚠️ Warnings:
- •Don't pre-rinse excessively; it can dilute detergent effectiveness.
Step 2: Sort and Prepare Items
Group your dishes by type and size: plates and bowls together, glasses separate, utensils in a basket, and larger items like pots on the sides. Check for fragile items (e.g., stemware) and ensure nothing is cracked. Remove any non-dishwasher-safe items like wood, cast iron, or delicate china unless specified otherwise.
This organization helps with efficient loading and prevents damage. You'll end up with neat stacks ready for racks, saving you time in the next steps.
Pro tip: If you have children's plastic plates, sort them for the top rack to avoid melting risks.
💡 Tips:
- •Lay out items on your counter first to visualize the load.
⚠️ Warnings:
- •Avoid loading sharp knives pointing up to prevent injury.
Step 3: Load the Bottom Rack
Place plates, bowls, and serving dishes in the bottom rack, facing the center spray arm. Angle them slightly so water can reach all surfaces—don't stack flat. Position larger pots and pans along the edges or on the sides to avoid blocking the spray. Ensure at least a 1-inch space between items for water circulation.
Why this matters: The bottom rack gets the strongest water pressure, ideal for heavy soils. Success here looks like a rack that's full but not overcrowded, with no overlapping edges.
For casserole dishes, tilt them to allow runoff.
💡 Tips:
- •Load bigger items first to fit everything snugly.
⚠️ Warnings:
- •Never block the spray arm; it must spin freely for even cleaning.
Step 4: Load the Top Rack
Arrange glasses, mugs, and smaller items like saucers on the top rack prongs, with rims facing down to let water drain. Place plastic items here too, as it's cooler. Hang cups upside down for stability, and use the adjustable tines if your model has them to fit oddly shaped items.
This rack is for lighter loads to prevent breakage from falling water. Expect secure placement where items won't topple during the cycle.
If you have a third rack for utensils, save space below.
💡 Tips:
- •Use the side slots for long items like spoons or ladles.
⚠️ Warnings:
- •Avoid placing tall glasses that could hit the top during closing.
Step 5: Organize Utensils and Silverware
Sort forks, spoons, and knives into the silverware basket, separating types to prevent nesting (e.g., don't let spoons spoon each other). Point tines down for forks and knives, handles up for easy unloading. Mix heavy and light items to balance weight.
Proper sorting ensures thorough cleaning and quick drying. You'll see utensils neatly divided, ready for the wash without tangling.
For loose items like serving spoons, use the top rack if the basket is full.
💡 Tips:
- •Alternate directions for forks to improve water access.
⚠️ Warnings:
- •Remove plastic utensils if they're not heat-safe.
Step 6: Add Detergent and Rinse Aid
Insert a detergent pod or scoop powder into the dispenser, using the amount recommended for your load size (full load: one pod; partial: half). If using rinse aid, fill the reservoir to the max line—it helps sheets dry without spots.
This step activates the cleaning power. Success is a properly sealed dispenser and full rinse aid for streak-free shine.
Check your model's manual for eco or heavy cycle settings.
💡 Tips:
- •Opt for gel packs in hard water areas for better dissolution.
⚠️ Warnings:
- •Don't overuse detergent; it can cause cloudy film on glassware.
Step 7: Final Check and Run Cycle
Close the door and inspect for blockages—ensure the spray arms rotate freely by hand if possible. Select your cycle (normal for everyday loads) and start the dishwasher. Listen for the initial fill; it should be quiet and steady.
This verifies optimal loading for best results. Expect the cycle to run 1-2 hours, ending with clean, dry dishes.
Wipe up any spills inside to prevent odors.
💡 Tips:
- •Run hot water in the sink first for better initial temperature.
⚠️ Warnings:
- •Don't start if the filter is clogged; clean it monthly.
▸Pro Tips
- •Load similar materials together to match cycle intensity—plastics on top, ceramics below.
- •Use the delay start feature for off-peak energy savings if your utility offers it.
- •For energy efficiency, run full loads only; partial loads waste water.
- •Adjust rack heights on models like Bosch for custom fitting tall stemware.
- •Add a vinegar rinse monthly by placing a cup in the top rack for natural descaling.
- •Prioritize unloading glasses first to avoid drips on plates.
- •In hard water areas, use a water softener salt if your dishwasher has a compartment.
▸Common Mistakes to Avoid
- •Overloading the racks, which blocks water flow and leaves items dirty—avoid by leaving 1-inch gaps.
- •Facing items outward or stacking flat, preventing full exposure to spray—always angle toward the center.
- •Nesting utensils together, causing poor cleaning—sort and separate them properly.
- •Skipping rinse aid, leading to water spots—fill the reservoir regularly for shiny results.
- •Using too much detergent, resulting in residue buildup—stick to recommended amounts.
▸Troubleshooting
Problem: Dishes coming out dirty or spotted
Solution: Check for blocked spray arms or improper loading; rerun with a cleaning cycle using vinegar. Ensure detergent is fresh.
Problem: Utensils tangled or not clean
Solution: Resort silverware without nesting; clean the basket filter if clogged. Use a longer cycle for heavy soils.
Problem: Dishwasher not draining properly
Solution: Inspect and clean the drain hose and filter; avoid overloading with food scraps. Call a pro if persistent.
Problem: Cloudy film on glasses
Solution: Reduce detergent use and add rinse aid; test water hardness and use a softener if needed. Seek plumber for hard water issues.
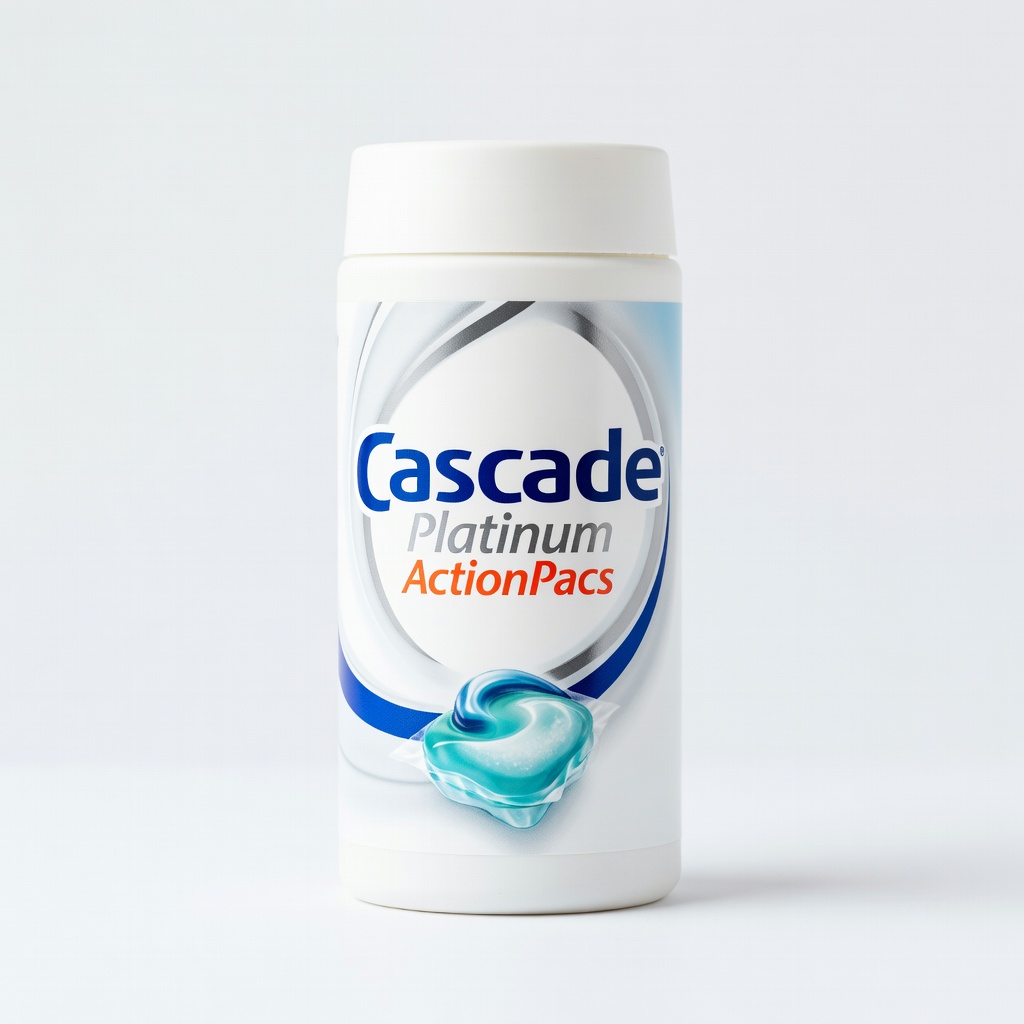
Cascade Platinum ActionPacs Dishwasher Detergent
These pods dissolve quickly and tackle tough stains without residue, ensuring cleaner results even on poorly loaded dishes.
Best for: Ideal for everyday family loads with baked-on food; use one pod per full cycle.
Price Range: $10-15 for 60-count pack
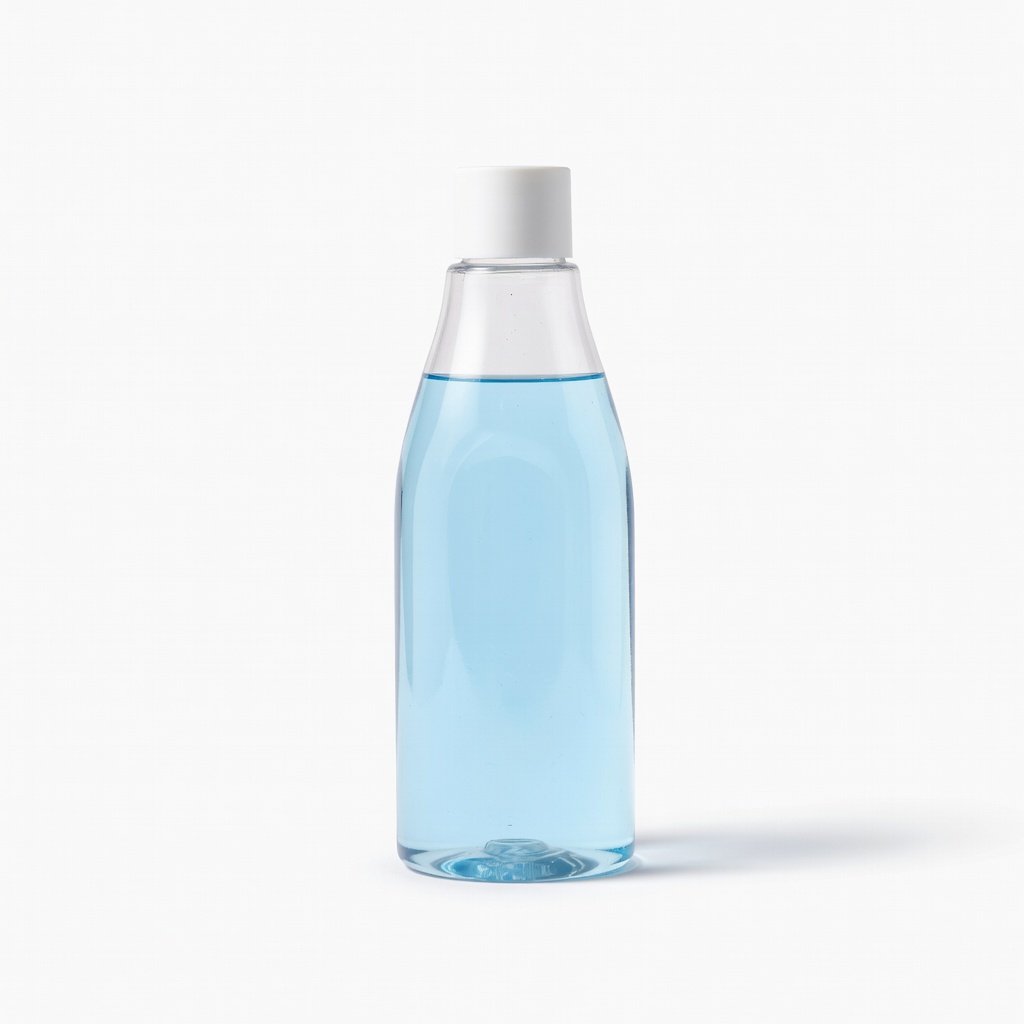
Jet-Dry Rinse Aid
Prevents water spots and improves drying, making your dishes shine—essential for hard water areas.
Best for: Add to the reservoir monthly; perfect for glassware and plastics prone to spotting.
Price Range: $5-8 for 16 oz bottle
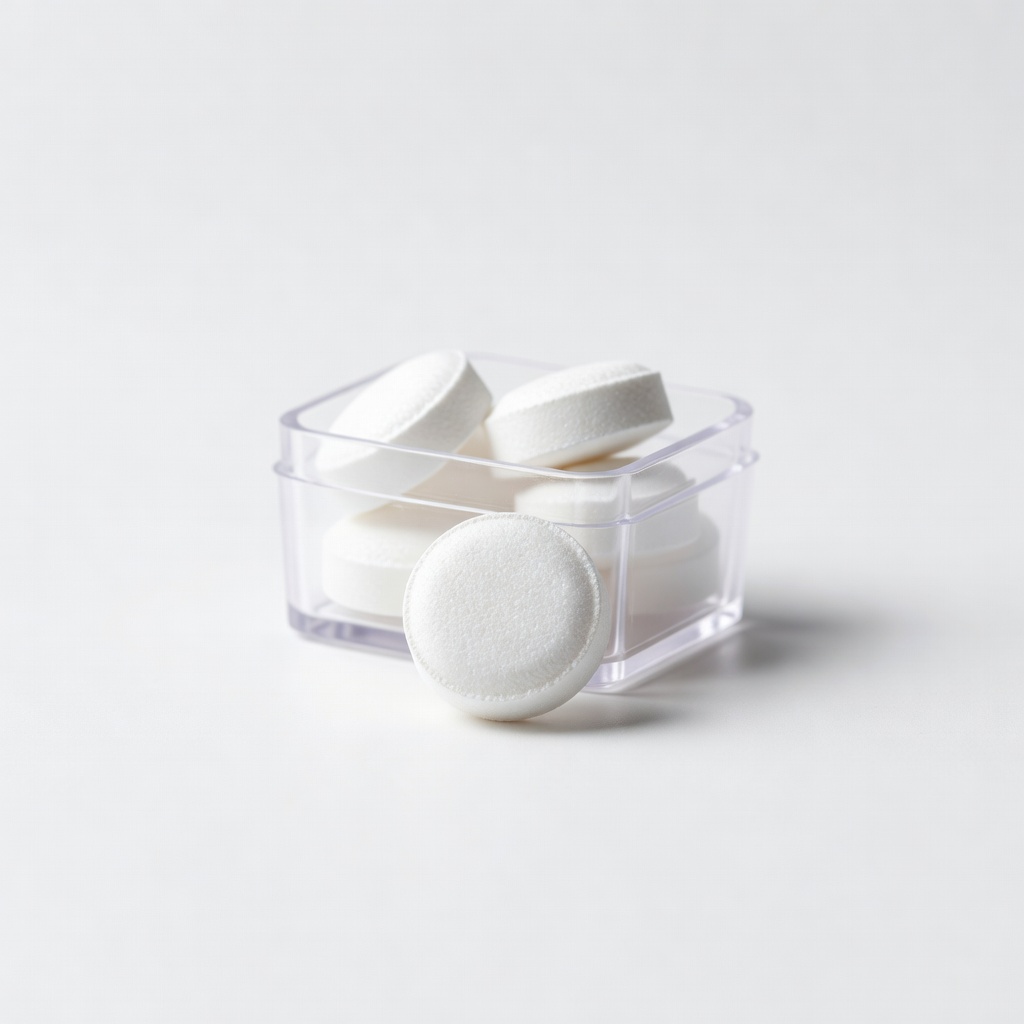
Affresh Dishwasher Cleaner Tablets
Removes buildup from hard water and food residue, maintaining efficiency for better loading results over time.
Best for: Run one tablet monthly on a clean cycle to keep spray arms clear.
Price Range: $8-12 for 6-pack
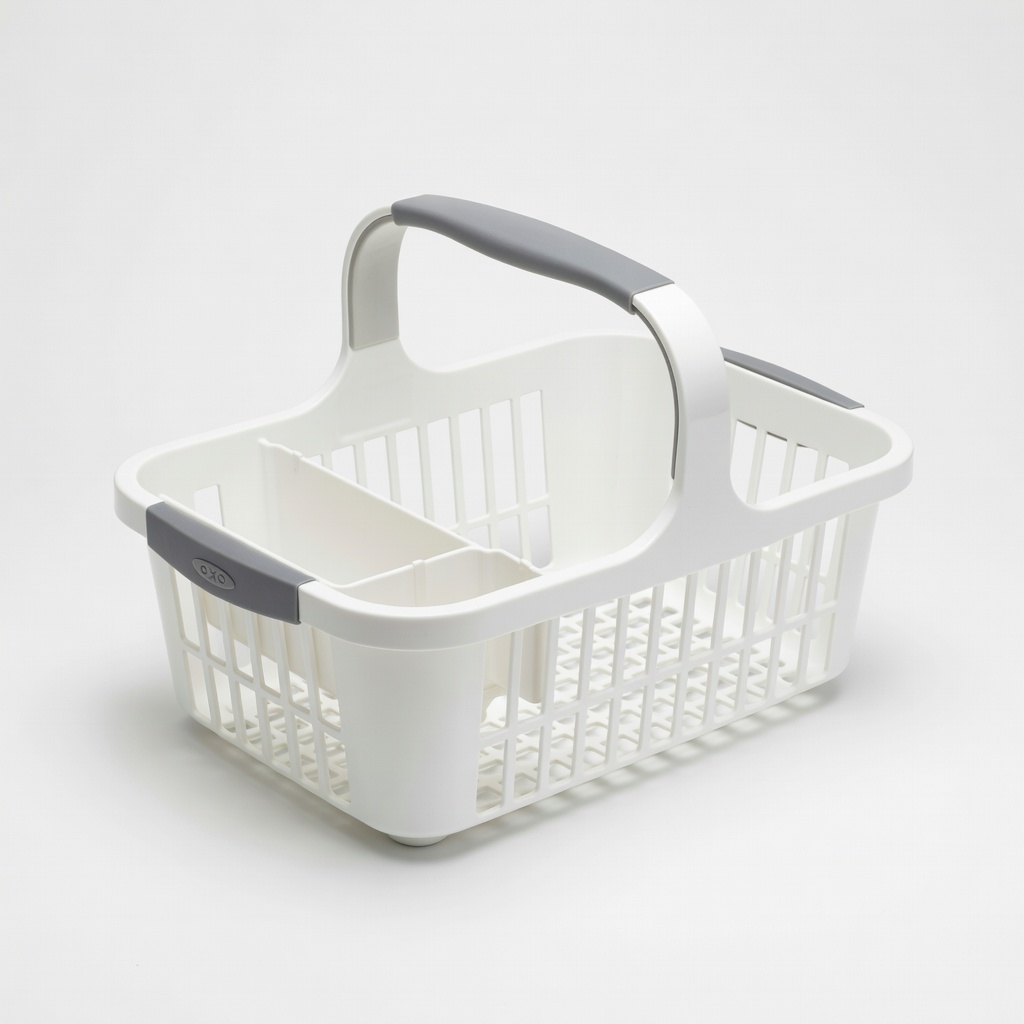
OXO Good Grips Dishwasher Basket
Organizes small items like baby bottles or utensils that might fall through racks, preventing clogs.
Best for: Clip to the top rack for secure loading of odd-shaped plastics.
Price Range: $10-15