Struggling with crumbly beads, runny acrylic, or nails that lift too soon? The secret to pro-level acrylic nails lies in properly mixing your liquid monomer with powder. Poor mixing leads to weak structures, bubbling, or uneven finishes—common frustrations for intermediate nail techs.
In this guide, you'll learn the step-by-step process to create the ideal acrylic bead consistency, from setup to application. Expect flawless, durable results that last 3-4 weeks. It's intermediate-level, taking 45-60 minutes for a full set on one hand.
▸What You'll Need
- •EMA monomer liquid (4oz bottle, non-MMA for safety)
- •Acrylic polymer powder (clear, white, or pink; 1oz jar)
- •Kolinsky or synthetic acrylic brush (size 8-12)
- •Dappen dishes (glass preferred for easy cleaning)
- •Nail dehydrator and acid-free primer
- •Nail forms or tips
- •180/240-grit files, buffer, and dust brush
- •Cotton swabs and monomer for cleanup
- •Optional: Nail lamp (for top coat), gloves
Estimated Time: 45-60 minutes for a full set
Difficulty: intermediate
▸Step-by-Step Instructions
Step 1: Set Up Your Workspace
Clear a clean, well-lit area free of dust and humidity. Lay out all tools and products. Wear gloves to avoid oils contaminating the mix.
Why it matters: Contaminants cause bubbling or poor adhesion. Success looks like an organized station ready for precise work.
💡 Tips:
- •Work in a cool room (65-75°F) to control set time.
⚠️ Warnings:
- •Avoid high humidity (>60%)—it softens the mix.
Step 2: Prep the Natural Nails
Gently push back cuticles, file nails to shape, and roughen the surface with a 180-grit file. Clean with dehydrator, then apply primer sparingly.
This removes oils for better bonding. Expect nails to feel dry and tacky—primed but not white or frosty.
💡 Tips:
- •Use purple primer for visibility.
Step 3: Pour Monomer into Dappen Dish
Fill a dappen dish 1/3 full with liquid monomer. Only pour what you'll use in 10-15 minutes to avoid evaporation.
Fresh liquid ensures even polymerization. It should look clear and odor low (EMA is milder than MMA).
⚠️ Warnings:
- •Don't overfill—spills ruin brushes.
Step 4: Saturate Your Brush
Dip the belly of your brush into the monomer, twist gently, then press and wipe on the dish edge to remove excess. The brush should be shiny but not dripping.
Why: Too wet = runny mix; too dry = crumbly. Success: Brush glides smoothly without strings.
💡 Tips:
- •Use a quality kolinsky brush for better absorption.
Step 5: Pick Up the Powder Bead
Touch the wet brush belly to the powder in a circular motion to pick up a medium-large pearl-sized bead (pea-sized for full nail).
Aim for 2:1 liquid-to-powder ratio by volume. The bead should sit on the brush without sliding off.
Step 6: Mix to Perfect Consistency
Pat the bead 3-5 times on your mixing surface (wax paper or glass). It turns from wet shine to matte 'marshmallow' stage—soft but holds shape.
Test: It shouldn't spread or crumble. If runny, add powder; if dry, add monomer drop.
💡 Tips:
- •Count pats: 20-30 seconds total.
⚠️ Warnings:
- •Over-mixing heats and sets too fast.
Step 7: Apply the Acrylic
Place bead at apex, spread with gentle pressure toward cuticle and free edge. Use smile line technique for naturals. Work quickly—5-10 min pot life.
Build even layers. Success: Smooth, bubble-free overlay adhering perfectly.
Step 8: Shape, File, and Finish
Let set 2-3 min until hard. File to shape with 180-grit, buff smooth, apply top coat if desired.
Clean up with monomer-swabbed brush. Nails should shine and feel strong.
💡 Tips:
- •File from coarse to fine grit.
▸Pro Tips
- •Cool monomer in fridge for slower set in warm climates.
- •Use separate dishes for different colors to avoid cross-contamination.
- •Practice beads on glass tiles before client nails.
- •Replace liquid every 6-12 months—old stuff yellows.
- •Brush conditioner nightly preserves fibers.
- •Ratio tweak: More liquid for sculpting, less for overlays.
- •Humidity hack: Silica packs in product storage.
▸Common Mistakes to Avoid
- •Too much liquid: Runny mix causes flooding and weak nails—use less brush saturation.
- •Skipping prep/primer: Lifting after days—always dehydrate first.
- •Poor brush wipe: Excess monomer leads to uneven beads—pat firmly.
- •Hot room mixing: Premature set, crumbly results—control temp.
- •Reusing old monomer: Bubbles/yellowing—discard if cloudy.
▸Troubleshooting
Problem: Acrylic lifting or popping off
Solution: Improve nail prep: Dehydrate longer, use primer. Check for oils.
Problem: Bubbles in bead
Solution: Dust-free workspace, fresh products, slower mixing.
Problem: Cracking after 1-2 days
Solution: Wrong ratio—practice drier beads. File stress points.
Problem: Yellowing acrylic
Solution: Switch to EMA monomer; store away from sunlight.
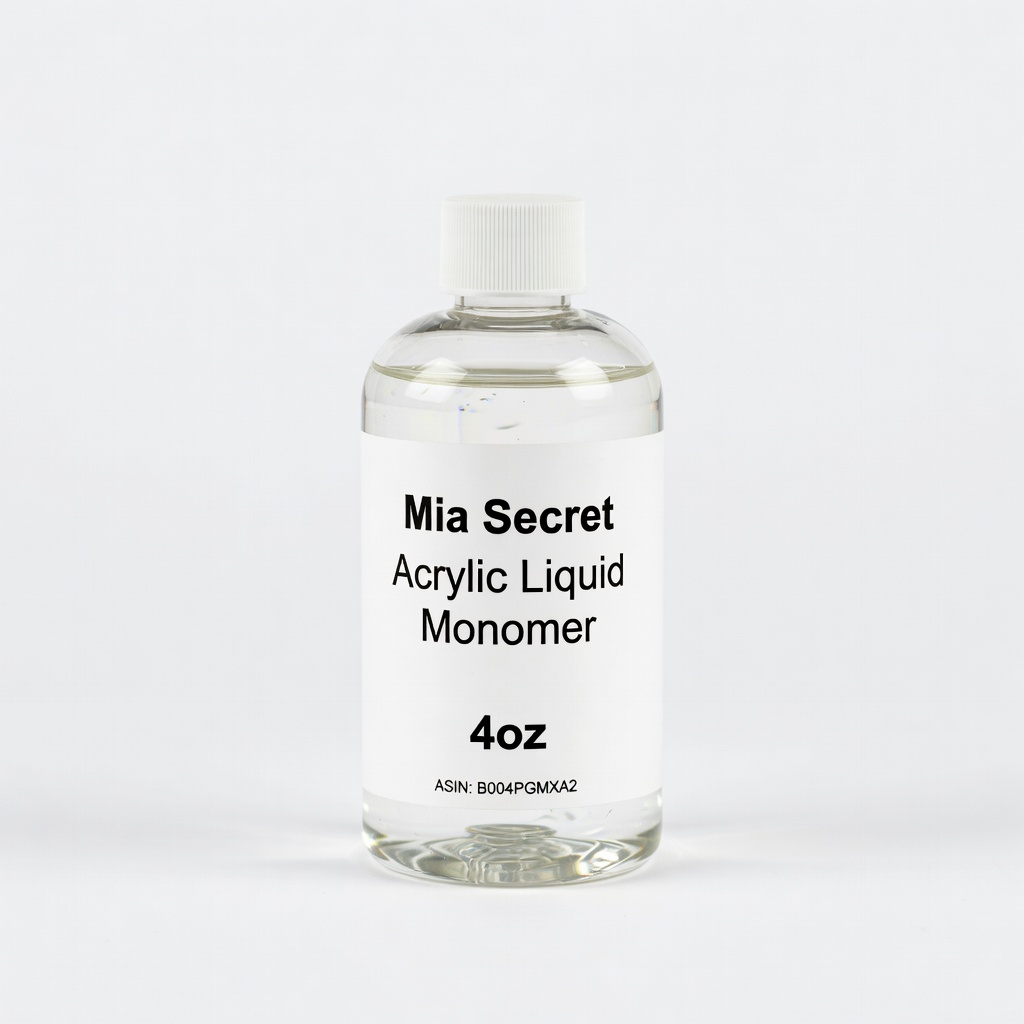
Mia Secret Acrylic Liquid Monomer 4oz (ASIN: B004PGMXA2)
Professional EMA formula with low odor, consistent viscosity for perfect beads every time.
Best for: Full sets or fills; ideal for intermediates building speed.
Price Range: $12-15
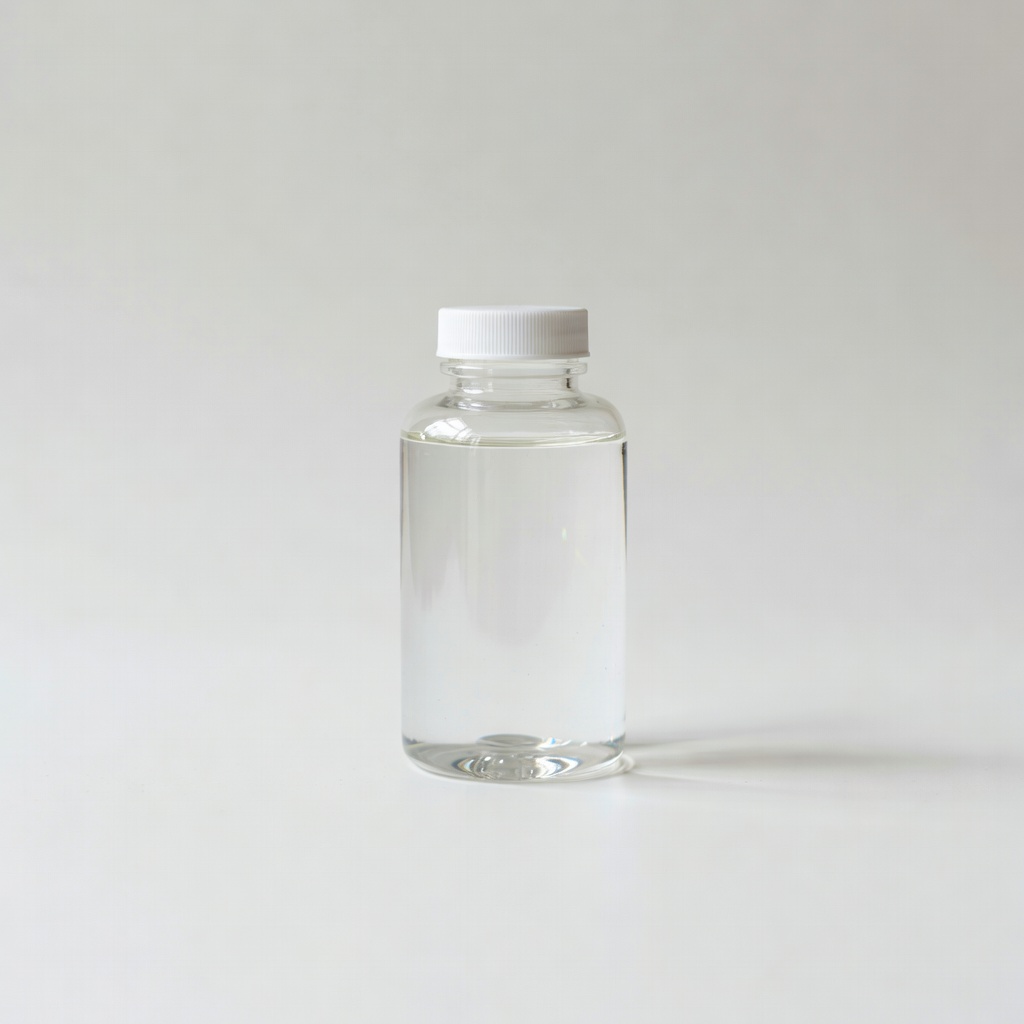
Modelones Acrylic Liquid Monomer 4oz (ASIN: B08CFV6G5L)
Affordable, odorless EMA monomer prevents cracking; beginner-to-pro favorite.
Best for: Home salon use, quick overlays.
Price Range: $9-11
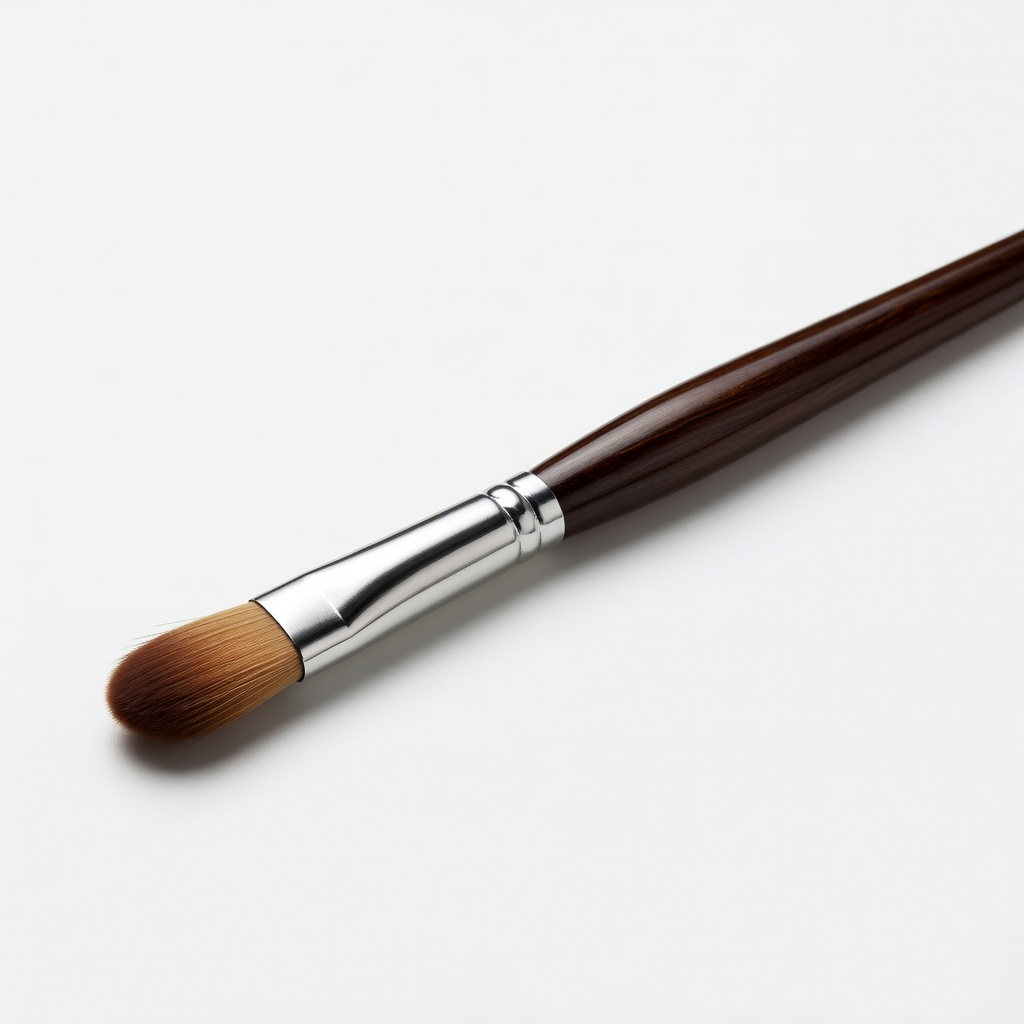
Azurebeauty Kolinsky Acrylic Brush Size 10 (ASIN: B07Z5N4K3L)
Premium natural hair holds monomer precisely, lasts 6+ months with care.
Best for: Precise bead pickup and application.
Price Range: $8-12
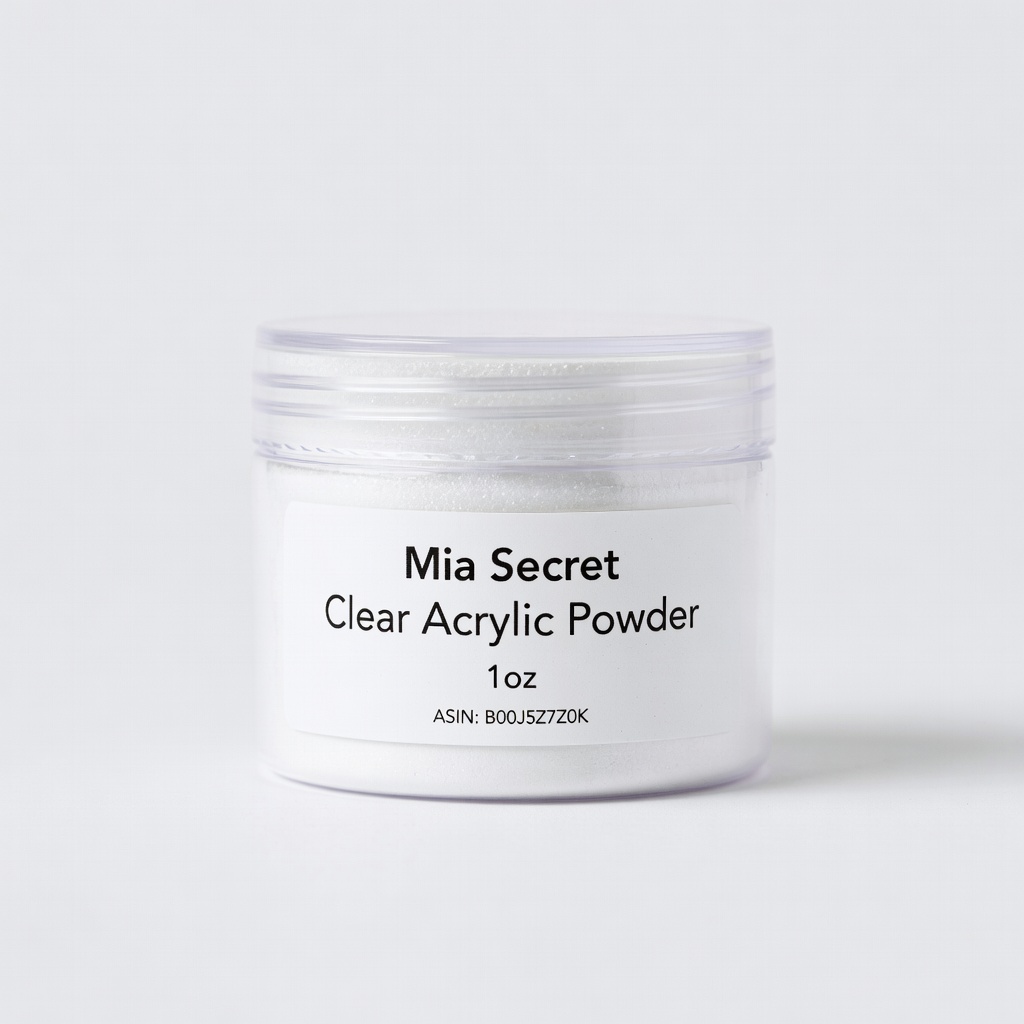
Mia Secret Clear Acrylic Powder 1oz (ASIN: B00J5Z7Z0K)
Fine-milled for smooth mixing; pairs perfectly with their monomer.
Best for: Natural overlays or French tips.
Price Range: $5-8
Glamnetic Nail Dehydrator and Primer Set
Dual-step for oil-free adhesion, prevents 90% of lift issues.
Best for: Every acrylic service.
Price Range: $10-15