The first layer is the foundation of every 3D print. If the gap between your nozzle and the bed is too small or too large, the plastic won’t stick, the nozzle will drag, and your print will fail or look terrible. For an Ender 3, this gap is set by the four leveling knobs under the bed. But because the Ender 3’s stock springs are soft and the bed is prone to warping, even experienced makers find themselves re-leveling more often than they’d like.
In this guide, you’ll learn the classic ‘paper trick’ method to precisely set the nozzle-to-bed gap on your Ender 3, without needing any expensive equipment. We’ll walk through each step, from warming up the printer to running a successful first-layer test print. You’ll also get tips for avoiding common mistakes and expert advice on upgrading to stiffer springs or a glass bed.
By the end, you’ll be able to level your bed in 15–20 minutes and produce first layers that stick reliably – giving you a huge head start on printing every other part.
▸What You'll Need
- •Your Ender 3 printer
- •A standard sheet of 80gsm printer paper or a metric feeler gauge (0.1 mm)
- •The Allen keys included with the printer (usually 2.0 mm and 2.5 mm)
- •A clean lint-free cloth or paper towel
- •A flash light (optional, helps see the gap)
- •A pair of pliers (optional, for stiff knobs)
Estimated Time: 15–20 minutes for a full manual level; add 5–10 minutes for a test print.
Difficulty: beginner
▸Step-by-Step Instructions
Step 1: Preheat the nozzle and bed
Turn on your Ender 3 and use the control wheel to select PREPARE > TEMPERATURE > PLA > PREHEAT PLA (this will heat the nozzle to 200°C and the bed to 60°C). Wait until both temperatures stop changing. Heating glass and the aluminum bed causes the metal to expand slightly, so leveling at printing temperatures reproduces the exact conditions your nozzle will see during a print. If you’re printing with ABS or other materials, set the bed temperature accordingly.
While the printer heats up, wipe the build surface with a clean, dry, lint-free cloth to remove any fingerprints, dust, or leftover adhesive. A dirty bed will ruin even a perfectly leveled first layer.
💡 Tips:
- •Always level with the bed hot – a cold bed will give you a false gap.
- •Wait a few extra minutes after the screen shows the target temperature – the hotend and bed need time to stabilize.
⚠️ Warnings:
- •Never touch the nozzle when it’s hot – use tools or wait for it to cool.
- •Be gentle with a glass bed – it can crack if torqued unevenly.
Step 2: Home the X and Y axes
Use the control wheel to select PREPARE > AUTO HOME. The print nozzle will move to the front-left corner (X-min, Y-min, Z-min) – this is your reference starting position. Let the machine finish homing completely before moving anything. If you hear knocking or grinding, stop immediately and check that the limit switches are properly connected.
You can also choose HOME X, Y if your firmware has that option; either way, the nozzle will end up in the bottom-left corner, exactly above the front-left leveling knob.
💡 Tips:
- •If you added a glass bed, make sure the clips don’t collide with the nozzle during homing.
- •Always home before leveling so the nozzle is at a known position relative to the bed.
⚠️ Warnings:
- •Don’t manually move axes while homing – it can strip gears and damage the motion system.
Step 3: Disable the stepper motors
After homing, navigate to PREPARE > DISABLE STEPPER. This releases the motors so you can freely move the print head and the bed by hand. The nozzle will glide easily, a little bit of magnetic resistance from the steppers stays, but that’s normal.
This step is absolutely necessary – if you don’t disable the steppers, you won’t be able to position the nozzle over each of the four leveling knobs.
💡 Tips:
- •The DISABLE STEPPER option is usually in the PREPARE menu on stock Ender 3 firmware.
⚠️ Warnings:
- •Don’t slam the print head into the frame – you could damage the belt or pulleys.
Step 4: Place a sheet of paper under the nozzle
Take a standard sheet of office paper (about 80 gsm) and slide it under the nozzle at the front-left corner, directly above the first leveling knob. The nozzle should be low enough that the paper just touches it. If the paper won’t fit, you’ll need to start by turning the front-left knob counterclockwise to raise the bed until the nozzle touches. If the paper is jammed tight, turn the knob clockwise to lower the bed.
For this method, the paper acts as a 0.1 mm spacer. A metric feeler gauge of the same thickness works even better because it’s more uniform and you’ll know exactly what thickness you’re using.
💡 Tips:
- •Cut the paper into a 10×10 cm square – easier to grip and avoids it getting caught in moving parts.
- •If you use a feeler gauge, pick a 0.10 mm or 0.12 mm gauge.
⚠️ Warnings:
- •Make sure the paper is not too long – it can get stuck under the wheels or heater wires.
Step 5: Adjust the front-left corner until the paper drags
With the paper still under the nozzle, gently rotate the front-left leveling knob while sliding the paper back and forth. You’re looking for a slight drag – the paper should slide with resistance, like you’re pulling it out from under a heavy book. It should not be stuck, and it should not move freely either.
The correct tension is crucial: too far away and the plastic won’t stick; too close and the nozzle will scrape filament off the bed. When you feel that perfect drag, move on to the next corner.
💡 Tips:
- •Turn the knob in small increments – 1/8 or 1/4 of a turn is enough to make a small difference.
- •If you’re a beginner, aim for a tighter drag; you can loosen slightly later if the first layer is too thin.
⚠️ Warnings:
- •Don’t force the nozzle down into the bed – this can crack the glass or damage the build surface.
- •Keep your fingers away from the nozzle – it’s at 200°C.
Step 6: Repeat for the other three corners
Move the nozzle to the rear-left corner (slide the print head to the back and the bed to the front). Place the paper under the nozzle and repeat the drag test. Then go to the rear-right corner and the front-right corner, and keep going around the bed in a circle.
Because the bed is a single structure, adjusting one corner will often slightly alter the others – especially if it was far off. For this reason, you’ll need to go around the pattern two or three times until every corner shows the same drag. A simple way is to remember the order: front-left, rear-left, rear-right, front-right.
💡 Tips:
- •Write the sequence on a sticky note: 1, 2, 3, 4 – stick it to the printer frame.
- •After two laps, the corners will be very close; one final lap will get them perfect.
⚠️ Warnings:
- •Be careful not to push the paper out of position – always place it exactly under the nozzle before adjusting.
Step 7: Verify the center of the bed
Slide the print head to the middle of the build plate. Do the same paper test – the drag should feel the same as it does at the corners. If the paper slides much more easily or is very tight in the center, your bed is likely warped (a common issue with the stock aluminum bed).
If the center is only a tiny bit different, you can safely ignore it. If there’s a large difference, you’ll need to either replace the bed with a glass plate or use an auto-leveling sensor like a BLTouch. Do not try to correct a warp by adjusting the corner knobs – that will throw off the corners.
💡 Tips:
- •While the paper is in the center, also check the front and back edges to detect a possible twist in the bed.
- •If your bed is low in the center, a small piece of tape on the back of the build surface can help, but a glass bed is the reliable fix.
⚠️ Warnings:
- •If you tighten all knobs to force the center closer, you’ll create a high spot at the edges and ruin your level.
Step 8: Re-home and run a test print
After leveling, it’s a good practice to re-home the printer so the new bed height becomes the reference zero point. Select PREPARE > AUTO HOME, then start a small, flat first-layer calibration print – like a 20×20 mm square or a simple one-layer test pattern.
Watch the first layer as it goes down: the lines should be flat, slightly glossy, and touch each other without gaps. If the lines are round and don’t stick, the nozzle is too far; if the lines are transparent or the nozzle scrapes the printed surface, it’s too close. Make tiny adjustments to the corner knobs only if needed, and test again. Doing this one quick print can save you a lot of failed full prints later.
💡 Tips:
- •Print the first layer at a slow speed (20–25 mm/s) for best adhesion.
- •Free first-layer calibration patterns are available on Thingiverse or your slicer’s built-in test.
- •Don’t adjust the knobs while the print is running – pause or stop first.
⚠️ Warnings:
- •Do not touch the bed or the running print head during the test print.
▸Pro Tips
- •Use a metric feeler gauge set instead of paper – a 0.10 mm gauge gives you a perfectly repeatable gap every time.
- •Mark your leveling knobs with a permanent marker dot so you can count half-turns and easily return to a known position.
- •Check the bed level before every print or two – it takes 5 minutes and will save you from failed prints.
- •If your knobs keep vibrating loose, upgrade to stiffer springs or add a tiny drop of thread-locking fluid to the adjuster screws (be careful not to get it on the bed).
- •Always wiggle the bed carriage after leveling to make sure the eccentric nut is not too loose – a loose wheel can cause 'curved' scanning and make leveling seem wrong.
- •If you have a warped bed, put a small piece of 3M tape in the center under the glass surface – this shims the glass and flattens the printing area.
- •Use the same piece of paper for every corner; a torn or folded corner will change its thickness.
▸Common Mistakes to Avoid
- •Leveling only once and skipping the check loop – the bed corners affect each other, so you must go around at least twice.
- •Overtightening the knobs to 'fix' a gap that is actually caused by a warped bed – this warps the aluminum even more.
- •Using a cold bed – the nozzle gap changes once the bed heats up, so you'll accidentally set the wrong height.
- •Forgetting to disable steppers after homing – you won't be able to move the nozzle to each corner by hand.
- •Adjusting a corner while the nozzle is not directly above it – you’re just turning the knob without knowing the effect.
▸Troubleshooting
Problem: The first layer won't stick to the bed.
Solution: The nozzle is likely too far from the bed. Loosen the leveling knobs (turn counterclockwise) a quarter turn at a time, checking with paper until you feel more drag. Also make sure the bed is clean and at the correct printing temperature.
Problem: The nozzle is scratching the bed or dragging along.
Solution: The nozzle is too close. Tighten the leveling knobs (turn clockwise) a little to lower the bed. If the problem is only in one corner, adjust that knob; if everywhere, do a full re-level starting with the print head home.
Problem: The center of the bed is tight against paper but the corners are fine.
Solution: Your bed is likely warped. Replace it with a borosilicate glass bed, or add an auto bed leveling sensor. Trying to flatten it by adjusting the screws will only make the corners uneven.
Problem: The first layer is uneven from one side to the other.
Solution: Check if the X-axis gantry is level. Use a ruler to make sure both sides of the X-axis are the same distance from the bed. Also tighten the eccentric nut on the X-axis wheels if there's any play.
Problem: The bed loses level after only a few prints.
Solution: The stock springs are weak. Upgrade to heavier duty springs (e.g., yellow 'Ender 3' springs) or install nylock nuts to keep the adjusting screws from turning. Also check that all four screws on the bed carriage are snug.
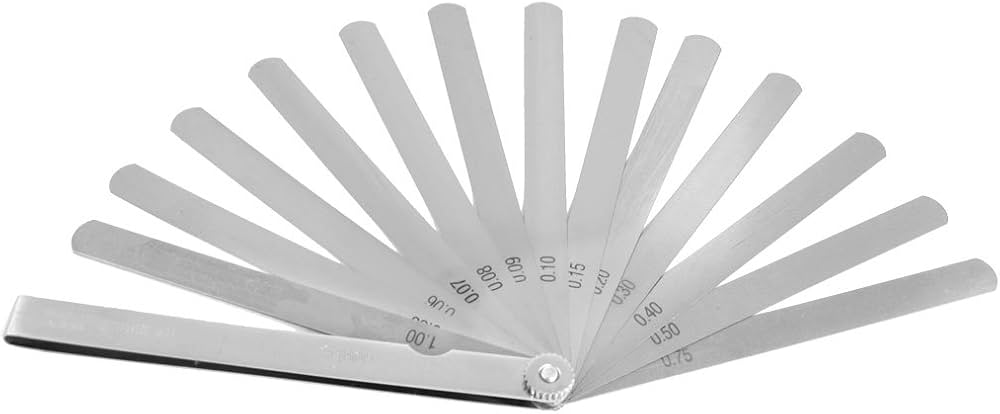
Metric Feeler Gauge Set
A precision feeler gauge set gives you a uniform 0.1 mm gap instead of relying on arbitrary paper thickness. It makes leveling quicker, more reproducible, and perfect for beginners who don't trust their fingers yet.
Best for: Slide the 0.10 mm blade under the nozzle and adjust until you feel a light drag. This is your consistent reference for every corner and every future print.
Price Range: $7 - $15
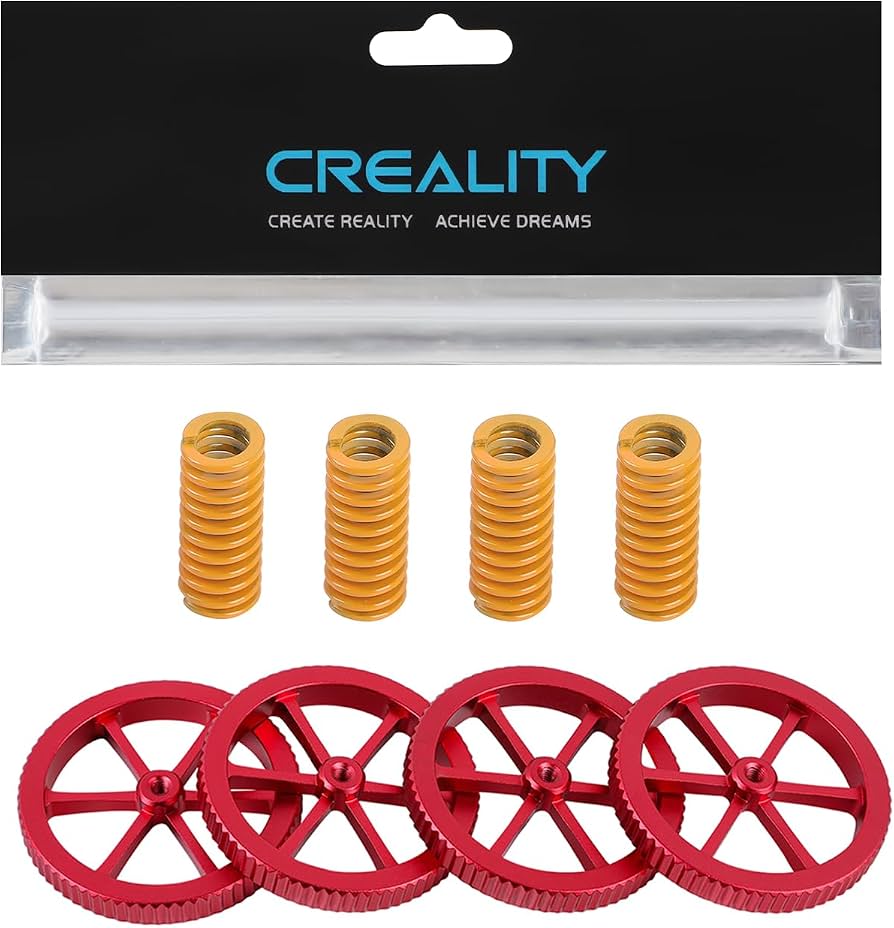
Upgraded Ender 3 Bed Springs
The stock Ender 3 springs are soft and can easily be compressed by the heated bed, causing you to re-level more often. Heavy-duty springs are stiffer and hold the bed level for many prints.
Best for: Replace the four original springs with these 'upgraded' ones. It's a 10-minute, drop-in upgrade that requires no extra tools and dramatically improves leveling stability.
Price Range: $8 - $15
Borosilicate Glass Bed (235x235mm)
If your aluminum bed is warped or scratched, a glass bed gives you a perfectly flat surface. It also helps prints pop off when the bed cools – a huge convenience.
Best for: Clip the glass plate onto the Ender 3 and level directly on the glass surface. The paper method works exactly the same; you'll simply need to keep the glass clean for best adhesion.
Price Range: $20 - $30
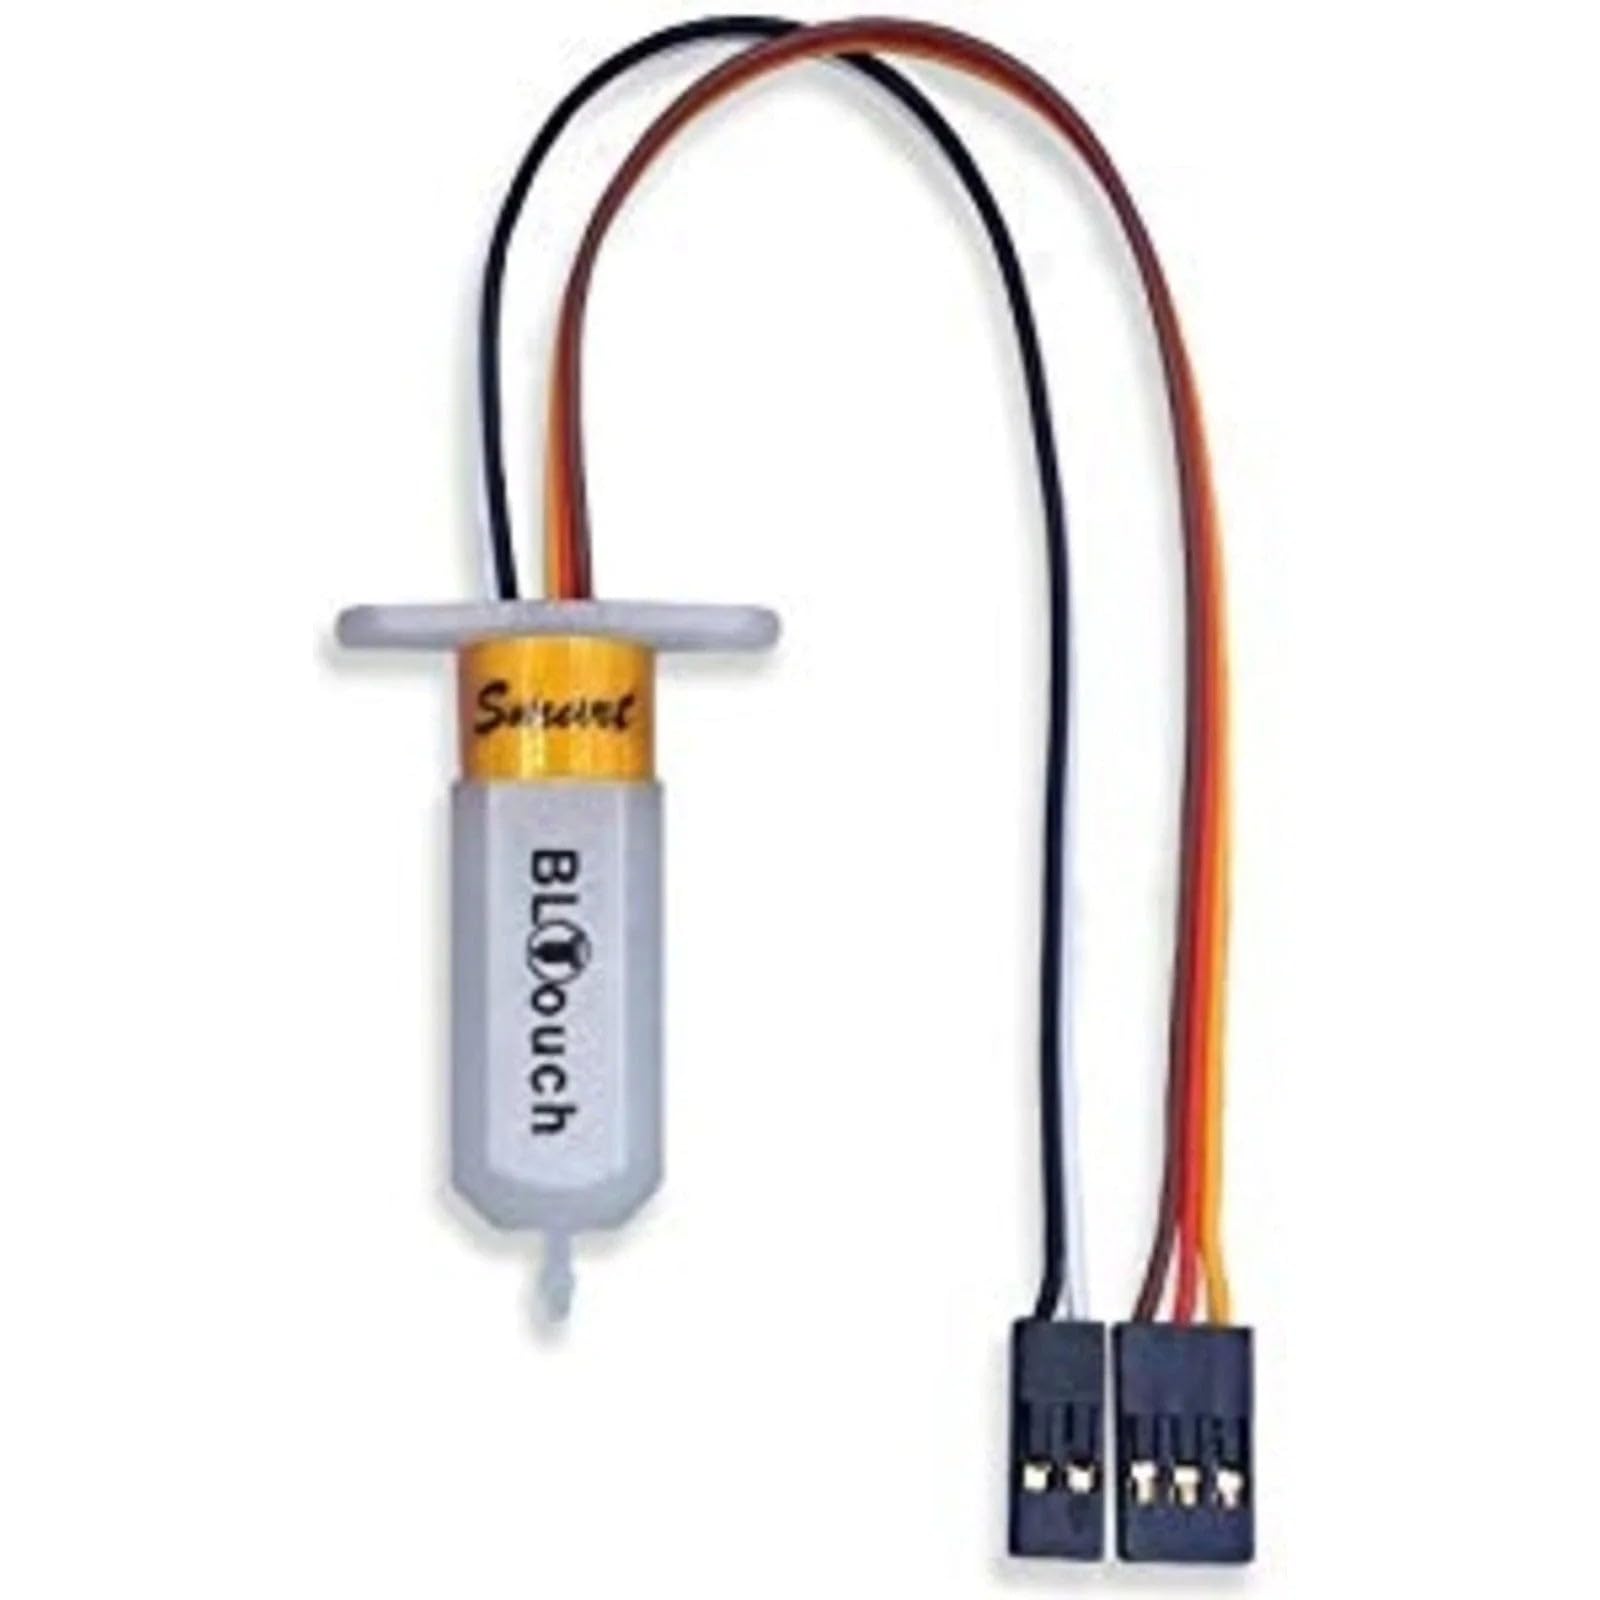
BLTouch Auto Bed Leveling Sensor
If you're tired of manual leveling or have a stubborn warped bed, a BLTouch sensor automatically probes the bed at multiple points and compensates for any tilt or irregularity. It's the ultimate solution for hands-off, reliable leveling.
Best for: It replaces the manual Z-endstop and works with firmware to create a mesh map of your bed. You'll still set the Z-offset once, but the sensor handles the rest before every print.
Price Range: $15 - $40