
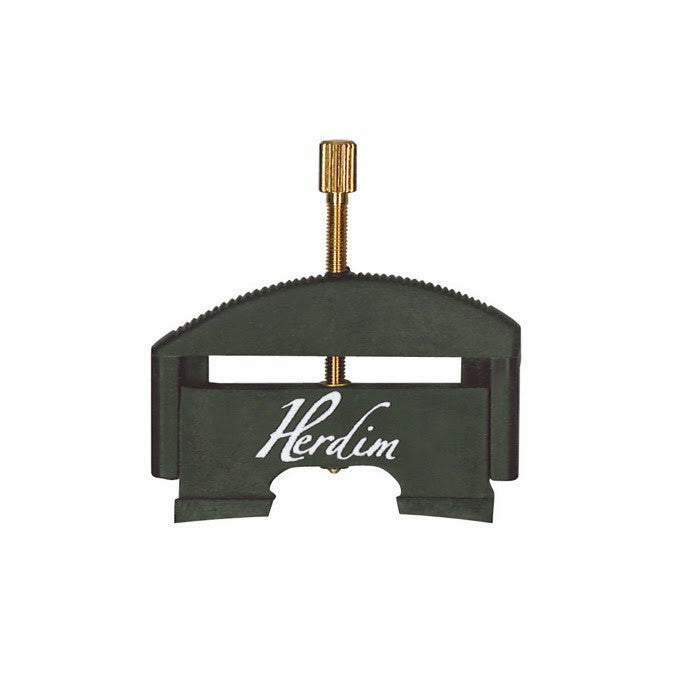
Herdim Violin Bridge Fitting Knife
Essential for flattening and contouring bridge feet accurately.
$35-$45
Herdim Violin Bridge Fitting Knife Precision German steel for clean foot trimming without chatter marks.
Get the App
Better experience on mobile
Master advanced bridge fitting techniques to achieve even string action, buzz-free play, and enhanced tone on your acoustic violin.
Uneven string heights on your violin can lead to buzzing, intonation issues, and fatigue during long practice sessions. For advanced players and luthiers-in-training, leveling the bridge is a game-changing setup tweak that transforms playability without a full professional overhaul.
In this guide, you'll learn to inspect, fit, and level your violin's bridge step-by-step, ensuring perfect contact with the top plate and optimal action height (typically 5-6mm at the fingerboard end). Expect to spend 1-2 hours, depending on your tool proficiency—no prior luthier experience assumed, but basic violin anatomy knowledge helps.
By the end, your violin will feel effortless, with balanced string response and richer projection. This is advanced work; go slow to avoid damaging the delicate top.
Estimated Time: 1-2 hours Difficulty: advanced
Place your violin on a stable surface under good light. Loosen strings slightly but keep tension. Use a straightedge across the bridge top to check if it's perpendicular to the fingerboard—look for gaps indicating warp or tilt.
Sight down the strings from the fingerboard end; they should form a straight line. Measure action height: place a feeler gauge between string and fingerboard at the end of the fingerboard (ideal 5-6mm for E string). Note any buzzing by plucking open strings.
Success looks like: Even string heights, no visible tilt, consistent action. If off by more than 1mm, proceed.
💡 Tips:
⚠️ Warnings:
Detune all strings starting from the A string, winding pegs slowly counterclockwise. Once slack, unhook from tailpiece eyelets one by one, coiling neatly to avoid tangles.
Gently slide the bridge out toward the tailpiece end—never toward the fingerboard, as it could gouge the top. Clean the top where feet sat with a soft cloth.
Success looks like: Bridge removed without scratches, strings coiled, top pristine.
💡 Tips:
⚠️ Warnings:
Choose a bridge matching your violin's size (e.g., 4/4). If reusing, inspect feet for flatness. Use bridge rocker: place blank on rocker; it should balance perfectly on both feet without rocking.
Mark heart (top curve) and kidney (sides) with pencil. Outline feet on paper matching your violin's top arch (typically 14-16mm radius).
Success looks like: Blank rocks evenly, feet outline transferred accurately.
💡 Tips:
Secure blank in vise with cloth padding. Use bridge knife to trim feet to top contour using your paper template—angle blade 45° for clean cuts. Sand lightly with 400 grit following arch.
Place on violin top; rock gently. Feet should kiss top fully—no rocking, no varnish scrape. Repeat trimming/sanding iteratively (remove 0.1mm at a time).
Success looks like: Bridge rocks on pinpoint, feet fully contact top under light pressure.
💡 Tips:
⚠️ Warnings:
Measure current top-to-bridge height at bass and treble feet (ideal 33-35mm total height). Trim top of bridge evenly with knife until height yields 5-6mm action post-stringing.
Keep bridge straight: use straightedge vertically. Sand heart curve for string spacing (E to G: ~33mm).
Success looks like: Even height side-to-side, action gauge confirms specs.
💡 Tips:
Clamp bridge upright. Use straightedge to plane top perfectly flat and perpendicular. File notches for strings: start coarse, depth 0.8-1.2mm tapering shallower toward G string.
Polish with 1200 grit for smooth string seating.
Success looks like: Top flat, notches hold strings without slipping.
💡 Tips:
⚠️ Warnings:
Restring loosely. Position bridge between f-holes marks (E string over notch 1, etc.). Slide to correct distance: tuner shows perfect fifths when tuned.
Tighten strings gradually, plucking to center bridge.
Success looks like: Bridge stays put, strings tune cleanly.
💡 Tips:
Tune to pitch. Check action with feeler gauge—adjust by rocking bridge or shaving top. Play scales; listen for even response, no buzz.
Fine-tune soundpost if projection lacks (separate guide).
Success looks like: Buzz-free play, even action, vibrant tone.
💡 Tips:
⚠️ Warnings:
Problem: Bridge slips forward
Solution: Deepen notches slightly or add rosin to feet; ensure tailgut tension.
Problem: Persistent buzzing on one string
Solution: Check nut slot depth first; refile bridge notch or adjust action.
Problem: Uneven tone side-to-side
Solution: Soundpost likely off—use setter tool or seek pro.
Problem: High action after tuning
Solution: Shave bridge top 0.2mm; recheck neck angle.
Precision German steel for clean foot trimming without chatter marks.
Best for: Essential for flattening and contouring bridge feet accurately.
Price Range: $35-$45
High-quality files with exact violin string gauges for perfect notches.
Best for: Filing string slots to precise depth for even action.
Price Range: $25-$35
Accurate to 0.01mm for measuring heights and spacings.
Best for: Verifying action and bridge dimensions precisely.
Price Range: $15-$25
Tests foot flatness instantly for perfect top contact.
Best for: Initial bridge blank preparation and fit verification.
Price Range: $20-$30
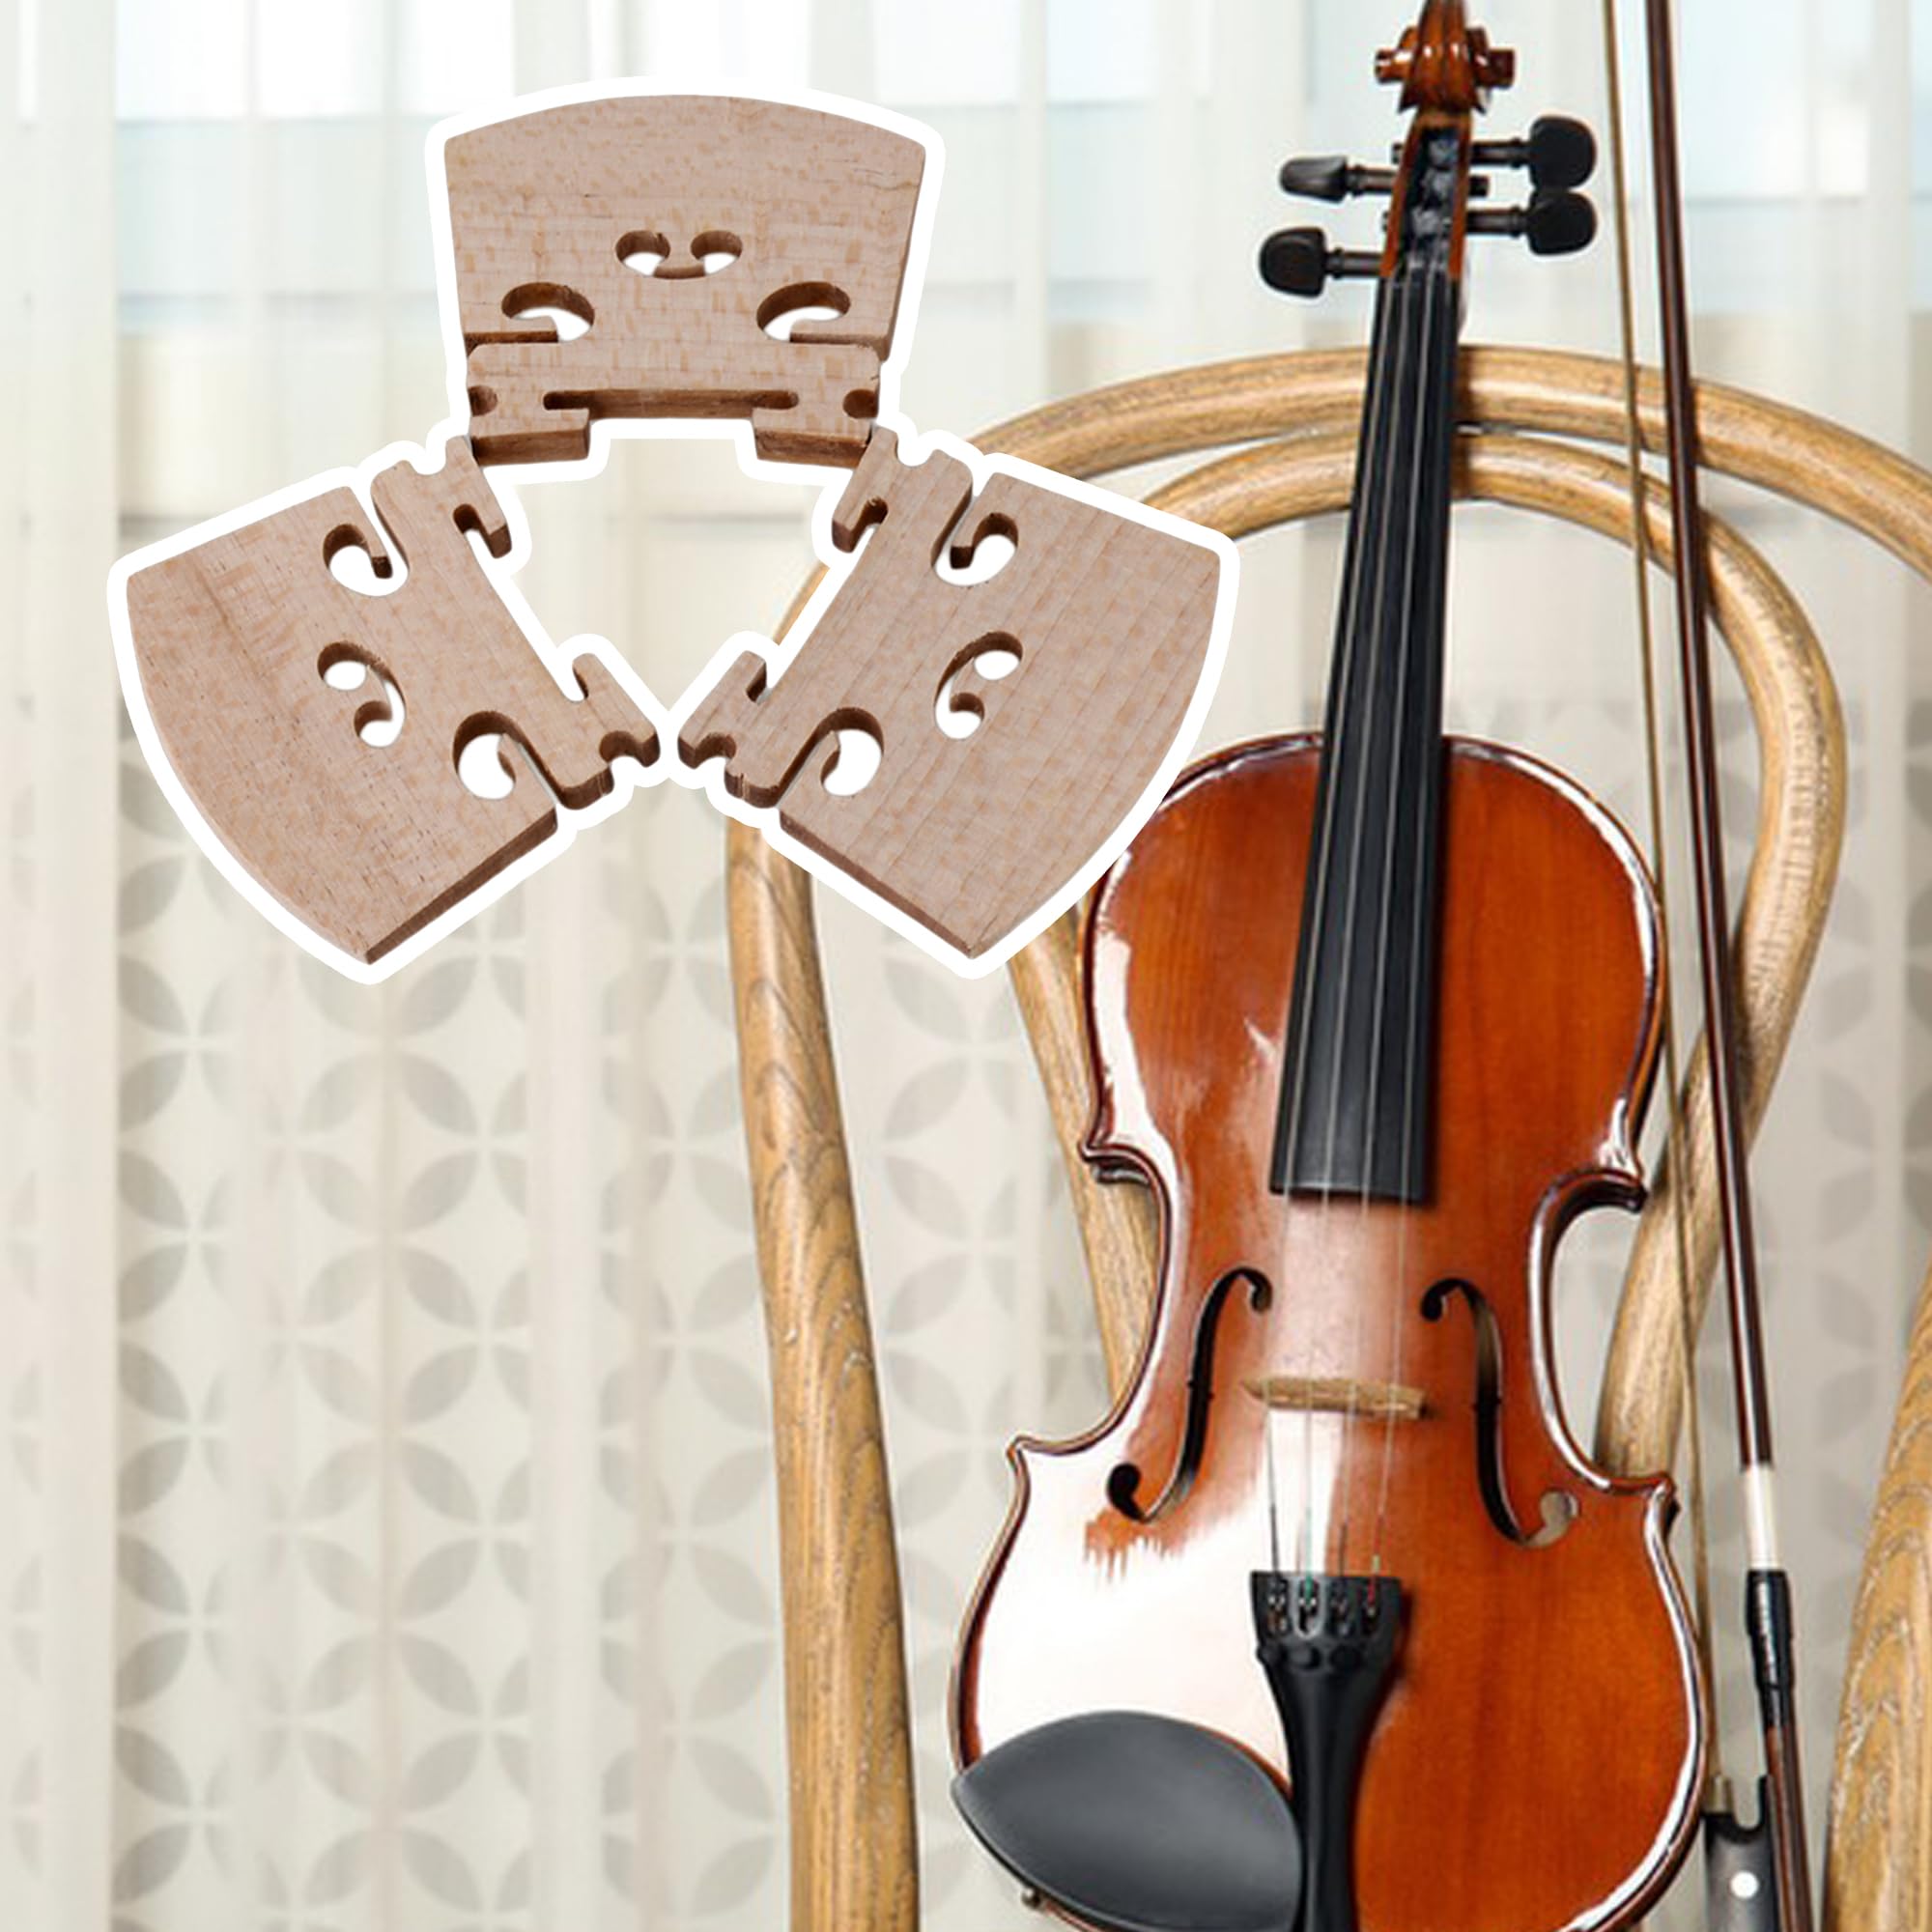
Premium maple blank with superior tone transmission.
Best for: Replacement for old/warped bridges.
Price Range: $10-$20
Essential for flattening and contouring bridge feet accurately.
Herdim Violin Bridge Fitting Knife Precision German steel for clean foot trimming without chatter marks.
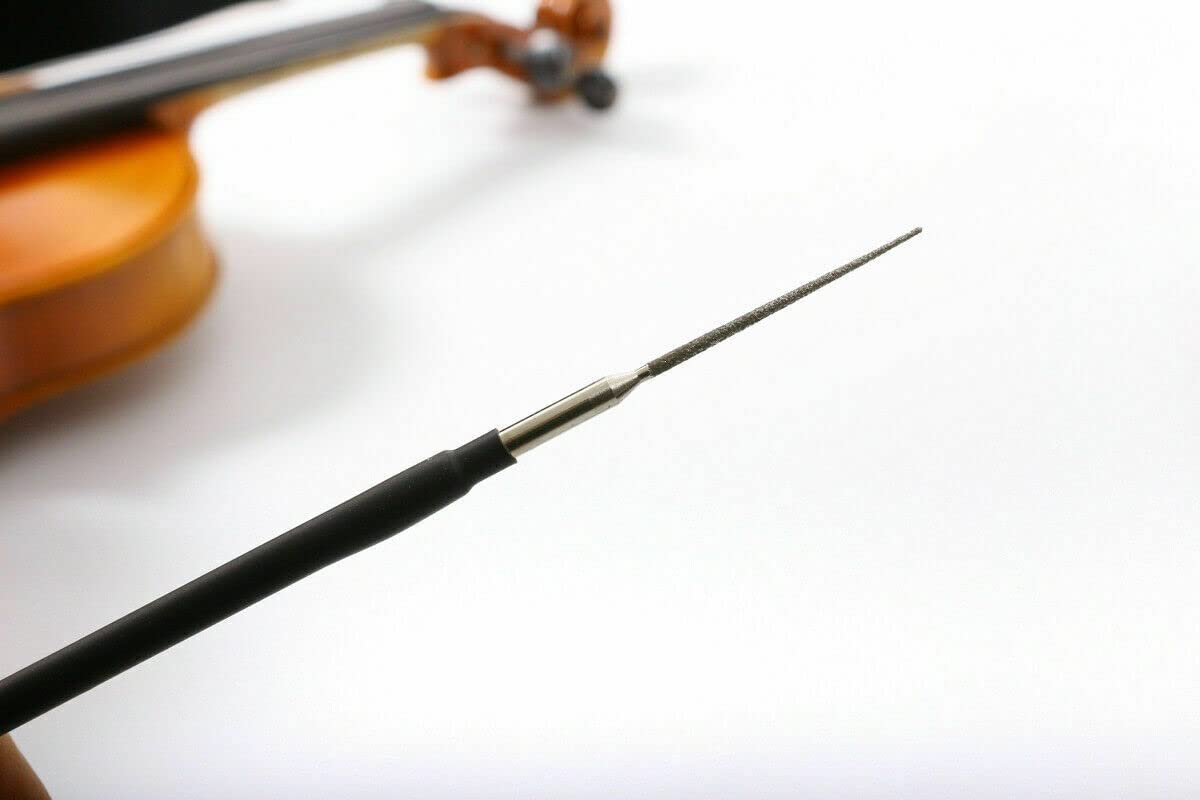
Filing string slots to precise depth for even action.
Grozer Deluxe Violin Nut File Set High-quality files with exact violin string gauges for perfect notches.
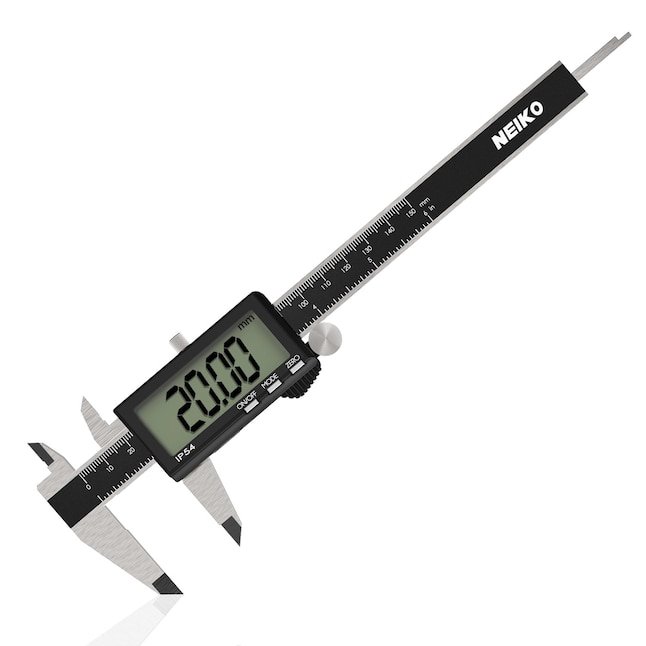
Verifying action and bridge dimensions precisely.
Neiko 01407A Electronic Digital Caliper Accurate to 0.01mm for measuring heights and spacings.
Initial bridge blank preparation and fit verification.
MusicNomad Violin Bridge Rocker Tests foot flatness instantly for perfect top contact.
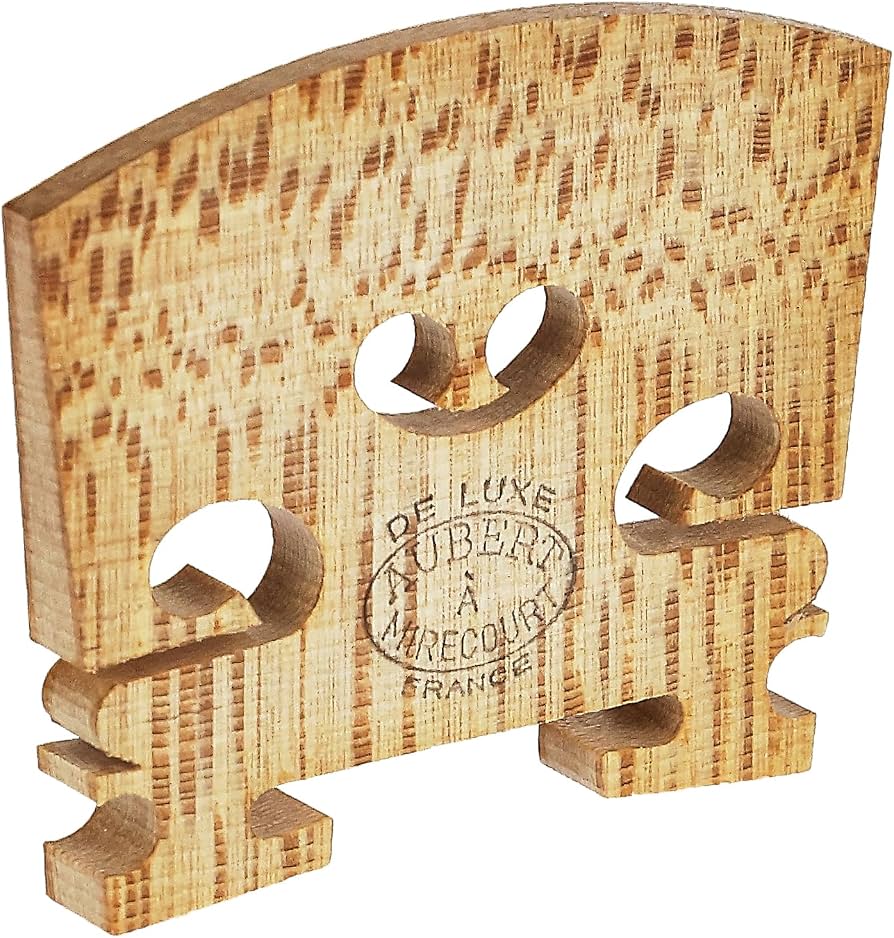
Replacement for old/warped bridges.
Aubert Aubert 4/4 Deluxe Bridge Premium maple blank with superior tone transmission.