
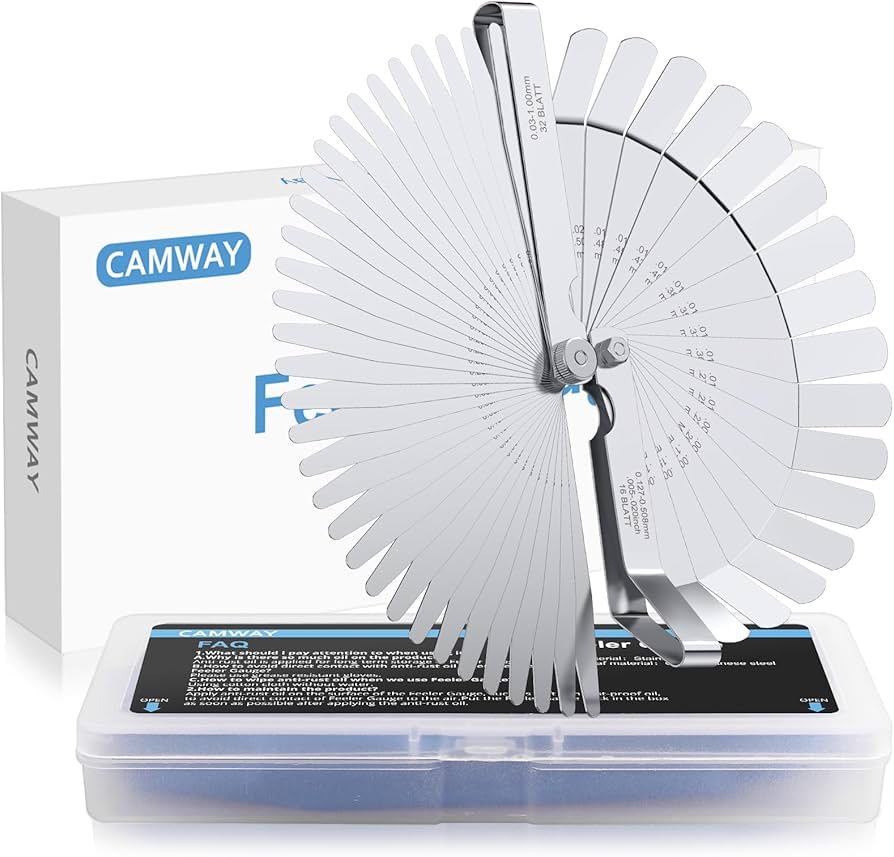
Feeler Gauge Set
When you want to standardize your leveling process or adjust Z-offset precisely.
$5–15
Feeler Gauge Set Provides precise, repeatable thickness (e.g., 0.10mm) for more accurate leveling than paper.
Get the App
Better experience on mobile
Learn the simple paper method to achieve perfect first layer adhesion on your FDM 3D printer – no special tools required.
One of the most common frustrations for new 3D printing enthusiasts is a messy first layer. If your nozzle is too far from the bed, prints won't stick; too close, and you'll grind filament or damage the bed. The paper leveling method is the go-to technique for manually leveling a 3D printer bed – it's cheap, easy, and surprisingly accurate. In this guide, you'll learn step-by-step how to use a standard piece of paper to level your printer bed, ensuring consistent adhesion and successful prints every time. This process takes about 15–20 minutes and requires zero prior experience.
Estimated Time: 15–20 minutes Difficulty: beginner
Start by turning on your printer and navigating to the control menu. Select 'Home All' to move the print head to its home position. Next, preheat the bed and nozzle to your usual printing temperature (e.g., 60°C for PLA bed, 200°C for nozzle). Heating ensures that thermal expansion is accounted for, so your leveling is accurate during actual prints. Once heated, use the control menu to disable the stepper motors (often called 'Motors Off' or 'Release Steppers'). This allows you to move the print head and bed freely by hand.
💡 Tips:
⚠️ Warnings:
A clean bed is essential for accurate leveling. Wipe the entire surface with isopropyl alcohol (70% or higher) using a lint-free cloth. This removes oils, dust, and any leftover filament residue. If you're using a glass bed, you can also give it a quick wash with warm soapy water and dry thoroughly. A dirty bed can cause the paper to snag or slide inconsistently, giving you false readings.
💡 Tips:
⚠️ Warnings:
With the steppers disabled, manually move the print head so the nozzle is directly above the center of the bed. Slide a piece of printer paper between the nozzle and the bed. Gently pull the paper back and forth; you should feel a slight drag, similar to sliding a credit card through a tight wallet. If the paper moves freely with no resistance, the nozzle is too far. If it cannot move or you feel heavy resistance, the nozzle is too close. Adjust the bed center height using the screws underneath the build plate (if your printer allows center adjustment) or by using the Z-axis endstop position (common on i3-style printers). For most printers, you'll focus on the screws at each corner, but a quick center check gives you a baseline.
💡 Tips:
⚠️ Warnings:
Move the print head to the front-left corner of the bed. Position the nozzle directly over the leveling screw of that corner (usually the screw is at the extreme corner, but some printers require you to position the nozzle over the screw location). Slide the paper under the nozzle and feel the drag. Turn the leveling screw accordingly: clockwise to lower the bed (increase distance), counterclockwise to raise the bed (decrease distance). Adjust until you feel a consistent, light drag on the paper. This step may require several small adjustments – a quarter turn at a time is typical.
💡 Tips:
⚠️ Warnings:
Now move the print head to the front-right corner and repeat the paper test and screw adjustment. Then the back-right, then back-left. It's crucial to go in a consistent order (e.g., front-left, front-right, back-right, back-left) to avoid throwing off previous adjustments. After adjusting the fourth corner, go back to the front-left and re-check – the first corner often changes slightly. Continue cycling through all corners until no further adjustment is needed. This usually takes 2–3 full cycles.
💡 Tips:
⚠️ Warnings:
Once all corners feel consistent, re-enable the stepper motors (via the control menu), re-home the printer, then load a simple test print – typically a single-layer square or the printer's built-in leveling pattern. Watch the first layer as it prints. Ideal lines should be flat, slightly squished, and merged together without gaps or ridges. If you see gaps, the nozzle is too far – adjust slightly (increase bed height counterclockwise). If you see ridges or the nozzle drags filament, it's too close – lower the bed. Only minor tweaks are needed after the paper method; often your print will be spot-on.
💡 Tips:
⚠️ Warnings:
Problem: Paper drags too much in one corner but not in others
Solution: That corner is too high – lower it (turn screw clockwise) until drag matches the others. If the bed is warped, consider using a glass bed or mesh leveling.
Problem: Paper moves freely everywhere – no drag
Solution: All corners are too low – raise each corner equally (turn screws counterclockwise) until you feel light drag. Then re-check center.
Problem: Test print shows lines with gaps in some areas
Solution: Those areas are too low – raise the corresponding corner slightly. Also check if the bed is clean and the nozzle is not partially clogged.
Problem: Test print shows ridges or nozzle scraping
Solution: Nozzle too close – lower the bed slightly on the affected corners. If it's overall, raise the Z-offset in your slicer or printer settings.
Problem: Bed leveling screws keep loosening over time
Solution: Use nylock nuts or apply a drop of blue Loctite (threadlocker) to the screws. Also, ensure you're not overtightening, which can strip threads.
Provides precise, repeatable thickness (e.g., 0.10mm) for more accurate leveling than paper.
Best for: When you want to standardize your leveling process or adjust Z-offset precisely.
Price Range: $5–15
Larger knobs make manual turning easier and more comfortable, especially for frequent adjustments.
Best for: Replacing the plastic factory knobs on Creality or similar printers.
Price Range: $10–20
Flexible, magnetic surface that provides excellent adhesion and is easy to clean – reduces need for constant leveling.
Best for: Upgrading from a glass or stock build plate for better first layer stick.
Price Range: $25–40
Essential for cleaning the bed before leveling to remove oils and improve adhesion.
Best for: Quick wipe between prints to keep the bed spotless.
Price Range: $8–15
When you want to standardize your leveling process or adjust Z-offset precisely.
Feeler Gauge Set Provides precise, repeatable thickness (e.g., 0.10mm) for more accurate leveling than paper.
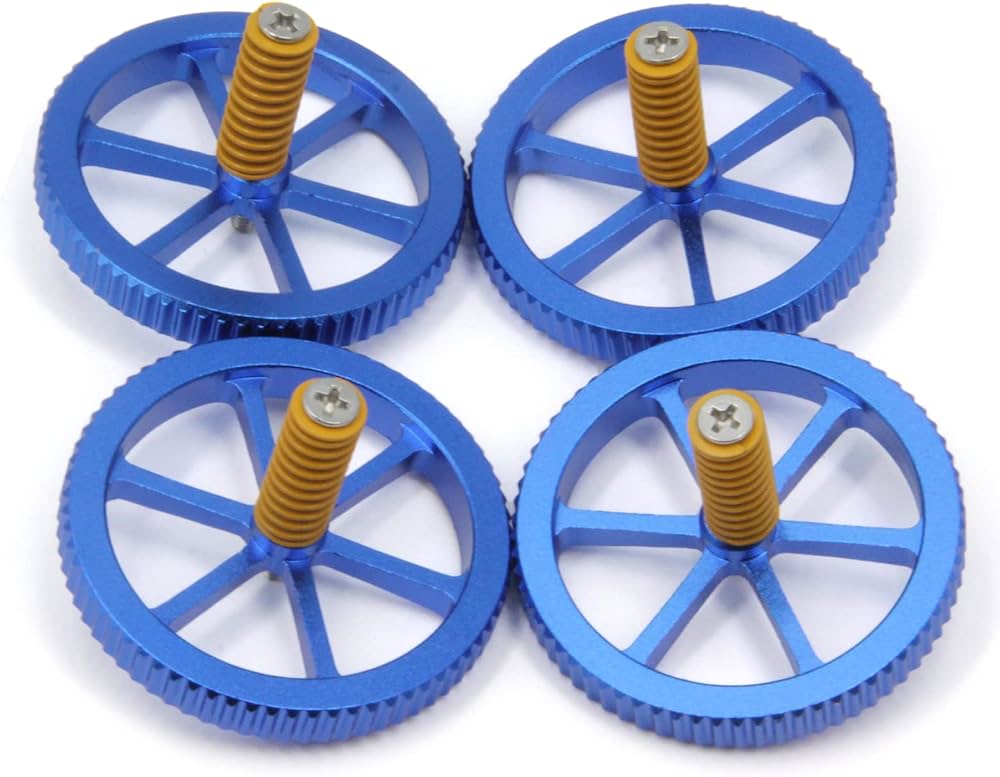
Replacing the plastic factory knobs on Creality or similar printers.
Upgraded Bed Leveling Knobs Larger knobs make manual turning easier and more comfortable, especially for frequent adjustments.
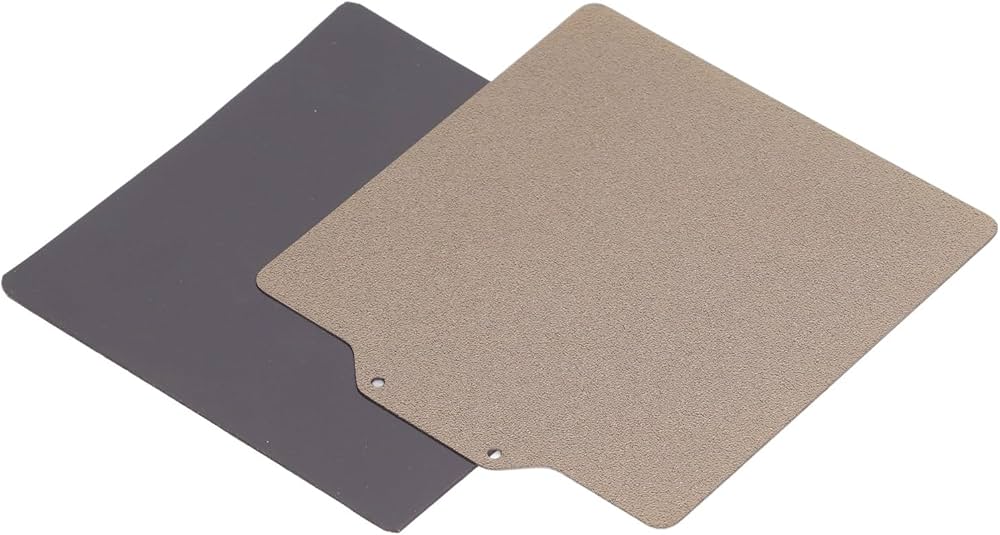
Upgrading from a glass or stock build plate for better first layer stick.
PEI Spring Steel Build Plate Flexible, magnetic surface that provides excellent adhesion and is easy to clean – reduces need for constant leveling.

Quick wipe between prints to keep the bed spotless.
Isopropyl Alcohol 99% (Spray Bottle) Essential for cleaning the bed before leveling to remove oils and improve adhesion.