
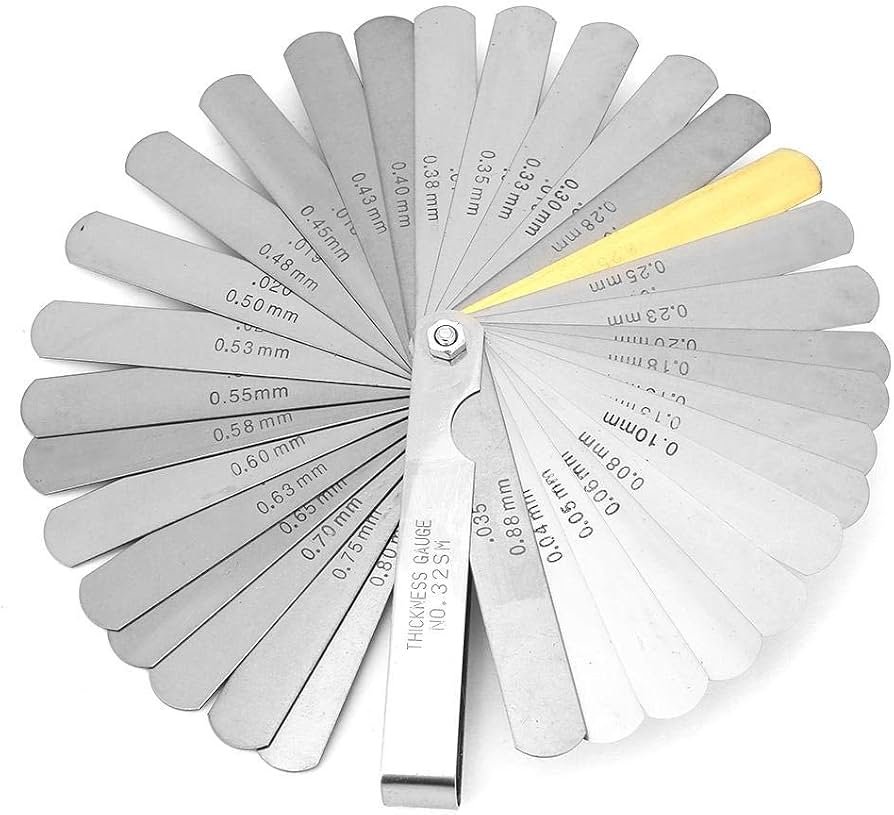
Feeler Gauge Set (0.04mm-0.88mm)
Use the 0.1mm blade for the standard paper-test drag feel.
$6–$15
Feeler Gauge Set (0.04mm-0.88mm) Provides a precise, uniform gap that's more accurate than paper. Great for repeatable leveling.
Get the App
Better experience on mobile
Master the art of bed leveling for flawless first layers with this beginner-friendly guide.
Few things are more frustrating for a new 3D printer owner than a failed print. The root cause is often an unlevel bed—the first layer doesn't stick, or the nozzle drags and gouges the surface. Bed leveling (also called tramming) aligns the print bed so it's parallel to the nozzle's path, ensuring consistent filament extrusion across the entire print area. In this guide, you'll learn a simple, reliable paper method that works on nearly any FDM printer. While the process takes only 20–30 minutes initially, you'll also discover advanced tips and tools to make leveling even easier. No prior experience needed—just patience and a steady hand.
Estimated Time: 20–30 minutes for the first full leveling; 5–10 minutes for routine checks Difficulty: beginner
Before you start, make sure your printer is on a stable surface. Power up the printer and use the control interface to home all axes (usually a 'Home All' button). This moves the nozzle to its starting position. Then, use the control menu to move the nozzle to the center of the bed at a Z-height of about 0.1–0.2 mm. Remove any filament that might ooze out by wiping the nozzle with a cloth (be careful of heat). Clean the print bed surface with isopropyl alcohol to remove grease and residue; a clean bed is crucial for accurate leveling and good adhesion.
💡 Tips:
⚠️ Warnings:
After homing, you need to be able to move the print head and bed freely to access each corner. Most printers have a 'Disable Steppers' option in the control menu. If yours doesn't, you can gently move the axes while the printer is idle (steppers will resist slightly but it's usually fine). For manual leveling, you'll be turning the adjustment knobs under the bed corners, so being able to slide the paper under the nozzle without resistance is important.
💡 Tips:
Manually move the print head to the front-left corner of the bed. The nozzle should be positioned roughly over the adjustment screw. Take your piece of paper and slide it between the nozzle and the bed. You want a light drag – you should feel the paper rubbing against both the nozzle and the bed, but you can still pull it out with slight resistance. If the paper moves freely, the gap is too large; turn the knob clockwise to raise the bed (decrease gap). If the paper won't slide or is pinched tight, turn the knob counter-clockwise to lower the bed. Once you achieve the 'light drag' feel, move to the next corner.
💡 Tips:
⚠️ Warnings:
Following the same process, move the print head to the front-right corner, then back-left, then back-right. At each corner, adjust the corresponding knob to achieve the same light drag on the paper. It's common to affect previously leveled corners as you adjust others, so you'll need to go around at least two or three times. After the first pass, re-check all corners; you'll likely find the first corner changed slightly. Continue cycling until all four corners (and optionally the center) feel consistent.
💡 Tips:
⚠️ Warnings:
After leveling all four corners, move the nozzle to the center of the bed. Perform the same paper test. If the center feels different, your bed may be warped (common with glass or aluminum beds). In that case, you may need to use a mesh leveling (auto bed leveling sensor) or physically shim the bed. For beginners, if the center is slightly tighter or looser, you can sometimes compromise: set the corners so the center is 'close enough' – typically within a 0.1 mm variance works for most prints.
💡 Tips:
⚠️ Warnings:
Once satisfied with the leveling, re-enable the stepper motors (or just start a print – the motors activate automatically). Load a small test print, like a single-layer square or a benchy first layer. Watch as the printer lays down the first layer. A perfectly leveled bed will produce a smooth, even line of filament that sticks well without gaps or ridges. If you see separation or the nozzle plowing through filament, you may need to fine-tune the Z-offset or repeat the leveling.
💡 Tips:
⚠️ Warnings:
Even with a level bed, the first layer may not stick if the nozzle is too high or too low. Many printers allow you to adjust the Z-offset (the distance between the nozzle and the bed when homed). If your test print shows gaps, decrease the Z-offset (make it more negative) by 0.05 mm increments. If the filament is too squished or the bed is scratched, increase the offset. This setting is saved and will apply for all future prints until you change it.
💡 Tips:
⚠️ Warnings:
Once you have a perfect first layer, note your Z-offset and which corners required more tightening. Over time, print beds can shift due to vibration or temperature changes. Keeping a log helps you quickly re-level when needed. If auto bed leveling is available, run it and save the mesh to your printer's EEPROM.
💡 Tips:
Problem: First layer won't stick even after leveling
Solution: Clean the bed thoroughly with isopropyl alcohol or soap and water. Check your Z-offset – it may need to be lowered slightly. If using a glass bed, apply a thin layer of glue stick or hairspray for adhesion.
Problem: Nozzle dragging on the bed or gouging the surface
Solution: Your nozzle is too close. Increase the Z-offset or lower the bed corners. Make sure the bed is not warped heavily. Also check that the X-gantry is not sagging (right side drops) – tighten eccentric nuts if needed.
Problem: Bed level varies across multiple prints
Solution: Loose springs are often the culprit. Tighten them or replace with silicone spacers. Also ensure the adjustment knobs are not slipping – some printers have lock nuts. Finally, check that the bed itself is securely mounted.
Problem: Center is lower than corners (dip)
Solution: Use a glass bed to create a flatter surface. Alternatively, use auto bed leveling with mesh compensation. If you don't have an ABL sensor, you can add small pieces of aluminum foil under the center of the bed to raise it.
Problem: One corner always goes out of level
Solution: Inspect that corner's spring and screw. The spring may be worn out, or the screw may be loose in its mount. Replace the spring or tighten the retaining nut. Also check that the bed mount is not bent.
Provides a precise, uniform gap that's more accurate than paper. Great for repeatable leveling.
Best for: Use the 0.1mm blade for the standard paper-test drag feel.
Price Range: $6–$15
Takes the guesswork out of manual leveling. It probes the bed at multiple points and compensates for warps automatically.
Best for: Install on any printer with a spare control board port; ideal if you print a lot or have a warped bed.
Price Range: $30–$50
Silicone spacers are more rigid and durable than springs, reducing the frequency of re-leveling.
Best for: Replace standard springs under the bed. They come in different heights (e.g., 18mm) and often include washers.
Price Range: $8–$20
Useful for measuring bed flatness and confirming nozzle gap accurately (with a feeler gauge).
Best for: Check the thickness of various shims or measure the actual distance between nozzle and bed with a known shim.
Price Range: $15–$30
Provides a perfectly flat, adhesive-friendly surface that reduces the need for frequent leveling.
Best for: Replace your stock bed – PEI sticks well when hot and releases when cool, no glue needed.
Price Range: $20–$40
Use the 0.1mm blade for the standard paper-test drag feel.
Feeler Gauge Set (0.04mm-0.88mm) Provides a precise, uniform gap that's more accurate than paper. Great for repeatable leveling.
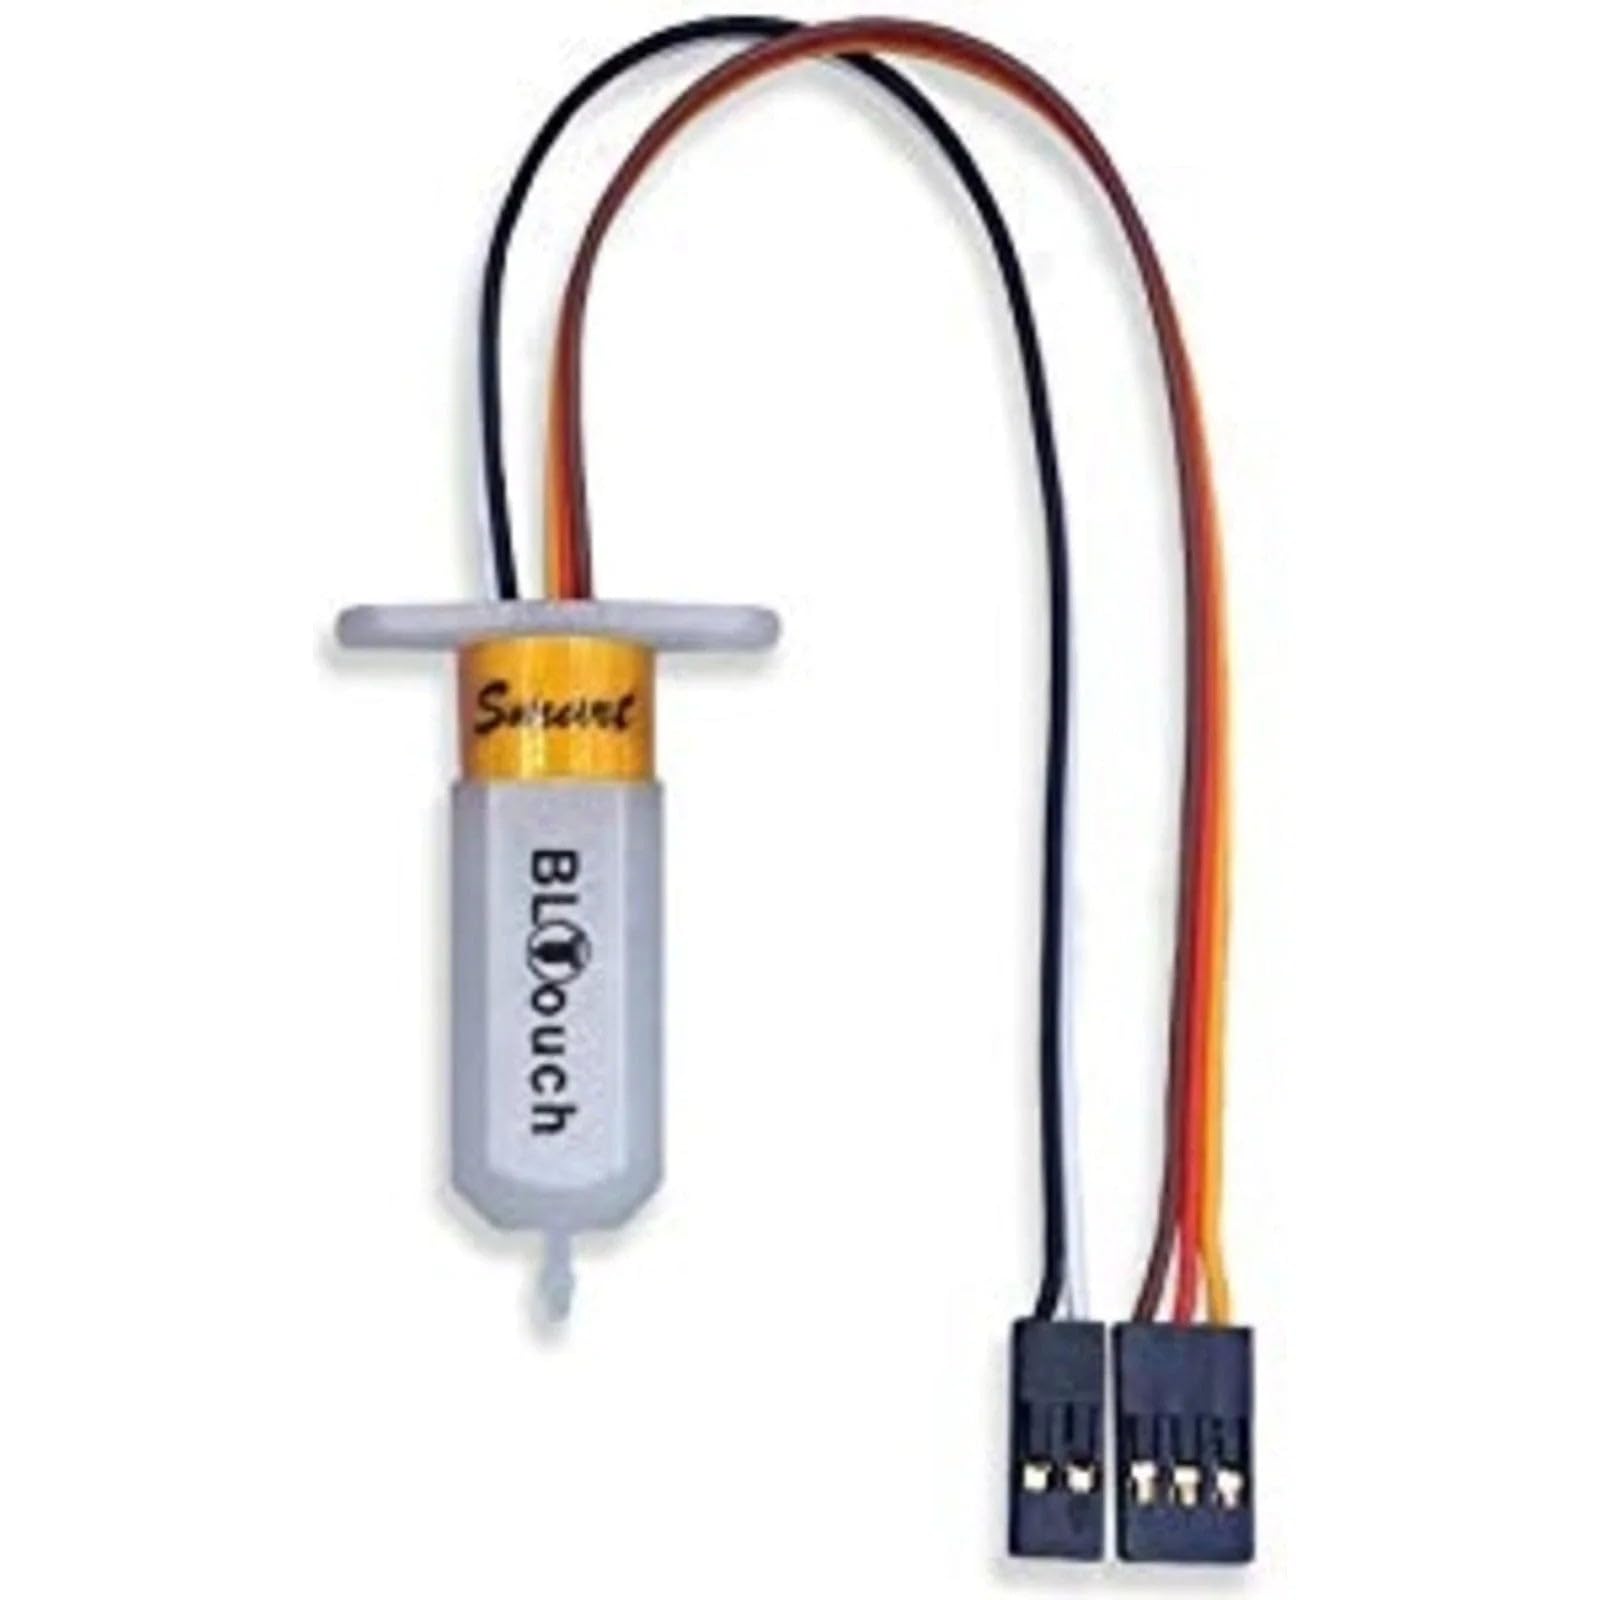
Install on any printer with a spare control board port; ideal if you print a lot or have a warped bed.
BLTouch Auto Bed Leveling Sensor Takes the guesswork out of manual leveling. It probes the bed at multiple points and compensates for warps automatically.
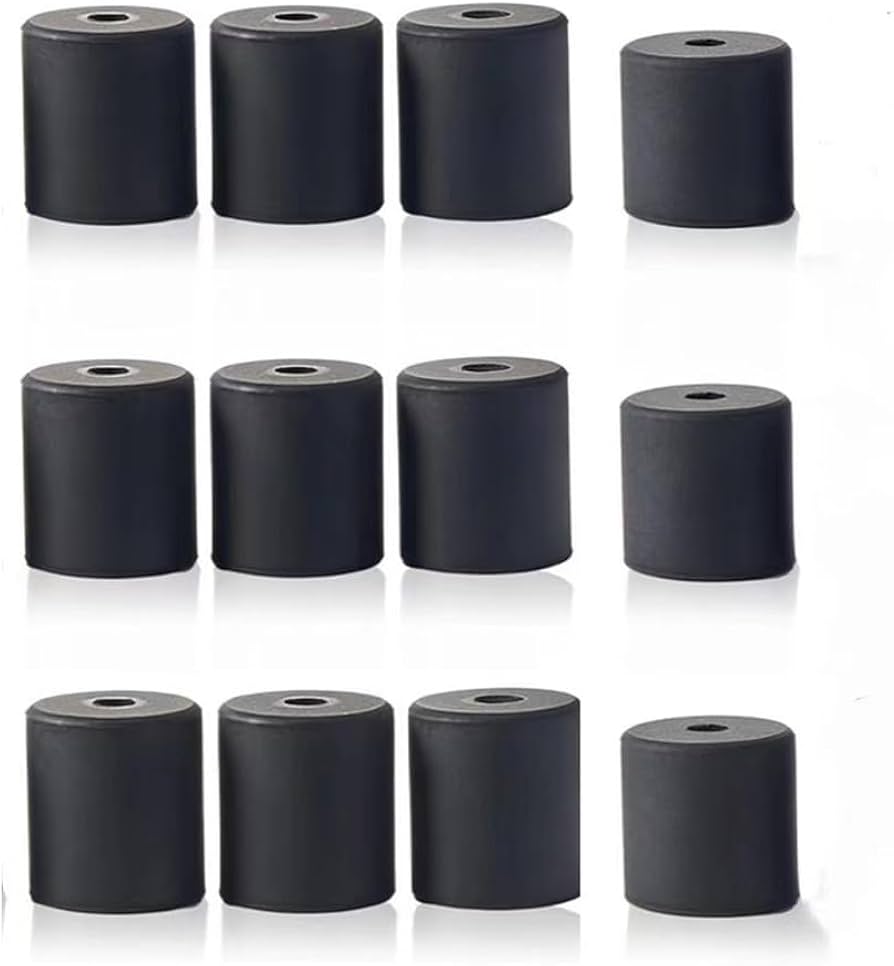
Replace standard springs under the bed. They come in different heights (e.g., 18mm) and often include washers.
Silicone Bed Mounts/Spacers Silicone spacers are more rigid and durable than springs, reducing the frequency of re-leveling.
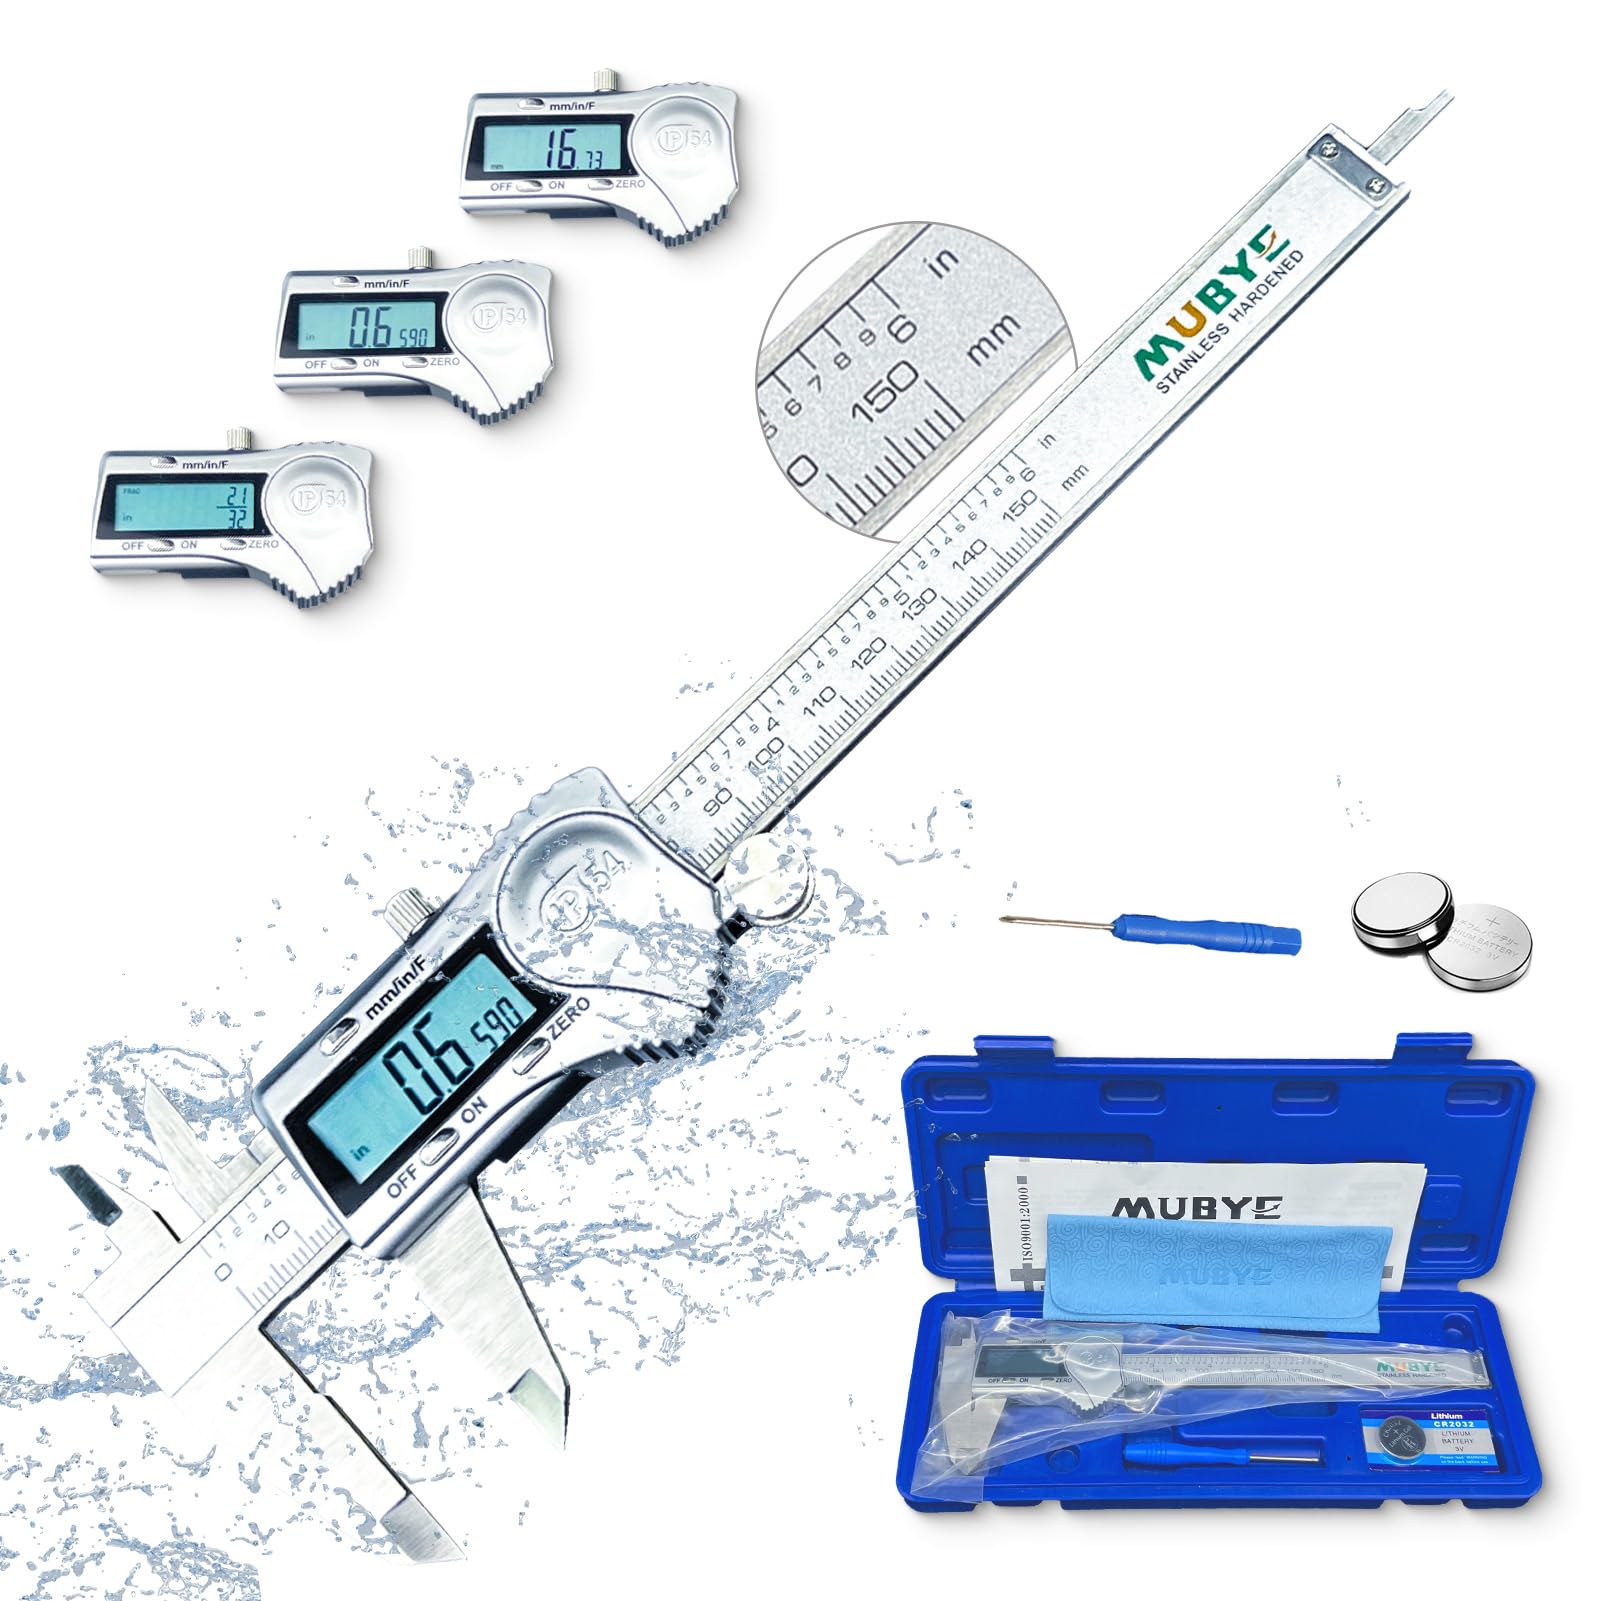
Check the thickness of various shims or measure the actual distance between nozzle and bed with a known shim.
Digital Caliper (150mm/6 inch) Useful for measuring bed flatness and confirming nozzle gap accurately (with a feeler gauge).

Replace your stock bed – PEI sticks well when hot and releases when cool, no glue needed.
PEI Glass Print Bed Provides a perfectly flat, adhesive-friendly surface that reduces the need for frequent leveling.