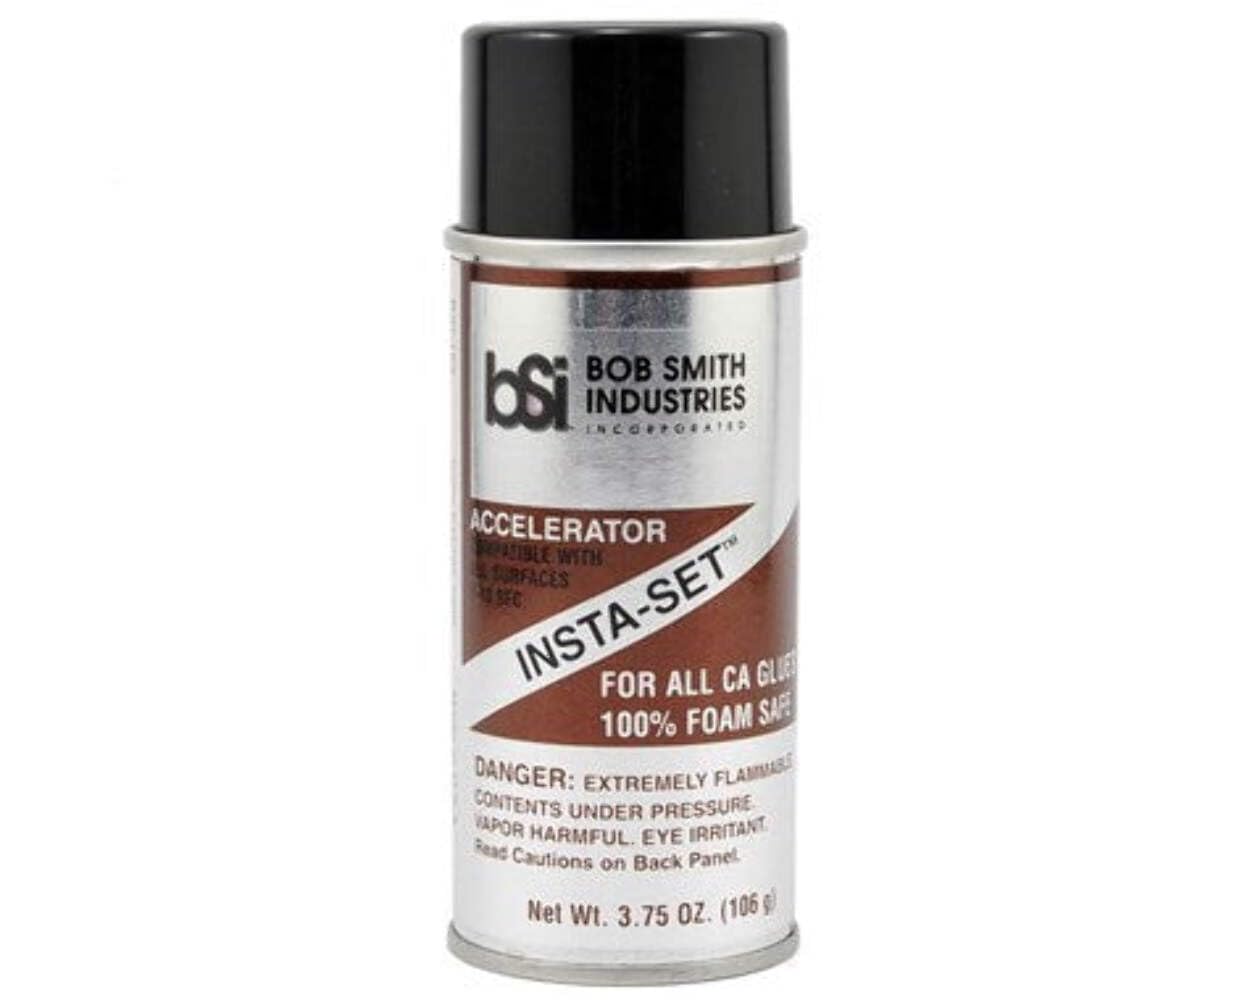
BSI Insta-Set Accelerator Spray
Ideal for hobbyists/modelers needing quick sets on plastics.
$9.99
BSI Insta-Set Accelerator Spray Top-rated for precise layering; non-chlorinated formula prevents weakening (ASIN: B0006N6O1K).
Get the App
Better experience on mobile
Master advanced layering techniques to bond materials in under 10 seconds using cyanoacrylate accelerators for pro-level results.
Struggling with slow-curing adhesives that halt your workflow in model building, manufacturing, or repairs? Layering adhesive accelerators with cyanoacrylate (CA) glues solves this by enabling ultra-fast sets—often in 2-5 seconds—while maintaining bond strength. This advanced method prevents common issues like white bloom or premature curing.
In this guide, you'll learn a precise, step-by-step process to layer accelerators for reliable quick sets. Expect to achieve invisible, rock-solid bonds on plastics, metals, and woods. The process takes 10-15 minutes total, including prep, and requires intermediate CA glue experience.
We'll cover safety, materials, sequential layering, and pro tips to avoid pitfalls, ensuring your projects cure flawlessly every time.
Estimated Time: 10-15 minutes per bond (including prep and cure) Difficulty: advanced
Clear a well-ventilated area with good lighting. Lay down a non-porous surface to catch drips and protect from CA fumes. Don nitrile gloves and goggles—CA and accelerators can irritate skin and eyes.
Why it matters: Fumes from accelerators are strong; poor ventilation leads to headaches or dizziness. Success looks like a drip-free zone ready for precise work.
Pro tip: Use a fan directed away from your workspace to disperse vapors without blowing parts around.
💡 Tips:
⚠️ Warnings:
Wipe both surfaces with 99% isopropyl alcohol using lint-free cloths. Let dry completely (1-2 minutes). Abrade glossy surfaces lightly with 400-grit sandpaper for better mechanical keying.
This removes oils and contaminants that weaken bonds. Expect matte, dry surfaces—any residue will cause failure.
Advanced note: For porous materials like wood, seal with a thin CA wipe first to prevent accelerator soak-in.
💡 Tips:
⚠️ Warnings:
Shake accelerator well. Hold sprayer 6-8 inches away and mist a very thin layer on one surface only (the non-CA side). Let it flash off for 10-20 seconds until dry to touch.
Layering starts here: This base layer kick-starts polymerization without shocking the glue. Success: Surface looks unchanged, no puddles.
Why thin? Thick layers cause 'shock curing' and brittle bonds.
💡 Tips:
Using a needle or dropper, apply a single thin bead of thin-viscosity CA to the opposite (dry) surface. Spread if needed for even coverage—avoid excess.
The first accelerator layer activates the CA instantly upon contact. Expect initial tack in 2-3 seconds. This controls gap-filling and prevents stringing.
💡 Tips:
⚠️ Warnings:
Align and press the accelerator-treated surface onto the CA side within 5 seconds. Apply firm, even pressure for 10-20 seconds.
Bond should hold rigidly—no slippage. The layered approach ensures deep penetration before full cure.
Mist a second ultra-thin accelerator layer over the joint seams. Keep distance 8-10 inches for feathering. Let flash off 20-30 seconds.
This layer accelerates full-depth cure without surface whitening. Expect bond to harden fully in 1-2 minutes—test by flexing gently.
💡 Tips:
⚠️ Warnings:
For thick parts or high-stress bonds, apply a third mist after 30 seconds. Clamp lightly (no squeeze-out) for 2-5 minutes.
Final cure: Bond withstands 10-20 PSI shear. Remove clamps and sand excess if needed.
💡 Tips:
After 5 minutes, stress-test: Twist, pull, or drop from 1 foot. Sand smooth and post-cure under UV light if available for max strength.
Success: Invisible, durable joint ready for paint/use. Full strength in 24 hours.
⚠️ Warnings:
Problem: White bloom (frosty residue)
Solution: Wipe with alcohol immediately; use thinner layers next time. Buff with fine sandpaper.
Problem: Brittle or weak bond
Solution: Check surface prep; reduce accelerator—balance with 24-hour cure.
Problem: No instant set
Solution: Verify thin CA viscosity and fresh accelerator; increase first layer dwell time.
Problem: Excess heat or cracking
Solution: Halve spray volume; work in cooler temps. Seek pro if recurring.
Top-rated for precise layering; non-chlorinated formula prevents weakening (ASIN: B0006N6O1K).
Best for: Ideal for hobbyists/modelers needing quick sets on plastics.
Price Range: $9.99
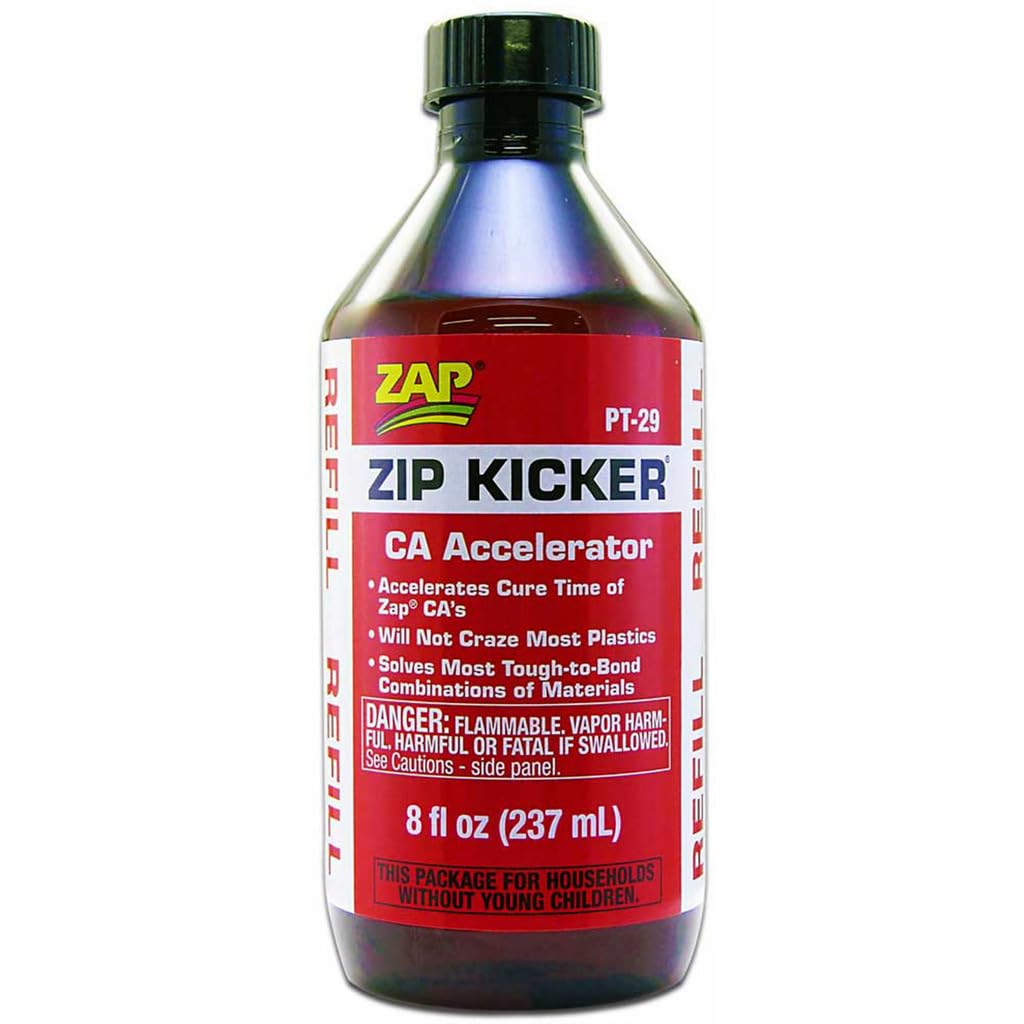
Budget-friendly pump spray for controlled thin layers; fast evaporation (ASIN: B001U2BC8M).
Best for: Production or repairs requiring multiple accelerator passes.
Price Range: $7.49
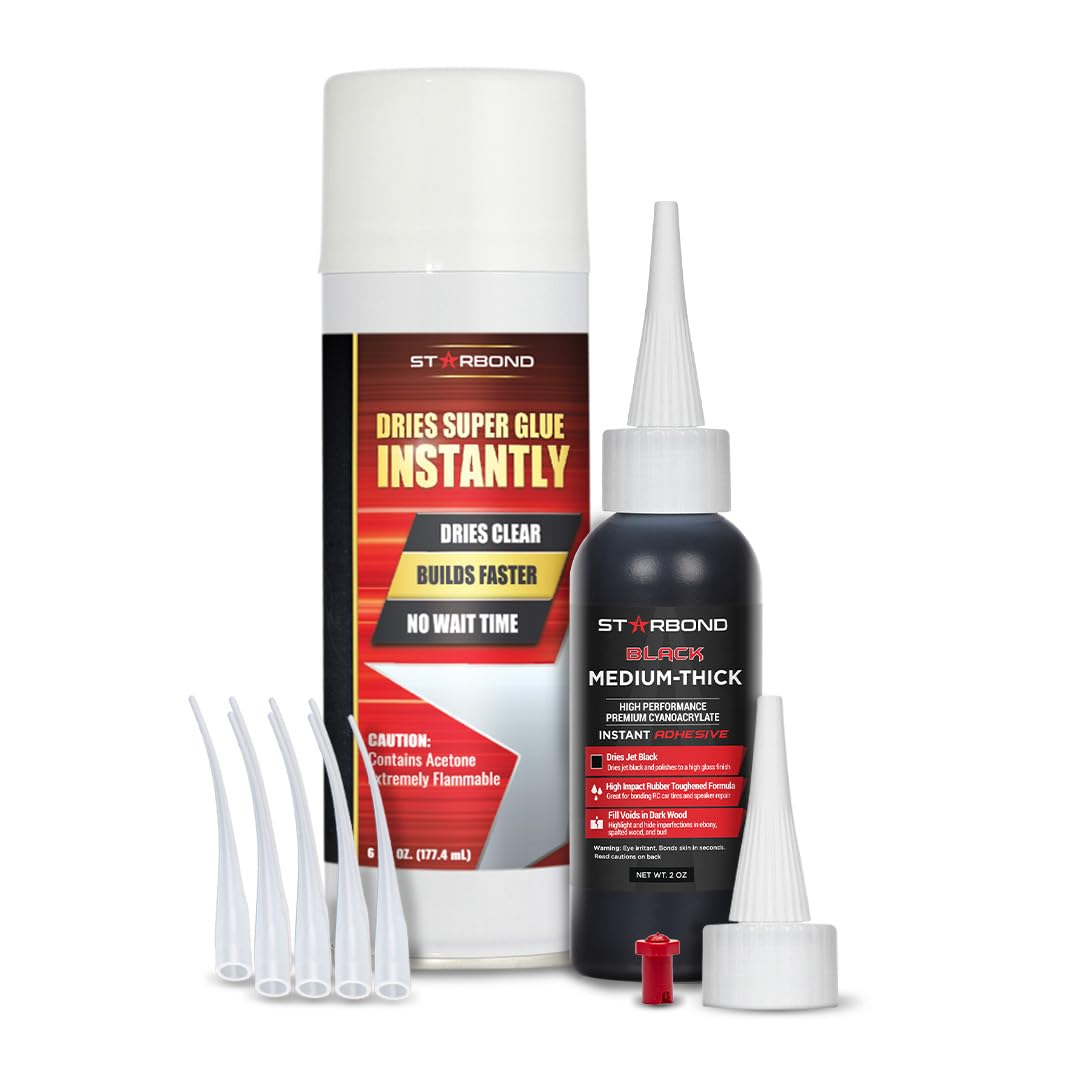
Premium no-clog design perfect for advanced layering; pairs with Starbond CA (ASIN: B08L3Z5Q5Q).
Best for: High-precision work like RC models or jewelry.
Price Range: $14.99
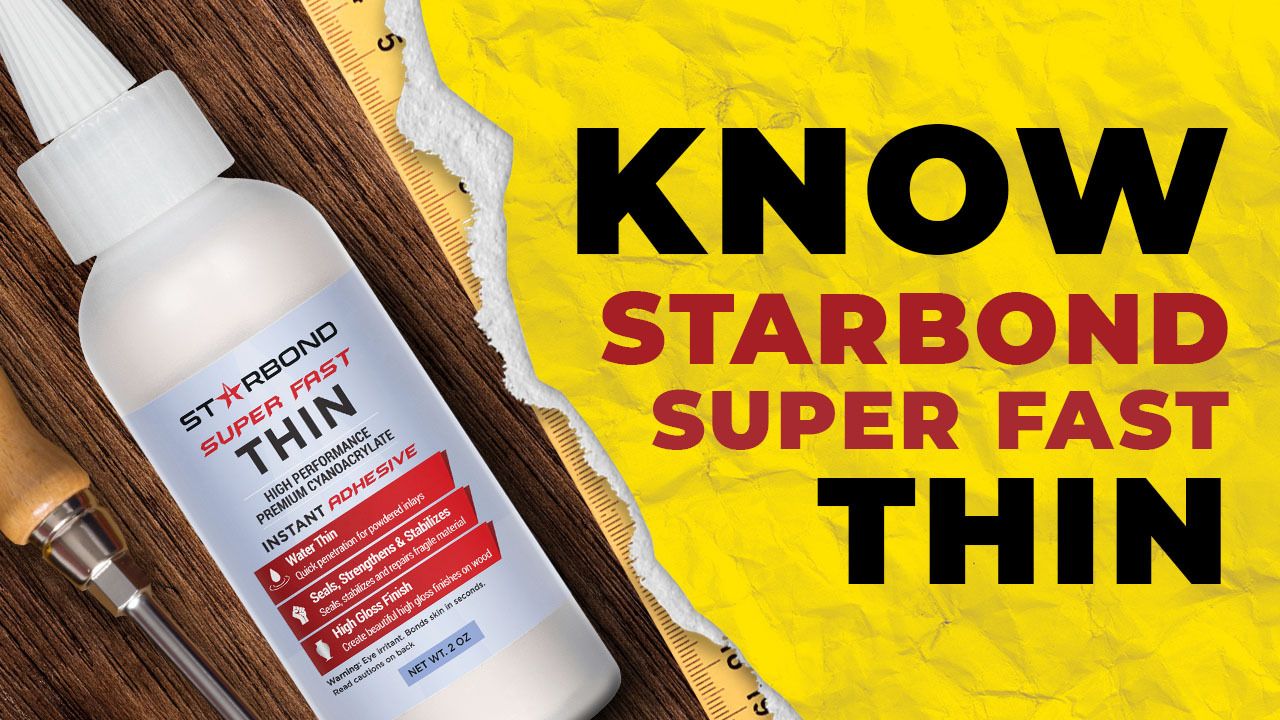
Optimized thin viscosity for layering techniques; instant activation (ASIN: B07D7J7Z5P).
Best for: Complements accelerators for gap-free quick bonds.
Price Range: $12.99
Ideal for hobbyists/modelers needing quick sets on plastics.
BSI Insta-Set Accelerator Spray Top-rated for precise layering; non-chlorinated formula prevents weakening (ASIN: B0006N6O1K).
Production or repairs requiring multiple accelerator passes.
Pacer Technology ZAP Zip Kicker Budget-friendly pump spray for controlled thin layers; fast evaporation (ASIN: B001U2BC8M).
High-precision work like RC models or jewelry.
Starbond EM-02 No-Clog CA Accelerator Premium no-clog design perfect for advanced layering; pairs with Starbond CA (ASIN: B08L3Z5Q5Q).
Complements accelerators for gap-free quick bonds.
Starbond Blue Label Super Fast Thin CA Glue Optimized thin viscosity for layering techniques; instant activation (ASIN: B07D7J7Z5P).