Area rugs add warmth, style, and comfort to carpeted rooms, but nothing ruins the look faster than a rug that bunches up or slides underfoot. Tripping hazards from slipping rugs are a common issue in homes, especially in high-traffic areas like living rooms or hallways. If you've ever dealt with a rug that won't stay put, you're not alone—it's a frequent frustration for homeowners.
In this guide, you'll learn proven methods to lay area rugs on carpet without slipping, using simple tools like non-slip pads. We'll cover everything from preparation to final adjustments, focusing on safe, effective techniques that keep your rugs in place. By the end, your floors will look polished and secure.
The process is straightforward and takes just 15-30 minutes, making it ideal for beginners. No advanced skills or heavy lifting required—just follow the steps for lasting results.
▸What You'll Need
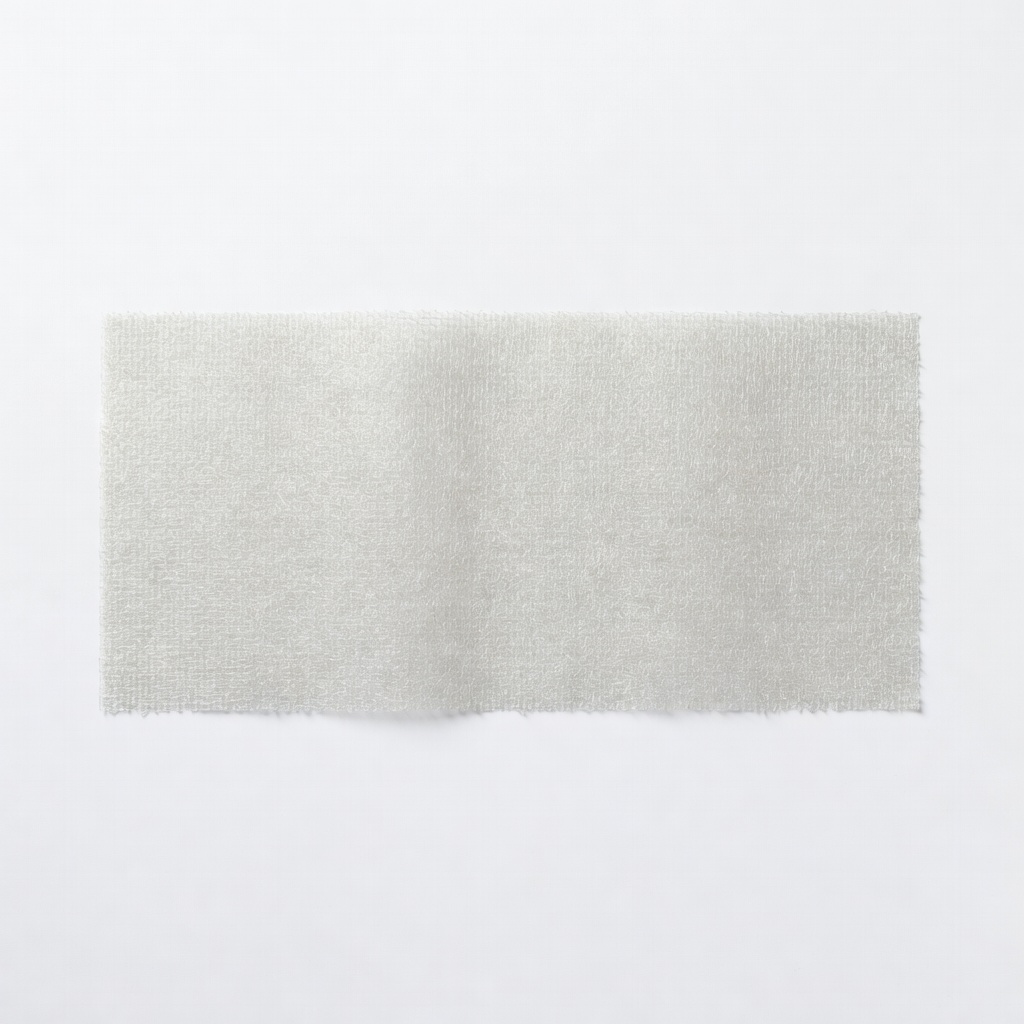
- •Non-slip rug pad (required; choose felt or rubber-backed for carpet use)
- •Area rug (the one you want to lay)
- •Tape measure (required for sizing)
- •Utility knife or scissors (required for cutting pad)
- •Vacuum cleaner (required for cleaning)
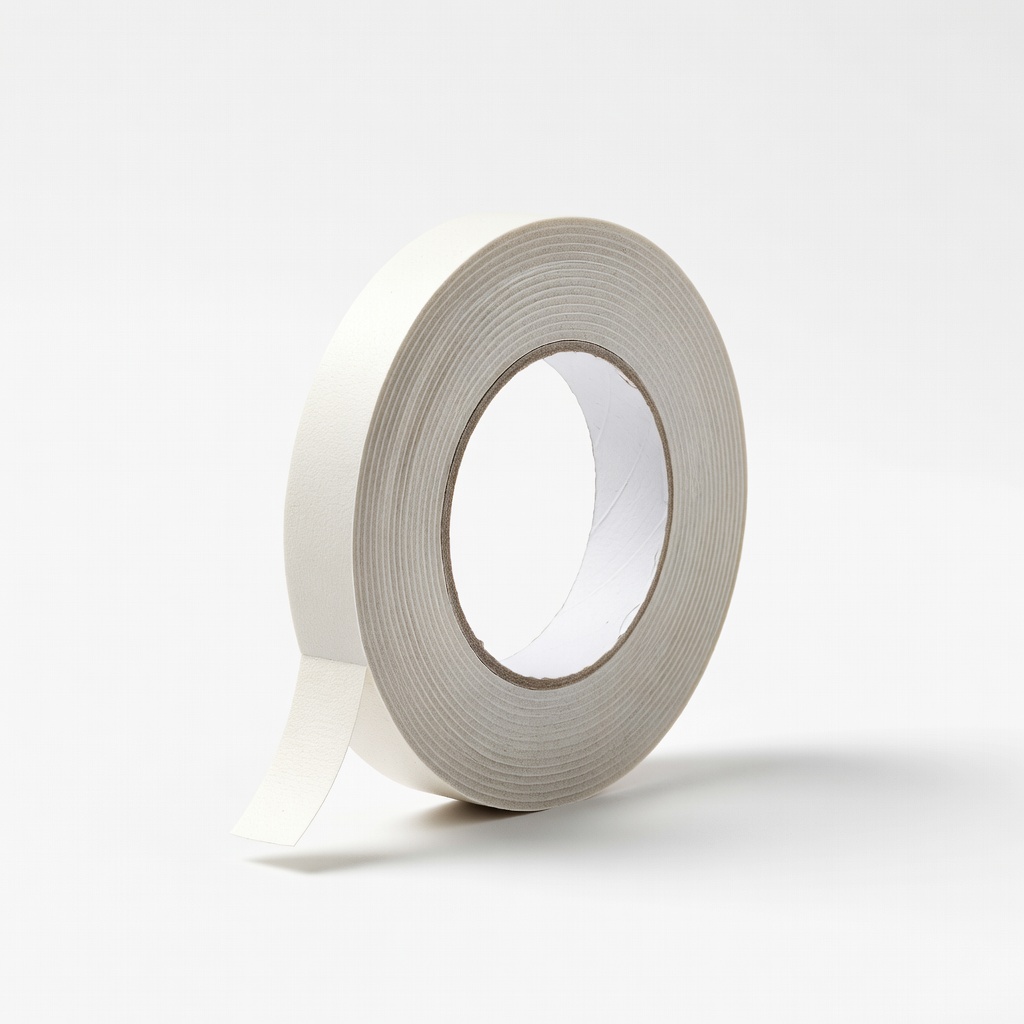
- •Double-sided rug tape (optional, for extra grip in high-traffic areas)
- •Carpet rake or brush (optional, for smoothing)
Estimated Time: 15-30 minutes
Difficulty: beginner
▸Step-by-Step Instructions
Step 1: Select the Right Non-Slip Rug Pad
Start by choosing a rug pad specifically designed for use on carpet. Look for pads made from felt or natural rubber, as these provide grip without damaging the underlying carpet fibers. Avoid latex pads, which can stick too aggressively and leave residue.
Why it matters: The pad acts as a barrier that increases friction between the rug and carpet, preventing movement. For beginners, opt for a pad that's 1/8-inch thick to ensure stability without adding bulk.
What to expect: Your pad should match the rug's size and be cuttable if needed. Success looks like a pad that feels grippy when tested on a small carpet sample.
💡 Tips:
- •Measure your rug first to buy the correct size—better to trim than to have excess.
- •Choose a pad with a warranty for easy returns if it doesn't work well.
⚠️ Warnings:
- •Don't skip this step; rugs without pads are prone to slipping, increasing fall risks.
Step 2: Measure and Cut the Rug Pad to Size
Lay your area rug flat in the desired position on the carpeted floor. Use a tape measure to note the dimensions, then place the rug pad underneath and mark where to cut for a perfect fit—aim for the pad to be slightly smaller than the rug (about 1 inch on all sides).
Cut the pad using a utility knife on a protected surface like cardboard to avoid dulling the blade. Why it matters: A properly sized pad ensures even distribution of weight and prevents edges from curling up.
What to expect: The cut pad should lie flat without overlaps or gaps. Success is a seamless underlay that doesn't shift when you press down.
💡 Tips:
- •Work in a well-lit area and double-check measurements to avoid waste.
- •If the pad is pre-cut, test-fit it before final placement.
⚠️ Warnings:
- •Be careful with the utility knife—use a cutting mat to prevent slips and injuries.
Step 3: Clean the Carpeted Area Thoroughly
Vacuum the carpet section where the rug will go to remove dirt, debris, and loose fibers. If there's any embedded grit, use a carpet rake to loosen it up before vacuuming again.
Why it matters: A clean surface ensures the rug pad adheres properly and doesn't collect hidden particles that could cause uneven slipping over time.
What to expect: The carpet should feel smooth and free of dust. Success is a fresh, prepared base ready for the pad—no visible residue when you run your hand over it.
💡 Tips:
- •Vacuum in multiple directions for deeper cleaning, especially in textured carpets.
- •Spot-clean stains with a mild solution if needed, and let it dry fully.
⚠️ Warnings:
- •Avoid over-wetting the carpet, as moisture can weaken the grip and promote mold.
Step 4: Place the Rug Pad Under the Rug
Position the cut rug pad directly on the cleaned carpet, ensuring it's centered and flat. Smooth out any wrinkles by hand or with a carpet rake.
Why it matters: Proper placement maximizes friction and prevents the pad from shifting, which could lead to rug movement.
What to expect: The pad should stay put when you step on it lightly. Success looks like a wrinkle-free layer that's invisible once the rug is added.
💡 Tips:
- •Start from the center and work outward to avoid bubbles.
- •For larger rugs, enlist a helper to hold one side while you align.
⚠️ Warnings:
- •Don't use the pad on freshly shampooed carpet—wait 24 hours for it to dry completely.
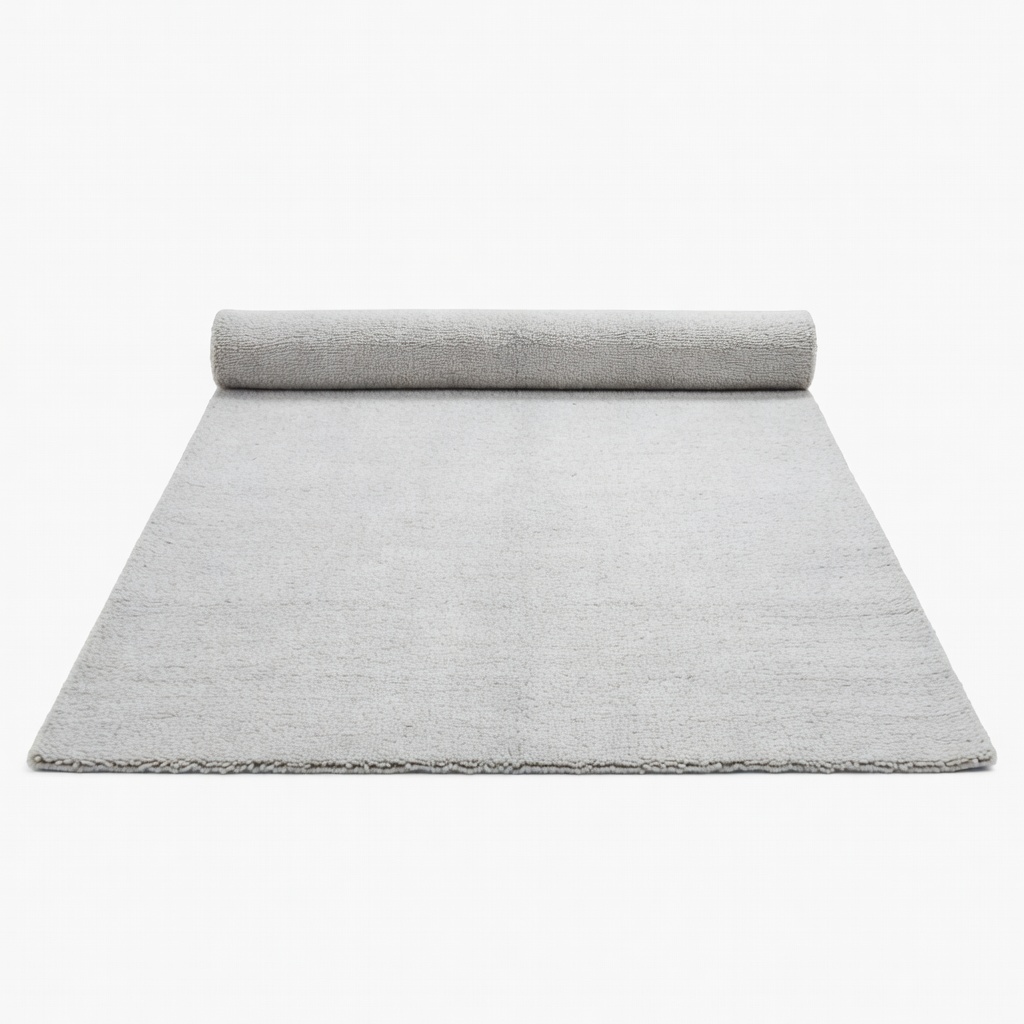
Step 5: Lay and Position the Area Rug
Carefully unroll or place your area rug over the pad, aligning it with the room's furniture and traffic flow. Start from one end and roll it out slowly to avoid trapping air pockets.
Why it matters: Correct positioning not only prevents slipping but also enhances room aesthetics and functionality.
What to expect: The rug should sit flush without lifting edges. Success is a stable rug that doesn't move when walked on.
💡 Tips:
- •Use furniture legs to anchor the rug naturally for added security.
- •Adjust for a 12-18 inch border around the rug to frame the carpet nicely.
⚠️ Warnings:
- •Avoid dragging the rug, as it can damage the pad or carpet fibers.
Step 6: Smooth and Secure the Rug
Walk across the rug in different directions to settle it onto the pad. Check for and smooth out any remaining wrinkles or bubbles. If needed, apply double-sided tape along the edges for extra hold in high-traffic spots.
Why it matters: Final smoothing ensures long-term stability and safety, reducing wear on the rug.
What to expect: The rug feels solid underfoot with no shifting. Success is a perfectly laid rug that looks and performs great.
💡 Tips:
- •Give it 24 hours to 'set' before heavy use.
- •Re-check after a week and re-smooth if necessary.
⚠️ Warnings:
- •Over-taping can make rug removal difficult—use sparingly.
▸Pro Tips
- •Opt for low-pile rugs on carpet, as they pair better with pads and reduce bulk.
- •Rotate your rug every 6 months to even out wear and maintain grip.
- •Test the setup by jumping lightly—if it shifts, add tape or reposition the pad.
- •For patterned rugs, align the design with room features for a pro look.
- •Use a steam cleaner on the pad annually to refresh its grip without chemicals.
- •In humid areas, choose moisture-resistant pads to prevent mildew.
- •Combine with furniture anchors for ultimate stability in family rooms.
▸Common Mistakes to Avoid
- •Using the wrong pad type (e.g., hard-backed for hardwood on carpet), which reduces friction—always match to carpet use.
- •Skipping cleaning, leading to dirt buildup that causes slipping—vacuum first every time.
- •Overlooking measurements, resulting in bunched edges—measure twice, cut once.
- •Placing rugs in direct sunlight without UV protection, fading both rug and pad—use window treatments.
- •Ignoring high-traffic adjustments, like adding tape, which leads to premature wear—secure edges proactively.
▸Troubleshooting
Problem: Rug still slips after placement
Solution: Add double-sided tape strips under the pad or rug edges; if persistent, replace with a thicker pad and ensure the carpet is dry.
Problem: Pad bunches or wrinkles over time
Solution: Re-smooth and vacuum underneath; trim excess pad material if it's oversized.
Problem: Rug edges curl up
Solution: Weigh down edges with heavy furniture or use edge grippers; avoid lightweight rugs on thick carpets.
NuLoom Rubber Non-Slip Rug Pad
This durable rubber pad provides excellent grip on carpet without slipping, extending rug life and ensuring safety.
Best for: Ideal for medium to large area rugs in living rooms or bedrooms where stability is key.
Price Range: $20-$50
XFasten Double-Sided Carpet Tape
Strong adhesive holds rugs firmly without residue, perfect for supplementing pads in high-traffic areas.
Best for: Use on rug edges when pads alone aren't enough, like in hallways.
Price Range: $10-$15
Mohawk Home Felt Rug Pad
Soft felt material cushions and grips carpet effectively, preventing shifts while protecting floors.
Best for: Best for lightweight rugs or low-pile carpets needing subtle support.
Price Range: $15-$30
RugGripper Non-Slip Rug Gripper
Reusable silicone strips offer adjustable grip without permanent adhesive, easy for beginners.
Best for: Apply to corners of rugs that curl or in temporary setups like rentals.
Price Range: $12-$20