Got a small backyard that's more eyesore than oasis? Many homeowners with limited space feel trapped by high landscaping costs and overwhelming options, but it doesn't have to be that way. With smart planning and affordable choices, you can transform your tiny outdoor area into a relaxing, functional space that boosts your home's curb appeal and value.
In this guide, you'll learn how to assess your yard, design a budget-friendly layout, select cost-effective plants and materials, and execute the project yourself. We'll cover everything from clearing debris to adding finishing touches, focusing on intermediate techniques that assume basic DIY skills like digging and planting. Expect a rewarding weekend project that yields visible results in days, with ongoing enjoyment for years.
The process involves planning, preparation, design, installation, and maintenance—broken into actionable steps. You'll spend about 10-20 hours total, spread over a few days, making it manageable for busy schedules. By the end, your small backyard will feel larger, more inviting, and perfectly suited to your lifestyle.
▸What You'll Need
- •Shovel or spade (required for digging)
- •Rake (required for leveling soil)
- •Wheelbarrow or garden cart (optional but helpful for moving materials)
- •Measuring tape (required for planning layout)
- •Mulch or gravel (required, about 2-3 cubic yards depending on space)
- •Budget plants like perennials, shrubs, or native grasses (required, source from local nurseries or sales)
- •Landscape fabric or edging (optional for weed control)
- •Topsoil or compost (required if soil is poor, 1-2 bags)
- •Pruning shears (required for trimming)
- •Gloves and safety glasses (required for protection)
Estimated Time: 10-20 hours over 2-3 weekends
Difficulty: intermediate
▸Step-by-Step Instructions
Step 1: Assess and Plan Your Space
Start by evaluating your small backyard's current state. Walk the area and note sunlight patterns (full sun, partial shade, or full shade), soil type (sandy, clay, or loamy—test by squeezing a handful), and existing features like patios or trees. Measure the dimensions to understand scale; a typical small yard might be 10x20 feet.
Why it matters: This prevents costly mistakes like planting sun-loving flowers in shady spots. Sketch a simple layout on graph paper, dividing the space into zones (e.g., seating area, planting beds). Prioritize multifunctional elements like raised beds that double as benches to maximize utility in tight spaces.
Success looks like a clear blueprint that fits your budget (aim for $200-500 total) and vision, such as a cozy corner for relaxation.
💡 Tips:
- •Use free apps like iScape for virtual planning to visualize ideas quickly.
⚠️ Warnings:
- •Avoid overplanting; small spaces can become cluttered fast.
Step 2: Clear and Prepare the Ground
Remove weeds, rocks, and debris using a shovel and rake. Mow grass short if present, then dig up unwanted sod in areas for new beds (about 6-12 inches deep). Till the soil lightly to aerate it, and amend with compost if it's compacted or nutrient-poor.
This step is crucial for healthy plant growth and prevents future weed battles. Expect some physical effort, but breaking it into sections keeps it doable. After clearing, level the ground with a rake for even installation.
Success: A clean, prepped canvas ready for design—no visible trash or overgrown weeds.
💡 Tips:
- •Rent a sod cutter for $50/day if manual removal feels overwhelming.
⚠️ Warnings:
- •Check for underground utilities (call 811) before digging to avoid damage.
Step 3: Design Your Layout
Based on your sketch, mark out beds, paths, and features using string and stakes. Opt for curves over straight lines to make the space feel larger. Incorporate vertical elements like trellises for climbers to add height without taking floor space.
Why it matters: A thoughtful design ensures flow and avoids a cramped feel. Focus on budget hacks like using recycled pavers for paths instead of expensive stone.
Success: Outlined zones that guide your planting and hardscaping, creating a sense of depth and purpose.
💡 Tips:
- •Layer plants by height—tall in back, short in front—for visual interest.
Step 4: Select and Source Budget Materials
Choose low-cost, low-maintenance options: native plants (adapt well, save water), mulch for weed suppression, and gravel for paths. Shop end-of-season sales at nurseries or free plant swaps online. Calculate needs—e.g., 1 cubic yard of mulch covers 100 sq ft at 2 inches deep.
This keeps costs down while ensuring longevity. Expect to spend 20-30% of your budget here.
Success: A shopping list of affordable items that match your design, like drought-tolerant perennials under $5 each.
💡 Tips:
- •Buy seeds instead of starters for flowers to cut costs by 50%.
⚠️ Warnings:
- •Steer clear of invasive species that could overrun your yard.
Step 5: Install Hardscape Elements
Lay edging or borders first to define beds, then add paths with gravel or stepping stones. Build simple raised beds from untreated lumber if needed (2-3 feet high for accessibility).
Hardscape provides structure and durability on a budget. Compact gravel well to prevent shifting.
Success: Stable, defined areas that frame your softscape, enhancing usability without overwhelming the small space.
💡 Tips:
- •Use landscape fabric under gravel to block weeds long-term.
Step 6: Plant and Mulch
Dig holes twice as wide as root balls, plant at soil level, and water deeply. Space plants per guidelines (e.g., 12-18 inches for shrubs). Spread 2-3 inches of mulch around them, keeping it away from stems.
Why it matters: Proper planting ensures establishment; mulch retains moisture and looks polished. Expect initial settling as roots adapt.
Success: Vibrant, mulched beds with plants in place, ready for growth.
💡 Tips:
- •Plant in fall or spring for best root development and lower watering needs.
⚠️ Warnings:
- •Overwatering new plants can cause root rot—stick to soil moisture checks.
Step 7: Add Finishing Touches and Maintain
Incorporate budget decor like DIY birdbaths or solar lights. Water regularly for the first month, then taper to needs. Prune as plants grow to maintain shape.
This elevates the space and ensures longevity. Monitor for pests weekly.
Success: A complete, inviting landscape that feels personalized and easy to upkeep.
💡 Tips:
- •Set up drip irrigation with a timer to save time and water bills.
▸Pro Tips
- •Repurpose household items like old bricks for borders to slash costs.
- •Choose evergreens for year-round color without seasonal replanting.
- •Group plants by water needs to simplify irrigation.
- •Start small—focus on one zone first to build momentum.
- •Use companion planting (e.g., marigolds with veggies) to deter pests naturally.
- •Mulch in layers annually for sustained soil health.
- •Incorporate mirrors on fences to illusion more space.
▸Common Mistakes to Avoid
- •Overcrowding plants: Leads to competition for resources; avoid by following spacing guidelines.
- •Ignoring soil quality: Poor prep causes plant failure; always test and amend soil first.
- •Skipping planning: Results in mismatched elements; sketch everything beforehand.
- •Choosing high-maintenance plants: Drains budget long-term; opt for natives instead.
- •Neglecting drainage: Water pooling kills roots; ensure paths slope slightly.
▸Troubleshooting
Problem: Plants wilting despite watering
Solution: Check soil drainage—add sand if clay-heavy. Water deeply but infrequently; consider shade cloth if sun exposure is too intense.
Problem: Weeds popping through mulch
Solution: Apply thicker mulch layer or use landscape fabric underneath. Pull weeds early to prevent seeding.
Problem: Compact gravel more thoroughly next time. For fixes, add top layer and tamp down.
Solution: undefined
Problem: Pest infestation on new plants
Solution: Introduce beneficial insects like ladybugs. Use neem oil spray as organic treatment. If severe, consult a local extension service.
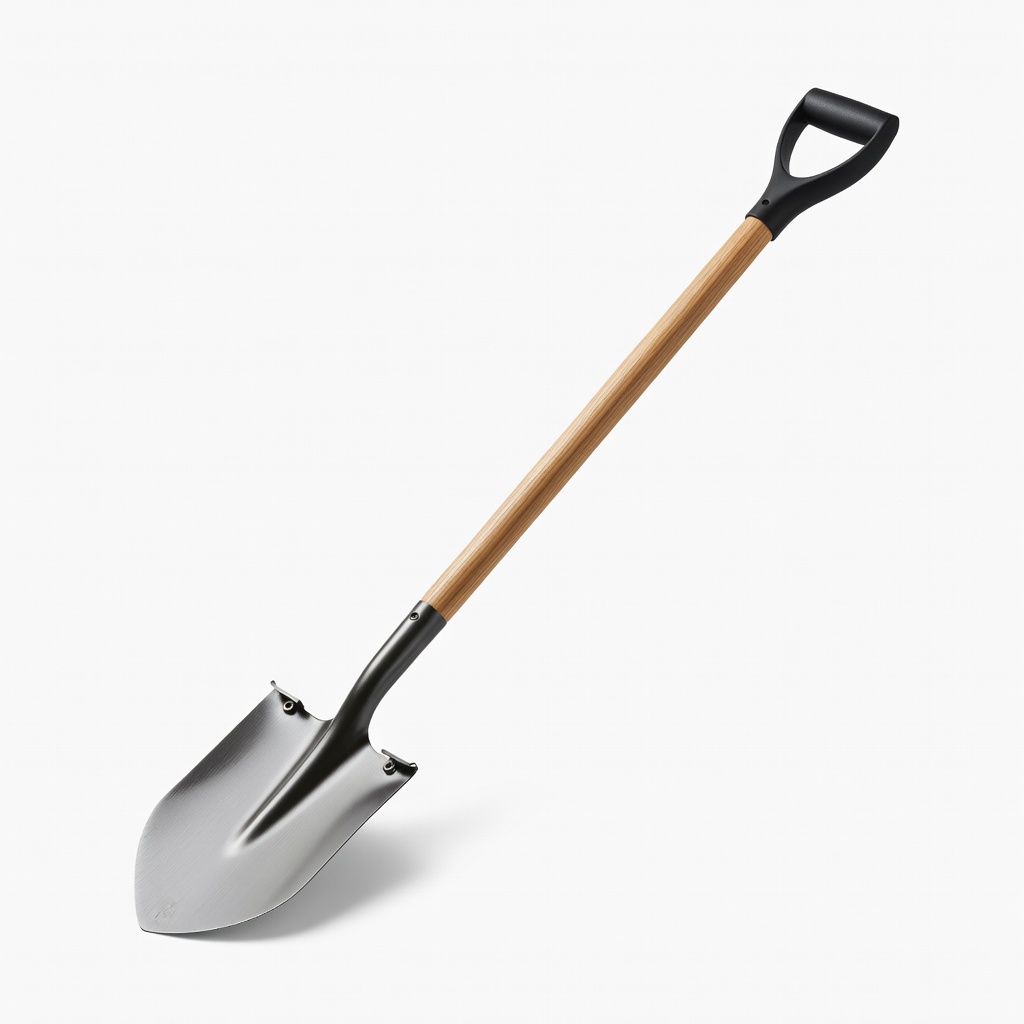
Fiskars Long-Handle Digging Shovel
Durable steel blade with ergonomic handle reduces back strain during soil prep, ideal for intermediate users tackling tough ground.
Best for: Essential for clearing sod and digging planting holes in steps 2 and 6.
Price Range: $29.99
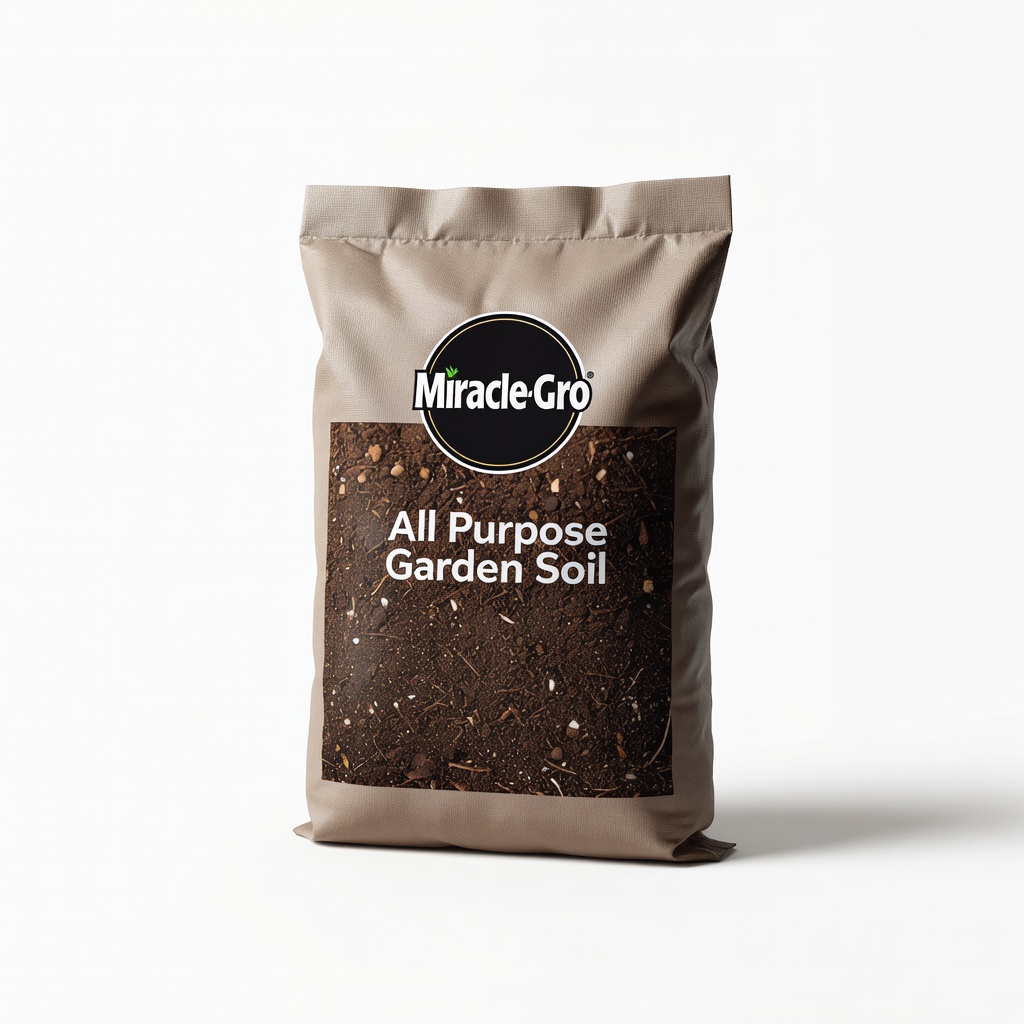
Miracle-Gro All Purpose Garden Soil
Enriched with organic matter to improve poor native soil quickly and affordably, promoting healthy roots without expensive amendments.
Best for: Mix into beds during preparation in step 2 for better plant establishment.
Price Range: $9.98
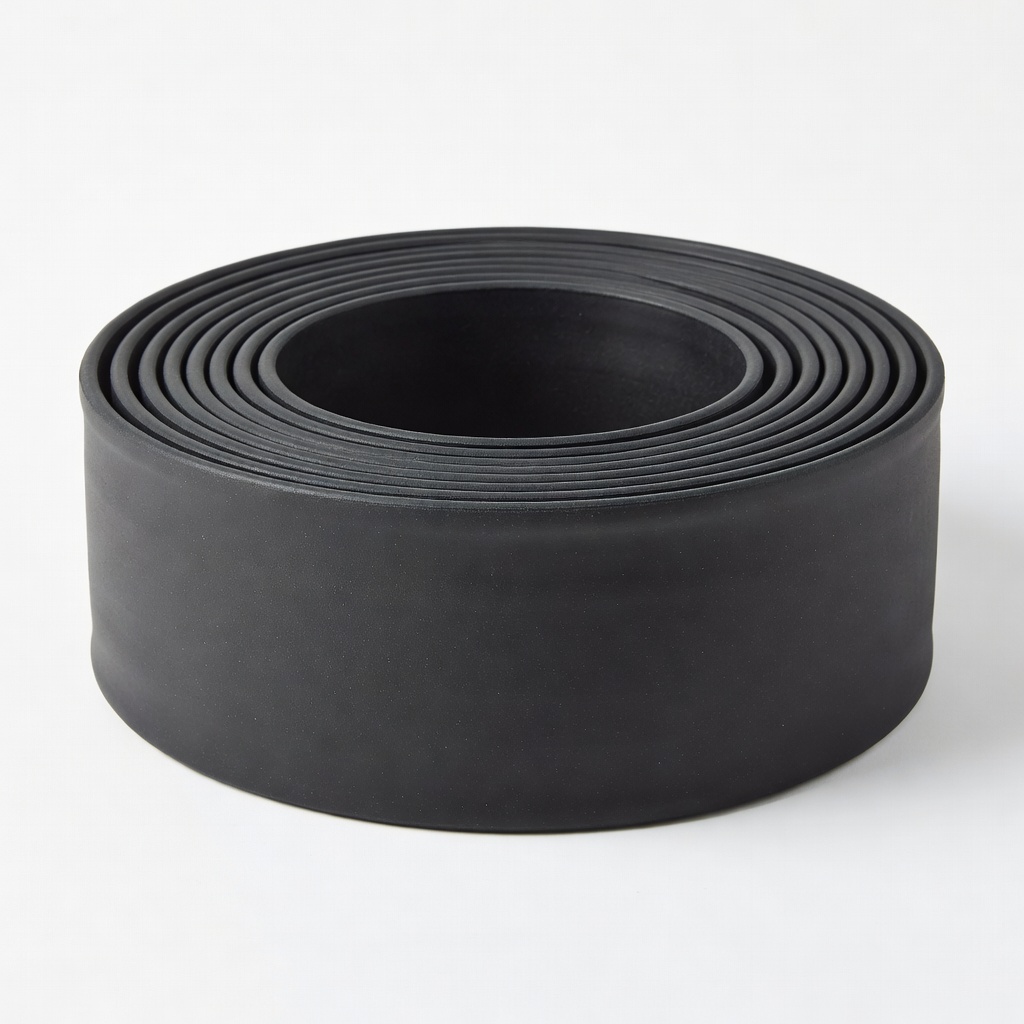
Vigoro Rubber Landscape Edging (10 ft)
Flexible, easy-to-install border keeps mulch in place and defines beds cleanly on a budget, preventing grass invasion.
Best for: Install in step 5 to outline planting areas and paths.
Price Range: $19.98
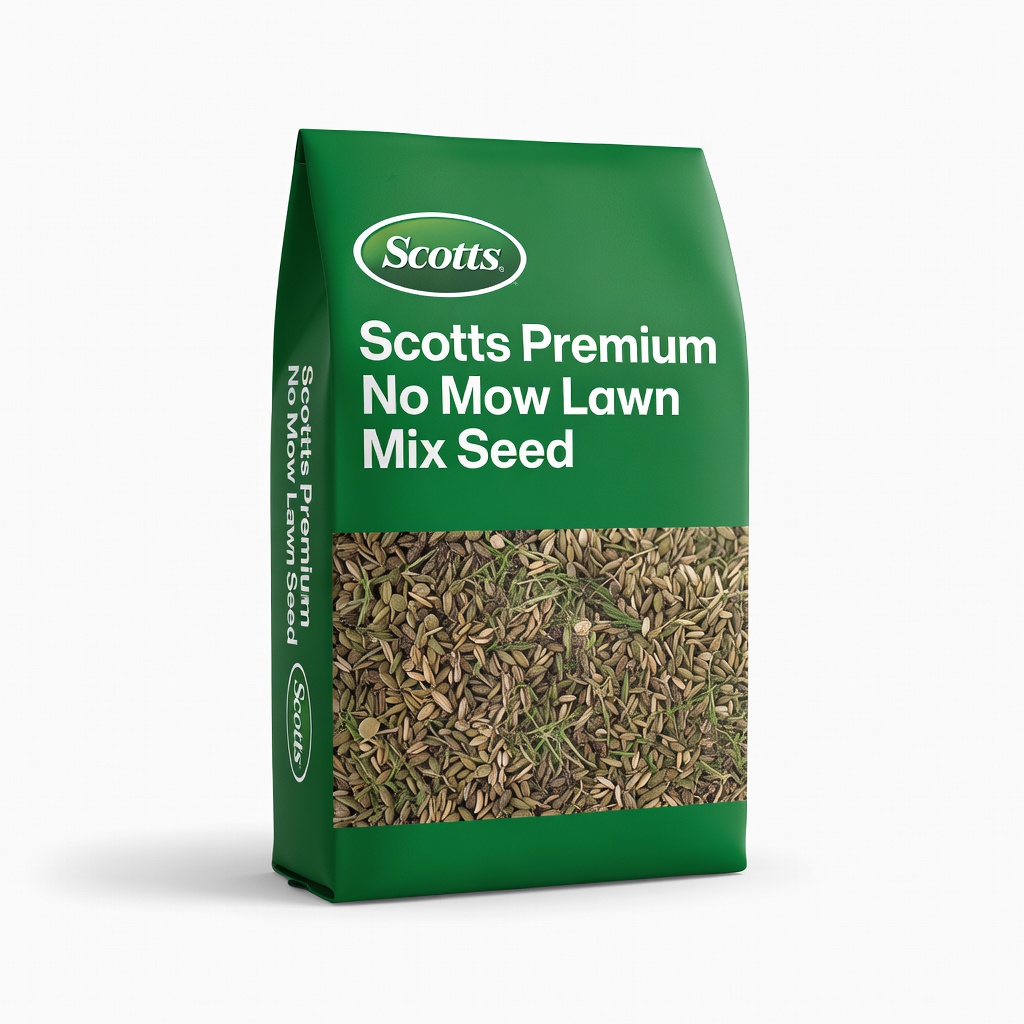
Scotts Premium No Mow Lawn Mix Seed
Low-maintenance grass alternative that's budget-friendly and requires minimal mowing, perfect for small yards needing green coverage.
Best for: Seed open areas in step 6 for a natural lawn look without upkeep hassles.
Price Range: $14.99
Espoma Organic Mulch (Cocoa Shells, 2 cu ft)
Natural, attractive mulch that suppresses weeds and retains moisture better than cheap bark, adding value without high cost.
Best for: Apply around plants in step 6 for a polished, low-water finish.
Price Range: $24.99