Knitting might seem intimidating if you've never held needles before, but starting with a simple scarf is the perfect way to build confidence and enjoy the satisfaction of making something wearable. Whether you're looking to unwind after a long day or gift a handmade item, this project teaches essential skills without overwhelming complexity. Many beginners worry about tangled yarn or uneven stitches, but with practice, you'll master the basics quickly.
In this guide, you'll learn how to cast on, knit basic stitches, and finish your scarf like a pro. We'll cover the garter stitch pattern, which is just one simple stitch repeated—ideal for newbies. The entire process uses only beginner-friendly techniques, and you'll end up with a soft, 60-inch scarf that's great for fall or winter.
Expect to spend 5-10 hours total, spread over a few evenings. It's relaxing work you can do while watching TV, and the results are rewarding. No prior experience needed—just patience and a bit of practice.
▸What You'll Need
- •Worsted weight yarn (about 200-300 yards; recommended: Lion Brand Vanna's Choice in a soft color like mustard yellow)
- •Straight knitting needles, size US 8 or 10 (for beginners, 10-inch length to keep it manageable)
- •Pair of sharp scissors
- •Yarn needle (plastic or metal for weaving in ends)
- •Optional: Stitch markers to help count rows
- •Optional: Measuring tape to check length
Estimated Time: 5-10 hours, spread over 2-4 days
Difficulty: beginner
▸Step-by-Step Instructions
Step 1: Gather and Prepare Your Materials
Before starting, select your yarn and needles. Worsted weight yarn is thick and beginner-friendly, making stitches visible and easy to work with. Size US 10 needles are great for chunky results without too much strain on your hands.
Wind your yarn into a ball if it's not already, and find a comfortable spot to sit. This step ensures everything is ready so you don't get frustrated mid-project. Expect a straightforward setup—no special tools needed beyond basics.
Lay out your workspace: a table or lap desk works best to avoid rolling yarn.
💡 Tips:
- •Choose a smooth yarn to prevent snags on rough fibers.
- •Test needle size by knitting a small swatch if you want to adjust gauge.
⚠️ Warnings:
- •Avoid super bulky yarn for your first project; it can feel heavy and overwhelming.
Step 2: Cast On Your Stitches
Casting on creates the foundation row. Make a slip knot at the end of your yarn tail (leave about 6 inches). Hold the needle with the slip knot in your left hand, and use your right hand to wrap the yarn around the needle, pulling it through to form a loop. Repeat until you have 20-25 stitches—this width makes a nice scarf (about 5-6 inches wide).
Why it matters: This sets the edge and determines your scarf's width. Success looks like evenly spaced loops on the needle, not too tight or loose. If it's your first time, it might take 10-15 minutes; practice on scrap yarn if needed.
Gently tug the tail to secure, but don't pull too hard or it'll be hard to knit into.
💡 Tips:
- •Use the long-tail cast-on method for stretchy edges.
- •Count stitches after every few to stay on track.
⚠️ Warnings:
- •Don't cast on too tightly; loose is better for beginners to avoid frustration.
Step 3: Learn the Basic Knit Stitch
The knit stitch is the building block. Hold the needle with stitches in your left hand, empty needle in right. Insert the right needle into the first stitch from front to back, wrap yarn around (counterclockwise), and pull through to form a new loop. Slip the old stitch off the left needle. Repeat across the row.
This creates a bumpy texture in garter stitch (knit every row). Why it matters: It's simple and reversible, perfect for scarves. After the first row, you'll see a ridge forming—success! Your row should end with all stitches transferred to the right needle.
Switch hands and turn your work to start the next row. Expect some awkwardness at first; it smooths out with repetition.
💡 Tips:
- •Keep yarn tension even by holding it with your pinky and ring finger.
- •Practice on a single row before committing to the full project.
⚠️ Warnings:
- •Watch for twisted stitches; they can make edges curl—untwist by flipping the loop.
Step 4: Knit in Garter Stitch Pattern
For a simple scarf, knit every row (garter stitch) until your piece measures about 60 inches long. This means repeating the knit stitch row after row. Measure every 10-20 rows to track progress—use a tape measure along the side.
Why it matters: Garter stitch is foolproof for beginners, lying flat without curling. Success at this stage: A rectangular fabric growing steadily, with consistent ridges on both sides. It might take 4-8 hours total, so break it into sessions.
If you want variety, you could alternate with purl stitches later, but stick to knit for now.
💡 Tips:
- •Place a stitch marker every 10 rows to easily count progress.
- •Knit in short bursts to avoid hand fatigue.
⚠️ Warnings:
- •Don't rush; uneven tension leads to wavy edges—pause and adjust yarn pull.
Step 5: Bind Off the Stitches
When your scarf reaches 60 inches, bind off to finish the top edge. Knit the first two stitches, then insert left needle into the first stitch on the right and pull over the second to drop it off. Knit the next stitch and repeat the pull-over until one stitch remains. Cut yarn, leaving a 6-inch tail, and pull through the last loop to secure.
This creates a neat, stretchy edge. Why it matters: Proper binding prevents unraveling. Success: A finished top edge that's even and not too tight—gently stretch if needed.
Turn your work inside out if desired for a clean finish.
💡 Tips:
- •Bind off knit-wise for consistency with garter stitch.
- •Leave extra tail for weaving if your yarn is slippery.
⚠️ Warnings:
- •Avoid binding off too tightly; it can make the scarf non-stretchy—use a larger needle if needed.
Step 6: Weave in the Loose Ends
Thread the yarn tail from casting on and binding off onto a yarn needle. Weave it under several stitches on the wrong side (back) of the scarf, going back and forth to hide it. Trim excess close to the fabric.
Why it matters: This secures ends so they don't come undone with wear. Success: No visible tails, and the scarf feels secure. Do both ends for a polished look.
If your yarn is fuzzy, weave more stitches to prevent pulling.
💡 Tips:
- •Use a blunt yarn needle to avoid splitting stitches.
- •Weave in the direction of the rows for better camouflage.
⚠️ Warnings:
- •Don't weave on the right side; it shows and looks messy.
Step 7: Block Your Finished Scarf
Optional but recommended: Wet block to shape. Soak the scarf in cool water for 10-15 minutes, gently squeeze out excess (no wringing), and lay flat on a towel. Pin edges to measurements (60x6 inches) and let dry 24 hours.
Why it matters: Blocking evens out stitches and sets the shape. Success: A smooth, professional-looking scarf that's flat and even.
Skip if short on time, but it elevates the final product.
💡 Tips:
- •Use rust-proof pins for blocking.
- •Air dry away from direct sun to prevent fading.
⚠️ Warnings:
- •Don't skip soaking for wool blends; dry blocking won't relax fibers as well.
▸Pro Tips
- •Hold needles like pencils for better control if you're right-handed.
- •Count stitches at the end of every row to catch mistakes early.
- •Take breaks every 30 minutes to prevent repetitive strain.
- •Use a row counter app on your phone for long projects.
- •Start with a lighter color yarn to see stitches clearly.
- •Practice tension by knitting a 4x4 inch swatch first.
- •Join a local knitting group for motivation and tips.
▸Common Mistakes to Avoid
- •Casting on too tightly, making it hard to insert the needle—avoid by loosening your grip and using larger needles if needed.
- •Uneven tension causing wavy edges—fix by consciously pulling yarn consistently each stitch.
- •Dropping stitches mid-row—prevent by watching your work and using lifelines (thread every 10 rows).
- •Forgetting to turn work after a row—always switch needles to the left hand.
- •Not measuring length regularly—leads to a too-short scarf; check every 20 rows.
▸Troubleshooting
Problem: Dropped a stitch and it ladders down
Solution: Use a crochet hook to pick up the stitch and ladder up row by row; if too many rows, consider a lifeline for future prevention.
Problem: Edges are curling
Solution: This is common in stockinette but less in garter; block the scarf or add a border row of knit stitches.
Problem: Yarn tangles while knitting
Solution: Use a yarn bowl to keep it contained, or rewind into a center-pull ball; untangle gently without pulling.
Problem: Stitches too loose or tight overall
Solution: Frog (rip back) a few rows and re-knit with adjusted tension; consistency improves with practice—no need for pros unless it's a complex pattern.
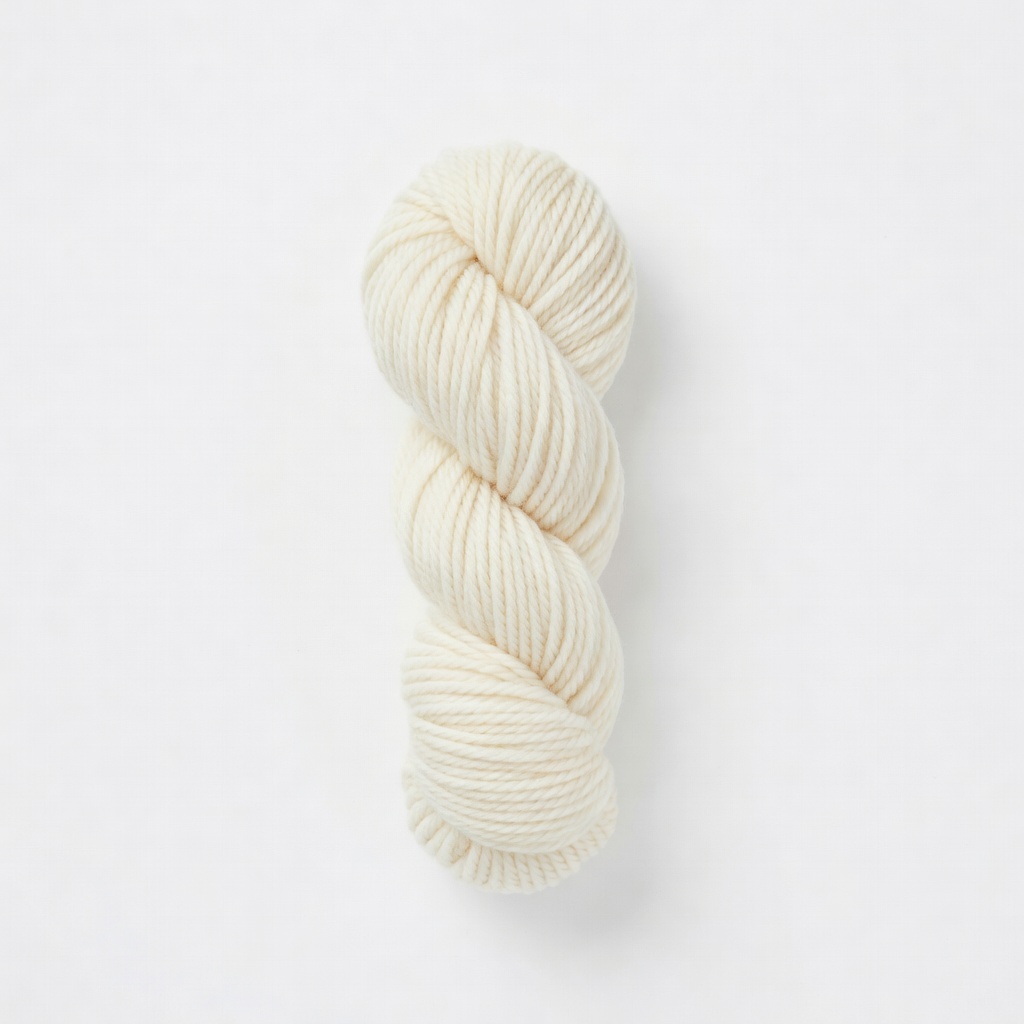
Lion Brand Yarn Vanna's Choice Yarn
This soft, affordable acrylic yarn is ideal for beginners due to its smooth texture and wide color range, making stitches easy to see and forgiving for mistakes.
Best for: Perfect for your first scarf; use one skein (170 yards) for a short version or two for longer.
Price Range: $4.99 per skein
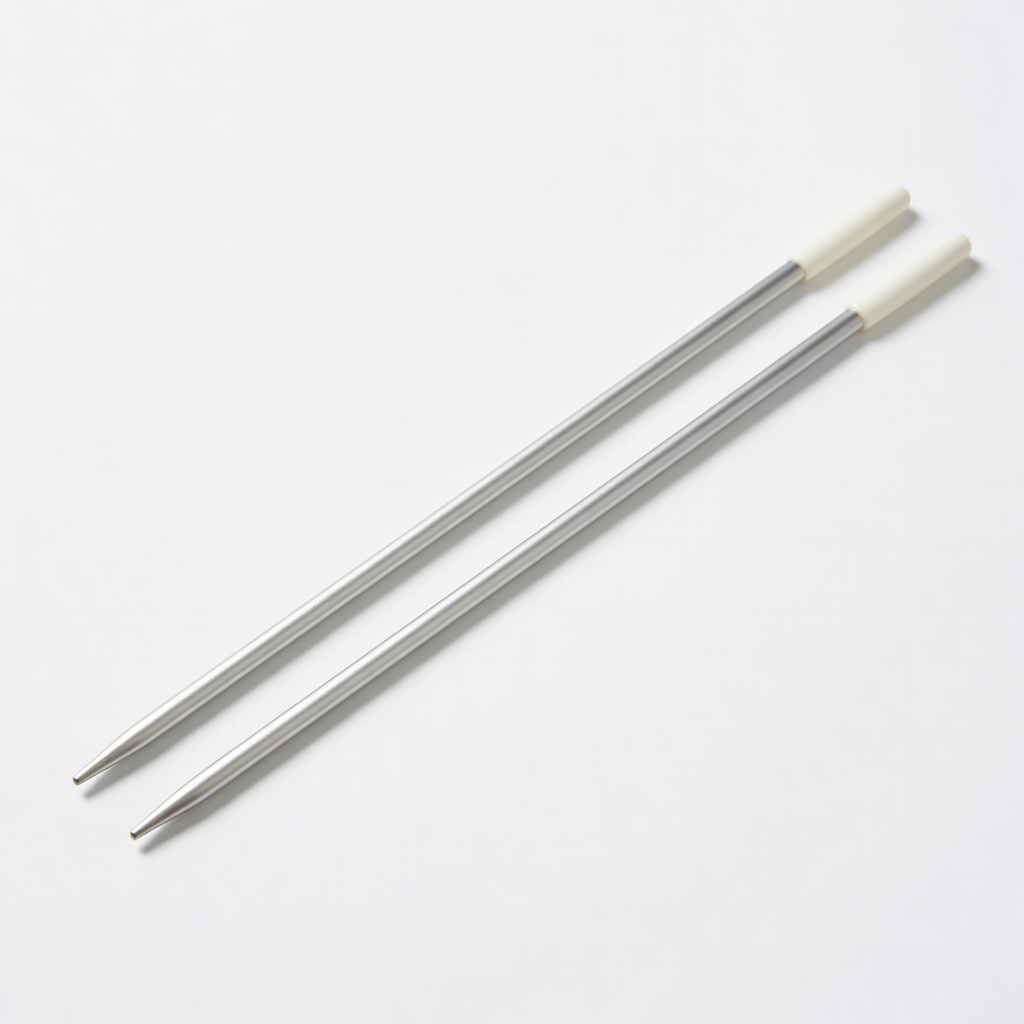
Susan Bates Silvalume Straight Knitting Needles
Lightweight aluminum needles with a smooth finish that glide easily, reducing hand fatigue for long sessions—great for learning basic stitches.
Best for: Use size US 10 for bulky results on worsted yarn; straight style keeps project simple without cables.
Price Range: $5.99
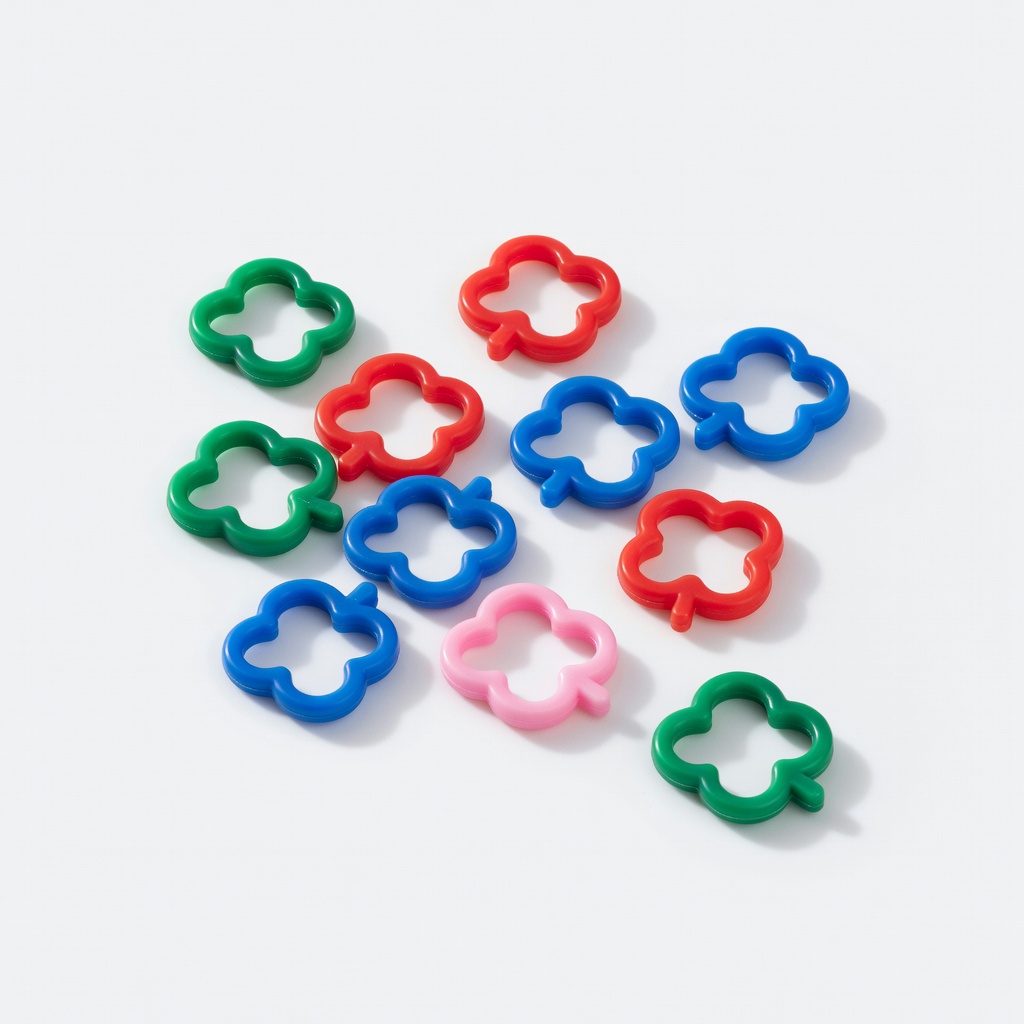
Clover Locking Stitch Markers
These colorful, easy-to-clip markers help track rows and edges without slipping off, preventing miscounts in repetitive patterns.
Best for: Place at the start of every 10th row or on edges for beginners building length.
Price Range: $3.49 for 10-pack
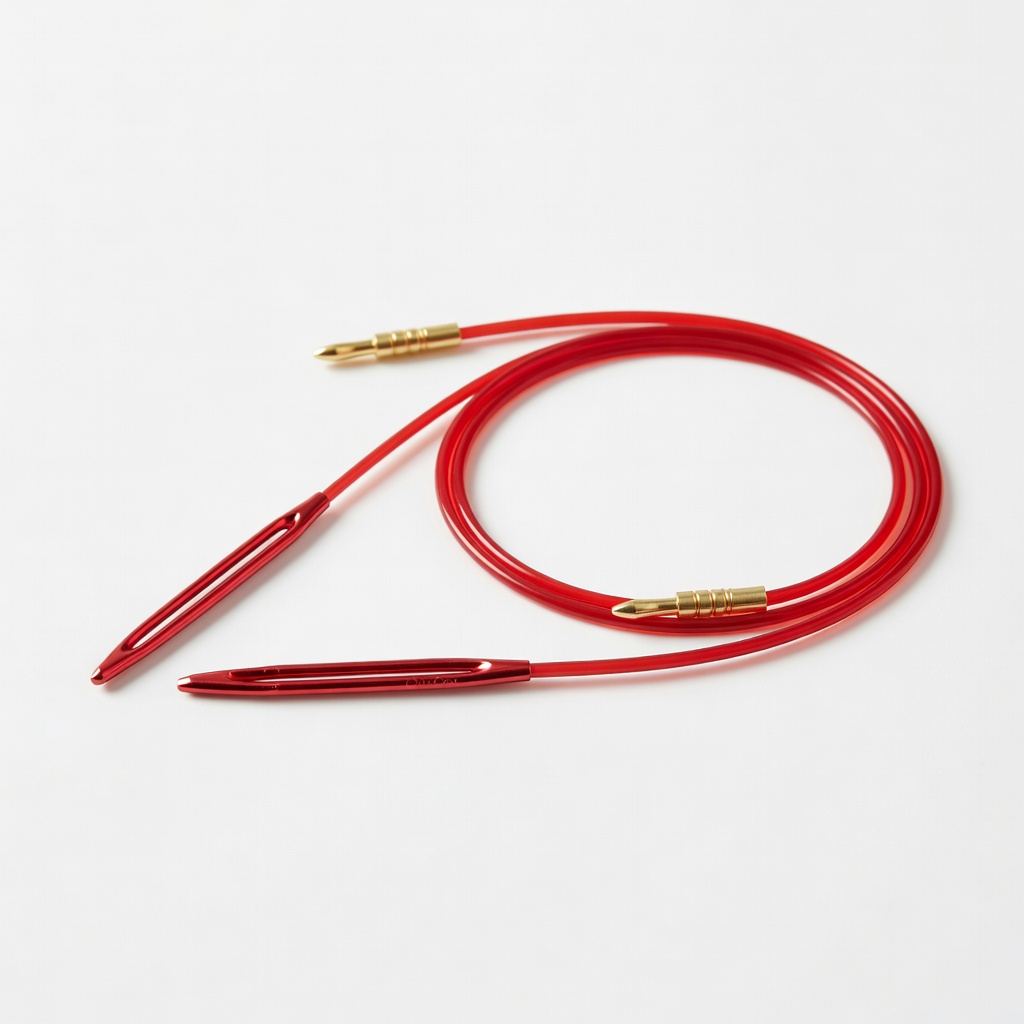
ChiaoGoo Twist Red Yarn Needles
Bent tip and flexible handle make weaving ends effortless, even on tight knits—durable for multiple projects.
Best for: Essential for finishing your scarf by hiding tails securely.
Price Range: $7.99 for set of 4
Boye Aluminum Knitting Needle Set
Budget set with multiple sizes lets you experiment without buying extras; smooth finish aids beginners.
Best for: Start with size 8-10; swap if gauge feels off for different yarn weights.
Price Range: $9.99