Knitting your own beanie is a rewarding way to stay warm and stylish while building essential crafting skills. Whether you're braving a chilly winter or gifting a handmade touch, a basic beanie is the perfect starter project for new knitters—it's quick, uses minimal materials, and results in something you can wear right away. Many beginners feel overwhelmed by patterns, but this guide breaks it down into easy steps, focusing on the fundamentals like casting on and knitting in the round.
In this tutorial, you'll learn how to knit a simple ribbed beanie that fits most adults (adjustable for size). We'll cover everything from gathering supplies to finishing touches, using basic knit and purl stitches. No prior experience is needed beyond knowing how to hold needles and yarn. Expect to spend 4-6 hours total, spread over a session or two, depending on your pace. By the end, you'll have a soft, slouchy beanie and the confidence to tackle more projects.
▸What You'll Need
- •Worsted weight yarn (about 150-200 yards; acrylic or wool blend for softness—required)
- •US size 8 (5mm) circular knitting needles, 16-inch length (required for knitting in the round)
- •US size 6 (4mm) circular knitting needles, 16-inch length (optional for smaller ribbing to add elasticity)
- •Stitch markers (at least 1; required to mark the beginning of rounds)
- •Tapestry needle (required for weaving in ends)
- •Scissors (required for cutting yarn)
- •Measuring tape (optional, to check gauge and fit)
Estimated Time: 4-6 hours
Difficulty: beginner
▸Step-by-Step Instructions
Step 1: Cast On Stitches
Start by making a slip knot on your larger needles (US size 8) and cast on 80 stitches using the long-tail method. This creates the foundation of your beanie. Slide the stitches onto the circular needle, ensuring they're not twisted, and join to knit in the round by placing a stitch marker.
Why it matters: Casting on evenly sets the circumference (about 20 inches for an average adult head). What to expect: A loose loop of yarn forming your base ring. If you're new to casting on, practice on scrap yarn first.
Image Description: Close-up of hands casting on stitches with circular needles and yarn, showing the slip knot and first few loops.
💡 Tips:
- •Count your stitches twice to ensure you have exactly 80.
- •Use a longer tail (about 3 times the cast-on width) for the long-tail method to avoid running out.
⚠️ Warnings:
- •Avoid twisting the stitches when joining the round, as it creates a mobius strip effect and uneven knitting.
Step 2: Knit the Ribbing
Switch to smaller needles if using (US size 6) and work in 1x1 ribbing: Knit 1, purl 1 for 1.5-2 inches (about 10-12 rounds). This creates a stretchy brim. Then switch back to larger needles.
Why it matters: Ribbing provides elasticity so the beanie hugs the head without slipping. What to expect: Alternating knit (bumpy) and purl (smooth) stitches for a textured edge.
Image Description: Progress shot of ribbed brim on circular needles, with yarn in progress.
💡 Tips:
- •Keep tension even between knits and purls for a uniform look.
- •Place a stitch marker every 20 stitches if counting rounds is tricky.
⚠️ Warnings:
- •Don't skip the ribbing—flat stockinette alone lacks stretch and may sag.
Step 3: Knit the Main Body
Using the larger needles, knit every stitch in stockinette (just knit) for about 6-7 inches from the ribbing edge, or until the piece measures 8-9 inches total from cast-on.
Why it matters: This forms the bulk of the beanie's height. What to expect: Smooth, even rows building up quickly in the round. Measure periodically to ensure fit.
Image Description: Side view of partially knitted beanie body on needles, showing stockinette texture.
💡 Tips:
- •Knit a gauge swatch first: 18 stitches = 4 inches to match the pattern.
- •Take breaks to avoid hand fatigue—knitting is relaxing but repetitive.
⚠️ Warnings:
- •If your gauge is off, the hat may be too tight or loose; adjust needle size accordingly.
Step 4: Begin Decreasing for the Crown
Switch to double-pointed needles or continue with circular using magic loop if needed. Knit 8, knit 2 together (k2tog) around (72 stitches remain). Knit one round even.
Why it matters: Decreasing shapes the top to close the hat. What to expect: Stitches reducing gradually, forming a dome.
Image Description: Hands decreasing stitches at the crown, with k2tog visible.
💡 Tips:
- •Use stitch markers to track decrease points for symmetry.
- •Pull yarn snug after k2tog to avoid holes.
⚠️ Warnings:
- •Decrease too quickly, and the crown will pucker; follow the pattern.
Step 5: Continue Decreasing
Repeat decreases: Knit 6, k2tog (56 stitches), knit one round; Knit 5, k2tog (44 stitches), knit one round; Knit 4, k2tog (34 stitches), knit one round; Knit 3, k2tog (26 stitches), knit one round.
Why it matters: Gradual shaping ensures a smooth taper. What to expect: Fewer stitches per round, easier to manage on DPNs.
Image Description: Top-down view of decreasing crown, stitches bunching up.
💡 Tips:
- •Switch to DPNs when the circle gets small (under 40 stitches) for better control.
⚠️ Warnings:
- •Don't rush—uneven decreases lead to lumpy tops.
Step 6: Finish the Crown
Knit 2, k2tog (18 stitches), knit one round; Knit 1, k2tog (12 stitches), then k2tog around until 6-8 stitches remain. Cut yarn, leaving a 6-inch tail, thread through remaining stitches, and pull tight to close.
Why it matters: Secures the top without a hole. What to expect: A seamless, gathered crown.
Image Description: Closed crown with yarn tail pulled through stitches.
💡 Tips:
- •Weave the tail through twice for extra security.
⚠️ Warnings:
- •Leave enough tail or you'll have to re-knit the end.
Step 7: Weave in Ends and Block
Use a tapestry needle to weave in all loose ends on the wrong side. Soak the beanie in cool water with mild soap, gently squeeze out excess, and lay flat to dry, shaping as needed.
Why it matters: Finishing prevents unraveling and evens the fabric. What to expect: A professional-looking, relaxed hat ready to wear.
Image Description: Finished beanie laid flat, drying with pins for shaping.
💡 Tips:
- •Block every project—it enhances stitch definition.
- •Wear it right away to check fit and make notes for next time.
⚠️ Warnings:
- •Avoid hot water or dryers, as they can felt wool yarn.
▸Pro Tips
- •Choose a soft, machine-washable yarn for easy care and comfort.
- •Practice the knit stitch on a small swatch to build even tension before starting.
- •Use a yarn bowl to keep your ball from rolling away mid-project.
- •Knit in good light to spot mistakes early.
- •Customize by adding stripes: Change yarn colors every few inches in the body.
- •For a slouchier fit, add 1-2 extra inches to the body length.
- •Join online knitting communities for pattern tweaks and motivation.
▸Common Mistakes to Avoid
- •Twisting the cast-on row: This makes the hat spiral; double-check before joining.
- •Inconsistent tension: Leads to wavy edges; relax your grip and knit steadily.
- •Forgetting to decrease evenly: Causes uneven crown; use markers to track.
- •Skipping the gauge swatch: Results in wrong size; always test first.
- •Not blocking: Leaves the hat stiff; wet blocking softens and shapes it.
▸Troubleshooting
Problem: Hat too tight or loose
Solution: Adjust cast-on stitches (add/subtract 4-8) or needle size next time; for this one, frog (rip back) and recast if early.
Problem: Dropped stitches
Solution: Use a crochet hook to pick up the ladder of yarn below and re-knit; secure with tapestry needle if needed.
Problem: Holes at decreases
Solution: Tug yarn tighter after k2tog or use ssk (slip, slip, knit) for left-leaning decreases to close gaps.
Problem: Yarn tangling
Solution: Wind yarn into a center-pull ball; untangle as you go and avoid over-twisting the skein.
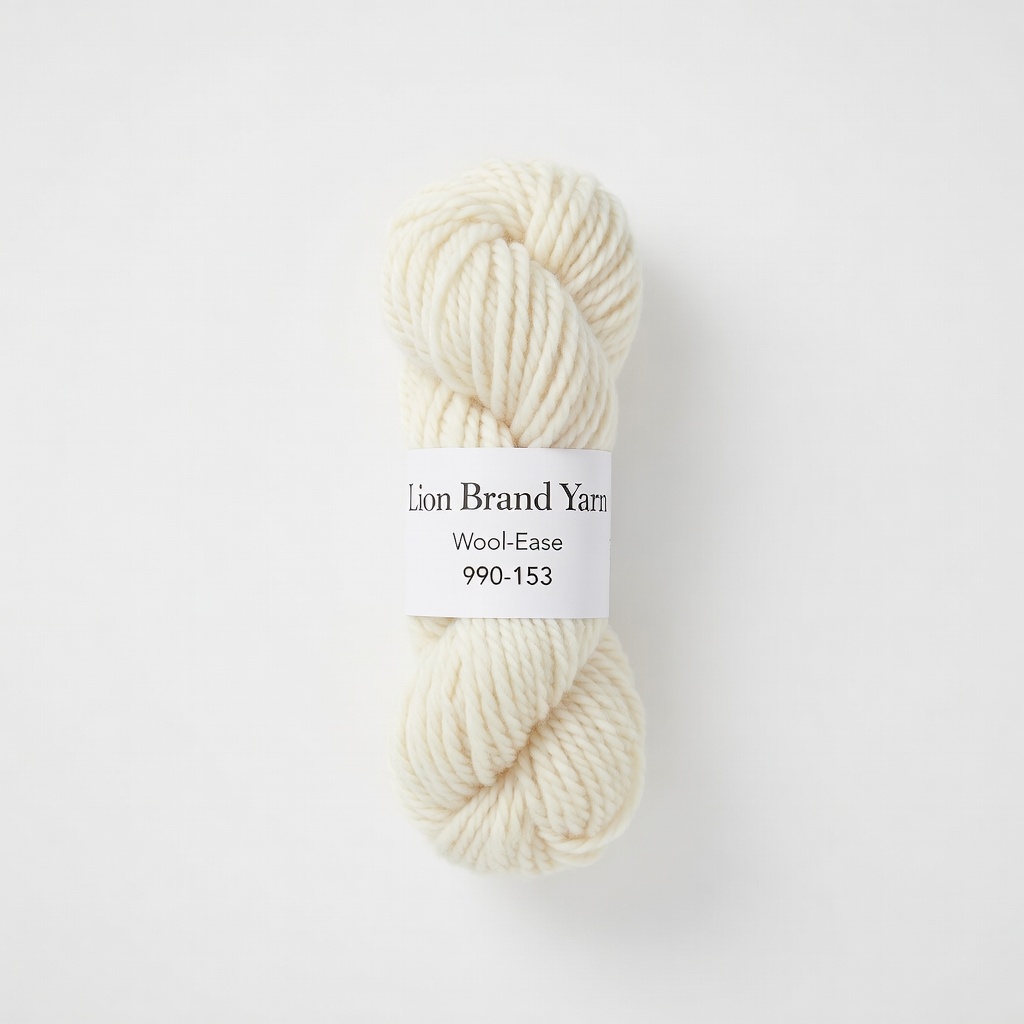
Lion Brand Yarn 990-153 Wool-Ease Yarn
This worsted weight yarn is soft, affordable, and available in many colors, perfect for a beginner beanie that holds shape well.
Best for: Use for the main body and ribbing; machine-washable for easy maintenance.
Price Range: $5-7 per skein
ChiaoGoo Red Lace Circular Knitting Needles, 16-inch
These stainless steel needles are smooth, flexible, and durable, making in-the-round knitting less frustrating for beginners.
Best for: Ideal for the body and decreases; the cable prevents hand strain.
Price Range: $20-25
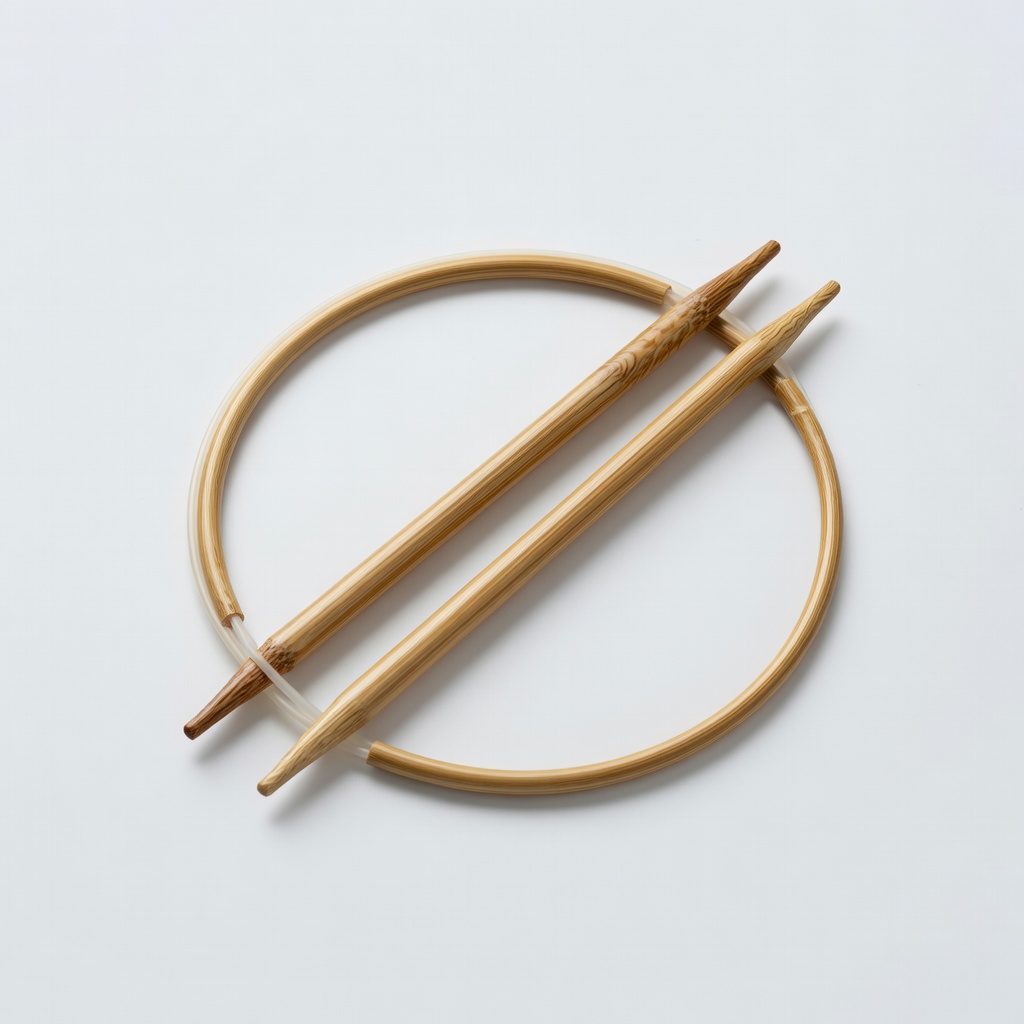
Clover Takumi Bamboo Circular Knitting Needles
Bamboo provides a warm grip to prevent slipping, great for learning basic stitches without metal's cold feel.
Best for: For ribbing or if you prefer non-metal; lightweight for long sessions.
Price Range: $10-15
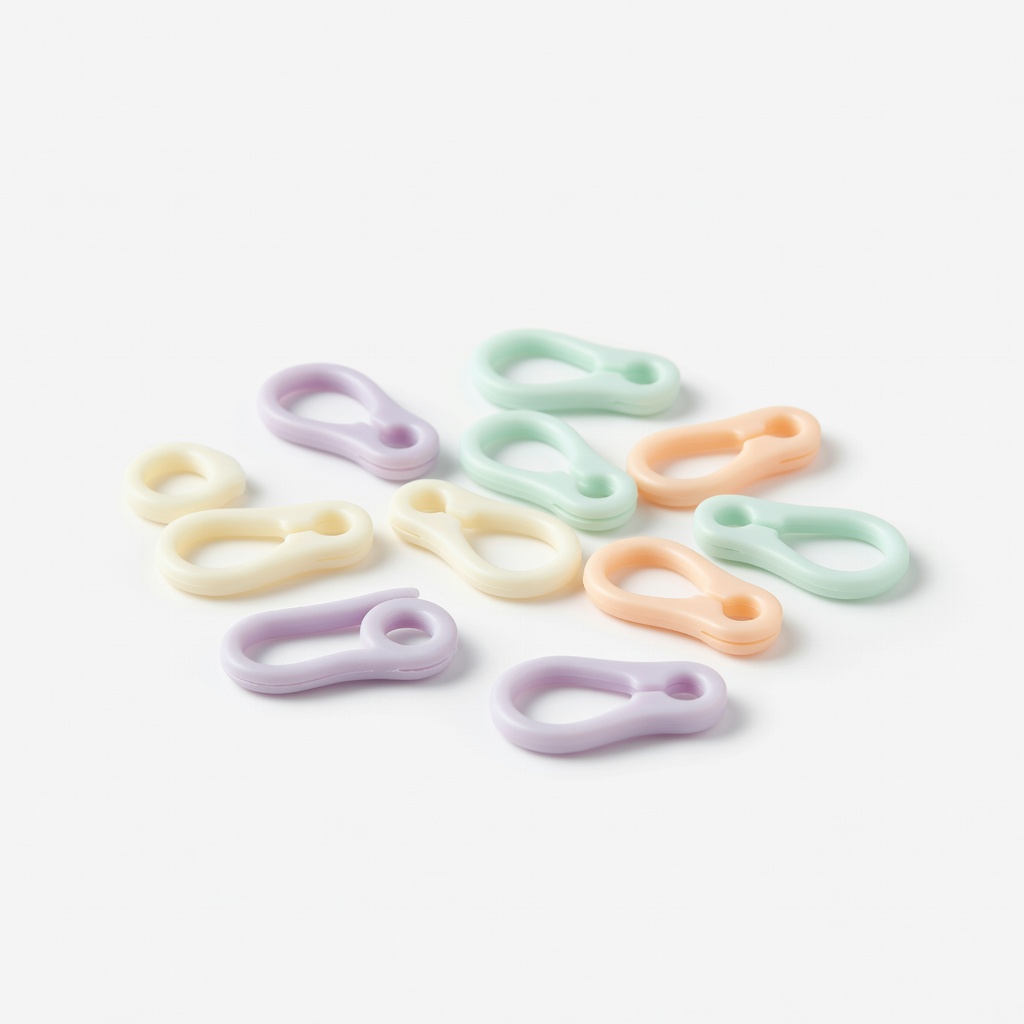
Susan Bates Split Lock Stitch Markers
These lock securely to your yarn without damaging it, essential for marking rounds in circular knitting.
Best for: Place one at the join and extras for decreases to stay organized.
Price Range: $3-5
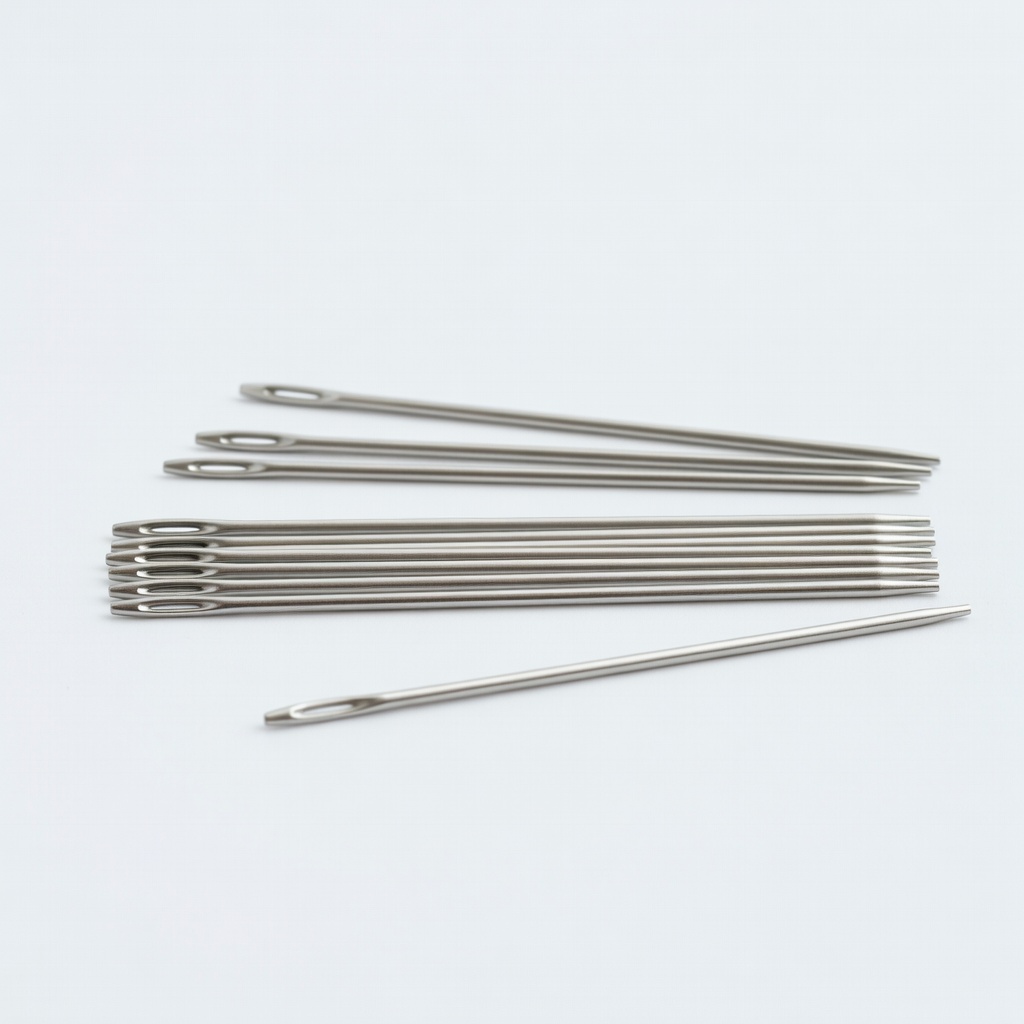
Boye Aluminum Tapestry Needles Set
Blunt-tipped and rust-proof, these make weaving ends quick and safe without splitting yarn.
Best for: Finishing step to hide tails neatly.
Price Range: $2-4