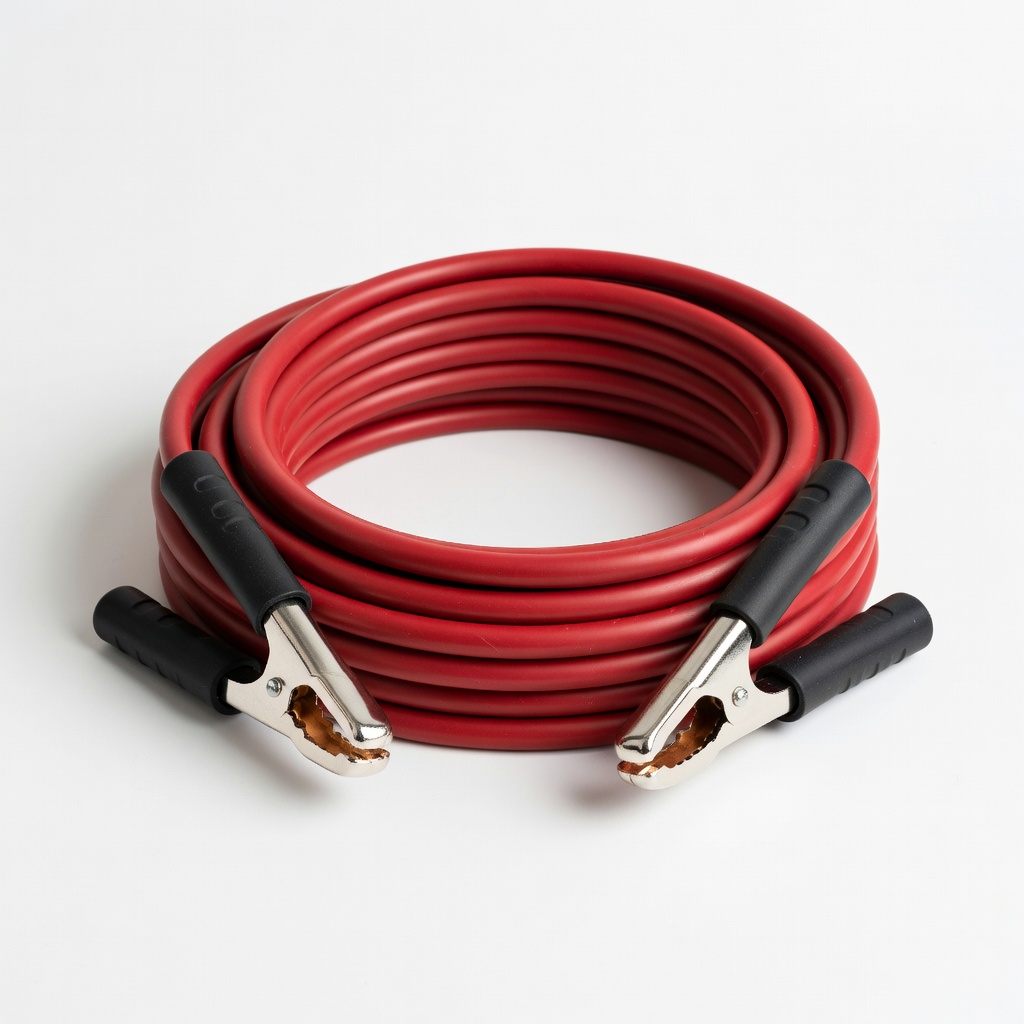
Cartman 4 Gauge 20Ft Jumper Cables
Primary cables for any 6V jumpstart.
$35.99
Cartman 4 Gauge 20Ft Jumper Cables Thick gauge handles 800A for tractors, long length for easy positioning.
Get the App
Better experience on mobile
Master safe jumpstarting techniques for 6V tractor batteries to revive your equipment fast and avoid costly damage.
Nothing halts farm work faster than a dead 6V tractor battery, especially on older models like John Deere or Ford tractors. Unlike 12V systems, 6V batteries require careful handling to prevent overvoltage damage, boiling electrolyte, or explosions from hydrogen gas. This guide equips you with proven methods to get your tractor running without risks.
You'll learn step-by-step how to use a donor source safely, verify connections, and post-jump care. Expect 15-20 minutes for the process, suitable for intermediate DIYers with basic electrical knowledge. No special tools beyond jumper cables needed, but precautions are key.
By the end, your tractor will crank reliably, and you'll know how to maintain it longer-term.
Estimated Time: 15-20 minutes Difficulty: intermediate
Park both the tractor and donor vehicle (car or truck) on level ground, engines off, at least 2 feet apart to avoid fumes mixing. Engage parking brakes and chock wheels for safety.
Put on safety glasses and gloves. Open the tractor's hood and locate the 6V battery—typically on the left side. Clean terminals if corroded using a wire brush. This prevents sparks and ensures good contact.
What success looks like: Clear access to terminals, no loose parts, you're protected from acid splashes or arcs.
💡 Tips:
⚠️ Warnings:
Use a multimeter set to DC volts (20V scale). Touch red probe to positive (+) terminal, black to negative (-). A healthy 6V battery reads 6.2-6.4V; below 5.5V confirms it's dead but jumpable.
Why it matters: Confirms the issue is low charge, not a bad cell (under 5V may need replacement). Note polarity—red to +, black to -.
What success looks like: Accurate reading displayed; battery not completely sulfated.
💡 Tips:
⚠️ Warnings:
Choose a donor: Prefer another 6V battery; if using 12V (common), limit connection to 30 seconds max to avoid damaging the 6V battery. Start donor vehicle, let idle 2-3 minutes for full alternator output.
Position donor close but cables won't strain. Turn off accessories like lights/AC.
What success looks like: Donor battery at 12.6V+ (or 6.3V for 6V), engine purring smoothly.
💡 Tips:
⚠️ Warnings:
Clamp red (+) cable to dead battery's positive terminal firmly. Then, attach other red end to donor's positive terminal.
Inspect for secure, non-touching clamps—no sparks yet.
What success looks like: Red cables connected without arcing; slight voltage rise on dead battery (check multimeter).
💡 Tips:
⚠️ Warnings:
Attach black (-) cable to donor's negative terminal. Then, connect the other black end to a clean, unpainted tractor chassis ground (away from battery, like engine block)—NOT the negative terminal to reduce spark risk.
Why: Grounding prevents gas ignition at battery.
What success looks like: All cables secure, no smoking or heating.
Rev donor engine to 2000 RPM for 30 seconds (if 12V donor). Wait 2-5 minutes for charge transfer, then try cranking tractor (no more than 10 seconds).
If it turns over slowly, wait 2 minutes and retry.
What success looks like: Tractor engine starts; headlights brighten.
💡 Tips:
⚠️ Warnings:
With tractor running at idle, remove black cable from ground first, then donor negative, donor positive, dead positive last.
Drive/load tractor 20-30 minutes to recharge.
What success looks like: No sparks, tractor idling steadily.
⚠️ Warnings:
Retest voltage after 10 minutes running (should be 6.8-7.2V charging). Top off electrolyte with distilled water if low. Drive or charge fully.
What success looks like: Stable voltage, no dim lights.
💡 Tips:
Problem: Tractor won't crank after jump
Solution: Check connections, retry after 5 min charge. Test starter solenoid. If no click, suspect bad starter.
Problem: Sparks or smoking during connect
Solution: Disconnect immediately, check polarity. Clean terminals.
Problem: Battery voltage doesn't rise
Solution: Donor weak—swap or charge it. Cables too thin—upgrade gauge.
Problem: Tractor starts but dies quick
Solution: Alternator issue or loose belt. Seek mechanic.
Thick gauge handles 800A for tractors, long length for easy positioning.
Best for: Primary cables for any 6V jumpstart.
Price Range: $35.99
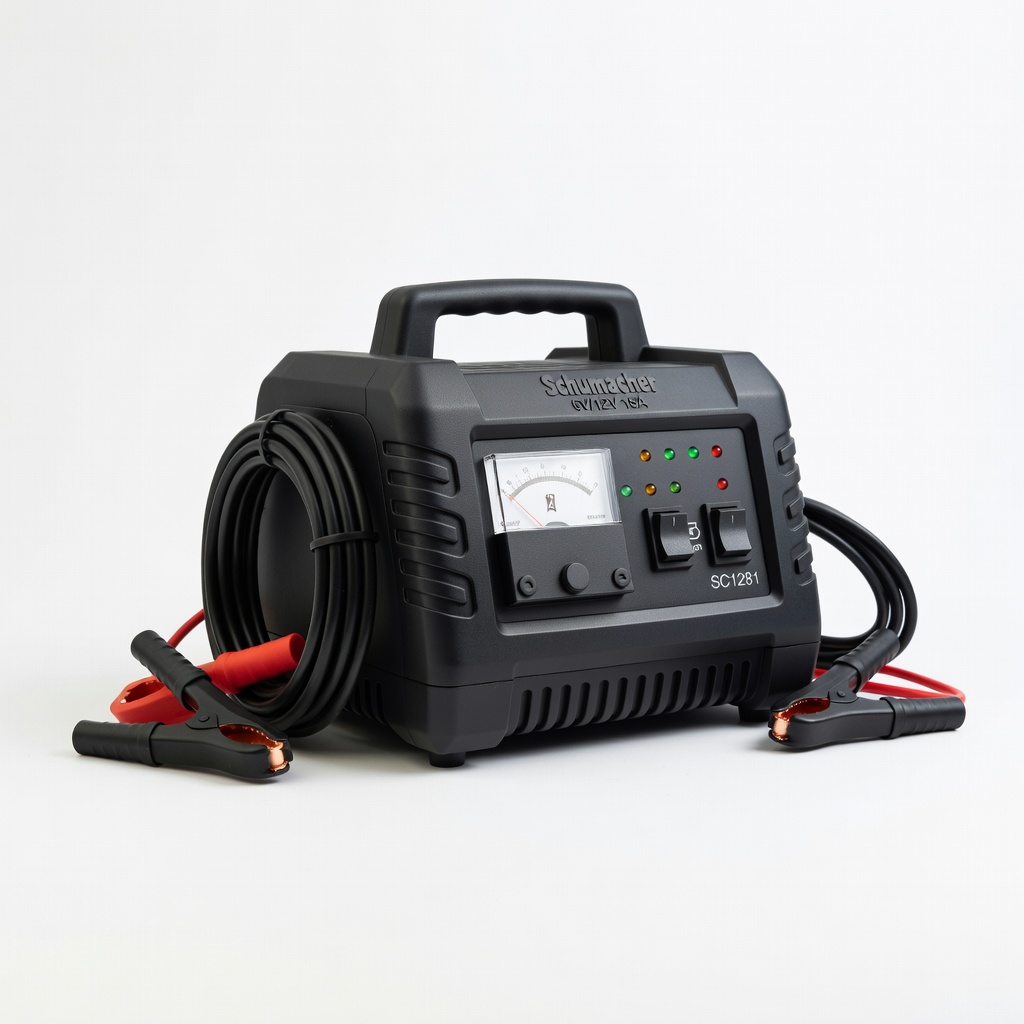
Dedicated 6V mode prevents overcharge, ideal post-jump.
Best for: Full recharge after jump or donor alternative.
Price Range: $69.99
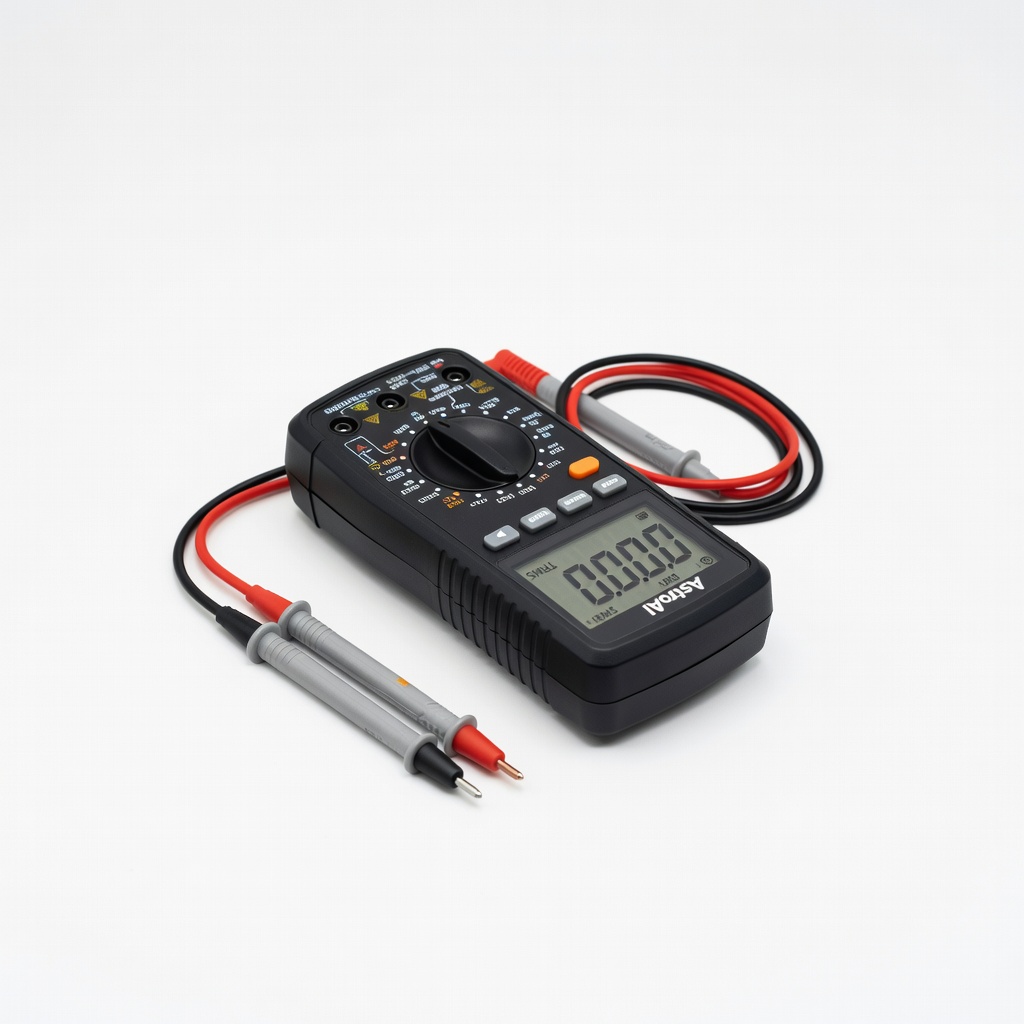
Accurate voltage/load testing for pre/post checks.
Best for: Verify battery health before attempting jump.
Price Range: $29.99
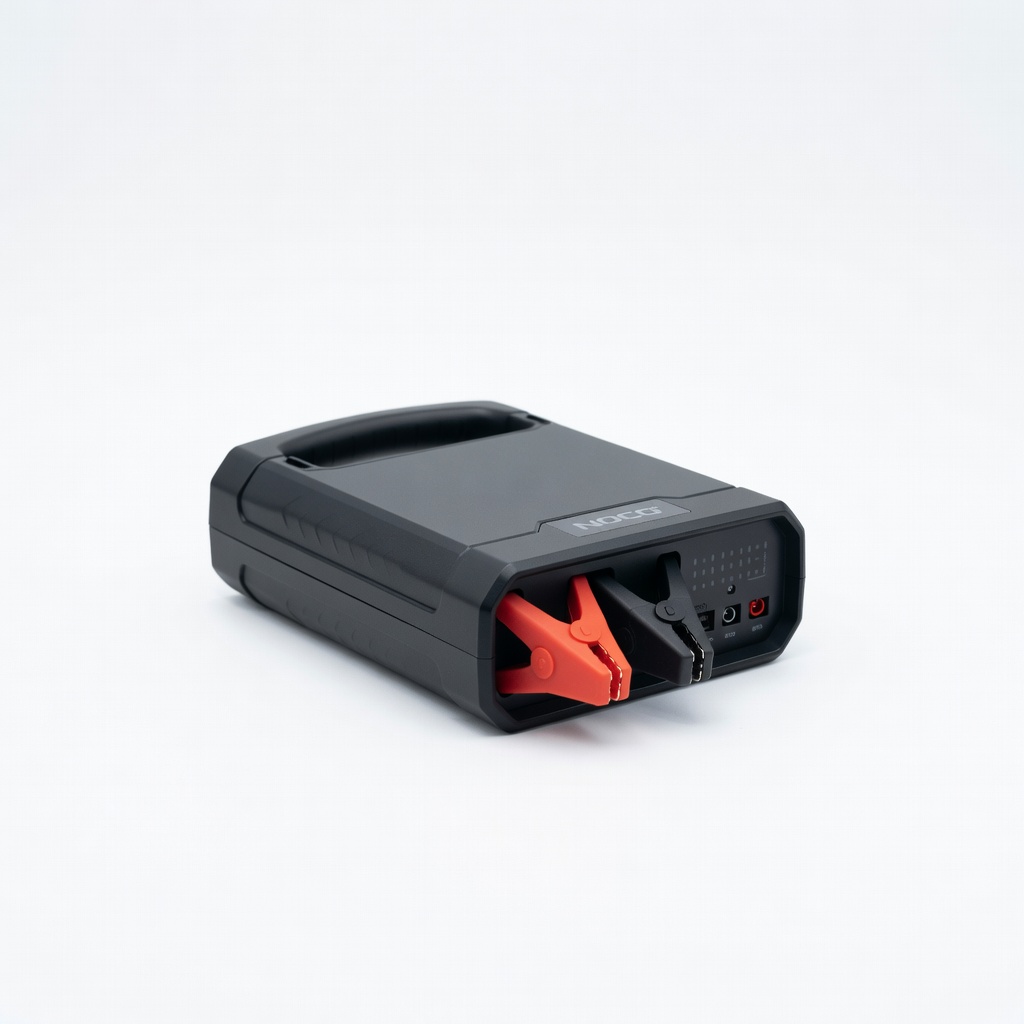
Portable 400A for 6V/12V, safer than vehicle donor—no fumes.
Best for: Solo jumps without second vehicle.
Price Range: $99.95
Impact-resistant for acid/spark protection.
Best for: Essential PPE for every session.
Price Range: $9.99
Primary cables for any 6V jumpstart.
Cartman 4 Gauge 20Ft Jumper Cables Thick gauge handles 800A for tractors, long length for easy positioning.
Full recharge after jump or donor alternative.
Schumacher SC1281 6V/12V 15A Battery Charger Dedicated 6V mode prevents overcharge, ideal post-jump.
Verify battery health before attempting jump.
AstroAI Digital Multimeter TRMS 6000 Accurate voltage/load testing for pre/post checks.
Solo jumps without second vehicle.
NOCO Boost GB20 Lithium Jump Starter Portable 400A for 6V/12V, safer than vehicle donor—no fumes.

Essential PPE for every session.
3M Virtua CCS Safety Glasses Impact-resistant for acid/spark protection.