Nothing ruins your day like a dead car battery, leaving you stranded in a parking lot or driveway. Traditional jumpstarting requires another running vehicle and jumper cables, which isn't always practical. A 12V jump starter solves this by delivering a powerful boost from a compact, rechargeable lithium battery.
In this beginner-friendly guide, you'll learn the exact step-by-step process to jumpstart your car safely and effectively. We'll cover everything from preparation to disconnection, with tips to avoid damage. The whole process takes 5-10 minutes and requires no prior experience—just follow along.
Expect clear visuals (described for images), safety warnings, and pro tips. By the end, you'll confidently handle dead batteries anytime, anywhere.
▸What You'll Need
- •Portable 12V jump starter (fully charged)
- •Owner's manual for your vehicle and jump starter
- •Safety gloves and eye protection (optional but recommended)
- •Flashlight (if in low light)
Estimated Time: 5-10 minutes
Difficulty: beginner
▸Step-by-Step Instructions
Step 1: Prepare Safely and Check Conditions
Park your car in a flat, well-ventilated area away from traffic. Turn off the engine, all lights, radio, and accessories. Engage the parking brake to prevent rolling.
Inspect the battery for visible damage like cracks, leaks, or corrosion—if damaged, do not proceed and call a professional. Ensure your 12V jump starter is fully charged (check the indicator lights). Why? Safety first: Hydrogen gas from batteries can ignite, and loose connections spark.
Success looks like: Car secure, jump starter green/ready, no hazards nearby.
💡 Tips:
- •Charge your jump starter overnight for reliability.
- •Work in daylight if possible.
⚠️ Warnings:
- •Never jumpstart in enclosed spaces or near flames.
Step 2: Locate the Battery Terminals
Open the hood and use your flashlight to find the battery, usually on the driver's or passenger's side. Identify the positive (+) terminal (red cover or marked +) and negative (-) terminal (black).
Clean any corrosion with a brush if needed, but avoid touching both terminals simultaneously. Some cars have batteries in the trunk or under seats—consult your manual.
Success looks like: Clear view of clean + and - terminals.
💡 Tips:
- •Take a photo of the battery setup for reference.
⚠️ Warnings:
- •Wear gloves to avoid acid contact.
Step 3: Connect the Red (Positive) Clamp
Attach the red clamp to the positive (+) terminal of the dead battery. Ensure a firm connection—listen for a click if your jump starter has smart clamps.
This order prevents sparks near the battery. Hold the black clamp away from the car to avoid accidental contact.
Success looks like: Red clamp securely on + terminal, no sparks.
💡 Tips:
- •Rock the clamp slightly for better contact.
Step 4: Connect the Black (Negative) Clamp to Ground
Attach the black clamp to an unpainted metal ground point on the engine block or frame, away from the battery (at least 12 inches), not directly to the negative terminal. This reduces explosion risk from sparks.
Some jump starters allow direct - terminal connection—check manual. Ensure no loose metal parts nearby.
Success looks like: Black clamp on clean metal, cables secure.
⚠️ Warnings:
- •Avoid the carburetor or fuel lines.
Step 5: Power On the Jump Starter and Wait
Turn on the jump starter (press power button; LEDs confirm boost mode). Wait 30-60 seconds for capacitors to charge—most units beep or light up green.
Do not start the car yet. This primes the boost.
Success looks like: Jump starter active, steady lights/no errors.
💡 Tips:
- •Modern units auto-detect and boost.
Step 6: Start the Engine
Turn the key or push-start the engine. It may crank slowly at first, then fire up. If it doesn't start in 5-10 seconds, wait 1 minute and retry (up to 3 times).
Let idle for 2-3 minutes to charge.
Success looks like: Engine running smoothly.
⚠️ Warnings:
- •Don't rev excessively immediately.
Step 7: Disconnect in Reverse Order
Turn off engine. Remove black clamp first (from ground), then red from +. Power off jump starter and coil cables.
Drive 20-30 minutes or use a charger to fully recharge battery.
Success looks like: Car running, all gear stowed.
💡 Tips:
- •Reverse order prevents arcs.
▸Pro Tips
- •Always store jump starter fully charged; recharge monthly.
- •Test monthly by jumping a known good battery.
- •Choose a jump starter with peak amps matching your engine (4000A+ for V6/V8).
- •Use USB ports on unit to charge phone while waiting.
- •Keep in glovebox or trunk for emergencies.
- •For sub-zero temps, warm the unit in your jacket.
- •Pair with a battery tester for ongoing maintenance.
▸Common Mistakes to Avoid
- •Connecting black to negative terminal first—sparks hydrogen gas; always ground it.
- •Reversing polarity (red to black)—damages electronics; double-check marks.
- •Trying too many starts without cooldown—overheats starter; wait 1 min.
- •Driving short trips post-jump—battery doesn't recharge; drive 30+ mins.
- •Ignoring damaged batteries—leads to fires; inspect first.
▸Troubleshooting
Problem: Engine cranks but won't start
Solution: Check fuel, wait longer, or test alternator. Retry after 2 mins.
Problem: Jump starter flashes red/error
Solution: Reverse clamps, recharge unit, or wrong connection—recheck order.
Problem: Starts but dies immediately
Solution: Bad alternator or low fuel; tow to mechanic.
Problem: No power from starter
Solution: Fully recharge or replace battery in starter. Seek pro if persists.
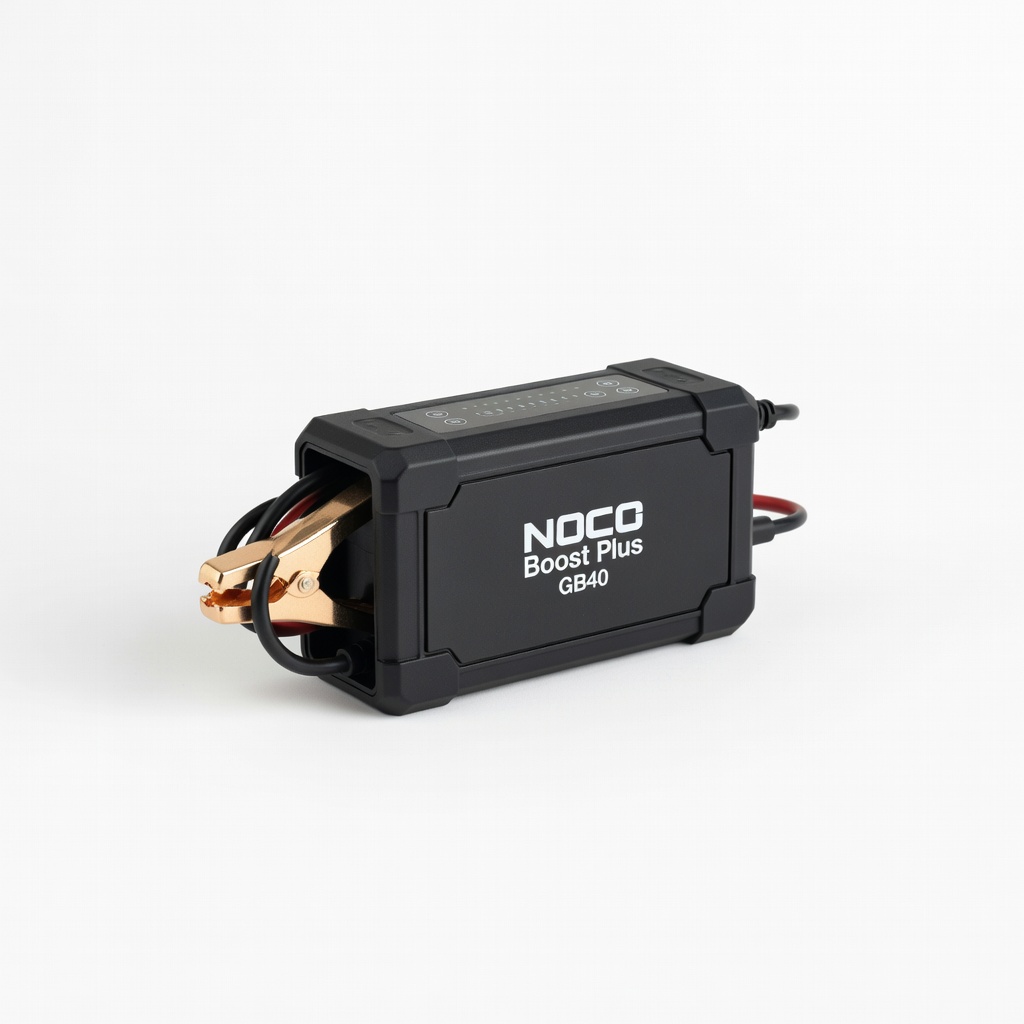
NOCO Boost Plus GB40 (ASIN: B01N7TCT9M)
1000A peak for up to 6.0L gas/3.0L diesel; waterproof, reliable for most cars with safety features.
Best for: Daily drivers or frequent emergencies; holds charge 6+ months.
Price Range: $124.95
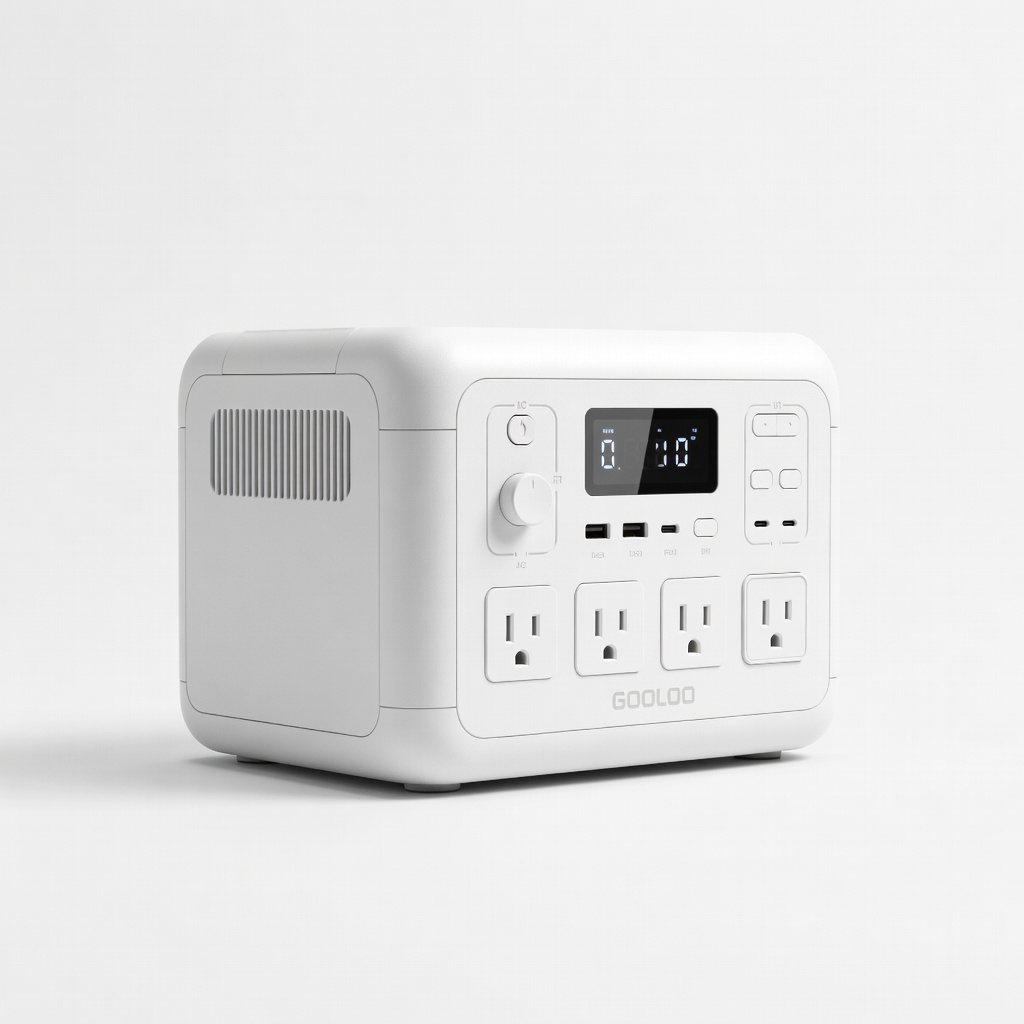
GOOLOO GP2000 (ASIN: B07H8G8S8Z)
2000A peak super affordable with LCD screen; great for beginners on budget.
Best for: Small cars/SUVs, occasional use with USB charging.
Price Range: $99.99
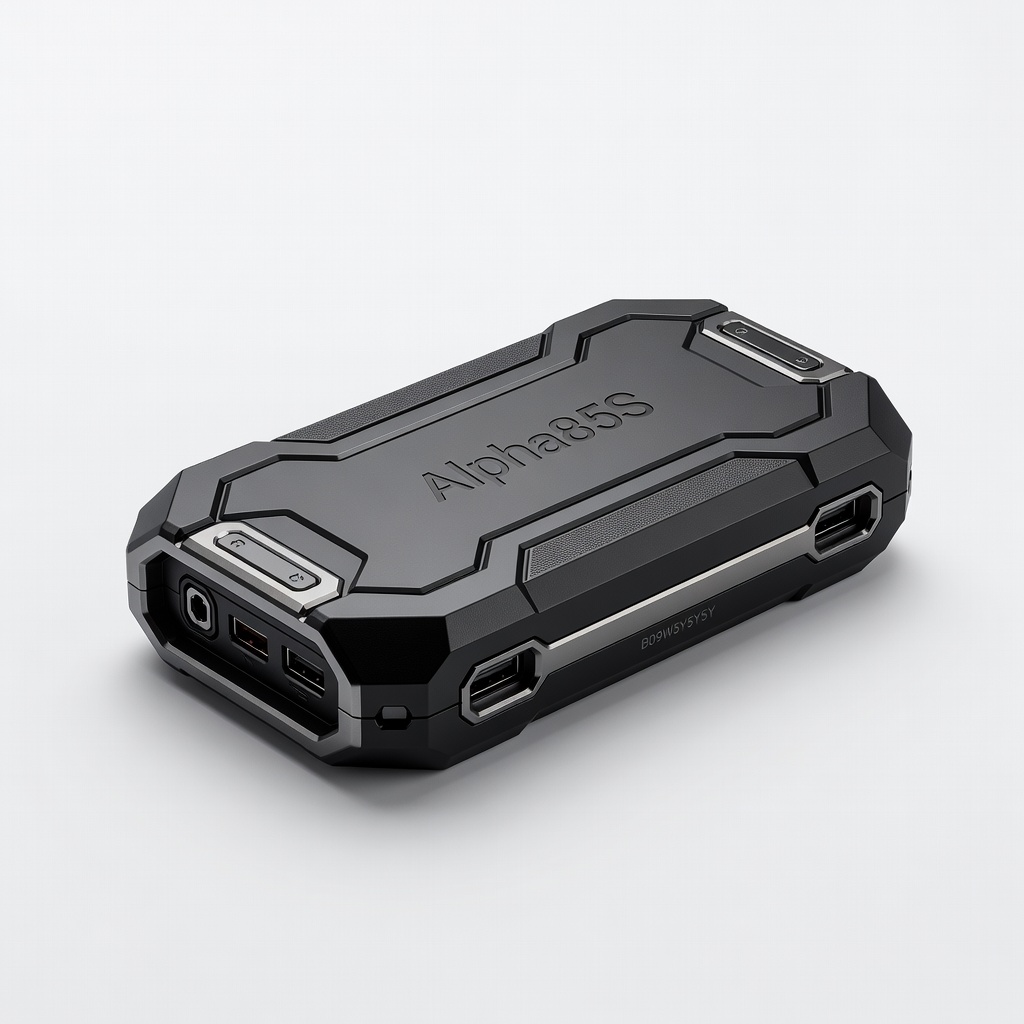
Hulkman Alpha85S (ASIN: B09W5Y5Y5Y)
2000A with smart app monitoring; IP65 waterproof, lifetime warranty.
Best for: Cold weather/heavy use; tracks battery health.
Price Range: $149.99
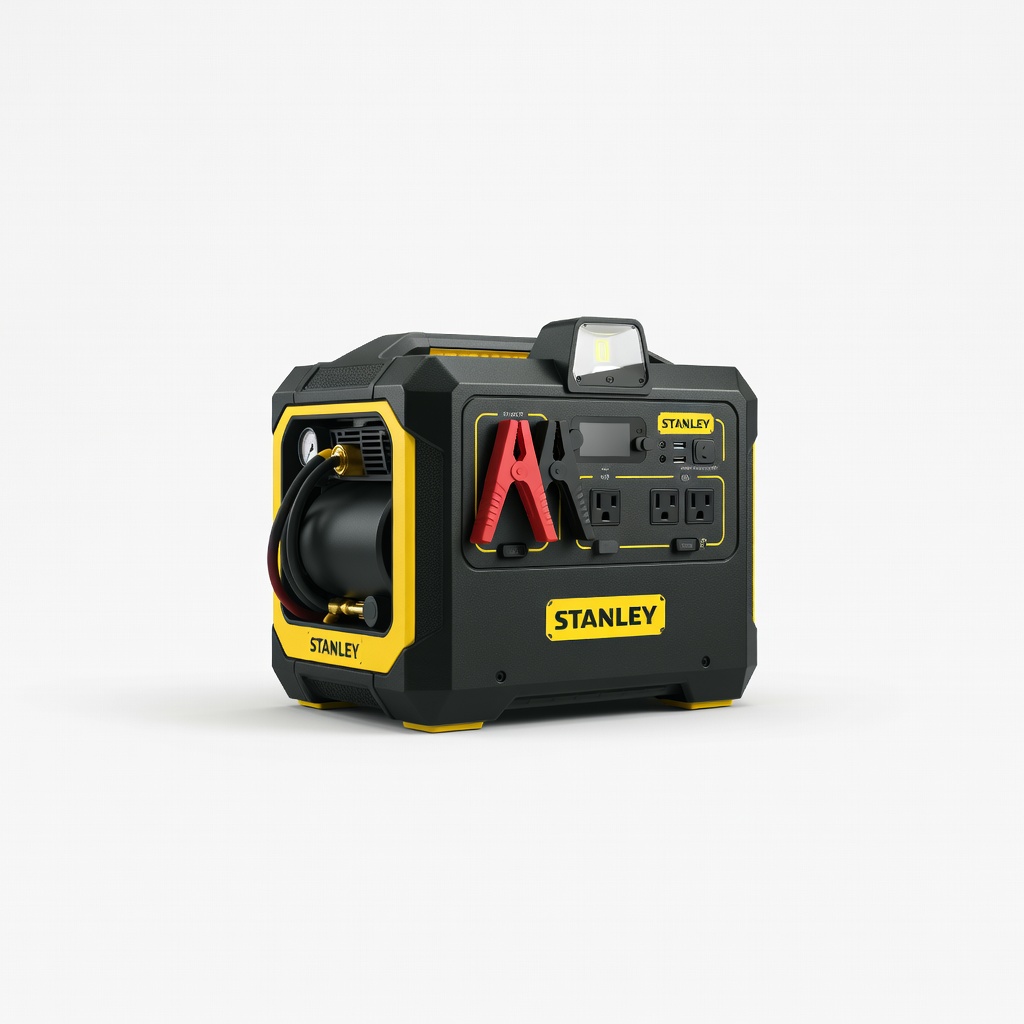
Stanley J5C09 (ASIN: B00CD2KG0Q)
1000A with air compressor; all-in-one for tires too.
Best for: Road trips needing multi-tools.
Price Range: $69.99