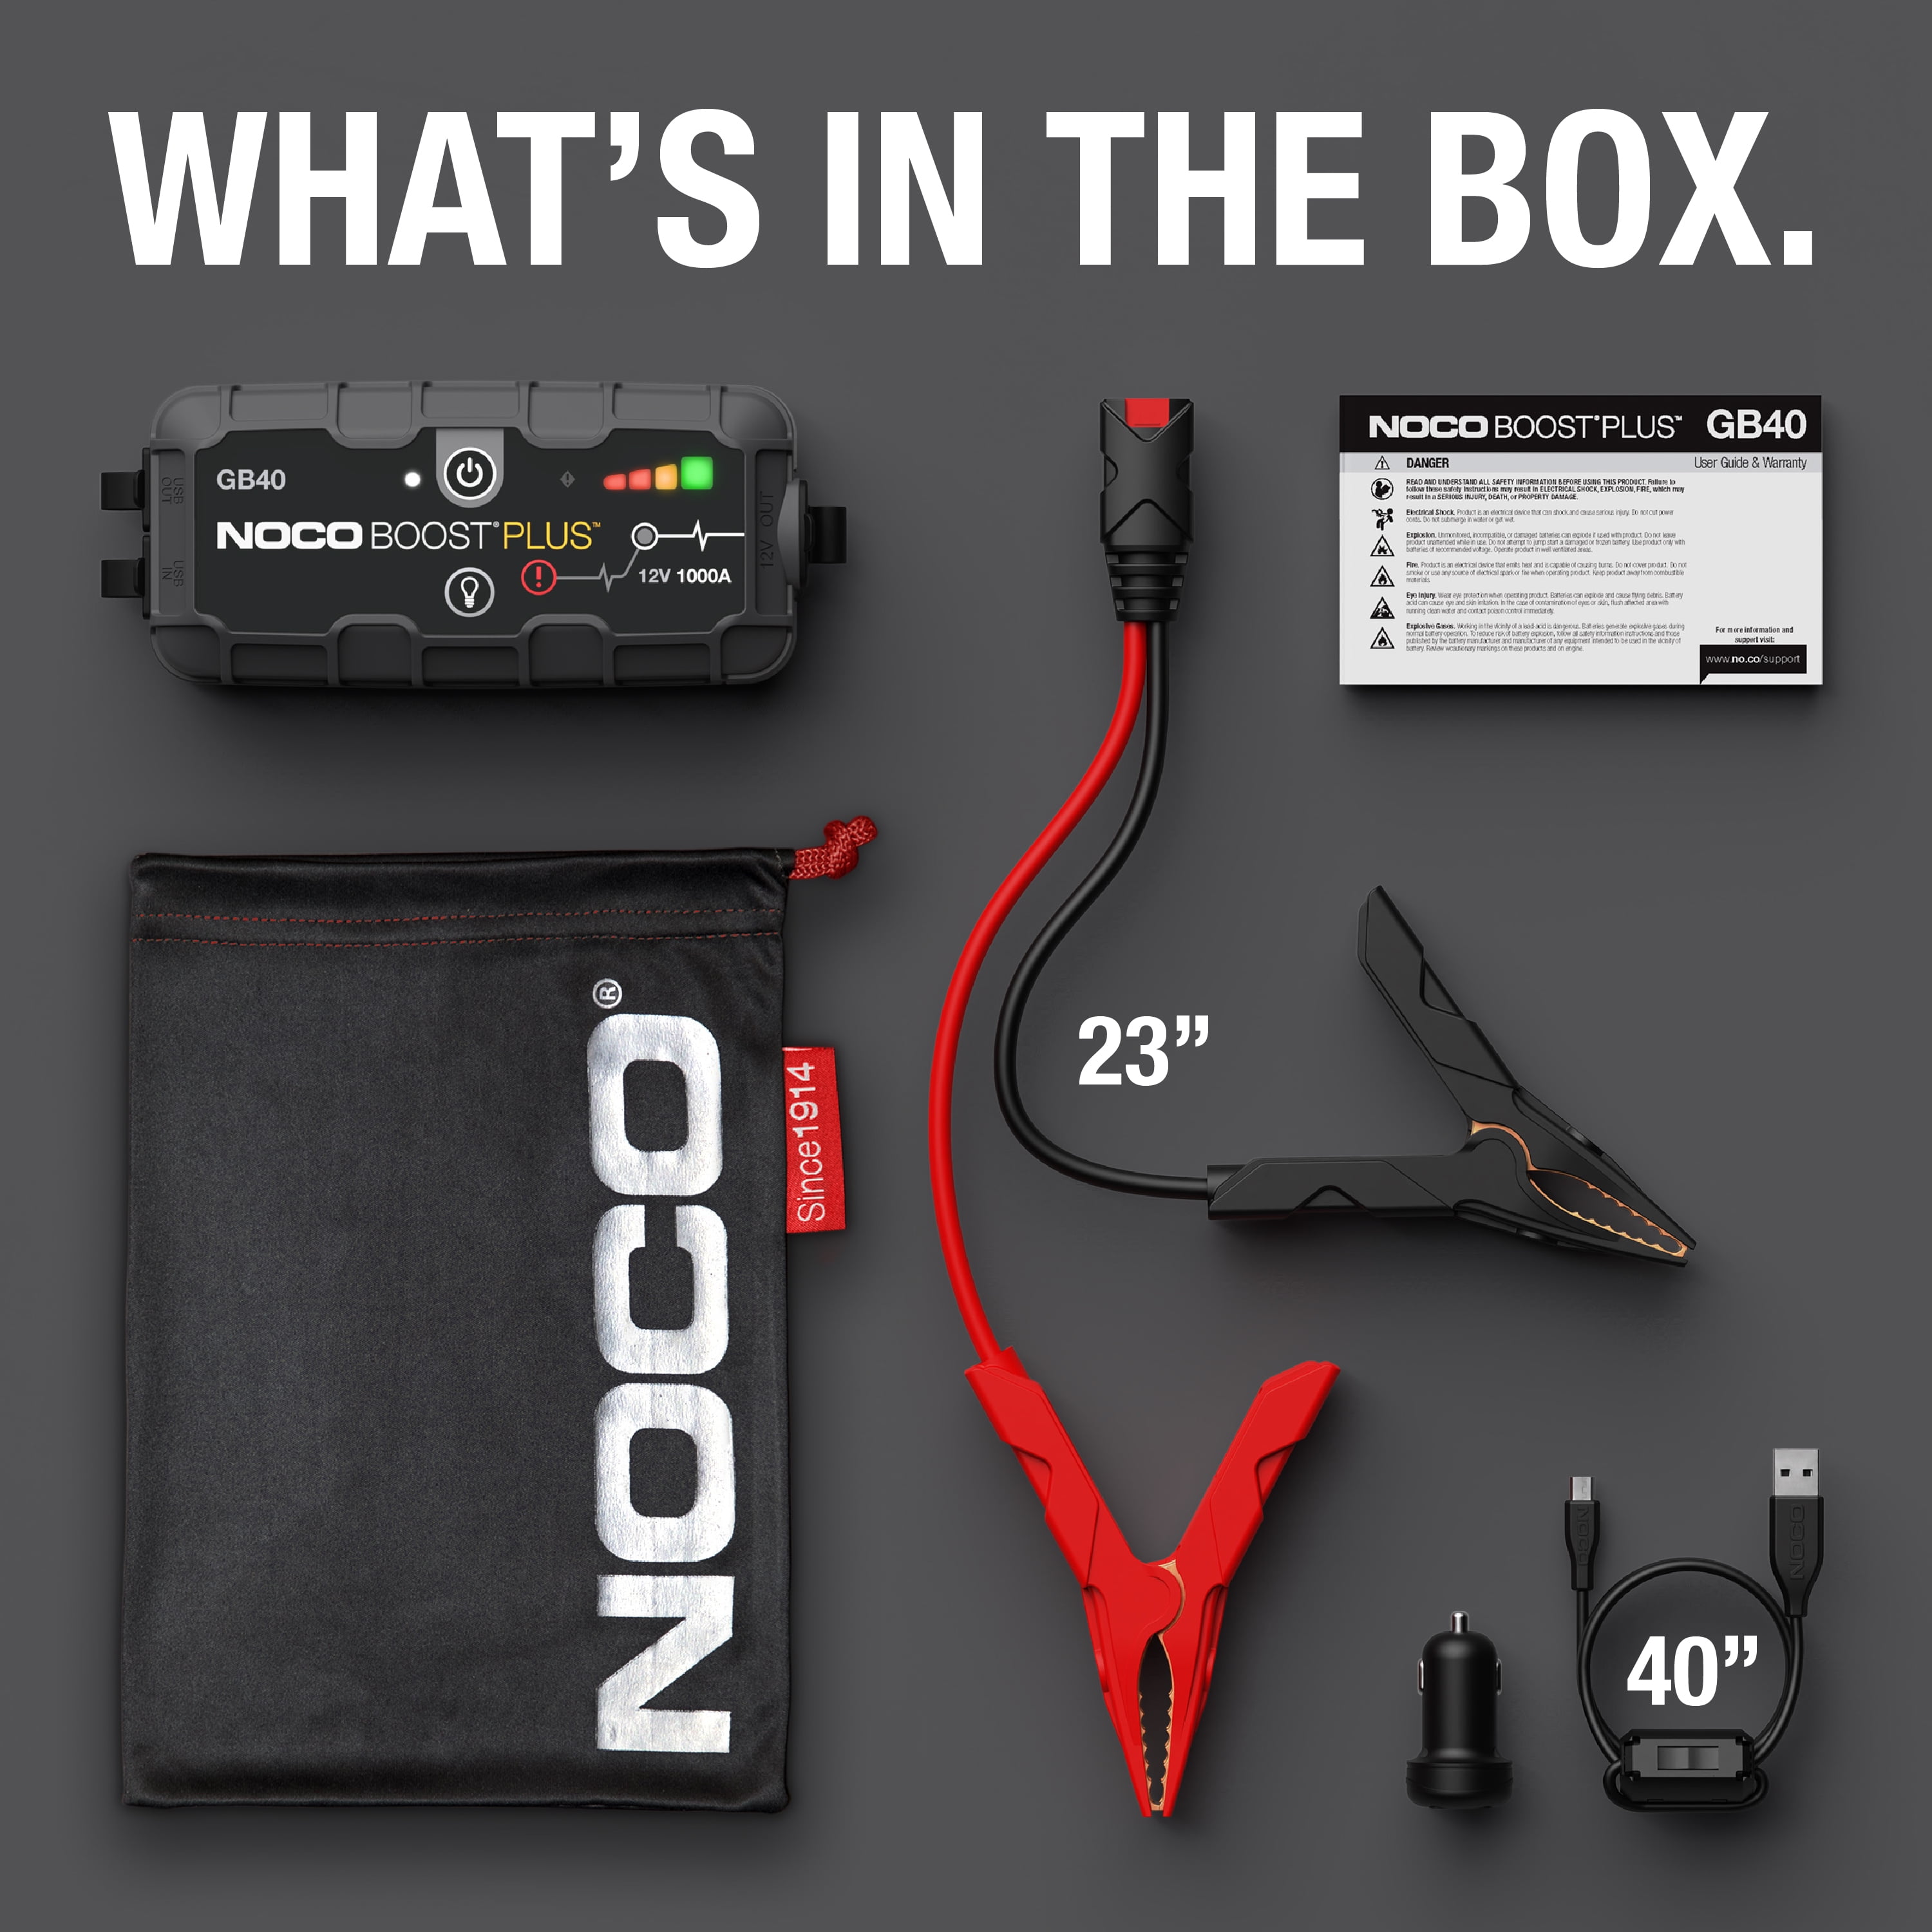
NOCO Boost Plus GB40 1000 Amp 12V Jump Starter
Standalone RV/boat/solar batteries; safer than cables.
$124.95
NOCO Boost Plus GB40 1000 Amp 12V Jump Starter Portable, safe lithium jump pack—no donor vehicle needed; peaks 1000A for deep cycles.
Get the App
Better experience on mobile
Safely revive your dead 12V deep cycle battery in 15-30 minutes with this step-by-step guide for RVs, boats, and solar setups.
A dead 12V deep cycle battery can strand you on a camping trip, leave your boat docked, or halt your off-grid solar system. These batteries power deep discharges for trolling motors, house loads in RVs, or renewable energy storage, but they can still go flat from age, heavy use, or parasitic drains. Jumpstarting restores enough power to get you running without a full charge.
In this guide, you'll learn the safe, correct method to jumpstart using jumper cables and a donor source, avoiding common risks like sparks or explosions. Perfect for intermediate DIYers with basic electrical knowledge. The process takes 15-30 minutes and requires minimal tools.
Expect success when your battery holds a charge post-jump and your system starts. Always follow up with a proper charge for longevity.
Estimated Time: 15-30 minutes Difficulty: intermediate
Park the donor vehicle (if using one) close to the dead battery setup, but ensure engines are off and hoods are open. Put on safety glasses and gloves. Disconnect any loads from the dead battery, like inverters or trolling motors, to prevent shorts.
Why it matters: Hydrogen gas from batteries is explosive; good ventilation and PPE minimize risks. Clear the area of flammable materials.
Success: Workspace is safe, tools ready.
💡 Tips:
⚠️ Warnings:
Use the multimeter set to DC volts (20V scale). Test the donor battery: should read 12.6V+. Test dead battery: below 12V means it needs jump.
Why: Confirms donor is strong and dead one is recoverable (above 10V often is). Clean terminals if corroded.
Success: Readings noted; terminals clean.
💡 Tips:
Attach one red clamp to the dead battery's POSITIVE (+) terminal. Secure firmly. Then connect the other red clamp to the donor's POSITIVE (+) terminal.
Why: Positive first reduces spark risk on negative. Ensures correct polarity.
Success: Reds connected, no sparks.
⚠️ Warnings:
Clamp black to donor's NEGATIVE (-) terminal or unpainted engine ground. Attach the other black to a clean unpainted metal ground on the dead battery's chassis or block—NOT the negative terminal.
Why: Grounding away from battery vents prevents gas ignition sparks.
Success: Blacks secure, cables taut.
If using a vehicle, start its engine and let idle 2-5 minutes at 1500-2000 RPM. For standalone donor, connect and wait 5 minutes.
Why: Charges the dead battery gradually. Revving boosts amps.
Success: Donor running smoothly.
💡 Tips:
Wait 5-10 minutes, then reconnect loads or start your engine/trolling motor. If it cranks slowly, wait longer or rev donor higher.
Why: Allows surface charge buildup. Deep cycles need time.
Success: System starts; battery voltage rises to 12.5V+.
Remove black ground clamp from dead chassis first, then donor negative. Remove red from donor positive, then dead positive.
Why: Reverse prevents arcs.
Success: Cables off cleanly.
⚠️ Warnings:
Retest voltage: should hold 12.4V+ under load. Run system 20-30 min, then fully charge.
Why: Confirms recovery; temporary fix only.
Success: Battery functional.
💡 Tips:
Problem: No crank after jump
Solution: Check connections, wait longer, test alternator if vehicle. Battery may be sulfated—replace.
Problem: Sparks or smoking
Solution: Disconnect immediately, check polarity. Clean terminals.
Problem: Voltage drops quickly
Solution: Bad cell; full charge test or replace battery.
Problem: Jump pack won't hold
Solution: Recharge pack fully; use vehicle donor.
Portable, safe lithium jump pack—no donor vehicle needed; peaks 1000A for deep cycles.
Best for: Standalone RV/boat/solar batteries; safer than cables.
Price Range: $124.95
Thick gauge low resistance for deep cycle high amps; durable clamps.
Best for: Long-reach jumps between vehicles/RVs.
Price Range: $39.99
Accurate voltage/continuity testing; auto-ranging for beginners.
Best for: Pre/post-jump diagnostics.
Price Range: $14.99
Post-jump smart charger repairs/maintains deep cycles automatically.
Best for: Full recovery after jump.
Price Range: $69.95
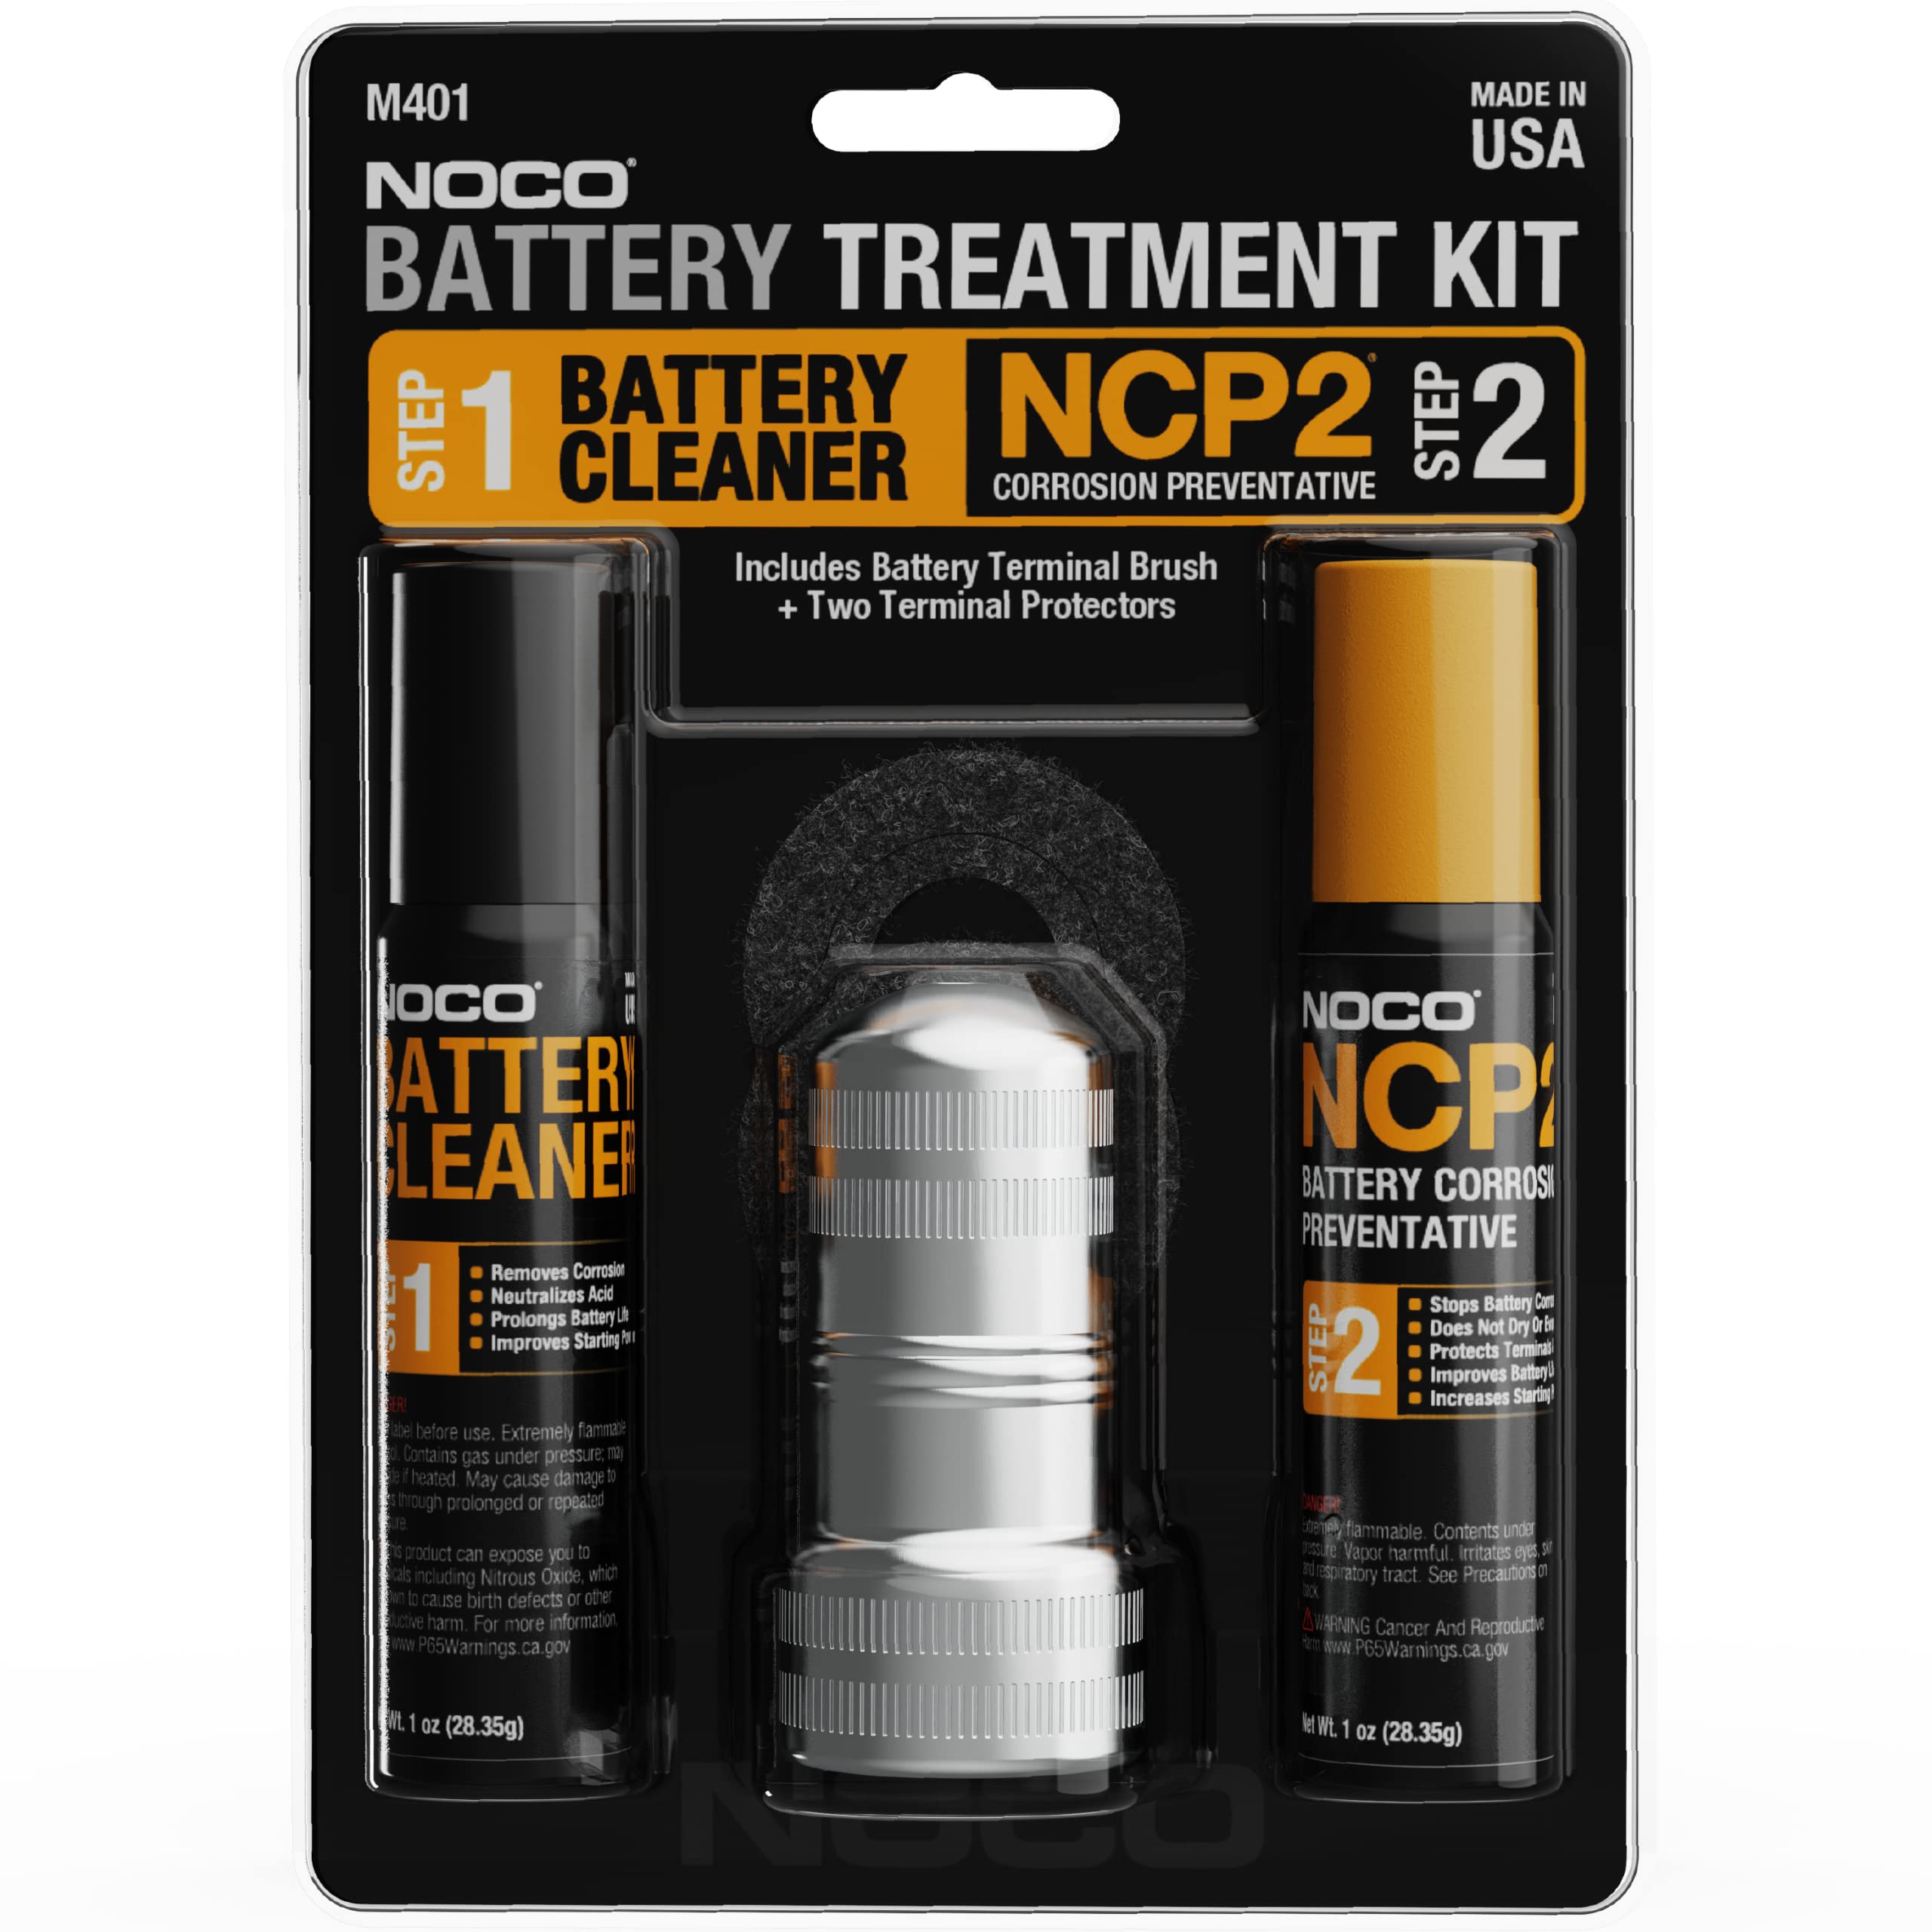
Quick corrosion removal for solid connections.
Best for: Prep dirty marine/RV batteries.
Price Range: $9.99
Standalone RV/boat/solar batteries; safer than cables.
NOCO Boost Plus GB40 1000 Amp 12V Jump Starter Portable, safe lithium jump pack—no donor vehicle needed; peaks 1000A for deep cycles.
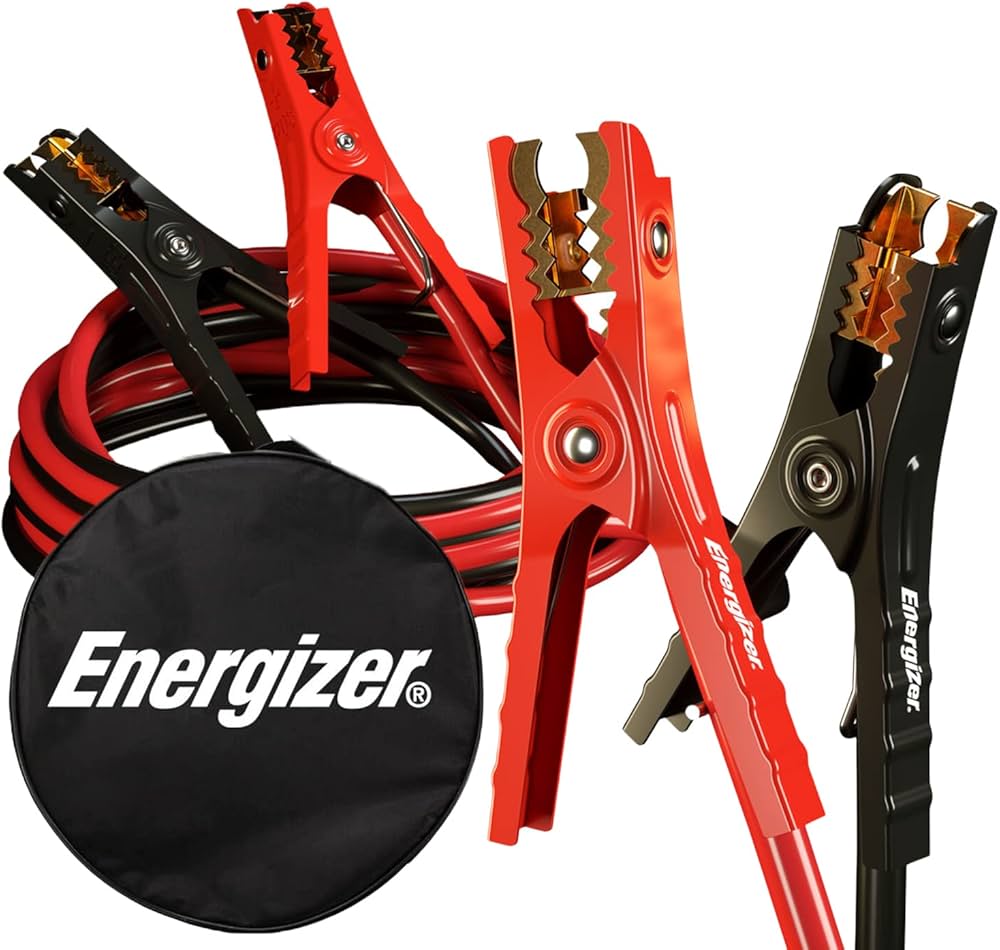
Long-reach jumps between vehicles/RVs.
ENERGIZER 4 Gauge x 20 Ft Heavy Duty Jumper Cables Thick gauge low resistance for deep cycle high amps; durable clamps.
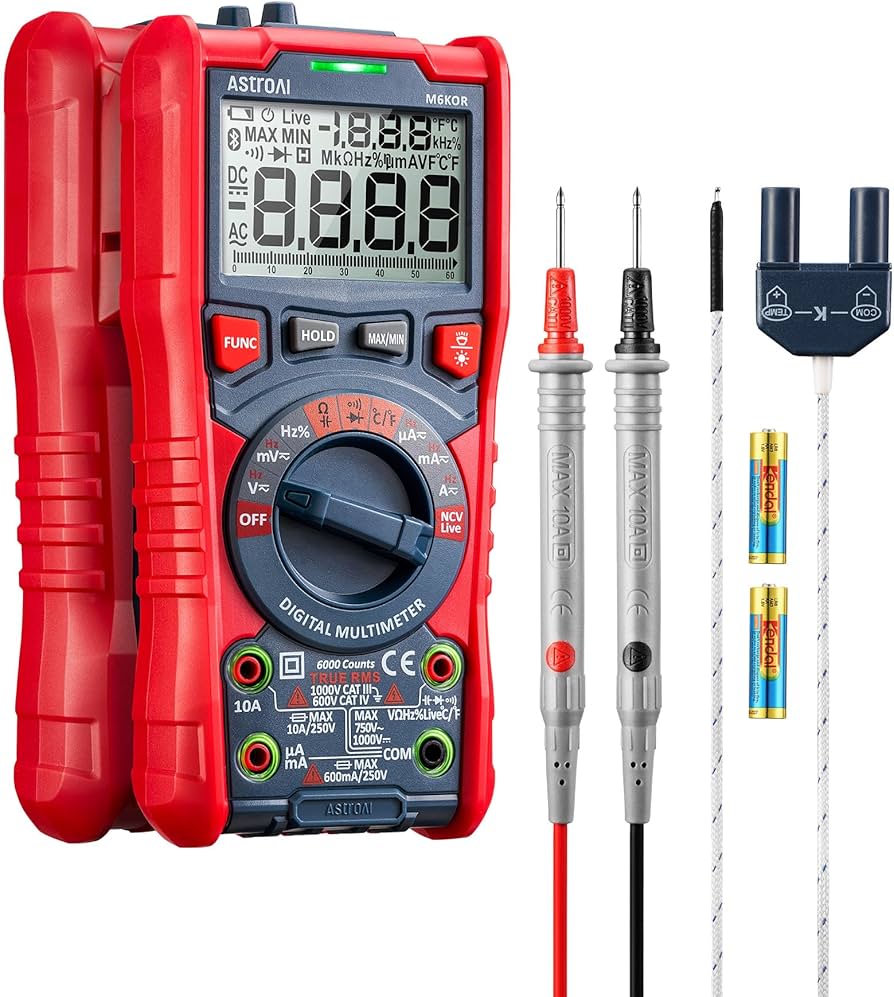
Pre/post-jump diagnostics.
AstroAI Digital Multimeter TRMS 6000 Counts Accurate voltage/continuity testing; auto-ranging for beginners.
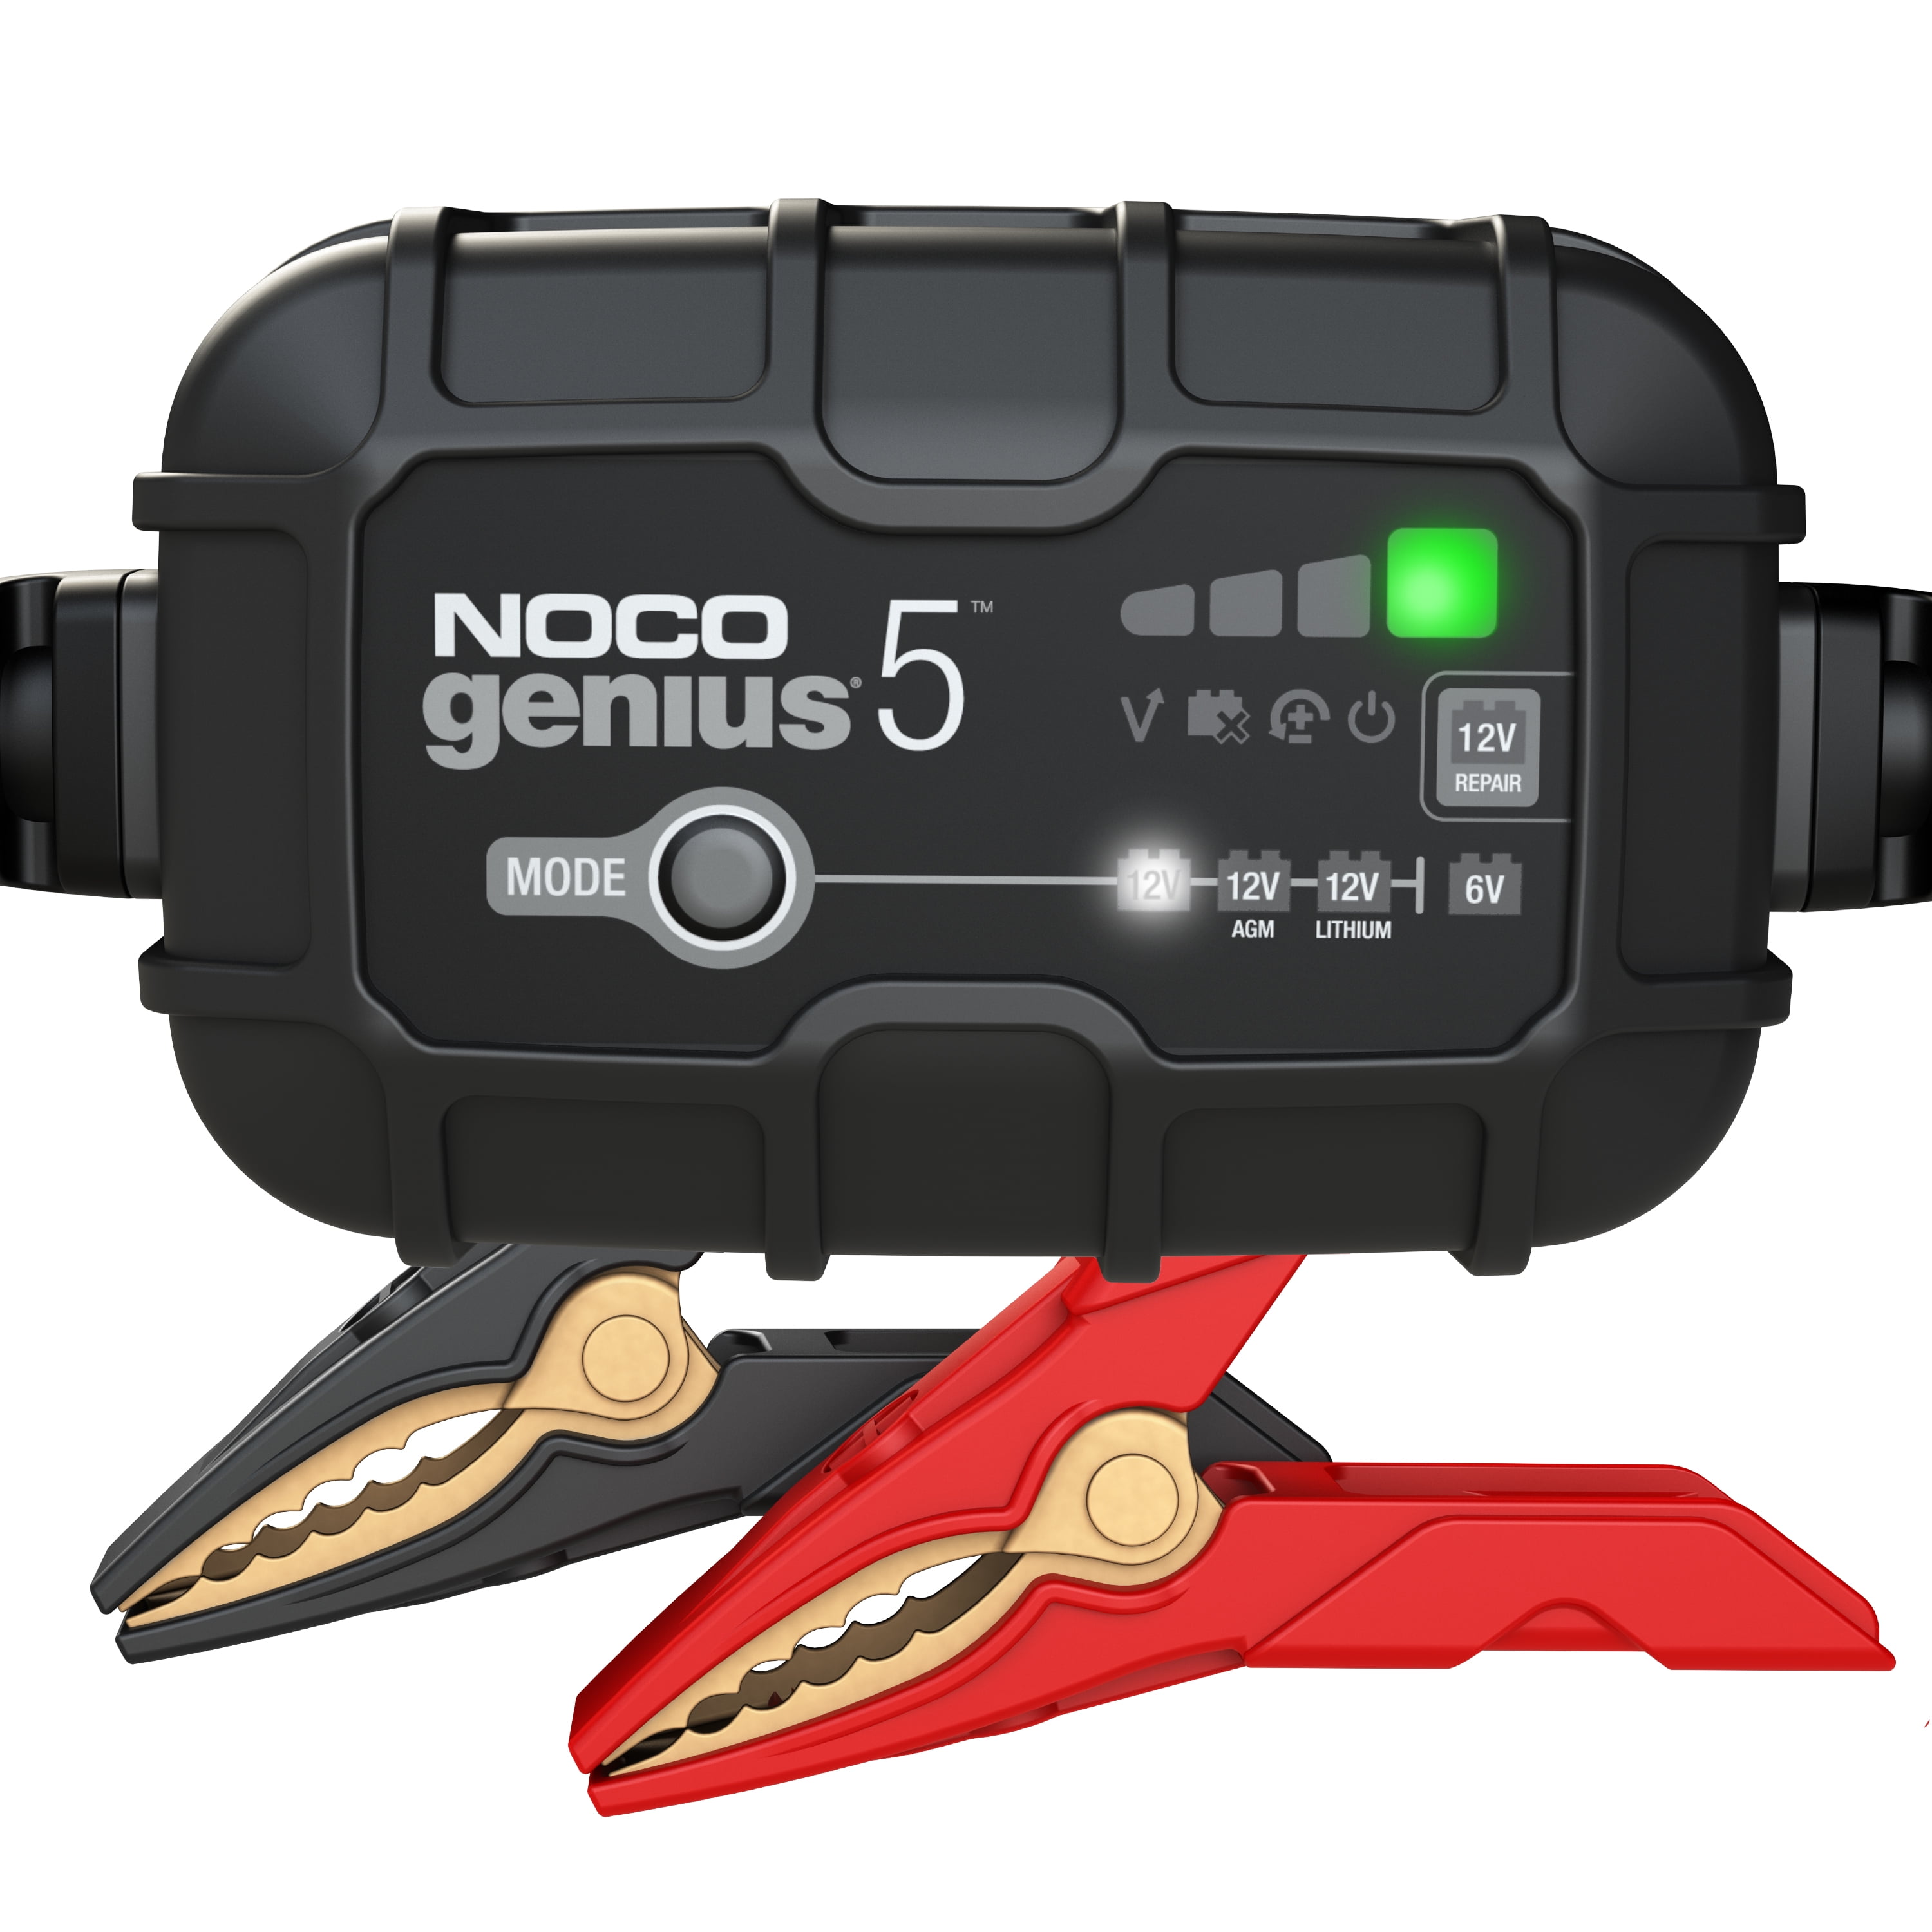
Full recovery after jump.
NOCO GENIUS5 12V 5A Battery Charger Post-jump smart charger repairs/maintains deep cycles automatically.
Prep dirty marine/RV batteries.
Renogy Battery Terminal Cleaners Quick corrosion removal for solid connections.