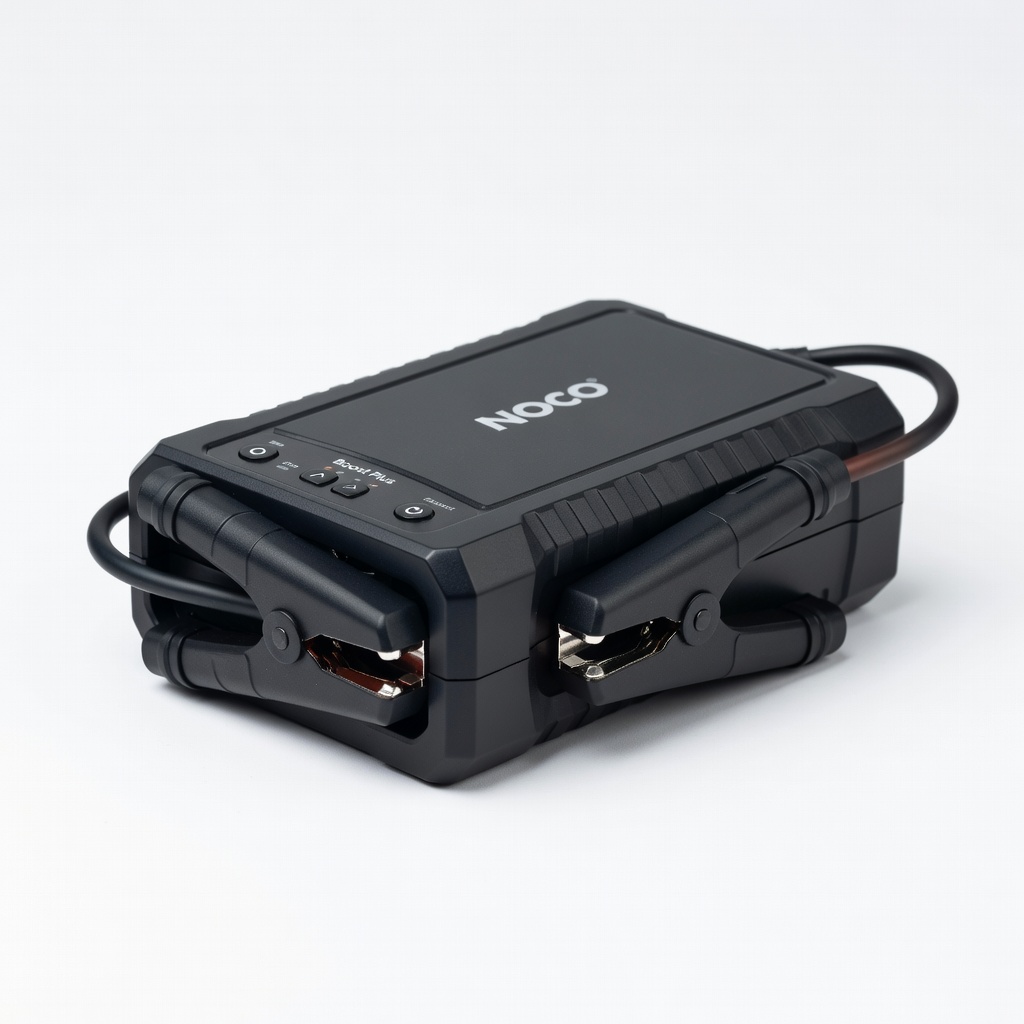
NOCO Boost Plus GB40
Everyday cars, quick roadside jumps.
$99-$130
NOCO Boost Plus GB40 Compact, 1000A peak for cars up to 6L engines; waterproof, reliable with safety features.
Get the App
Better experience on mobile
Safely revive your dead car battery in 10 minutes using a 12V booster pack—no second vehicle needed—with beginner-friendly steps.
A dead car battery is a frustrating roadside emergency that strands millions every year, especially in cold weather or after leaving lights on. Instead of waiting for a tow or another car, a 12V battery booster pack lets you jump-start your vehicle quickly and independently.
In this guide, you'll learn the exact step-by-step process to use a 12V booster safely and effectively. We'll cover preparation, connections, starting, and post-jump care. It's beginner-friendly, takes just 10-15 minutes, and requires no prior experience—just follow along.
Expect success: your engine will crank and start, dashboard lights will brighten, and you'll be back on the road without damage to your electronics.
Estimated Time: 10-15 minutes Difficulty: beginner
Before anything, ensure your 12V booster pack is fully charged. Plug it into a wall outlet or car charger until the indicator shows 100% (usually green light). This typically takes 2-4 hours depending on the model.
Inspect the booster for damage: check cables for frays, clamps for secure grip, and ensure the unit powers on. Why it matters: A weak or faulty booster won't deliver the 400-2000 peak amps needed for most cars.
Success looks like: Booster LED lights up fully charged, clamps snap tightly.
💡 Tips:
⚠️ Warnings:
Park your car on a flat, stable surface away from traffic. Engage the parking brake, turn off the ignition, headlights, radio, and all accessories. Remove the key to prevent accidental starts.
Open the hood and locate the battery (usually front-left or under a cover). Prop the hood securely.
What to expect: Quiet, powered-down vehicle ready for connection.
💡 Tips:
⚠️ Warnings:
Wear insulated gloves and safety glasses. Batteries contain corrosive acid, and connections can spark.
Why safety first: Prevents shocks, burns, or acid splashes. Position yourself away from the battery during connections.
Success: You're protected and ready to handle cables.
💡 Tips:
Attach the red (+) clamp to the dead battery's positive (+) terminal. Ensure a firm connection—wiggle to confirm.
If your booster has smart clamps, they may have error lights; follow any flashing indicators.
Why order matters: Positive first minimizes spark risk on negative.
Expect: Secure clamp, no loose fit.
💡 Tips:
⚠️ Warnings:
Do not connect black to the negative battery post. Instead, attach it to an unpainted metal ground on the engine block or frame, away from the battery (e.g., bolt 12+ inches away).
This prevents sparks near battery gases. Turn on the booster if it has a manual switch.
Success: Black clamp firm on metal, booster powered.
💡 Tips:
⚠️ Warnings:
Wait 30 seconds for charge transfer, then try starting the engine (max 5-10 seconds crank). If it doesn't start, wait 1-2 minutes and retry (up to 3 times).
Once running, let idle 3-5 minutes with accessories off to recharge.
Success: Engine starts smoothly, RPM stabilizes at 1500+.
💡 Tips:
⚠️ Warnings:
With engine running, remove black clamp first (from ground), then red from positive. Stow booster safely.
Drive 20-30 minutes or use a charger to fully recharge battery.
Expect: No sparks, engine stays running.
💡 Tips:
⚠️ Warnings:
Problem: Engine clicks but won't turn over
Solution: Retry after 2-min cool down; check connections; battery may need replacement if <10V.
Problem: Booster error light flashes
Solution: Reverse clamps and retry; ensure voltage match (12V only).
Problem: Starts but dies immediately
Solution: Alternator or battery faulty—drive to shop or use trickle charger.
Problem: Sparks during connection
Solution: Everything off; clean terminals; seek pro if persists.
Compact, 1000A peak for cars up to 6L engines; waterproof, reliable with safety features.
Best for: Everyday cars, quick roadside jumps.
Price Range: $99-$130
Affordable 1000A with air compressor; great value for beginners.
Best for: Budget option with tire inflation bonus.
Price Range: $60-$80
2000A peak for larger vehicles; dual USB, flashlight; highly rated durability.
Best for: Trucks or frequent travelers.
Price Range: $90-$110
2000A heavy-duty for trucks; ultra-safe with reverse polarity protection.
Best for: Larger engines or commercial use.
Price Range: $200-$250
Everyday cars, quick roadside jumps.
NOCO Boost Plus GB40 Compact, 1000A peak for cars up to 6L engines; waterproof, reliable with safety features.
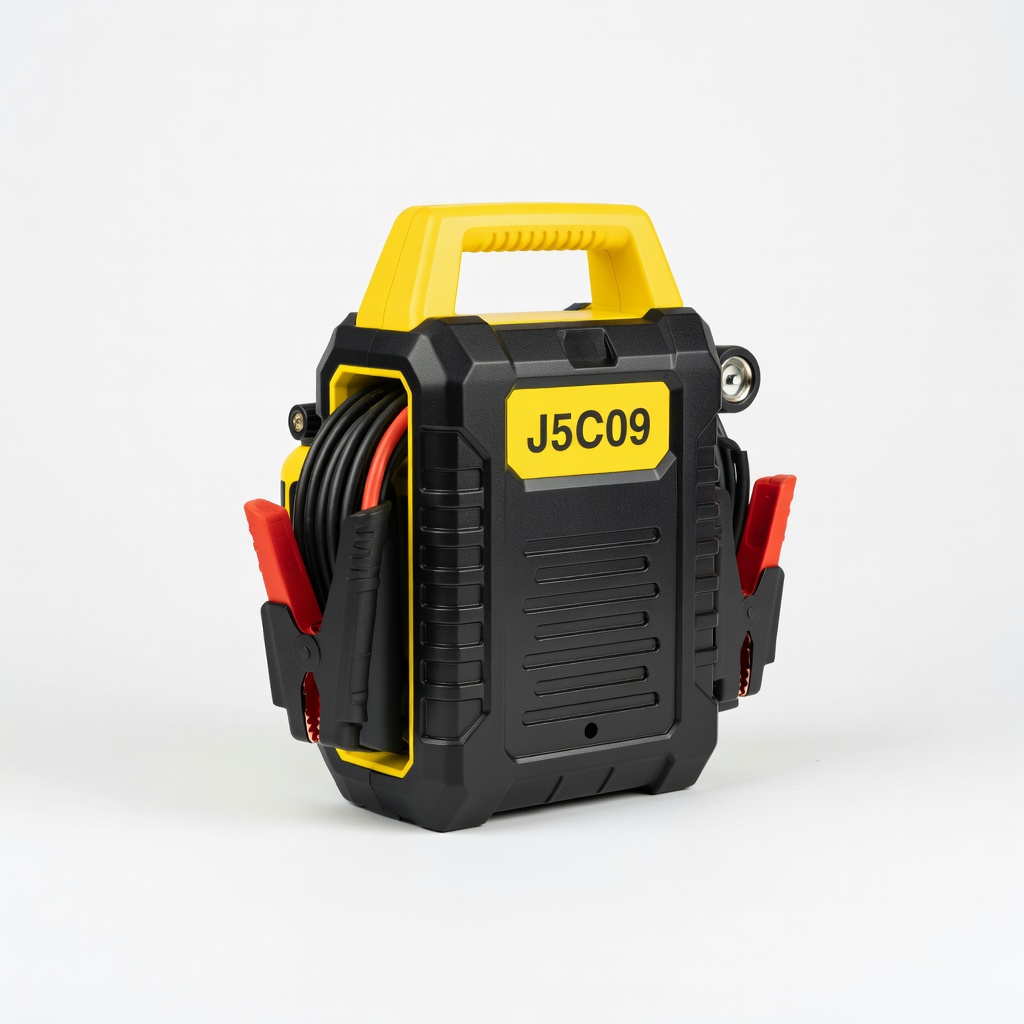
Budget option with tire inflation bonus.
Stanley J5C09 Jump Starter Affordable 1000A with air compressor; great value for beginners.
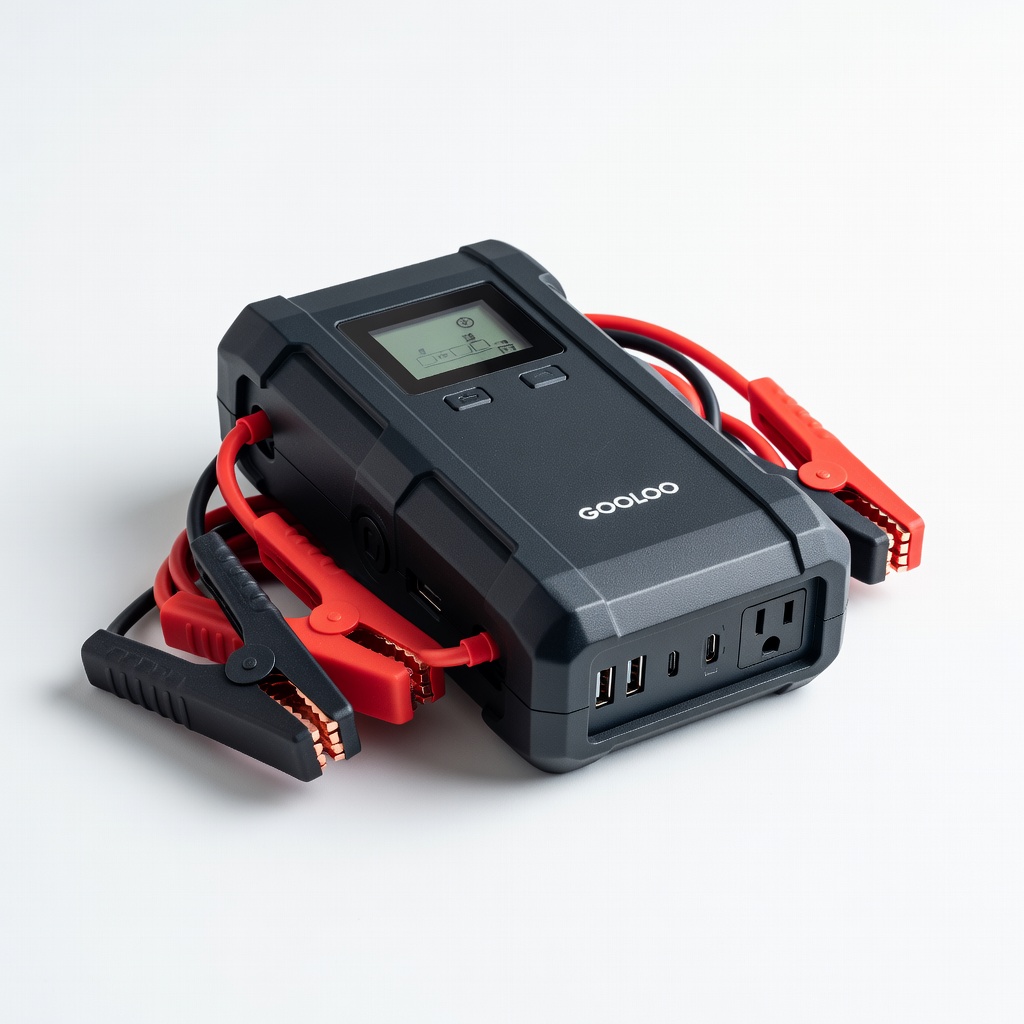
Trucks or frequent travelers.
GOOLOO GP2000 Jump Starter 2000A peak for larger vehicles; dual USB, flashlight; highly rated durability.
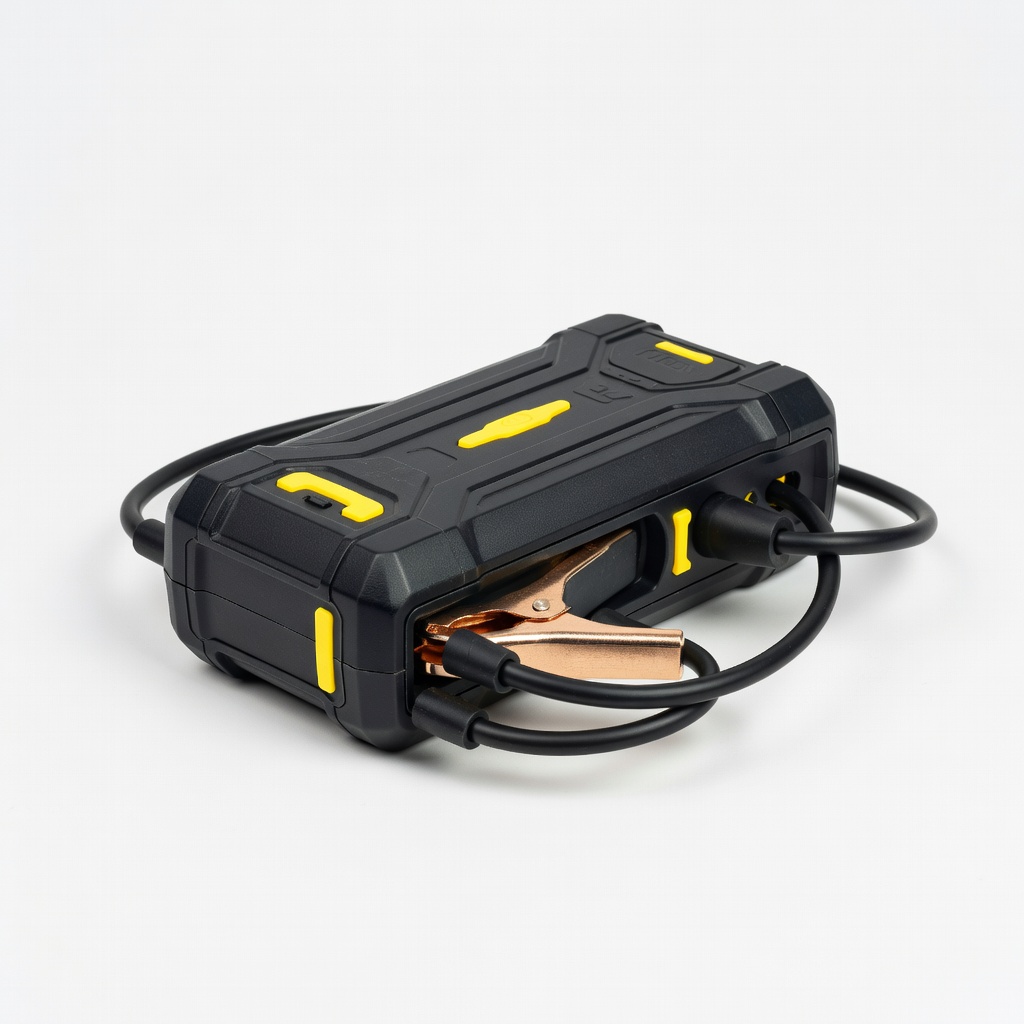
Larger engines or commercial use.
NOCO Boost HD GB70 2000A heavy-duty for trucks; ultra-safe with reverse polarity protection.