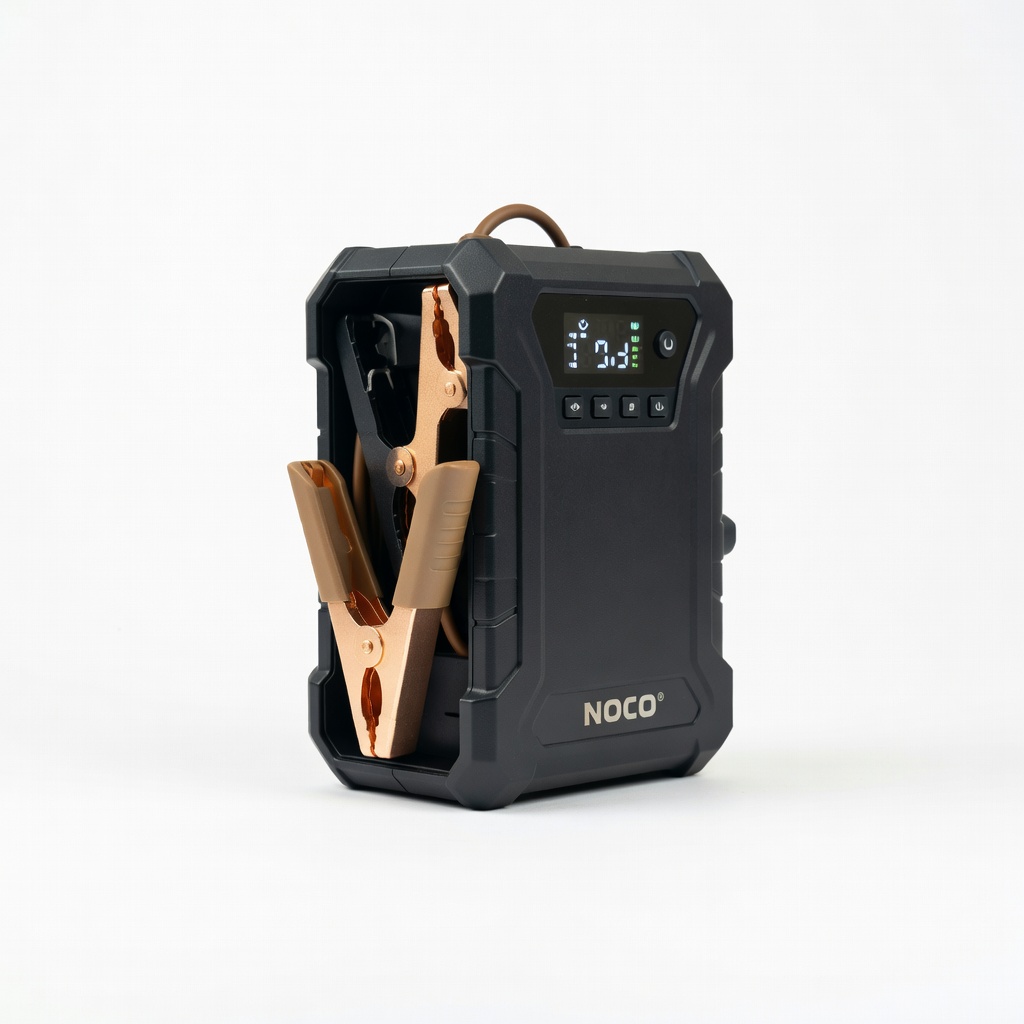
NOCO Boost Plus GB40
Everyday sedans/SUVs, emergency trunk storage.
$124.95
NOCO Boost Plus GB40 Reliable 1000A peak for most cars, waterproof, with safety features like reverse polarity protection.
Get the App
Better experience on mobile
Safely revive your dead car battery using a portable 12V jump pack—no second vehicle needed—in under 15 minutes.
Imagine being stranded in a parking lot or on the side of the road with a dead battery, late for work or an important event. Traditional jump-starting requires another running car, jumper cables, and a willing helper, but a 12V battery pack (also called a jump starter) makes it simple and solo-friendly. These compact devices pack enough power to start most cars, trucks, and SUVs.
In this beginner-friendly guide, you'll learn the exact step-by-step process to jump-start your car safely and effectively. We'll cover everything from safety prep to disconnection, with tips to avoid common pitfalls. The whole process takes 10-15 minutes and requires no mechanical expertise—just follow along.
Expect clear instructions, real-world tips, and warnings to ensure success on the first try. By the end, you'll be back on the road confidently handling dead battery emergencies.
Estimated Time: 10-15 minutes Difficulty: beginner
Park your car on a flat, stable surface away from traffic. Turn off the ignition, all lights, radio, and accessories. Engage the parking brake. Remove the keys from the ignition to prevent accidental starts.
Why it matters: This minimizes risks like rolling or electrical shorts. Success looks like a quiet, secure vehicle ready for work.
Open the hood and prop it securely.
💡 Tips:
⚠️ Warnings:
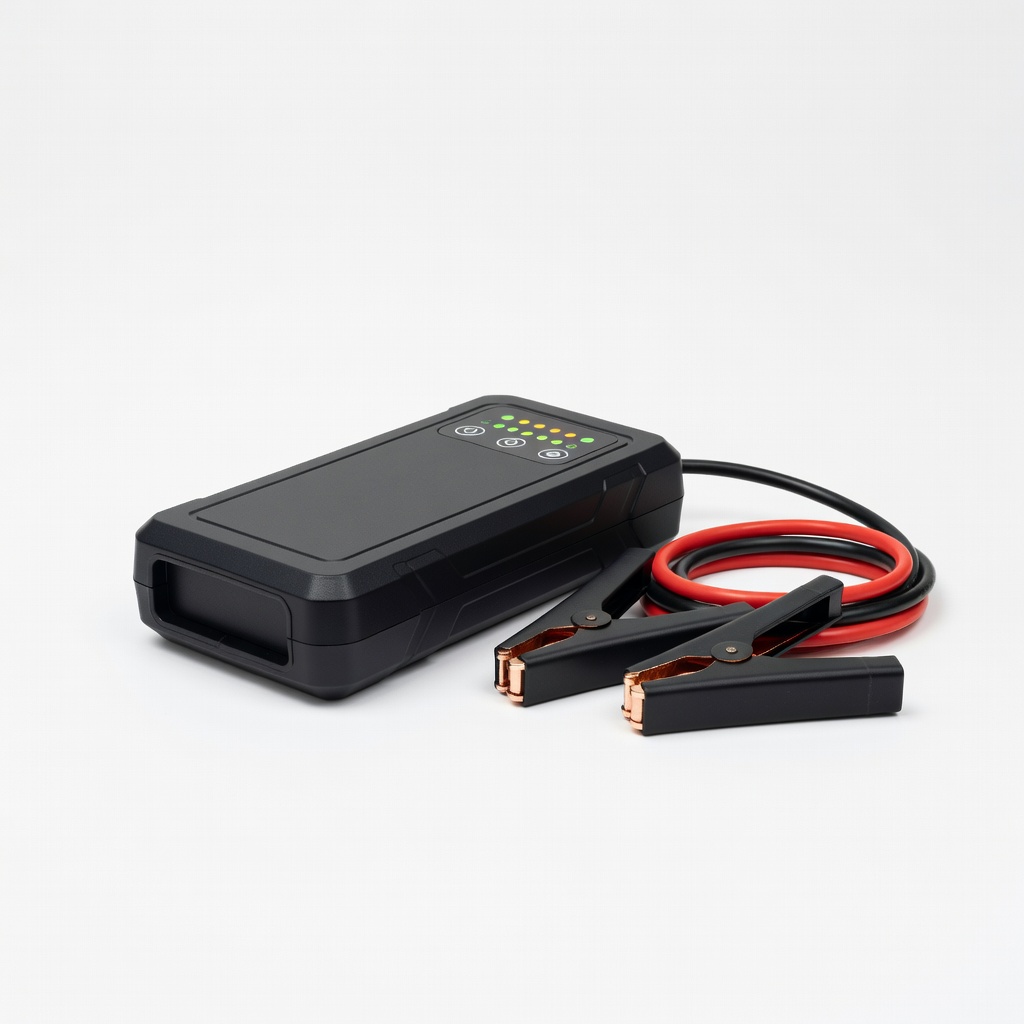
Check your 12V battery pack's charge level—most have an LED indicator. If below 50%, plug it in to charge fully (use the provided AC or car charger). Ensure clamps are undamaged and clean.
Why it matters: A low pack won't deliver enough power. Success: Green lights confirm full charge and readiness.
💡 Tips:
⚠️ Warnings:
Find your car's battery under the hood (consult manual if hidden). Identify the positive (+) terminal (red cover or marked +) and negative (-) terminal (black, marked -). Clean any corrosion with a wire brush if present.
Why it matters: Correct terminals prevent damage. Success: Clear view of both terminals.
💡 Tips:
⚠️ Warnings:
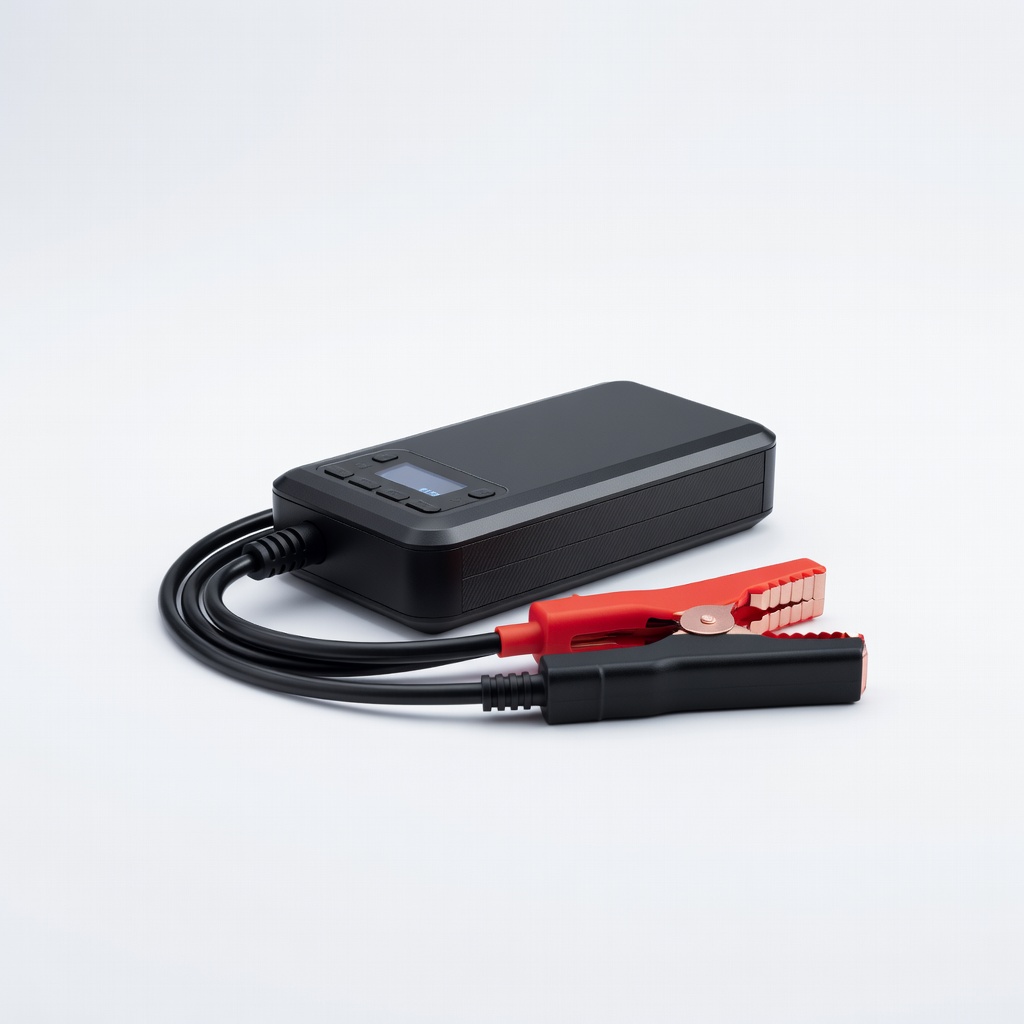
Attach the red clamp to the positive (+) battery terminal. Ensure a firm connection—listen for a click.
Why it matters: Positive first reduces spark risk. Success: Secure red clamp, no looseness.
💡 Tips:
⚠️ Warnings:
Clip the black clamp to an unpainted metal ground point away from the battery (like engine block) or directly to negative (-) terminal if no ground available. Avoid battery's vent or moving parts.
Why it matters: Grounding prevents hydrogen gas explosion. Success: Black clamp firm on clean metal.
💡 Tips:
⚠️ Warnings:
Turn on the jump pack (boost/boost button). Wait 10-30 seconds for power transfer. Insert key, crank engine for no more than 5 seconds. If no start, wait 1 minute and retry (up to 3 times).
Why it matters: Allows capacitors to charge. Success: Engine turns over and starts.
💡 Tips:
⚠️ Warnings:
Let engine idle 5-10 minutes. Turn off pack, remove black clamp first, then red. Close hood.
Why it matters: Charges battery fully. Reverse order prevents arcs.
💡 Tips:
⚠️ Warnings:
Plug in your pack to recharge fully. Store in a cool, dry place.
Why it matters: Keeps it ready for next use. Success: Pack shows full charge.
💡 Tips:
⚠️ Warnings:
Problem: Car won't start after 3 tries
Solution: Check connections, retry after 5-min cool down. Battery may need replacement—test at auto shop.
Problem: Sparks or smoking
Solution: Immediately disconnect, check polarity. Do not retry until fixed.
Problem: Jump pack won't turn on
Solution: Fully recharge or check for internal faults—replace if needed.
Problem: Engine starts but dies
Solution: Alternator issue or weak battery—drive to mechanic, don't rely on pack.
Reliable 1000A peak for most cars, waterproof, with safety features like reverse polarity protection.
Best for: Everyday sedans/SUVs, emergency trunk storage.
Price Range: $124.95
Affordable 2000A power, built-in flashlight, multiple USB ports for phone charging.
Best for: Budget option for trucks or frequent travelers.
Price Range: $99.99
Heavy-duty 2000A for larger engines, ultra-safe with smart clamps.
Best for: Trucks, diesels, or harsh conditions.
Price Range: $199.95
Compact with 1000A and power bank functions, app monitoring.
Best for: Tech-savvy users needing multi-tool.
Price Range: $129.99
Everyday sedans/SUVs, emergency trunk storage.
NOCO Boost Plus GB40 Reliable 1000A peak for most cars, waterproof, with safety features like reverse polarity protection.

Budget option for trucks or frequent travelers.
GOOLOO GP2000 Affordable 2000A power, built-in flashlight, multiple USB ports for phone charging.
Trucks, diesels, or harsh conditions.
NOCO Boost HD GB70 Heavy-duty 2000A for larger engines, ultra-safe with smart clamps.
Tech-savvy users needing multi-tool.
Anker 535 Car Jump Starter Compact with 1000A and power bank functions, app monitoring.