A dead 12V deep cycle battery can strand your RV, boat, or off-grid solar system at the worst time, leaving you without power for lights, pumps, or trolling motors. Deep cycle batteries, unlike car starter batteries, are designed for sustained discharge, making them trickier to jump—but with the right method, you can get them running quickly without damage.
In this guide, you'll learn a safe, proven process using jumper cables and a donor 12V source (like a running vehicle or another battery). Expect to spend 15-30 minutes, depending on charge time. This intermediate-level tutorial assumes basic electrical knowledge, like positive/negative terminals.
We'll cover preparation, connections, charging, testing, and post-jump care to ensure long battery life and avoid common hazards like sparks or explosions.
▸What You'll Need
- •Heavy-duty jumper cables (4-6 gauge, 10-20 ft long, with clamps)
- •Donor 12V power source (running vehicle engine or charged 12V battery bank)
- •Safety gear: insulated gloves, safety goggles
- •Multimeter (for voltage testing)
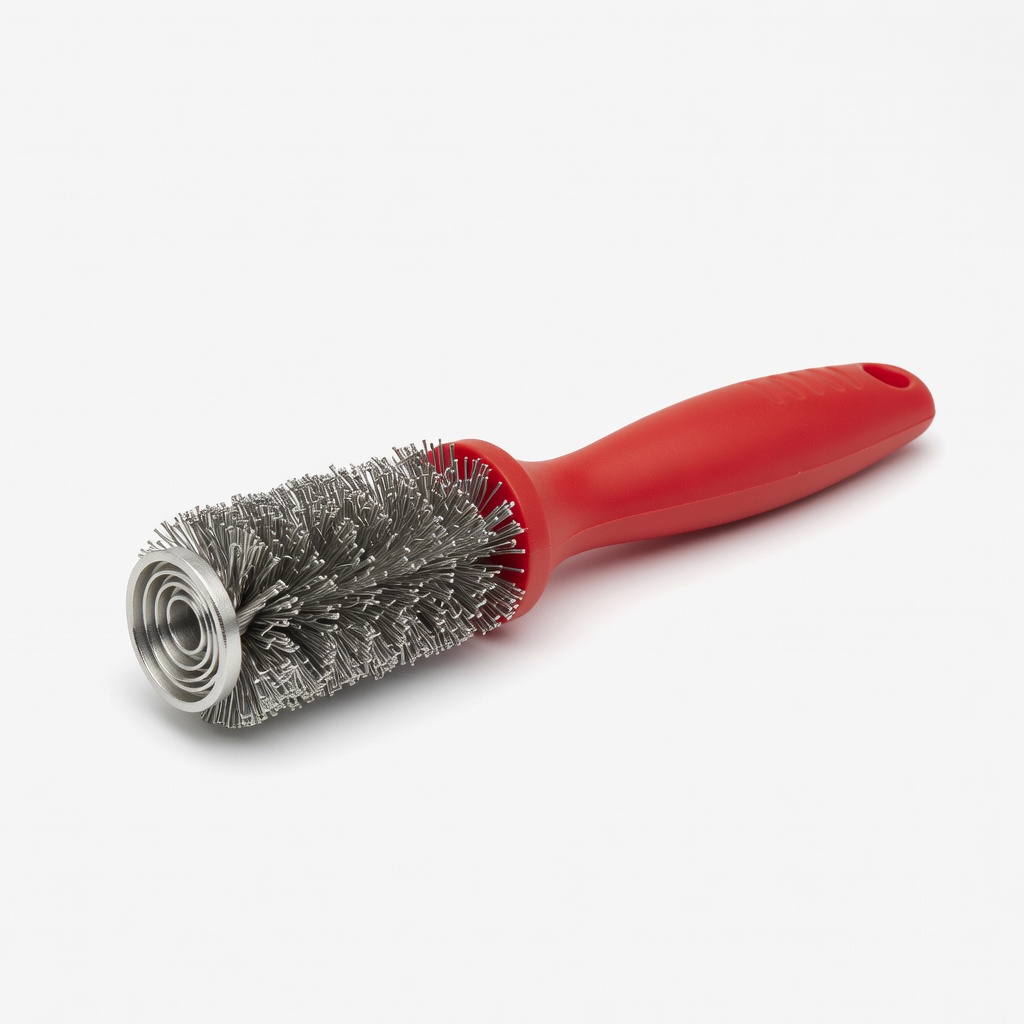
- •Wire brush or terminal cleaner (required for corroded terminals)
- •Wrench or socket set (to access terminals if needed)
- •Optional: Portable jump starter pack
Estimated Time: 15-30 minutes
Difficulty: intermediate
▸Step-by-Step Instructions
Step 1: Prepare Your Workspace and Safety Gear
Park both the donor vehicle (or position the donor battery) and the dead battery setup in a well-ventilated area away from flames or sparks. Turn off all electronics on both batteries and ensure the donor vehicle's engine is running at idle if using a vehicle.
Put on safety goggles and insulated gloves. Deep cycle batteries can vent hydrogen gas, which is explosive—ventilation prevents buildup.
Success looks like: Clear, safe area with gear ready, no active loads.
💡 Tips:
- •Work in daylight for better visibility.
- •Disable any inverters or heavy loads on the dead battery.
⚠️ Warnings:
- •Never smoke or use open flames nearby.
- •Ensure vehicles are in park/neutral with parking brakes on.
Step 2: Clean and Identify Battery Terminals
Locate the positive (+) red terminal and negative (-) black terminal on both batteries. Use a wire brush to clean corrosion from terminals—corrosion blocks current flow.
Inspect for damage like cracks or leaks; if present, stop and replace the battery.
Success looks like: Shiny, clean terminals clearly marked + and -.
💡 Tips:
- •Apply baking soda/water mix for heavy corrosion, then rinse and dry.
⚠️ Warnings:
- •Touch only one terminal at a time to avoid shorting.
Step 3: Connect Positive Cables First
Clamp the red (+) jumper cable to the positive (+) terminal of the dead deep cycle battery. Then, connect the other end of the red cable to the positive (+) terminal of the donor battery.
This order minimizes spark risk on the dead battery.
Success looks like: Secure red clamps on both positives, no loose connections.
💡 Tips:
- •Ensure clamps grip tightly; wiggle to confirm contact.
⚠️ Warnings:
- •Reverse polarity can damage electronics or cause explosion.
Step 4: Connect Negative Cables to Ground
Clamp the black (-) cable to the negative (-) terminal of the donor battery. Then, attach the other black clamp to an unpainted metal ground on the dead battery's chassis (away from the battery, like a bolt on the frame)—not the negative terminal.
This reduces spark risk near hydrogen vents.
Success looks like: Black cables connected donor-to-chassis, cables not touching.
💡 Tips:
- •Choose a ground point close to the battery for shorter cable runs.
⚠️ Warnings:
- •Avoid battery negative to prevent sparks at the battery.
Step 5: Charge the Dead Battery
Let the donor charge the dead battery for 5-15 minutes with the donor engine at 1500-2000 RPM. Deep cycles need time to accept charge unlike starters.
Monitor for heat or bulging—stop if issues arise.
Success looks like: Dead battery voltage rising (check with multimeter to 12.6V+).
💡 Tips:
- •Rev donor engine periodically for more amps.
⚠️ Warnings:
- •Don't exceed 30 minutes; use a proper charger afterward.
Step 6: Test the Battery
Disconnect any loads, then use a multimeter to check voltage (should be 12.4V+). Reconnect loads or start your system—if it powers up steadily, it's jump successful.
Success looks like: Battery holds charge under light load, no dimming.
💡 Tips:
- •Test under load for true capacity.
⚠️ Warnings:
- •If voltage drops fast, battery may need replacement.
Step 7: Disconnect Cables in Reverse Order
Remove black clamp from chassis ground first, then donor negative. Next, red from donor positive, then dead positive. Reverse prevents arcs.
Success looks like: Cables off, systems separate, no sparks.
💡 Tips:
- •Wiggle clamps loose before full removal.
⚠️ Warnings:
- •Sparks can occur—stand clear.
Step 8: Fully Charge and Maintain
Hook to a smart charger immediately for a full charge (8-24 hours). Deep cycles sulfates if left low.
Drive/use to cycle battery post-charge.
Success looks like: Battery at 12.6-12.8V fully charged, ready for use.
💡 Tips:
- •Check electrolyte levels if flooded type.
⚠️ Warnings:
- •Jump starting is temporary—full charge essential.
▸Pro Tips
- •Use thicker gauge cables (4 AWG) for faster charging on larger deep cycles.
- •Jump during mild weather; cold reduces efficiency.
- •Label cables red/black for quick ID.
- •For frequent needs, invest in a lithium jump starter—lighter and safer.
- •Monitor donor battery voltage to avoid draining it.
- •After jump, equalize charge monthly for longevity.
- •Store cables coiled loosely to prevent insulation cracks.
▸Common Mistakes to Avoid
- •Connecting negative to dead battery terminal—causes sparks/explosion risk; use chassis ground instead.
- •Reversing positive/negative—damages battery/electronics; double-check markings.
- •Insufficient charge time—deep cycles need 10+ mins; rushing leads to false failures.
- •Ignoring corrosion—blocks flow, prolongs process; always clean first.
- •Skipping full charge after—causes sulfation, shortening battery life.
▸Troubleshooting
Problem: Battery won't hold charge after jump
Solution: Test specific gravity or load test; likely bad cell—replace battery. Fully charge first.
Problem: Sparks or smoking during connection
Solution: Disconnect immediately, check polarity. Ensure loads off and use ground point.
Problem: Donor battery drains too fast
Solution: Run donor at higher RPM or use dedicated charger. Check donor health.
Problem: No voltage increase
Solution: Verify connections/cables; test donor alone. Battery may be sulfated—desulfate or replace.
Problem: System won't power up
Solution: Check fuses/breakers. Jump provides surface charge—needs full recharge for deep cycle use.
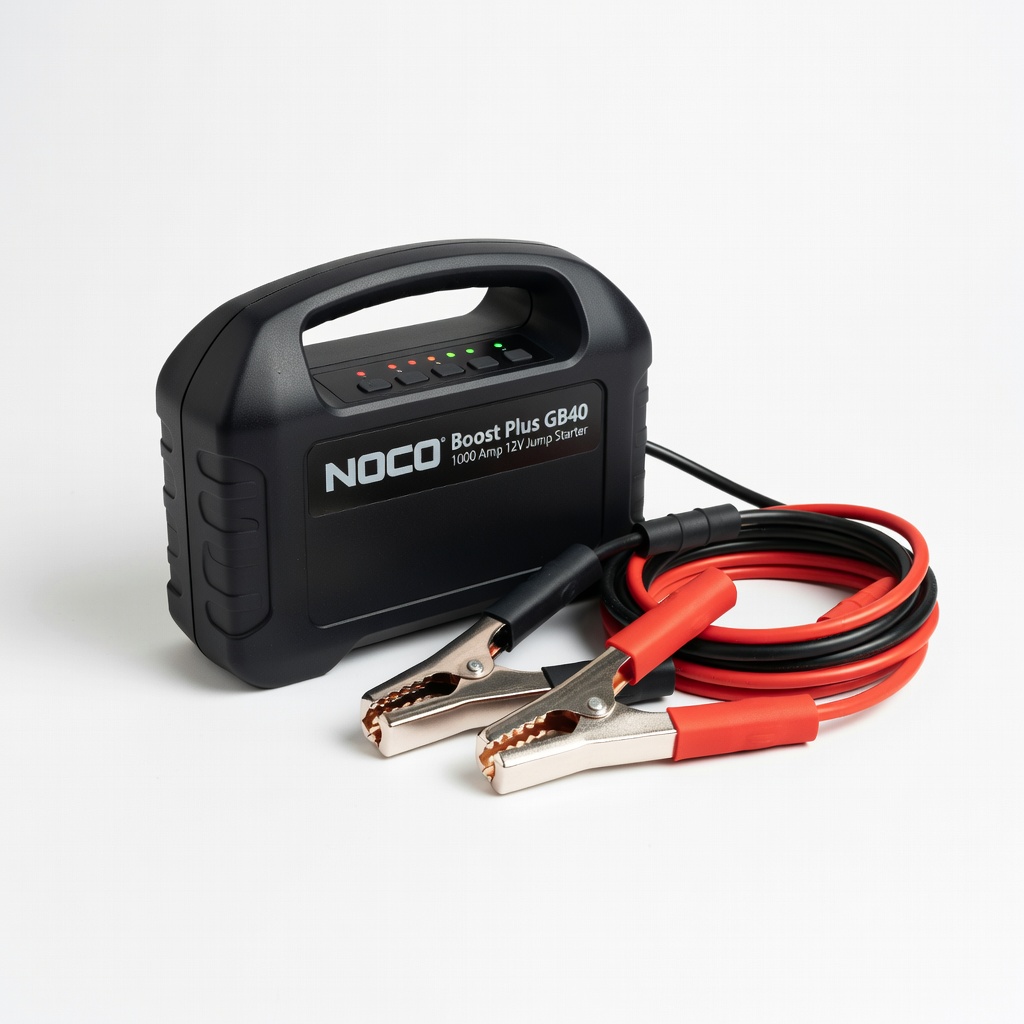
NOCO Boost Plus GB40 1000 Amp 12V Jump Starter
Portable, no donor vehicle needed; safe for deep cycles with lithium jump tech and reverse polarity protection.
Best for: Solo jumps for RVs/boats without another vehicle.
Price Range: $129.95
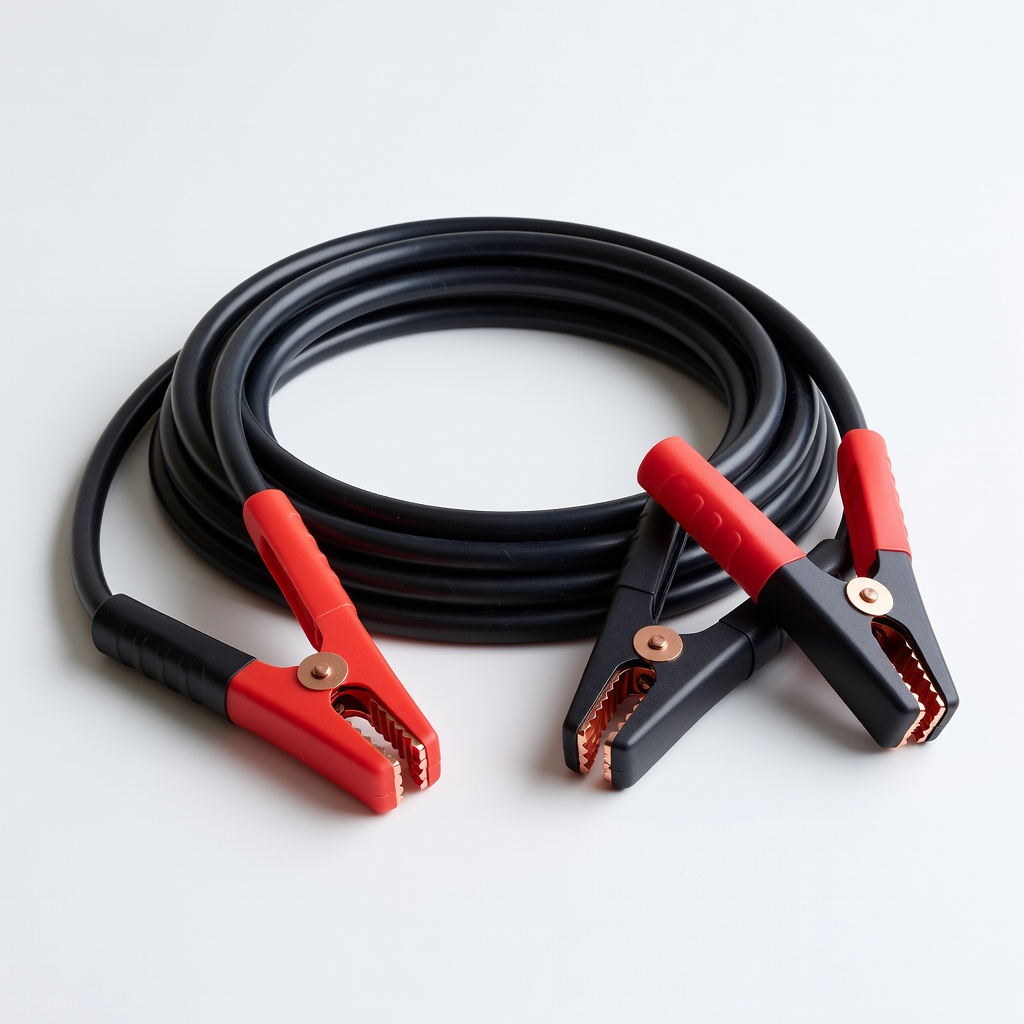
Duracell Jumper Cables 4 Gauge 20 Ft
Thick gauge for high amps, tangle-free design ideal for deep cycle current draw.
Best for: Vehicle-to-RV or battery bank jumps.
Price Range: $39.99
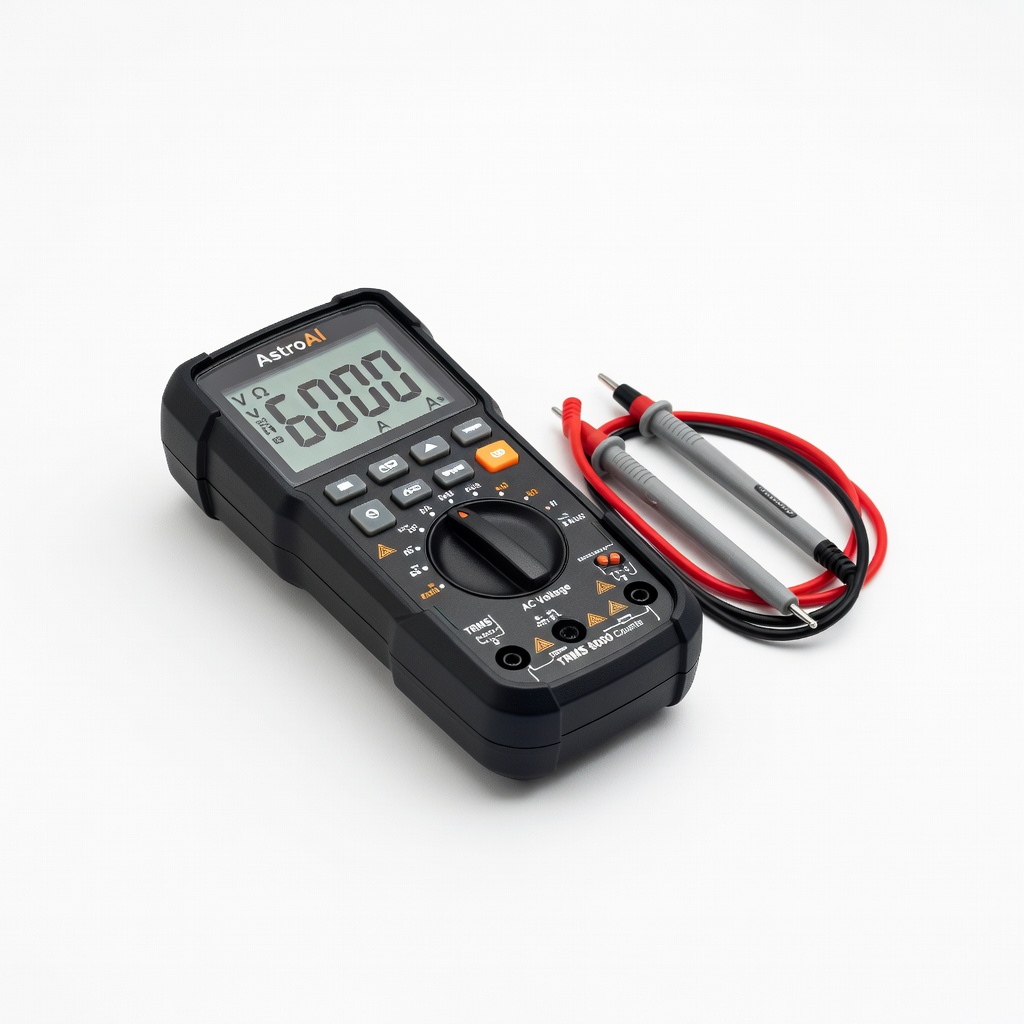
AstroAI Digital Multimeter TRMS 6000 Counts
Accurate voltage/load testing to verify jump success and battery health.
Best for: Pre/post-jump diagnostics.
Price Range: $14.99
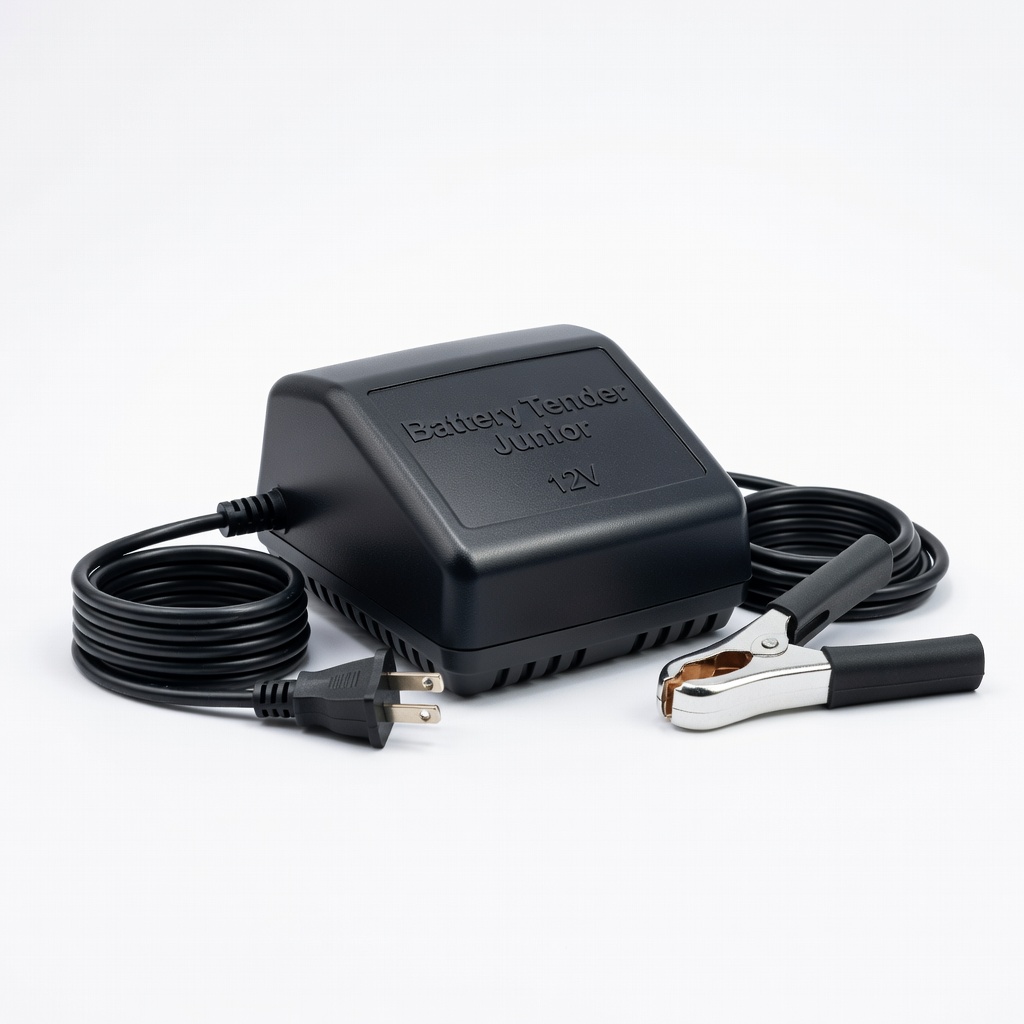
Battery Tender Junior 12V Charger
Smart trickle charger maintains deep cycles post-jump, prevents sulfation.
Best for: Full recharge after every jump.
Price Range: $29.95
Schumacher Battery Terminal Cleaner Brush
Quickly removes corrosion for solid connections.
Best for: Prep step on dirty terminals.
Price Range: $9.99