Cold weather is a battery's worst enemy. When temperatures drop below freezing, a lead-acid battery can lose up to 30-40% of its capacity, and charging efficiency plummets. For anyone relying on a 12V battery system—whether in a van, boat, off-grid cabin, or RV—this can mean dead batteries and no power when you need it most. Insulating your battery box is a simple, affordable way to mitigate cold damage, maintain voltage, and extend battery life.
In this guide, you'll learn how to properly insulate a 12V battery box using safe, effective materials. We'll cover step-by-step instructions, what to avoid, and product recommendations to help you get the job done. The project takes about an hour and requires basic tools. By the end, your battery will be protected from winter's bite and ready to deliver reliable power.
▸What You'll Need
- •Battery box (plastic or wood, sized for your battery)
- •Closed-cell foam insulation sheets (e.g., Reflectix or foam board, 1/2 to 1 inch thick)
- •Utility knife or scissors
- •Measuring tape
- •Aluminum foil tape (for sealing seams)
- •Optional: battery warming pad (heated blanket for batteries)
- •Optional: reflective insulation (e.g., double-sided bubble wrap)
- •Safety gloves and eye protection
Estimated Time: 45 minutes to 1.5 hours
Difficulty: beginner
▸Step-by-Step Instructions
Step 1: Prepare Your Workspace and Safety Gear
Before handling any battery, ensure you're working in a well‑ventilated area. Batteries can emit explosive hydrogen gas, so no open flames or sparks. Wear safety gloves and eye protection. If the battery is already connected, disconnect the negative terminal first to prevent accidental shorts. Place the battery box on a clean, dry work surface.
💡 Tips:
- •Work on a non-conductive surface like wood or plastic.
- •Have a baking soda solution ready to neutralize any acid spills.
⚠️ Warnings:
- •Never work near a pilot light or while smoking.
- •Avoid metal tools touching both terminals simultaneously.
Step 2: Measure the Battery Box Interior
Using a measuring tape, measure the length, width, and height of the inside of your battery box. These dimensions will determine how much insulation you need. If your box is rectangular, measure each wall separately. For a typical group 27 battery, the box might be about 13 x 7 x 10 inches. Write down these numbers; you'll cut insulation panels to match each face.
💡 Tips:
- •Leave a ¼-inch gap around the battery for air circulation—do not wrap the battery itself.
- •Measure twice to avoid wasting material.
Step 3: Cut Insulation Panels for Each Wall
Using a utility knife and a straight edge, cut your closed‑cell foam insulation to fit the bottom, sides, and lid of the battery box. For the bottom piece, cut slightly larger than the floor area so it fits snugly. For the sides, cut panels that match the height of the box walls. The lid piece should be cut to fit neatly inside the lid cavity. If using reflective foil insulation, tape the edges to prevent fraying.
💡 Tips:
- •Score the foam several times with the knife for a clean cut.
- •Use a metal ruler to guide the blade.
⚠️ Warnings:
- •Do not insulate the top of the battery itself—only the box lid. Batteries need ventilation to release gases.
- •Avoid fiberglass insulation; it can trap moisture and cause corrosion.
Step 4: Install Insulation in the Bottom
Place the cut bottom insulation piece into the battery box. Press it down so it lies flat. If it's a loose fit, apply a few small strips of double-sided tape to keep it from shifting. This layer prevents cold from rising through the floor and keeps the battery off a cold surface.
💡 Tips:
- •If using rigid foam board, score it to fit around any internal ridges.
- •Do not block any drainage holes in the box—leave them exposed.
Step 5: Line the Side Walls
Place the side panels against the interior walls. They should fit snugly—if they're too tall, trim the top edge. For a tight seal, use aluminum foil tape to join the side panels at the corners. This creates a continuous thermal barrier. Ensure the panels don't protrude into the space where the battery sits, or the battery won't fit.
💡 Tips:
- •Use a heat gun (on low) to gently warm the foam for easier bending around curved walls.
- •Tape all seams to prevent cold air infiltration.
⚠️ Warnings:
- •Do not cover the box's ventilation slots or vents. Some battery boxes have small holes for gas escape—keep them clear.
Step 6: Insulate the Lid
Cut a piece of insulation to fit inside the lid of the battery box. Attach it with a few strips of double-sided tape or hook-and-loop fasteners so it can be removed if needed. The lid insulation prevents heat loss through the top while still allowing easy access. Ensure the lid closes fully without compressing the insulation too much—it should seal but not push down on the battery.
💡 Tips:
- •If using a battery warmer pad, mount it on the side wall or bottom before closing the lid.
⚠️ Warnings:
- •Never fully seal the box airtight: batteries need some ventilation for hydrogen gas release during charging.
Step 7: Optional: Install a Battery Warmer Pad
For extreme cold (below -20°F/-29°C), consider adding a 12V battery warming pad. These pads are usually self‑adhesive and attach to the side of the battery or inside the box. They thermostatically turn on when temps drop below ~40°F. Route the power cord through a small hole in the box (seal the hole with silicone) and connect to a 12V source or a charge controller's load output. This active heating keeps the battery's internal temperature above freezing.
💡 Tips:
- •Choose a pad with the correct wattage for your battery size (e.g., 50W for a group 27).
- •Place the pad on the side of the battery (not the top or bottom) for even heat distribution.
⚠️ Warnings:
- •Ensure the pad is rated for your battery type (flooded, AGM, gel).
- •Do not cover the pad with insulation—it needs to dissipate heat into the battery.
Step 8: Place the Battery and Final Check
Carefully lower the battery into the insulated box. Ensure it sits level and doesn't press against the side insulation too forcefully—there should be a small air gap around the battery. Close the lid and verify it seals well. Check that all ventilation openings are unobstructed. If you added a warmer pad, test the electrical connection. Finally, reconnect the battery terminals (positive first, then negative) and verify system operation.
💡 Tips:
- •After installation, monitor battery voltage for a few days in cold weather to confirm the insulation is working.
- •If using a wooden box, consider adding a reflective foil layer on the outside for extra R‑value.
⚠️ Warnings:
- •Double‑check that the battery cannot shift during travel—add foam blocks if needed.
- •Never place insulation directly on top of the battery terminals; they must remain accessible and well‑ventilated.
▸Pro Tips
- •Use closed-cell foam (polyethylene or polyisocyanurate) instead of fiberglass—it won't absorb moisture or degrade over time.
- •For a quick upgrade, wrap the battery box with an insulated blanket designed for coolers, but leave the top partially open for venting.
- •Pair insulation with a battery maintainer or smart charger that has a temperature sensor to adjust charging voltage in cold weather.
- •If your battery box is metal, add a layer of rubber or neoprene mat between the battery and box to prevent short circuits.
- •Seal all seams with aluminum tape to create a vapor barrier—moisture from condensation can short terminals.
- •Consider insulating the battery compartment in your RV or van as a whole (walls, floor) for even better thermal mass.
- •Use a digital thermometer with a remote probe inside the box to monitor temperature without opening it.
▸Common Mistakes to Avoid
- •Using ordinary foam or bubble wrap that can trap moisture and cause corrosion. Always use closed-cell insulation.
- •Sealing the box airtight. Batteries release explosive hydrogen gas during charging—ventilation is critical. Leave small gaps or use a vented box.
- •Insulating the battery itself directly. This can cause overheating and reduce lifespan. Insulate the box, not the battery.
- •Forgetting to leave space for airflow around the battery sides. A tight wrap suffocates the battery and causes heat buildup.
- •Ignoring terminal protection. Covering the box completely can make terminals hard to access. Use removable panels or flaps over terminals.
▸Troubleshooting
Problem: Battery still shows low voltage after insulation.
Solution: Check if the battery is fully charged and healthy. Insulation only helps retain heat; it doesn't restore capacity. Also verify that the insulation isn't blocking ventilation—if the battery can't vent gases, it may lose efficiency. Consider adding a battery warmer pad if temperatures drop below -20°F.
Problem: Condensation appears inside the battery box.
Solution: This usually means moisture is trapped. Ensure the box has some ventilation (small holes or a gap near the lid). Also, check that your insulation is vapor sealed with foil tape. If using a wooden box, line it with thin plastic before adding insulation.
Problem: Battery warmer pad doesn't turn on.
Solution: Test the pad with a multimeter for continuity. Verify that it's receiving 12V (probe the power wires). Many pads have a built-in thermostat that only activates below ~40°F; if ambient temperature is above that, the pad won't turn on. Try placing it in a fridge briefly to confirm.
Problem: Battery box lid won't close after adding insulation.
Solution: The insulation panels may be too thick. Trim the side panels to reduce height, or use a thinner insulation like ½-inch Reflectix instead of 1-inch foam. Ensure the battery isn't being pushed upward by bottom insulation—trim the bottom piece if necessary.
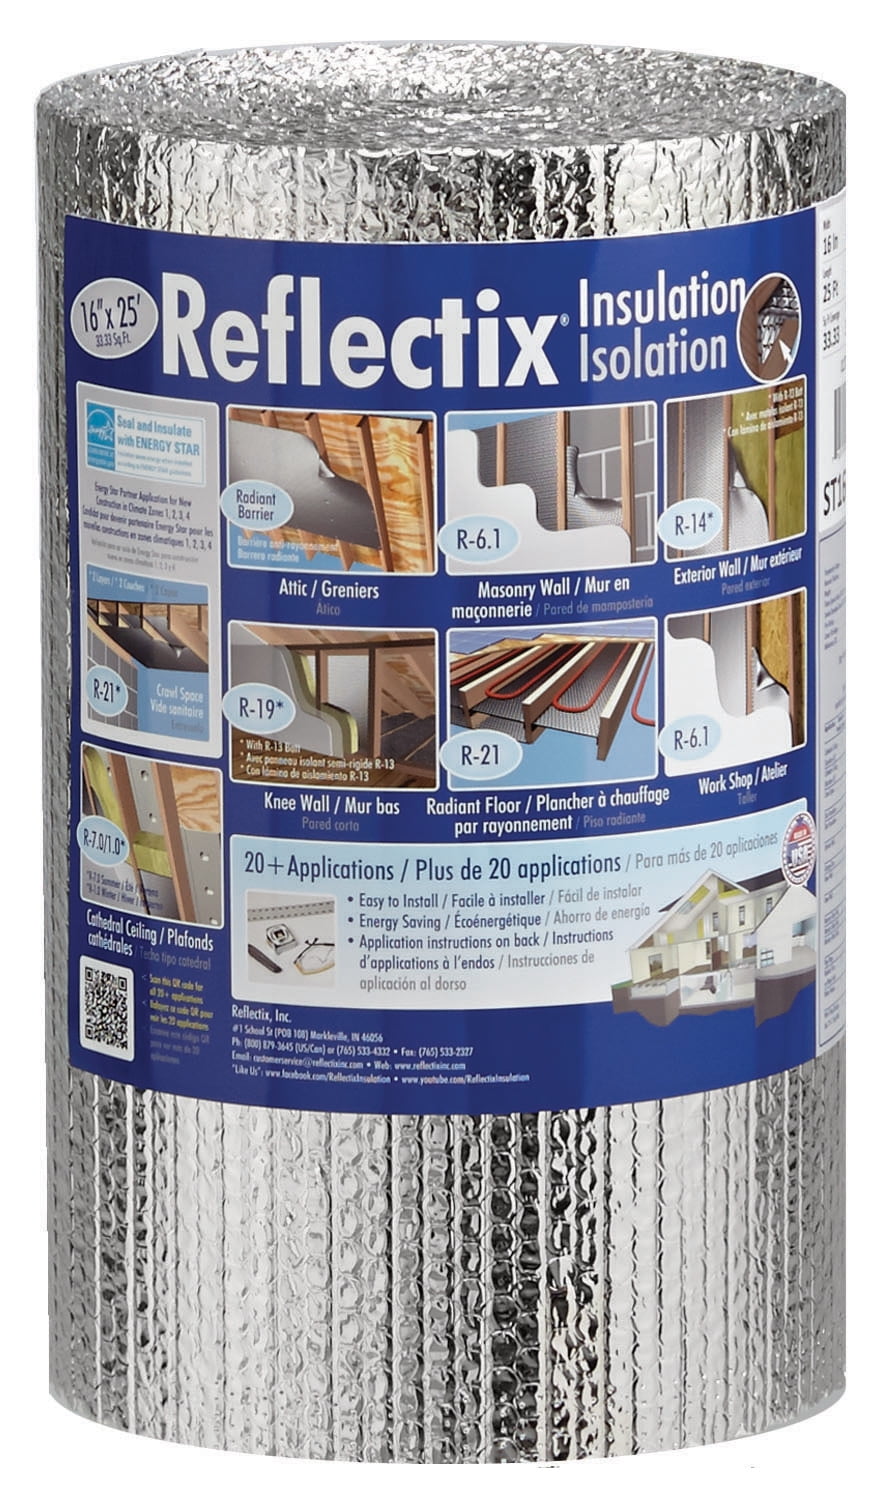
Reflectix ST16025 Double Bubble Insulation (16 x 25 ft)
Reflectix is a closed-cell bubble wrap with reflective foil layers that provides excellent thermal insulation without absorbing moisture. It's easy to cut and conforms to box shapes.
Best for: Best for do‑it‑yourself battery box insulation where you want a thin, flexible, and effective barrier.
Price Range: $30–$50
Pactiv 306-010 Thermoform Foam 1/2 in. x 24 in. x 48 in.
Rigid closed-cell foam board that offers high R‑value per inch. It's sturdy and provides a durable, permanent insulating layer.
Best for: Ideal for building a custom battery box from scratch or retrofitting a rectangular plastic box.
Price Range: $15–$25
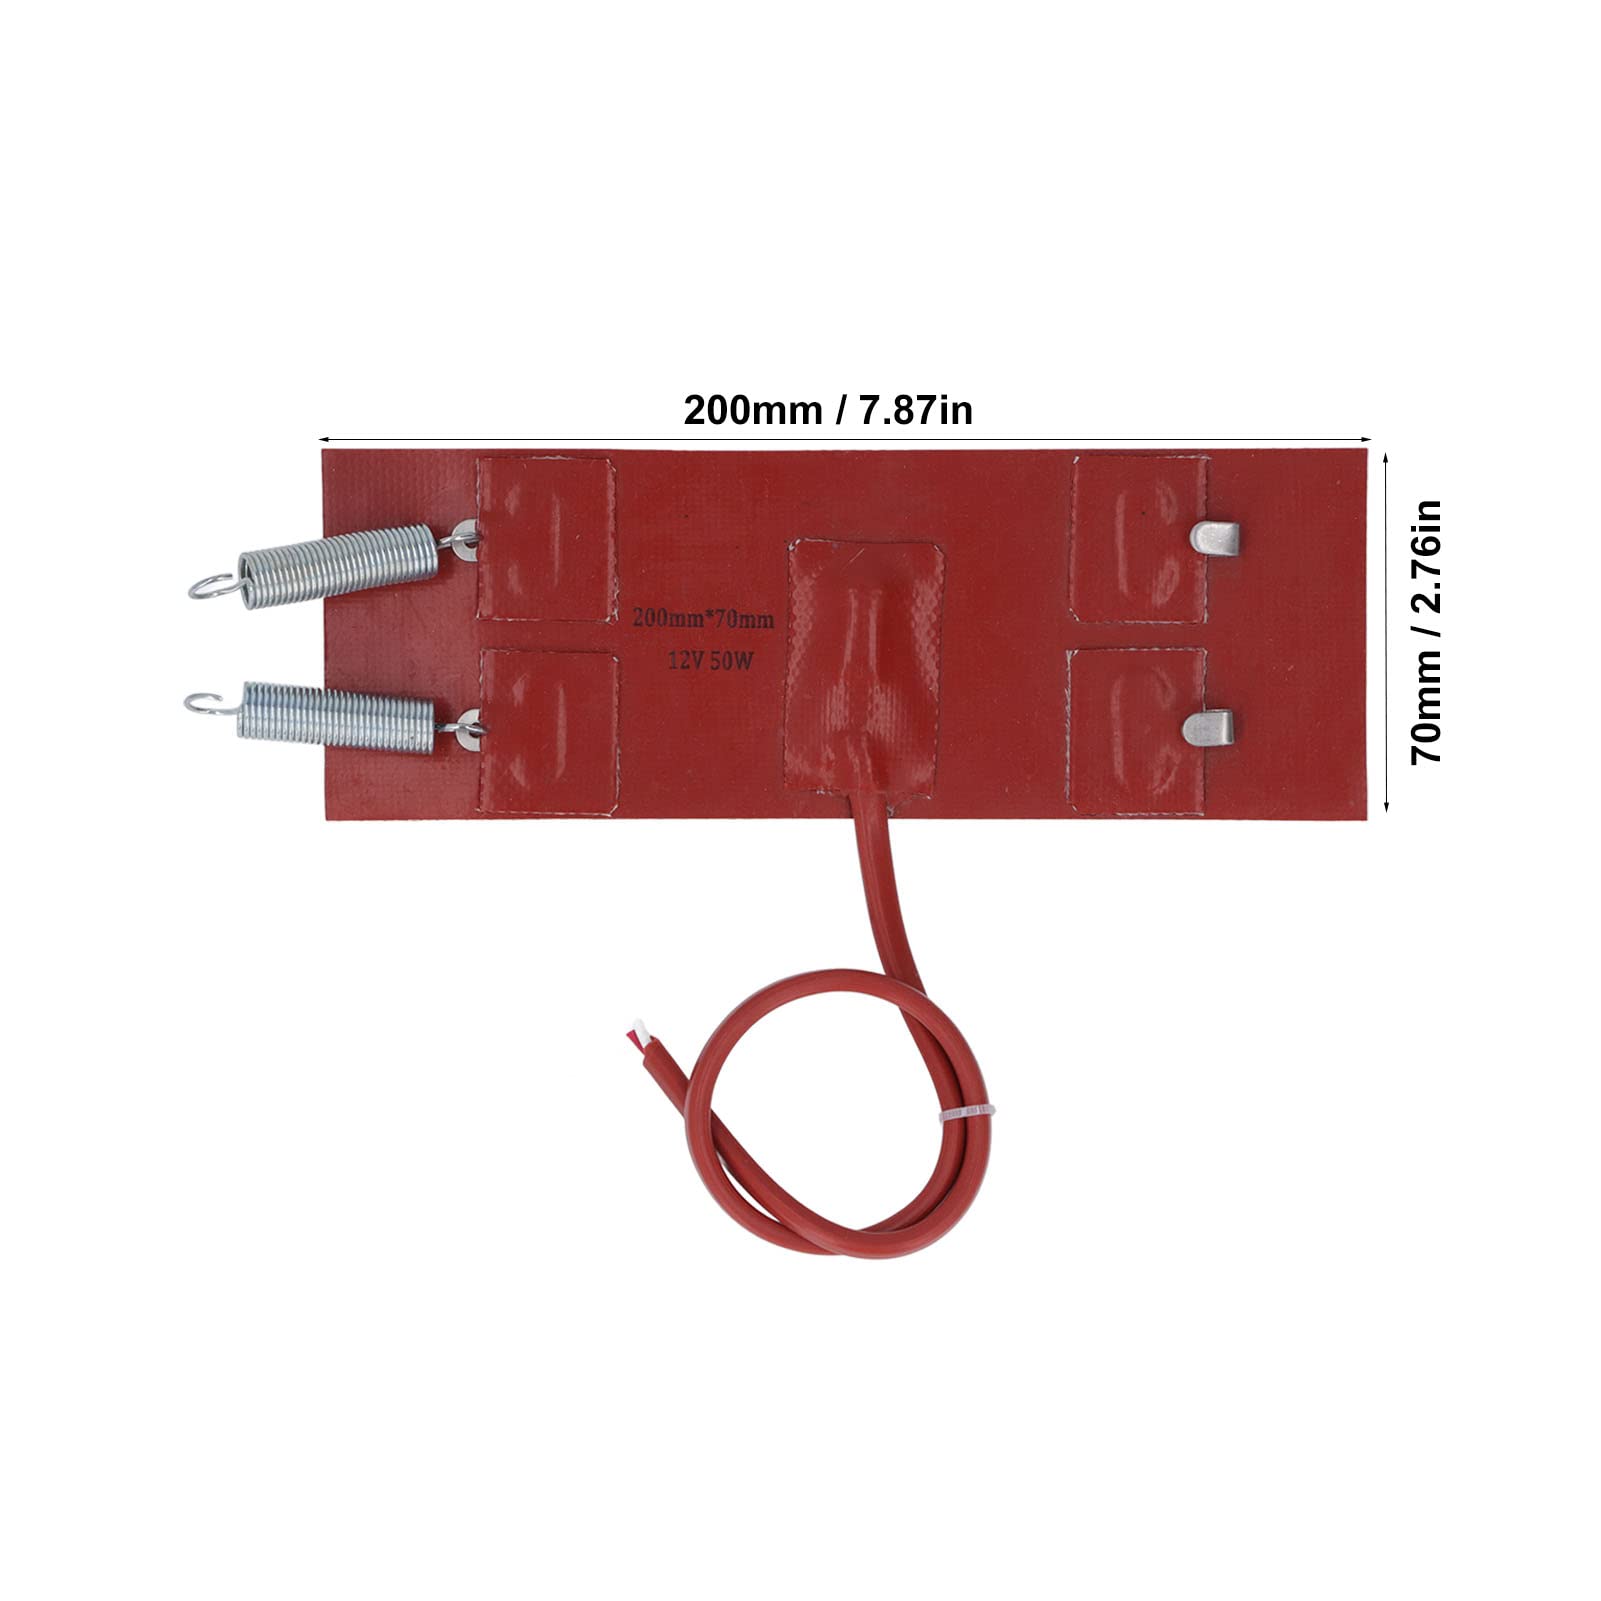
SmartMonster 12V Battery Heating Pad (50W)
A thermostatically controlled pad that automatically warms the battery when temperatures drop, preventing freezing and ensuring charging efficiency.
Best for: Essential for extreme cold climates (-20°F and below) where passive insulation isn't enough.
Price Range: $30–$45
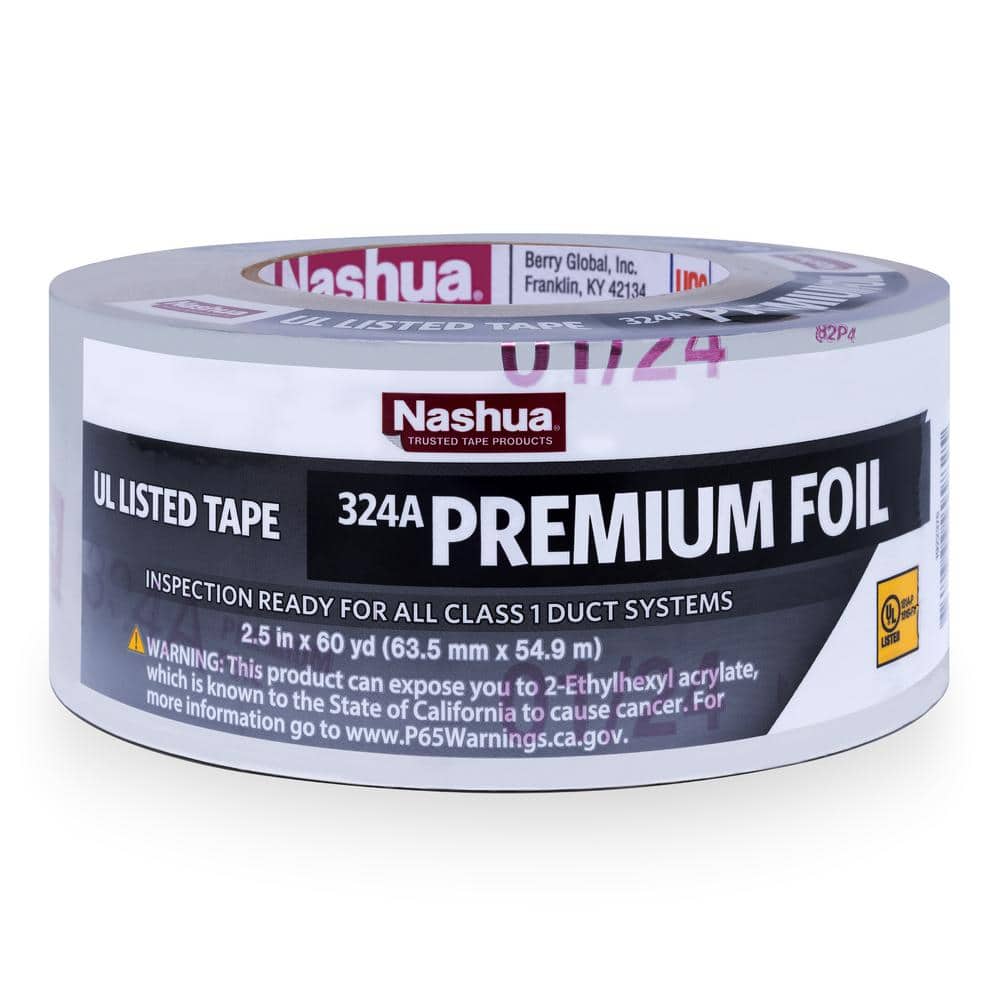
Nashua Tape 3241190 Premium Foil Tape (2 in x 50 yd)
High-quality aluminum foil tape that seals insulation seams and prevents air leaks. It also has a strong adhesive that works well on foam.
Best for: Use to join insulation panels and tape down edges inside the battery box for a professional finish.
Price Range: $10–$15
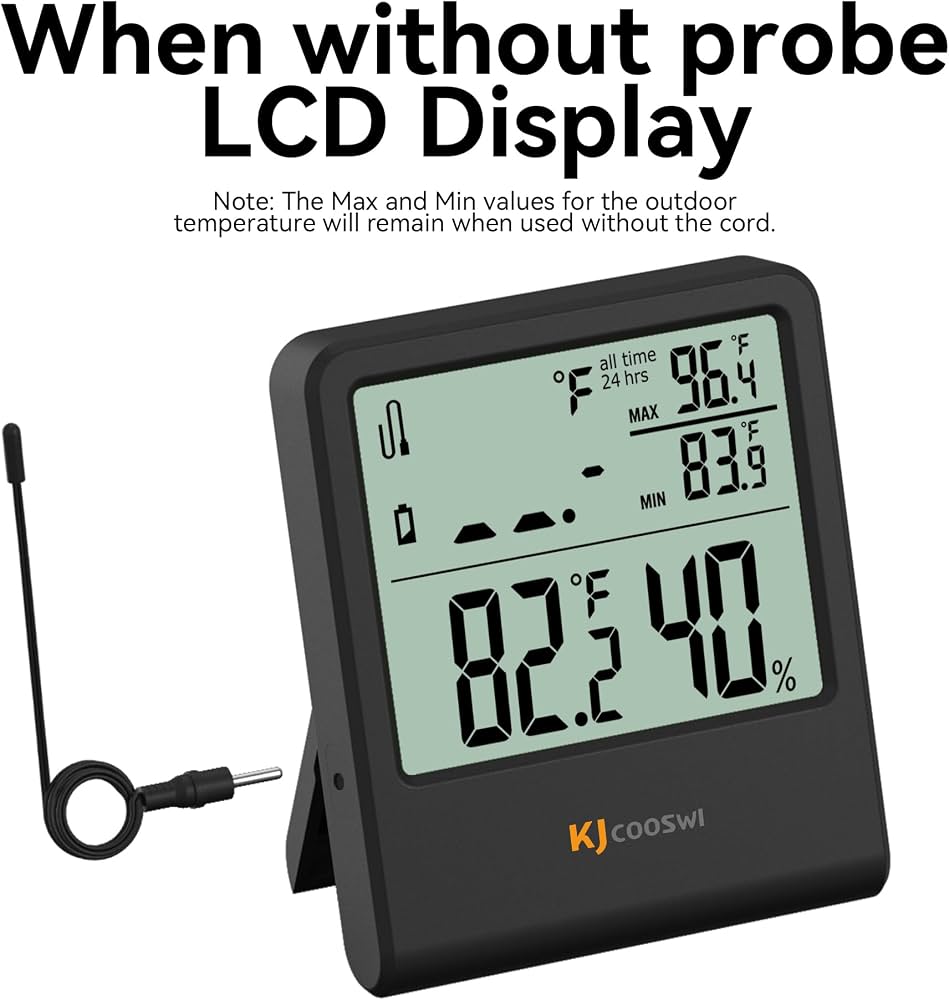
VicTsing Indoor/Outdoor Digital Thermometer with Probe
A wireless thermometer with a remote probe that you can place inside the battery box to monitor temperature from your living space.
Best for: Helps you verify that your insulation and warmer are keeping the battery above freezing.
Price Range: $15–$25