Imagine walking into a room and having the lights turn on automatically, or dimming them with a simple voice command. Smart light bulbs make this possible, offering convenience, energy savings, and customizable ambiance without the hassle of rewiring. If you're tired of fumbling for switches in the dark or wasting energy on forgotten lights, installing smart bulbs is a game-changer for modern living.
In this guide, you'll learn everything a beginner needs to install smart light bulbs step by step. We'll cover selecting the right bulbs, safely swapping them out, connecting to your smart home app, and testing for seamless operation. The process is straightforward and doesn't require electrical expertise—just basic tools and a stable Wi-Fi connection.
Expect to spend 15-30 minutes per bulb, depending on your setup. It's beginner-friendly, but always prioritize safety by turning off power before handling fixtures. By the end, you'll have intelligent lighting that integrates with assistants like Alexa or Google Home.
▸What You'll Need
- •Smart light bulbs (Wi-Fi enabled, compatible with your smart assistant, e.g., E26 base size)
- •Smartphone or tablet with the manufacturer's app (iOS or Android)
- •Stable 2.4GHz Wi-Fi network (most smart bulbs don't support 5GHz)
- •Ladder or step stool (for high fixtures)
- •Optional: Smart home hub like Amazon Echo or Google Nest if bulbs require it
- •Screwdriver (if fixture cover needs removal)
Estimated Time: 15-30 minutes per bulb
Difficulty: beginner
▸Step-by-Step Instructions
Step 1: Choose Compatible Smart Light Bulbs
Before installation, select bulbs that fit your fixtures and needs. Check your lamp or fixture's socket type—most homes use E26 (standard medium base). Ensure the bulbs are Wi-Fi direct-connect (no hub needed for simplicity) and compatible with your smart ecosystem, like Alexa or Google Assistant.
Why it matters: Incompatible bulbs lead to frustration and extra costs. For beginners, start with color-changing LED bulbs for versatility. Expect to review product specs online; success looks like bulbs rated for your voltage (120V in the US) and desired features like dimming.
This step sets a smooth foundation—avoid rushing to generic bulbs without checking reviews for reliability.
💡 Tips:
- •Opt for bulbs with Matter certification for future-proofing across brands.
- •Buy a multi-pack to test in different rooms.
⚠️ Warnings:
- •Don't buy bulbs requiring a hub if you want a simple setup—note this in product descriptions.
Step 2: Gather Your Tools and Prepare the Space
Collect all items from the 'What You Need' list. Clear the area around the fixture and ensure your Wi-Fi is strong—test it with your phone near the installation spot. Download the bulb manufacturer's app (e.g., Philips Hue or TP-Link Kasa) from the App Store or Google Play ahead of time.
Preparation prevents delays; a weak signal can cause connection failures later. Success here means everything is handy, and your phone is updated with the latest app version. If installing in a ceiling fixture, have someone spot you for safety.
💡 Tips:
- •Charge your phone fully to avoid interruptions during setup.
- •Label your bulbs if installing multiple to track which goes where.
⚠️ Warnings:
- •Avoid installing near metal surfaces that might interfere with Wi-Fi signals.
Step 3: Turn Off Power to the Fixture
Safety first: Switch off the light at the wall switch, then flip the circuit breaker for that room to cut power completely. Use a voltage tester if available to confirm no electricity flows.
This step is crucial to avoid shocks—never assume the switch alone is enough. Expect the room to go dark; success is verified by the tester showing zero volts. Wait 5 minutes for any residual charge to dissipate.
💡 Tips:
- •Label the breaker if it's not obvious, to easily restore power later.
- •Work during daylight to see clearly without lights.
⚠️ Warnings:
- •Skipping this can lead to injury—always prioritize power-off.
Step 4: Remove the Old Bulb
Gently twist the existing bulb counterclockwise to unscrew it from the socket. If it's stuck, use a cloth for grip—don't force it, as sockets can be fragile.
Why it matters: Proper removal prevents damage to the fixture. Dispose of the old bulb responsibly (recycle if LED). Success looks like a clean socket ready for the new bulb; inspect for dust or debris and wipe if needed.
💡 Tips:
- •Wear gloves if the bulb is hot, though it shouldn't be with power off.
- •Take a photo of the fixture setup for reference.
⚠️ Warnings:
- •Avoid touching the glass if it's incandescent, as oils from skin shorten life—but smart LEDs are safer.
Step 5: Install the Smart Bulb
Align the smart bulb's base with the socket and twist clockwise until snug—don't overtighten, as LEDs are sensitive. For recessed cans, ensure it fits without strain.
This is the physical swap; it matters for secure contact to avoid flickering. Expect the bulb to feel lighter than traditional ones. Success: Bulb is firmly in place without wobbling.
💡 Tips:
- •Install with power still off to test fit before powering up.
- •If using a smart switch, ensure it's compatible to avoid conflicts.
⚠️ Warnings:
- •Overtightening can crack the bulb or socket—hand-tighten only.
Step 6: Restore Power and Open the App
Turn the circuit breaker back on, then flip the wall switch to power the bulb (it may not light yet). Open the app on your phone and create an account if new.
Powering up activates the bulb's Bluetooth/Wi-Fi module. Why it matters: The app is your control center. Success: App loads, and the bulb might blink to indicate readiness (check manual).
💡 Tips:
- •Keep the switch on during setup—most bulbs need constant power.
- •Enable Bluetooth and location services in your phone settings.
⚠️ Warnings:
- •If the bulb doesn't respond, double-check power restoration.
Step 7: Connect the Bulb to Wi-Fi
In the app, select 'Add Device' and follow prompts: Put the bulb in pairing mode (often by quick on-off switches), then choose your 2.4GHz network and enter the password. The app scans and connects.
This links the bulb to your home network for remote control. Expect a progress bar; it takes 1-2 minutes. Success: App confirms connection with a green check.
💡 Tips:
- •Stand close to the router initially for stronger signal.
- •Restart your router if connection fails.
⚠️ Warnings:
- •Use only 2.4GHz—split your network if combined with 5GHz.
Step 8: Set Up and Customize in the App
Name the bulb (e.g., 'Living Room Lamp'), assign it to a room, and integrate with voice assistants if desired. Test basic functions like on/off and color change.
Customization enables automations like schedules. Why it matters: Personalization makes it yours. Success: Bulb responds to app commands instantly.
💡 Tips:
- •Group multiple bulbs for whole-room control.
- •Enable geofencing for auto-on when you arrive home.
⚠️ Warnings:
- •Don't overload the app with too many devices at once—add one by one.
Step 9: Test and Troubleshoot Basics
Turn the bulb on/off via app, adjust brightness, and voice test if linked (e.g., 'Alexa, turn on lights'). Verify no flickering or heat issues.
Final check ensures everything works. Expect smooth operation; success is reliable control from anywhere.
💡 Tips:
- •Test in different scenarios, like with the physical switch.
- •Update firmware via app for best performance.
⚠️ Warnings:
- •If it flickers, check for loose fit or incompatible dimmer switches.
▸Pro Tips
- •Start with one bulb to learn the process before outfitting your whole home.
- •Use a Wi-Fi extender if installing in far rooms to boost signal strength.
- •Integrate with IFTTT for advanced automations like syncing with weather apps.
- •Label switches near bulbs to remember to keep them on for app control.
- •Buy energy-efficient LEDs to maximize savings—smart bulbs use up to 80% less power.
- •Check for app updates monthly to access new features and security patches.
- •Pair with motion sensors for hands-free entry lighting in hallways.
▸Common Mistakes to Avoid
- •Forgetting to use 2.4GHz Wi-Fi, leading to endless connection attempts—always confirm network band in router settings.
- •Overtightening the bulb, which can damage threads—hand-tighten and test gently.
- •Installing with power on, risking shock—always breaker off first.
- •Skipping app permissions like Bluetooth, causing pairing failures—enable all required settings upfront.
- •Choosing hub-required bulbs without the hub, resulting in non-functional devices—read specs carefully.
▸Troubleshooting
Problem: Bulb won't connect to Wi-Fi
Solution: Ensure 2.4GHz network, restart router and bulb (power cycle 5 times), and move closer to router. Update app if needed.
Problem: Lights flicker or dim unexpectedly
Solution: Check for compatible wall switch (no dimmers unless rated for LEDs). Reseat the bulb and ensure secure fit.
Problem: App doesn't detect the bulb
Solution: Put bulb in pairing mode manually via switch (on-off-on quickly). Disable VPN on phone and try again.
Problem: Voice control not working
Solution: Re-link the skill in your assistant app (e.g., Alexa). Ensure bulb is online in the main app first.
Problem: Bulb gets hot or smells
Solution: Turn off immediately—likely incompatible fixture or defect. Contact manufacturer for replacement; seek electrician if wiring issue.
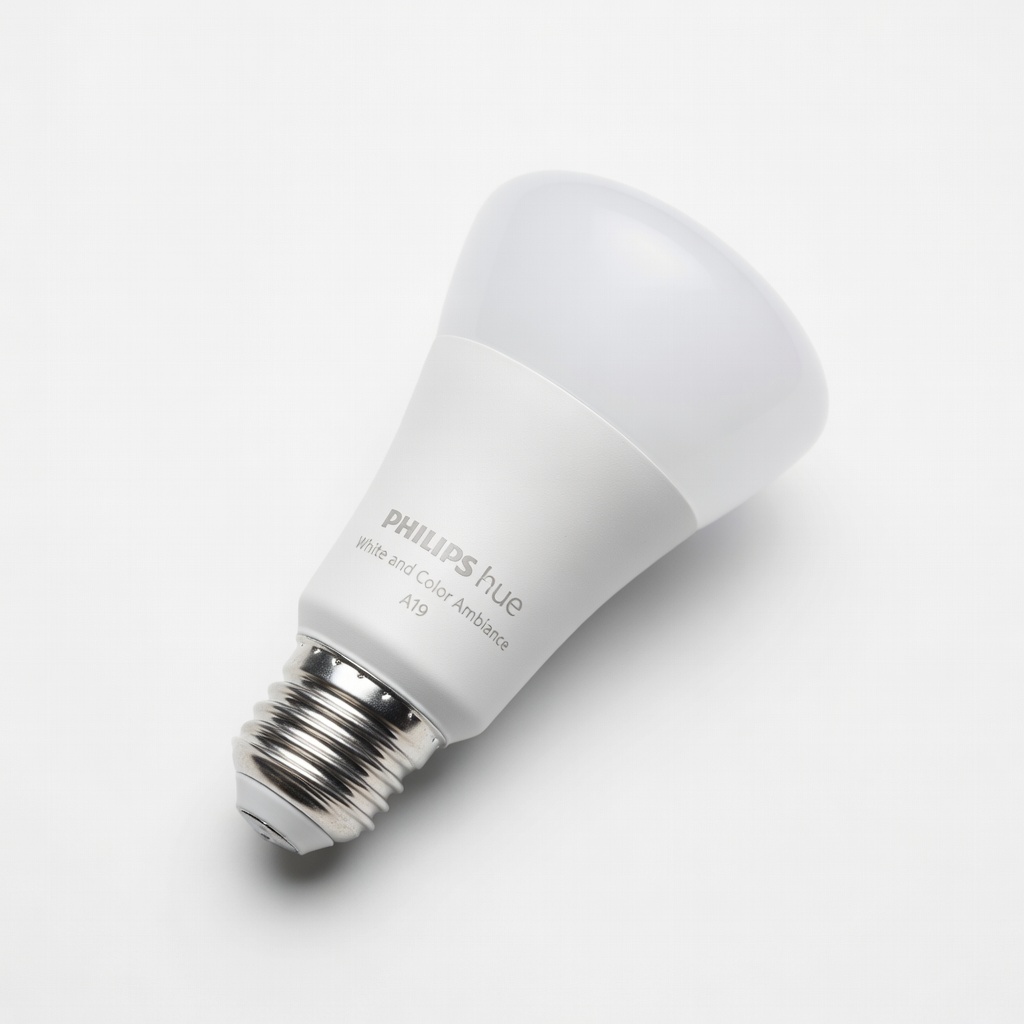
Philips Hue White and Color Ambiance A19 Bulb
Reliable for beginners with vibrant colors and easy app integration; works with multiple assistants.
Best for: Ideal for living rooms needing mood lighting and automations.
Price Range: $50-60 per bulb (starter kit with hub $100+)
TP-Link Kasa Smart Bulb KL110
Affordable, no-hub Wi-Fi direct connect, and simple setup for basic on/off/dimming.
Best for: Budget-friendly option for bedrooms or offices without color needs.
Price Range: $15-20 per bulb
Wyze Bulb Color
Great value with color options and scheduling; app is intuitive for new users.
Best for: Multi-room setups on a tight budget, compatible with Alexa/Google.
Price Range: $10-15 per bulb
Lifx Mini White
Bright output and no hub required; excels in small fixtures with strong Wi-Fi.
Best for: Table lamps or tight spaces where size matters.
Price Range: $20-25 per bulb
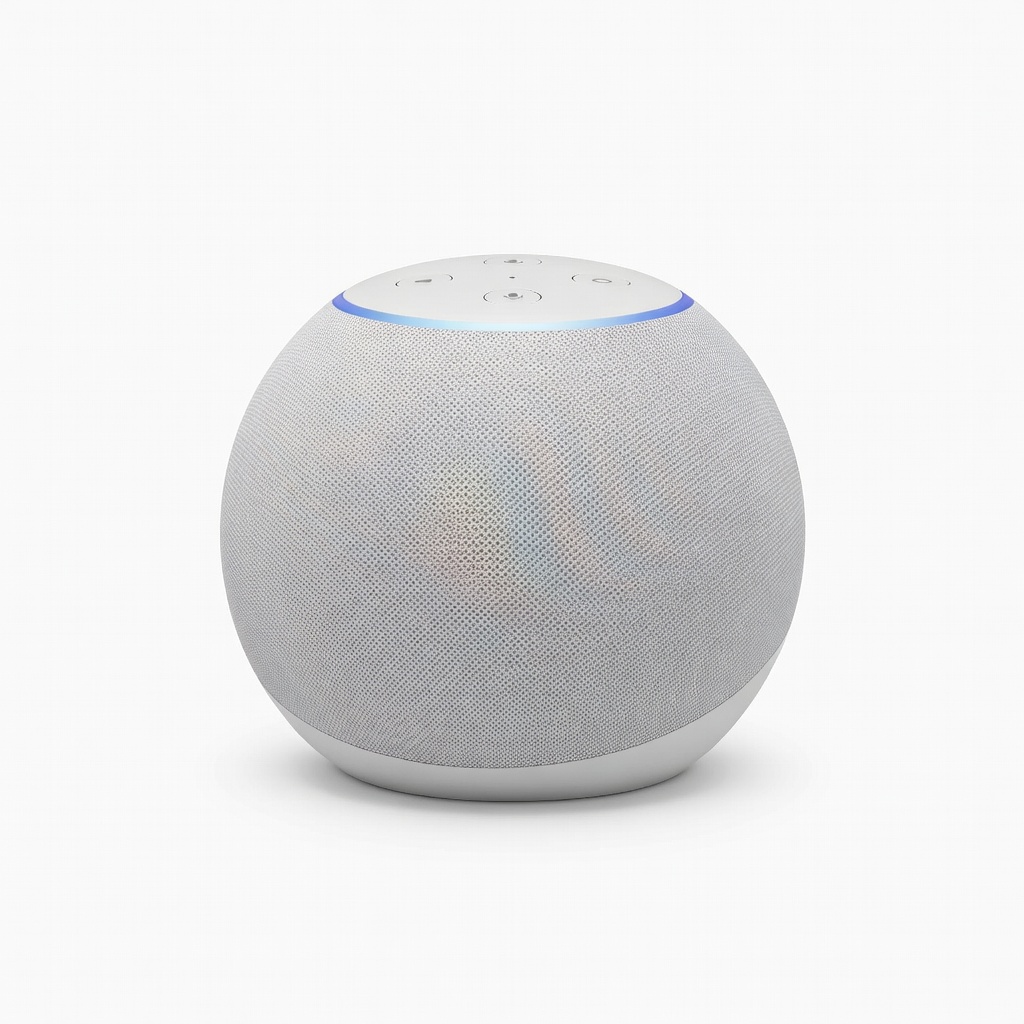
Amazon Echo (4th Gen) Smart Speaker
Enhances voice control for bulbs; built-in hub for Alexa-compatible setups.
Best for: Whole-home integration if expanding to other smart devices.
Price Range: $50-100