
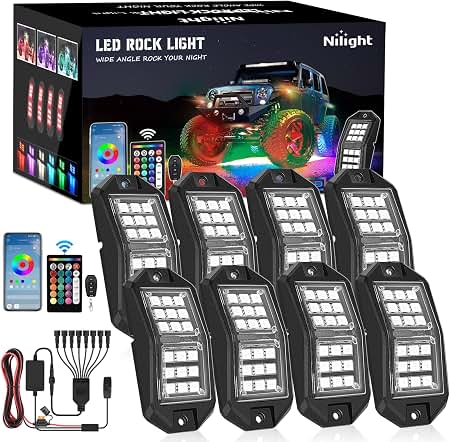
Nilight 4PCS RGB LED Rock Lights Kit
Ideal for handlebar accents on Yamaha/ Polaris ATVs.
$39.99
Nilight 4PCS RGB LED Rock Lights Kit Perfect flexible strips for wrapping ATV bars, IP68 waterproof, app-controlled for 16M+ colors.
Get the App
Better experience on mobile
Add vibrant, customizable RGB glow to your ATV handlebars or roll bars in 1-2 hours for enhanced night rides and style.
Riding your ATV at night or in low-light conditions without proper accent lighting can be risky and uninspiring. Dim trails and poor visibility lead to accidents, while a bland setup misses the chance to stand out at events or trails. RGB accent lights solve this by providing colorful, adjustable illumination that boosts safety and aesthetics.
In this guide, you'll learn how to professionally install RGB LED accent lights on your ATV's handlebars, bull bars, or roll cage. We'll cover everything from planning placement to wiring and testing, ensuring a clean, durable setup. Expect a straightforward process with intermediate skills like basic wiring—no advanced electrical knowledge required.
Total time: 1-2 hours depending on your ATV model. Difficulty: Intermediate (comfortable with tools and minor wiring). By the end, your ATV will pulse with customizable colors, turning heads on every ride.
Estimated Time: 1-2 hours Difficulty: intermediate
Park your ATV on a flat, stable surface in a well-lit area. Turn off the engine, remove the key, and disconnect the battery negative terminal to prevent shorts. Clean the handlebars or roll bars thoroughly with alcohol wipes to remove dirt, grease, or mud—this ensures strong adhesion.
Why it matters: A clean install prevents lights from peeling off during rough rides. Expect bare metal or plastic surfaces ready for mounting. Time: 10 minutes.
Image description: ATV parked outdoors with hood open, battery disconnected, handlebars wiped clean.
💡 Tips:
⚠️ Warnings:
Measure your bars (handlebars typically 30-40 inches circumference). Unroll the RGB strip and test-fit without adhesive: wrap around grips, frame, or cage for even coverage. Decide on single loop or multi-layer for brightness.
Mark spots for controller (near battery) and power tap (ignition-switched for auto on/off). Why: Proper planning avoids rework and ensures balanced lighting. Success: Lights follow contours without bunching. Time: 15 minutes.
Image description: Hands measuring ATV handlebar with tape measure, RGB strip draped loosely around it.
💡 Tips:
⚠️ Warnings:
Peel the backing from the strip's adhesive (or use clips/zip ties). Press firmly along the bars, starting from the center and working outward. Use zip ties every 6-8 inches for extra security on bumpy terrain—tighten but don't crush wires.
Why it matters: Secure mounting withstands vibrations. Expect a snug, uniform glow preview. Cut strips only at marked points if needed. Time: 20 minutes.
Image description: Close-up of RGB strip being adhered to ATV handlebar, zip ties securing it.
💡 Tips:
⚠️ Warnings:
Run power (+ red), ground (- black), and control wires along the frame toward the battery, using zip ties to bundle and avoid pinch points. Leave slack for suspension movement. Install inline fuse near battery.
Why: Clean routing prevents snags and shorts. Expect wires hidden and protected. Time: 20 minutes.
Image description: Wires bundled with zip ties along ATV frame, fuse holder installed.
💡 Tips:
Reconnect battery. Strip wire ends (1/2 inch), crimp ring terminals, and attach red to battery positive (or switched 12V source via fuse), black to negative/ground. Connect controller if included.
Why: Safe power ensures reliable operation. Test voltage (12-14V) with multimeter first. Success: Lights power on dimly. Time: 15 minutes.
Image description: Crimping tool attaching wires to battery terminals, multimeter probe on connection.
⚠️ Warnings:
Power on: Cycle through colors/modes via controller or app. Check for flickering, dead sections, or heat. Adjust brightness and sync if multi-zone.
Why: Catches issues early. Expect vibrant, responsive RGB effects. Time: 10 minutes.
Image description: ATV bars glowing in red, blue, green RGB patterns at dusk.
💡 Tips:
Apply heat shrink or liquid tape to connections. Double-check all ties/screws. Re-test full ride simulation (engine on/off).
Success: Waterproof, vibration-proof install ready for trails. Time: 10 minutes.
⚠️ Warnings:
Problem: Lights flicker or won't turn on
Solution: Check battery voltage (>12V), fuse intact, connections tight. Clean corroded terminals.
Problem: One section dead
Solution: Inspect for cuts; solder or replace segment. Test with multimeter continuity.
Problem: Colors not syncing
Solution: Reset controller per manual; ensure Bluetooth/WiFi paired. Check app permissions.
Problem: Overheating
Solution: Reduce brightness; improve airflow. Use aluminum-backed strips.
Problem: Persistent issues
Solution: Consult ATV manual or electrician if wiring harness modified.
Perfect flexible strips for wrapping ATV bars, IP68 waterproof, app-controlled for 16M+ colors.
Best for: Ideal for handlebar accents on Yamaha/ Polaris ATVs.
Price Range: $39.99
Durable, multi-mode RGB with easy plug-and-play wiring for off-road vibes.
Best for: Roll bar or bull bar installs on Honda/ Kawasaki ATVs.
Price Range: $89.95
Essential for waterproofing connections, assorted sizes fit all wires.
Best for: Securing splices during install.
Price Range: $15.99
Precision stripping without nicking wires, self-adjusting for 10-20 AWG.
Best for: Clean wire prep for reliable crimps.
Price Range: $24.97
Budget-friendly high-output option with Bluetooth controller.
Best for: Full bar coverage on larger frames.
Price Range: $49.99
Ideal for handlebar accents on Yamaha/ Polaris ATVs.
Nilight 4PCS RGB LED Rock Lights Kit Perfect flexible strips for wrapping ATV bars, IP68 waterproof, app-controlled for 16M+ colors.
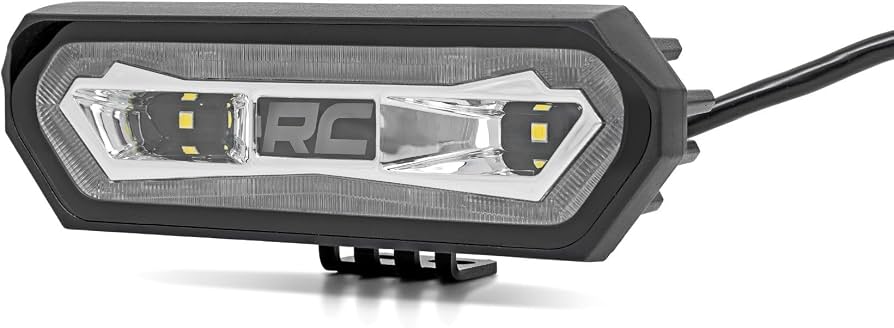
Roll bar or bull bar installs on Honda/ Kawasaki ATVs.
Rough Country 71044 RGB LED Chase Light Kit Durable, multi-mode RGB with easy plug-and-play wiring for off-road vibes.
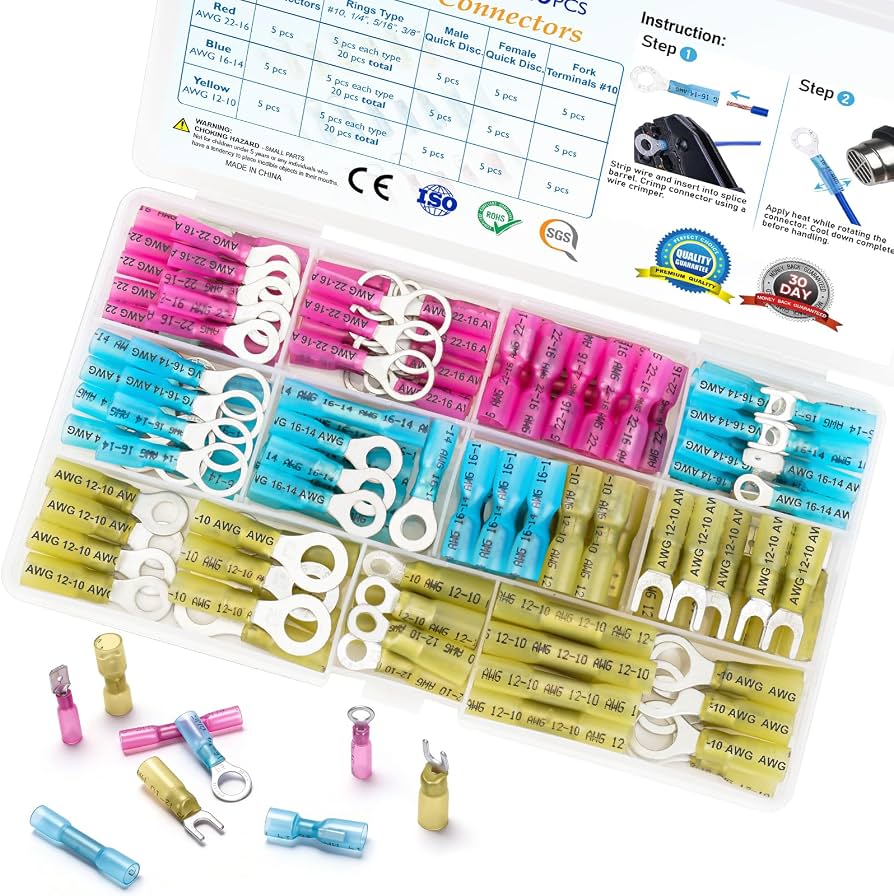
Securing splices during install.
TICONN 320PCS Heat Shrink Tubing Kit Essential for waterproofing connections, assorted sizes fit all wires.
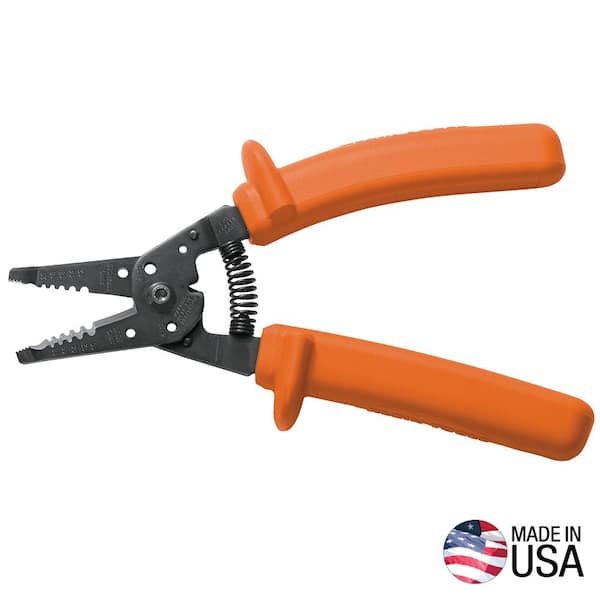
Clean wire prep for reliable crimps.
Klein Tools 11055 Wire Stripper/Cutter Precision stripping without nicking wires, self-adjusting for 10-20 AWG.
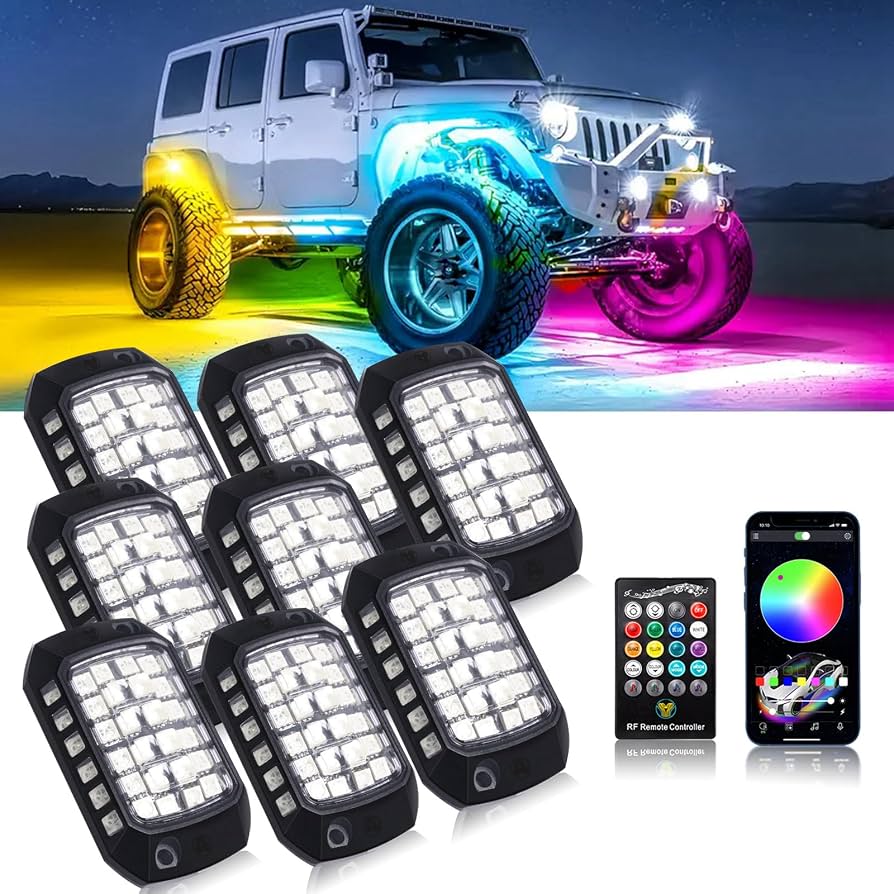
Full bar coverage on larger frames.
BOOGIIO 36pcs RGB LED Rock Lights Budget-friendly high-output option with Bluetooth controller.