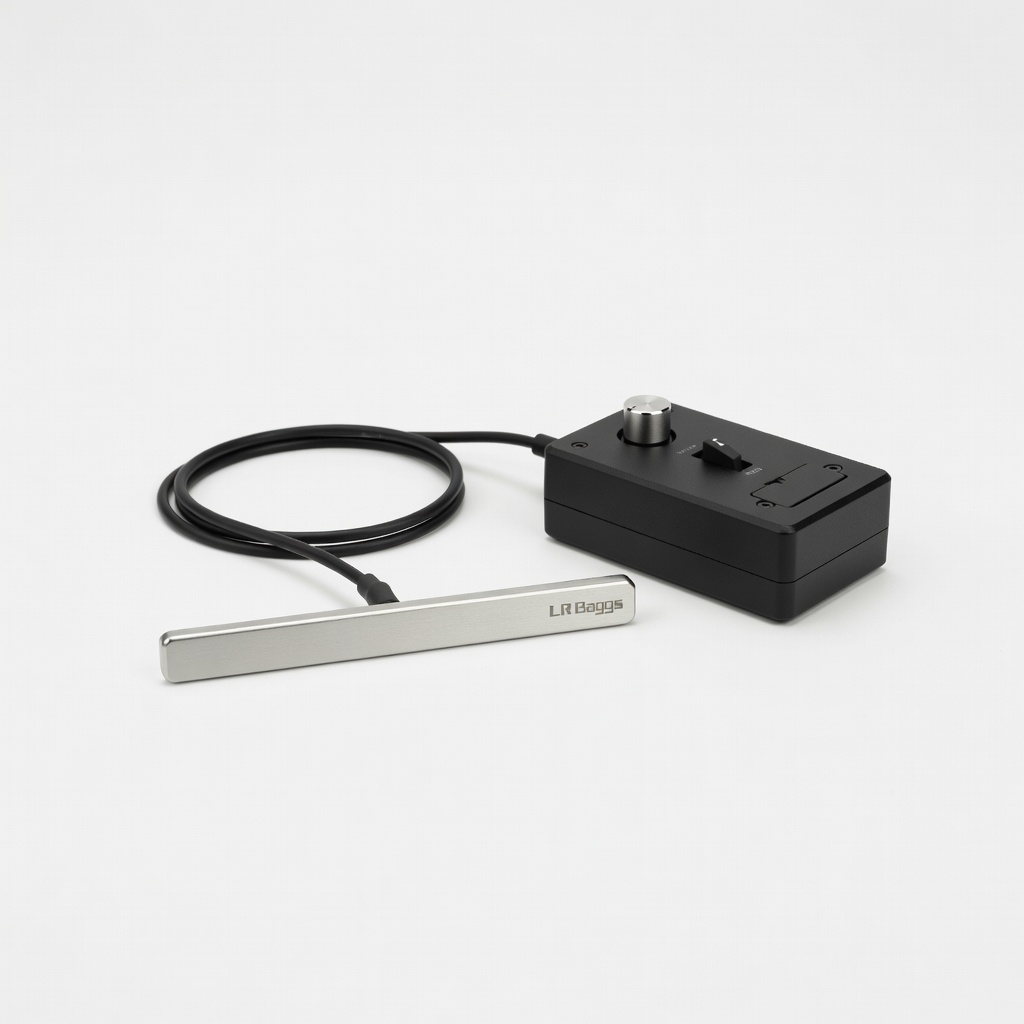
LR Baggs Element Active System VTC
Ideal for most acoustics upgrading factory pickups.
$99.99
LR Baggs Element Active System VTC Easy install with active preamp buffers signal for natural tone without feedback.
Get the App
Better experience on mobile
Learn advanced techniques to upgrade your guitar's pickups for pro-level amplified tone in 1-3 hours.
Upgrading or installing pickups on your acoustic-electric guitar can dramatically improve amplified sound quality, eliminating feedback and delivering natural, balanced tones for gigs and recordings. Many players struggle with factory pickups that sound thin or harsh—DIY installation lets you customize with premium systems like piezos or magnetics.
This guide teaches advanced users how to install a typical under-saddle piezo system (e.g., LR Baggs or Fishman), including soldering and wiring. You'll achieve reliable, feedback-free performance. The process involves disassembly, electronics work, and reassembly—expect 1-3 hours depending on your guitar and experience.
No prior pickup installs needed, but soldering basics are assumed. Work patiently to avoid damaging your instrument.
Estimated Time: 1-3 hours Difficulty: advanced
Select a pickup matched to your guitar: under-saddle piezo for balanced tone (e.g., LR Baggs Element), soundhole magnetic for quick install, or bridge plate for minimal invasiveness. Check your guitar's bridge type (pin vs. classical) and preamp compatibility.
Review kit contents: piezo element, preamp, wiring diagram, saddle. Download the manufacturer's manual. Success: You have all parts and understand the schematic.
Why it matters: Wrong pickup leads to poor fit or tone.
💡 Tips:
⚠️ Warnings:
Work in a well-lit, static-free area on a soft surface (towel over bench). Loosen all strings but don't remove yet. Tape off the bridge and soundhole to protect finish.
Power off any preamp. Document current wiring with photos. Success: Guitar stable, area clean, old setup photographed.
Expect: Minimal dust or residue inside.
💡 Tips:
Unwind and remove strings fully. Pull bridge pins straight out with pliers (wrap jaws in tape). Gently pry out old saddle with knife or pliers—note orientation.
Inspect saddle slot for piezo strip if upgrading. Clean slot with sandpaper. Success: Bridge clear, old saddle out intact.
Why: Clean access prevents damage.
⚠️ Warnings:
Trim piezo strip to fit saddle slot (follow diagram). Insert strip under saddle position, wires facing tail. Test-fit new saddle (pre-sanded if too tall).
Secure with drop of glue if kit specifies (cyanoacrylate). Success: Piezo flush, wires routed toward endpin without kinks.
Expect: Tight fit; sand saddle 0.5mm at a time for action height.
💡 Tips:
Shine light into soundhole; remove access panel if present. Route new pickup wires alongside existing (tape temporarily). Identify battery box/preamp terminals.
Desolder old pickup wires if upgrading (heat joint, wick solder). Success: Wires accessible, old connections removed cleanly.
Why: Proper routing avoids rattles.
⚠️ Warnings:
Strip 1/4" wire ends. Tin iron tip and wires. Solder hot (red), ground (black/shield), signal per diagram—use multimeter to confirm continuity (0 ohms).
Insulate joints with heat shrink. Success: Secure, shiny joints; no shorts (multimeter infinity on hot/ground).
Expect: Faint smoke; practice on scrap first.
💡 Tips:
⚠️ Warnings:
Remove old endpin (nut driver). Insert new preamp jack, secure nut inside. Route battery wires, clip battery box under pickguard.
Reconnect all. Success: Jack snug, no wobble; battery fits.
Why: Endpin houses preamp for clean install.
Replace saddle/pins. Install new strings, tune to pitch, check action. Success: Strings seated, no buzz.
Expect: Slight saddle settling.
💡 Tips:
Plug into amp (volume low). Tap pickup—hear clear signal. Play chords; adjust preamp EQ. Multimeter battery voltage (>9V).
Success: Balanced tone, no hum/feedback at stage volume.
Why: Catches issues pre-gig.
⚠️ Warnings:
Problem: No signal
Solution: Check solder joints, battery, continuity with multimeter. Resolder if needed.
Problem: Hum or feedback
Solution: Verify ground wire. Add shielding paint. Lower gain.
Problem: Weak output
Solution: Inspect piezo seating. Clean slot. Replace battery.
Problem: Buzzing
Solution: Tighten pins/jack. Check action height. Secure loose wires.
Problem: Persistent issues
Solution: Seek luthier—may need bridge routing.
Easy install with active preamp buffers signal for natural tone without feedback.
Best for: Ideal for most acoustics upgrading factory pickups.
Price Range: $99.99
Non-invasive magnetic pickup with great string balance, no soldering needed.
Best for: Quick installs on guitars without preamp.
Price Range: $149
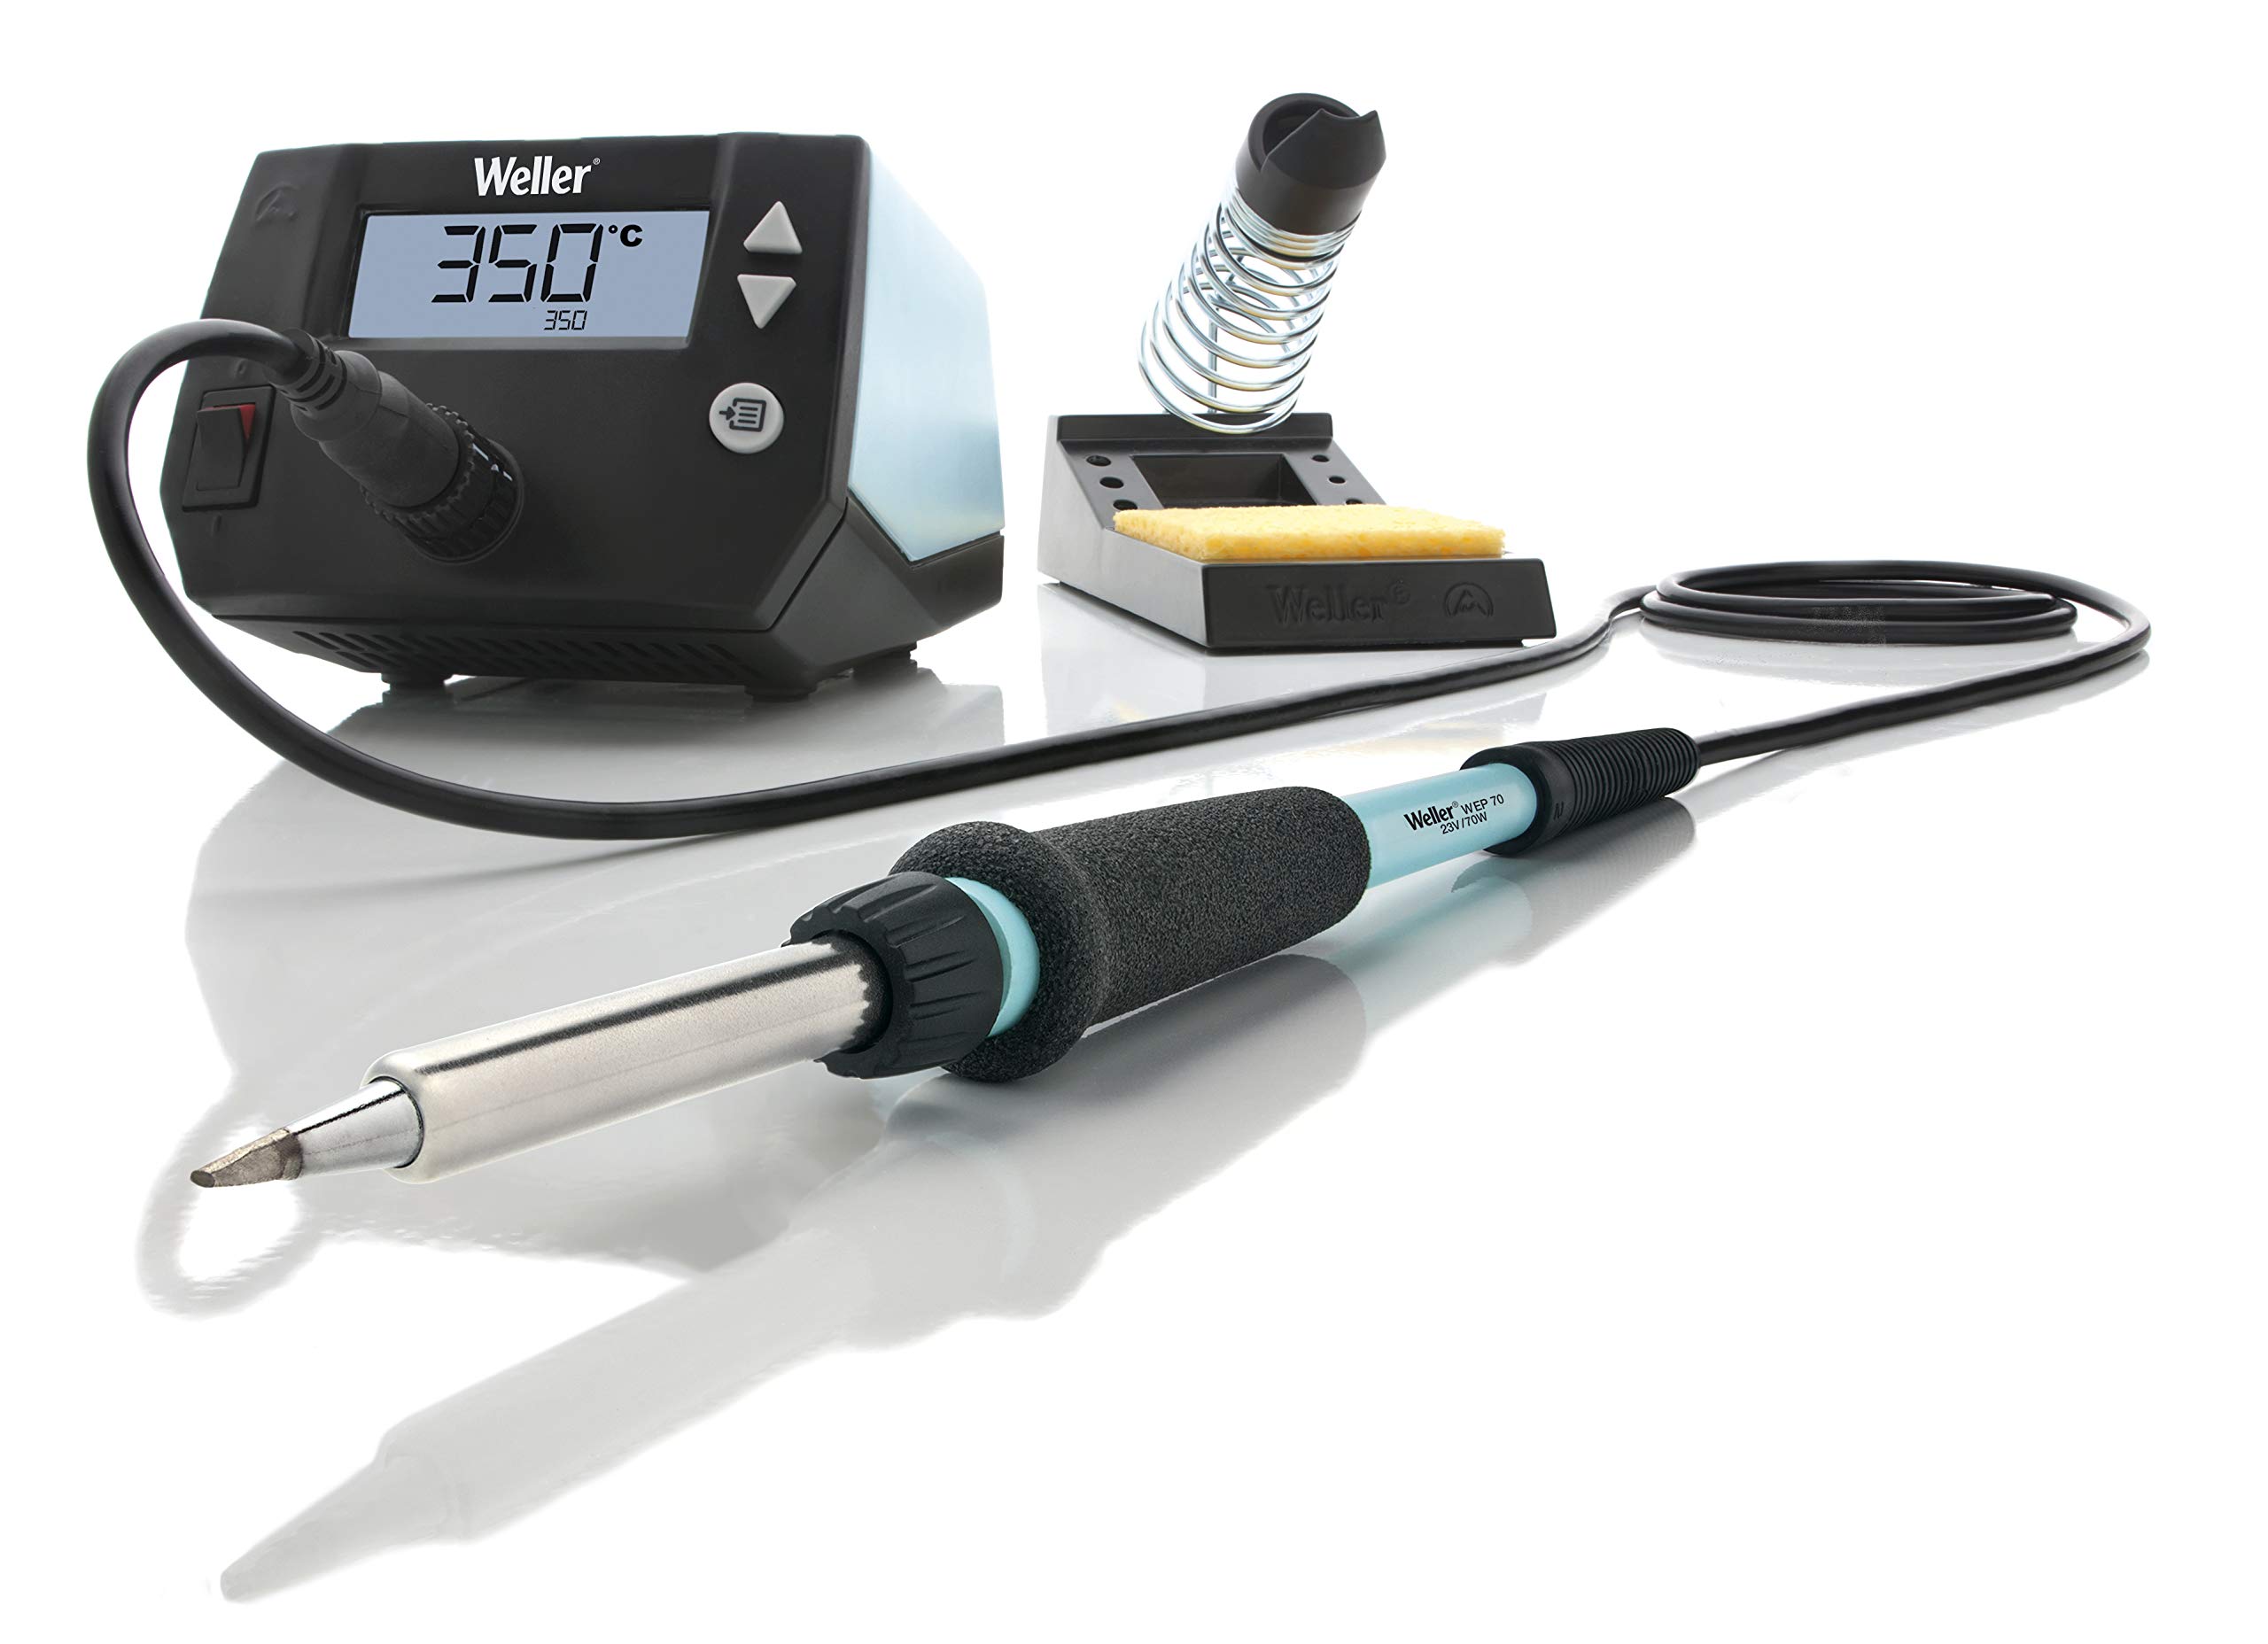
Precise temperature control for delicate guitar wires without overheating.
Best for: All soldering steps in pickup installs.
Price Range: $109.99
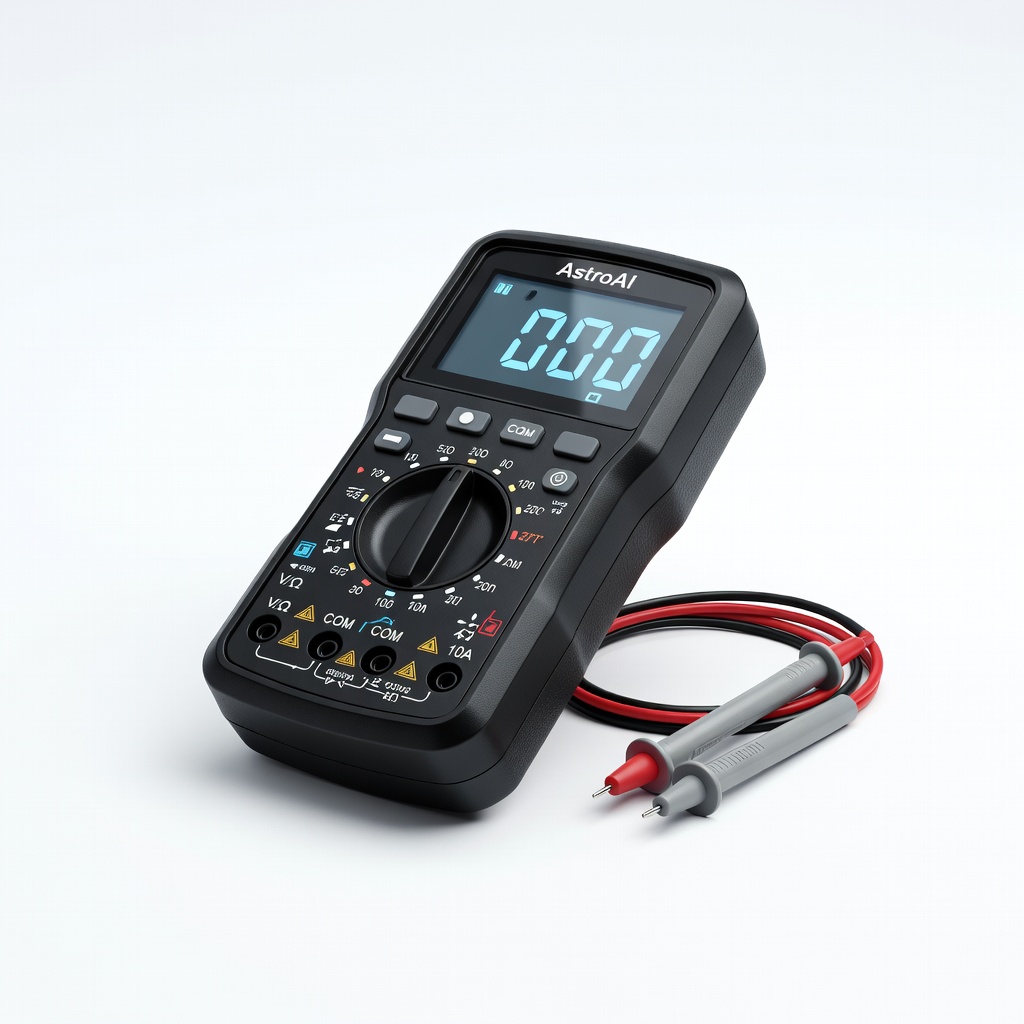
Affordable tool to test continuity, voltage, and shorts accurately.
Best for: Verify wiring before closing guitar.
Price Range: $12.99
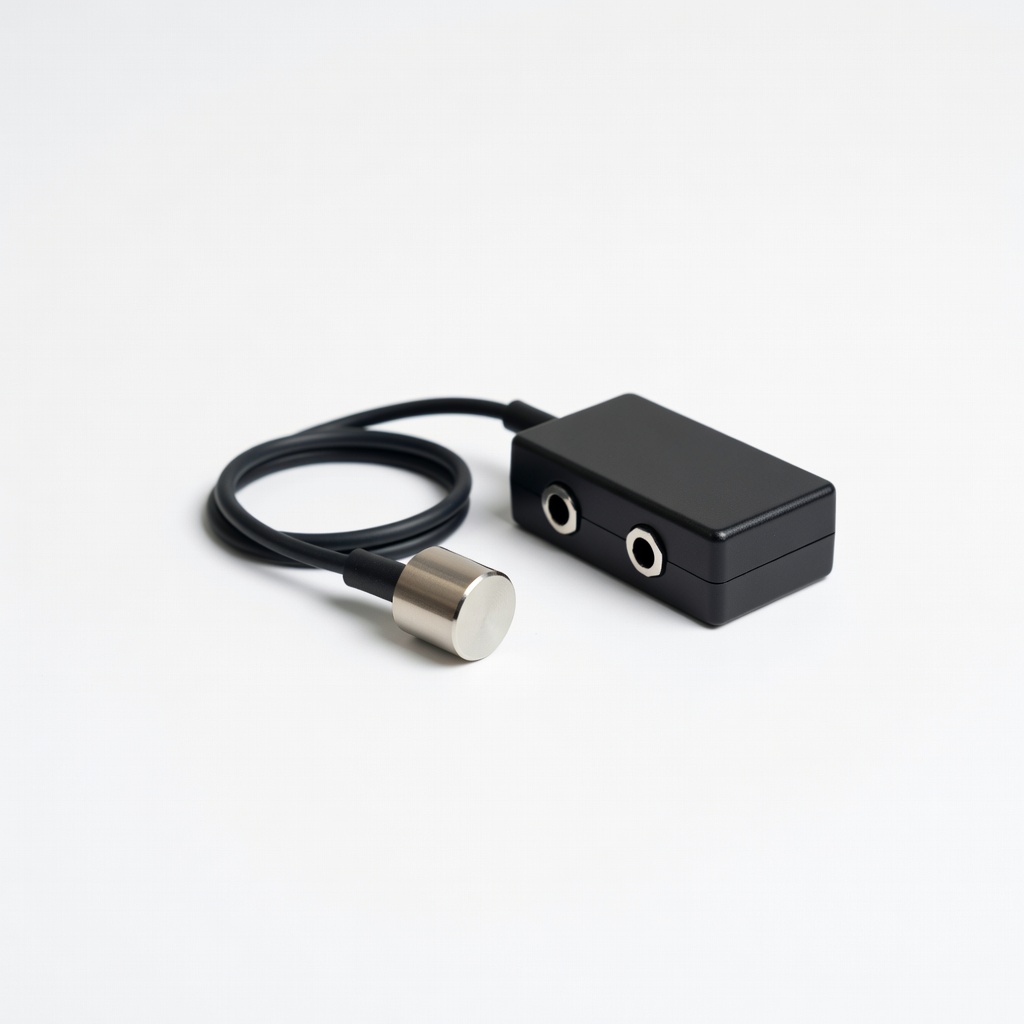
Passive, passive bridge plate install for pure organic sound.
Best for: Budget advanced installs avoiding batteries.
Price Range: $69
Ideal for most acoustics upgrading factory pickups.
LR Baggs Element Active System VTC Easy install with active preamp buffers signal for natural tone without feedback.

Quick installs on guitars without preamp.
Fishman Rare Earth Humbucker Soundhole Pickup Non-invasive magnetic pickup with great string balance, no soldering needed.
All soldering steps in pickup installs.
Weller WE1010NA Soldering Station Precise temperature control for delicate guitar wires without overheating.
Verify wiring before closing guitar.
AstroAI Digital Multimeter Affordable tool to test continuity, voltage, and shorts accurately.
Budget advanced installs avoiding batteries.
K&K Pure Mini Di Acoustic Pickup Passive, passive bridge plate install for pure organic sound.