Imagine ending your day with a beautifully lit patio, perfect for relaxing evenings or entertaining guests. Many homeowners struggle with dull outdoor spaces that feel underutilized after sunset, but installing string lights is a simple DIY project that adds ambiance and value to your home without breaking the bank.
In this guide, you'll learn everything from planning your layout to safely connecting power, all tailored for beginners with no prior electrical experience. We'll cover the essentials step by step, ensuring a secure and stunning result.
The process involves measuring your space, securing supports, and hanging the lights—expect to spend 1-2 hours total, depending on your patio size. No advanced tools required, just basic household items and some patience for a rewarding glow-up.
▸What You'll Need
- •Outdoor-rated string lights (LED, 48-100 feet, weatherproof with shatterproof bulbs)
- •Screw-in cup hooks or eye screws (rust-resistant, pack of 20-50)
- •Ladder or sturdy step stool
- •Measuring tape
- •Drill with bits (for pilot holes in wood or masonry)
- •Wire cutters or scissors
- •Extension cord (outdoor-rated, 12-25 feet)
- •Power strip (weatherproof if outdoors)
- •Optional: Zip ties or twist ties for securing loose wires
- •Optional: Level for straight alignment
Estimated Time: 1-2 hours
Difficulty: beginner
▸Step-by-Step Instructions
Step 1: Plan Your Layout
Before hanging anything, sketch a simple diagram of your patio to visualize where the lights will go. Decide on a pattern—straight lines along the perimeter, crisscross, or wrapped around posts—for even coverage. Measure the total length needed by adding up distances between attachment points, adding 10-20% extra for slack and connections.
This step matters because a good plan prevents running out of lights or uneven spacing, ensuring your patio looks professional. Expect to spend 10-15 minutes here; use graph paper or a phone app for accuracy.
Walk around your space to identify obstacles like doors or vents that might block the path.
💡 Tips:
- •Aim for lights every 2-3 feet for balanced illumination without overcrowding.
- •Consider the theme: warm white bulbs for cozy vibes or colorful for parties.
⚠️ Warnings:
- •Avoid overhanging walkways to prevent tripping hazards.
Step 2: Gather and Prepare Materials
Double-check your what-you-need list and lay everything out on a table. Test the string lights indoors by plugging them in to ensure all bulbs work—replace any burnt-out ones immediately. If your lights have connectors, familiarize yourself with how they snap together.
Preparation saves time and frustration later; you'll know exactly what you have before climbing ladders. This should take 5-10 minutes and confirms your setup is ready for installation.
💡 Tips:
- •Charge any cordless drill batteries in advance.
⚠️ Warnings:
- •Only use outdoor-rated products to avoid electrical hazards in wet conditions.
Step 3: Install Support Hooks
Using your measuring tape, mark spots along beams, eaves, or posts every 2-3 feet, following your plan. For wood, drill pilot holes slightly smaller than the hook screws, then twist in the cup hooks with a screwdriver or drill. On masonry, use masonry bits and anchors for secure hold.
Hooks provide the foundation for hanging; proper spacing ensures taut lines without sagging. Expect some physical effort—use a ladder safely and have a spotter if needed. This step takes 20-30 minutes for a standard 20x10 patio.
Check that hooks face downward or outward for easy stringing.
💡 Tips:
- •A level helps keep hooks aligned for a straight run.
⚠️ Warnings:
- •Don't overload old or weak structures; test by tugging gently.
Step 4: Hang the String Lights
Start at one end, looping the light string over the first hook and pulling gently to advance. Continue to the next hook, draping with slight slack (about 6-12 inches) for a festive sag. Use zip ties if needed to secure at hooks, but avoid overtightening to prevent bulb damage.
This creates the visual appeal—too tight looks rigid, too loose sags excessively. Work in sections if your string is long; success looks like evenly spaced, glowing lines once tested. Takes 20-40 minutes.
For crisscross patterns, run parallel lines first, then connect diagonally.
💡 Tips:
- •Wear gloves to protect hands from sharp hooks or wires.
⚠️ Warnings:
- •Keep lights away from sharp edges or heat sources like grills.
Step 5: Connect to Power and Test
Run an outdoor extension cord from the nearest outlet to your light's end, securing it along the path with ties to avoid ground contact. Plug in and flip the switch—walk around to check for dark spots or flickers, adjusting as needed.
Safe power connection is crucial for longevity and safety; use GFCI outlets if available. Expect a magical reveal: your patio now bathed in warm light. Final step takes 10-15 minutes, including tweaks.
If using multiple strings, connect them end-to-end before hanging for seamless power.
💡 Tips:
- •Timer plugs automate on/off for energy savings.
⚠️ Warnings:
- •Never use indoor extension cords outdoors—risk of shock or fire.
▸Pro Tips
- •Choose LED bulbs for energy efficiency and cooler operation in summer heat.
- •Install during daylight for better visibility and safety.
- •For permanent setups, use guide wires between hooks to reduce sagging over time.
- •Mix light colors sparingly to avoid a cluttered look—stick to one palette.
- •Clean bulbs annually with a soft cloth to maintain brightness.
- •Use solar-powered options if outlets are far, reducing wiring needs.
- •Angle hooks slightly upward on sloped roofs to prevent slippage.
▸Common Mistakes to Avoid
- •Not accounting for extra length: Leads to mismatched coverage; measure twice.
- •Using indoor lights: Causes failures in weather; always opt for outdoor-rated.
- •Over-tightening strings: Breaks bulbs or pulls hooks loose; allow natural drape.
- •Ignoring ladder safety: Falls are common; stabilize and don't overreach.
- •Skipping bulb tests: Discovers issues mid-install; check beforehand.
▸Troubleshooting
Problem: Lights flicker or won't turn on
Solution: Check connections for loose plugs; replace faulty bulbs or extension cord. Ensure GFCI outlet isn't tripped.
Problem: Strings sag in the middle
Solution: Add extra hooks midway or use support wires. Redistribute slack evenly.
Problem: Hooks pull out of surface
Solution: Use larger screws or anchors for softer materials. Reinforce with wood glue if in beams.
Problem: Lights get tangled during hanging
Solution: Untangle on the ground first and hang in short sections. Use clips to organize.
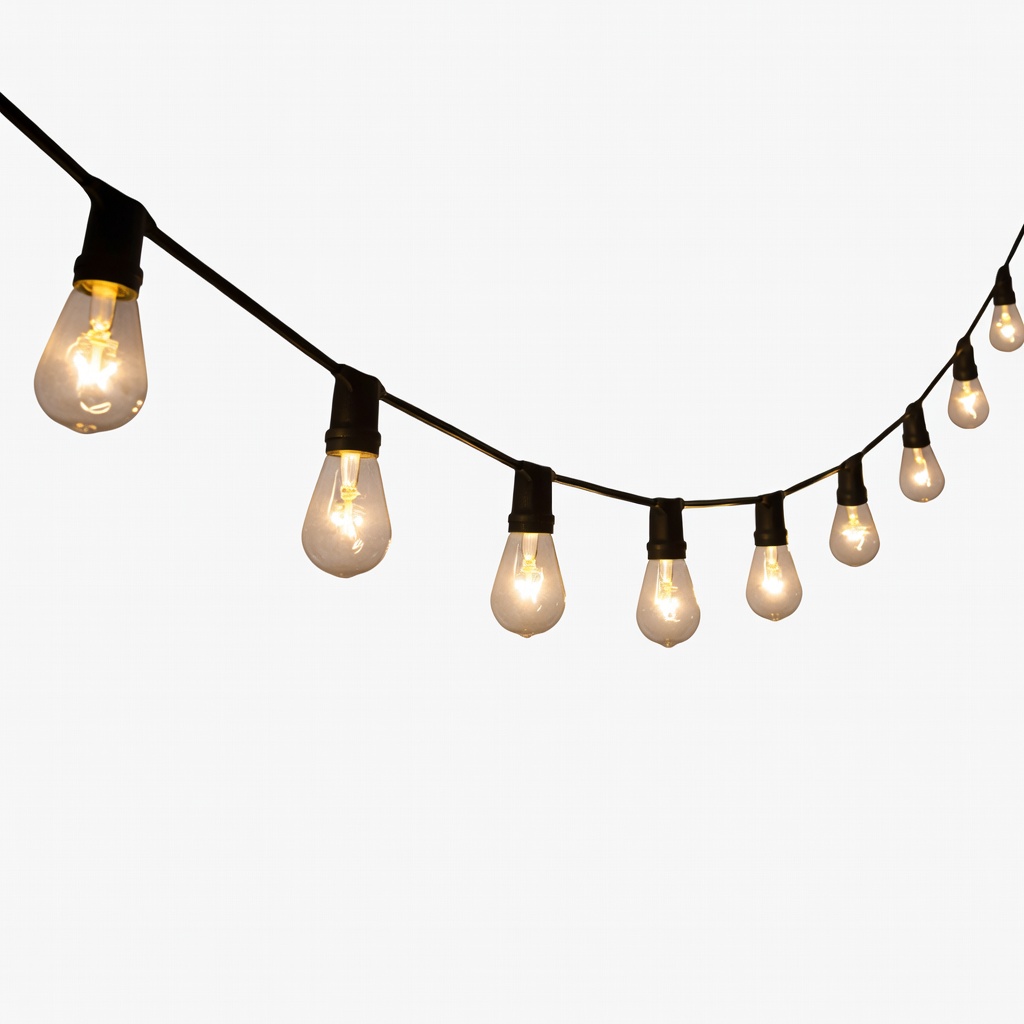
Brightech Ambience Pro Outdoor String Lights
These weatherproof LED lights are durable, shatterproof, and provide warm, dimmable glow ideal for patios.
Best for: Perfect for beginners needing a long, connectable strand for perimeter hanging.
Price Range: $39.99
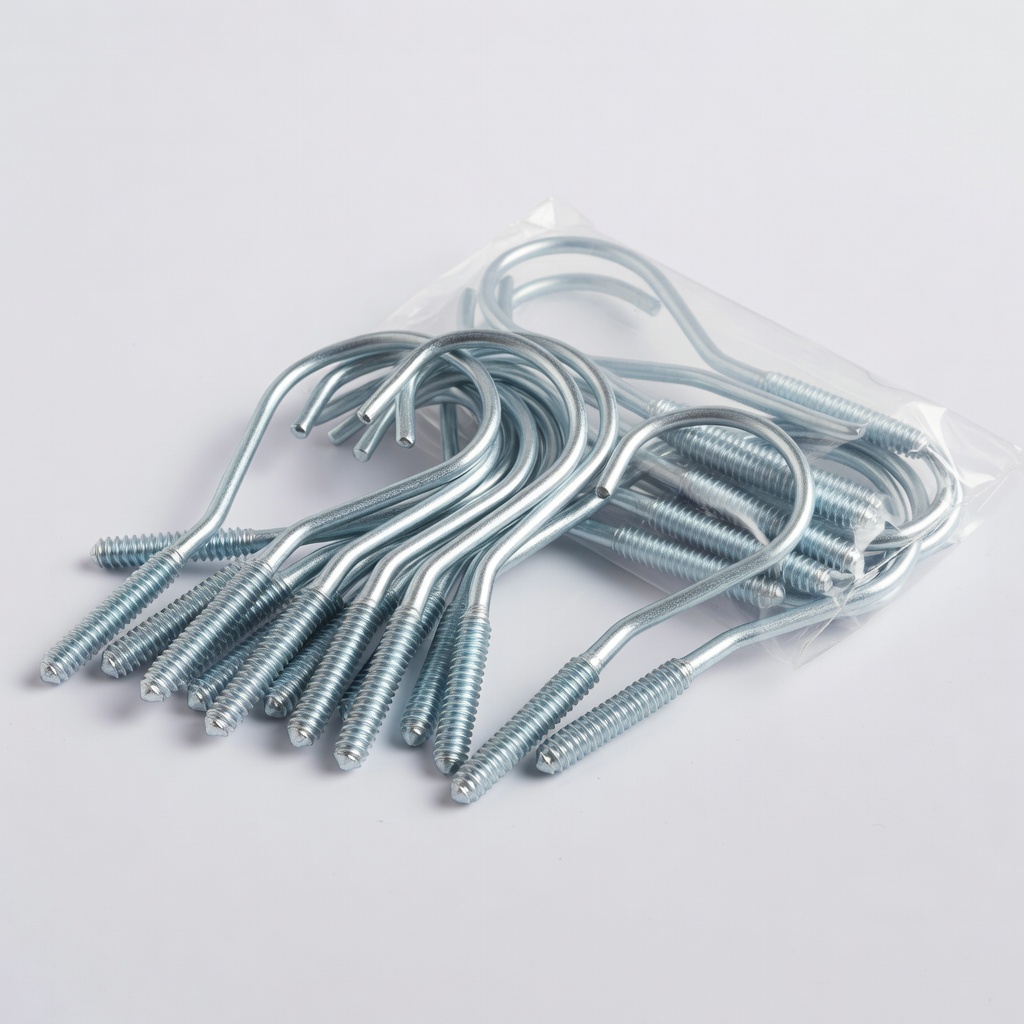
Everbilt Zinc-Plated Steel Cup Hooks (50-Pack)
Rust-resistant and strong for secure attachment to wood or masonry without slipping.
Best for: Essential for mounting lights on eaves or posts; easy to install with a drill.
Price Range: $12.98
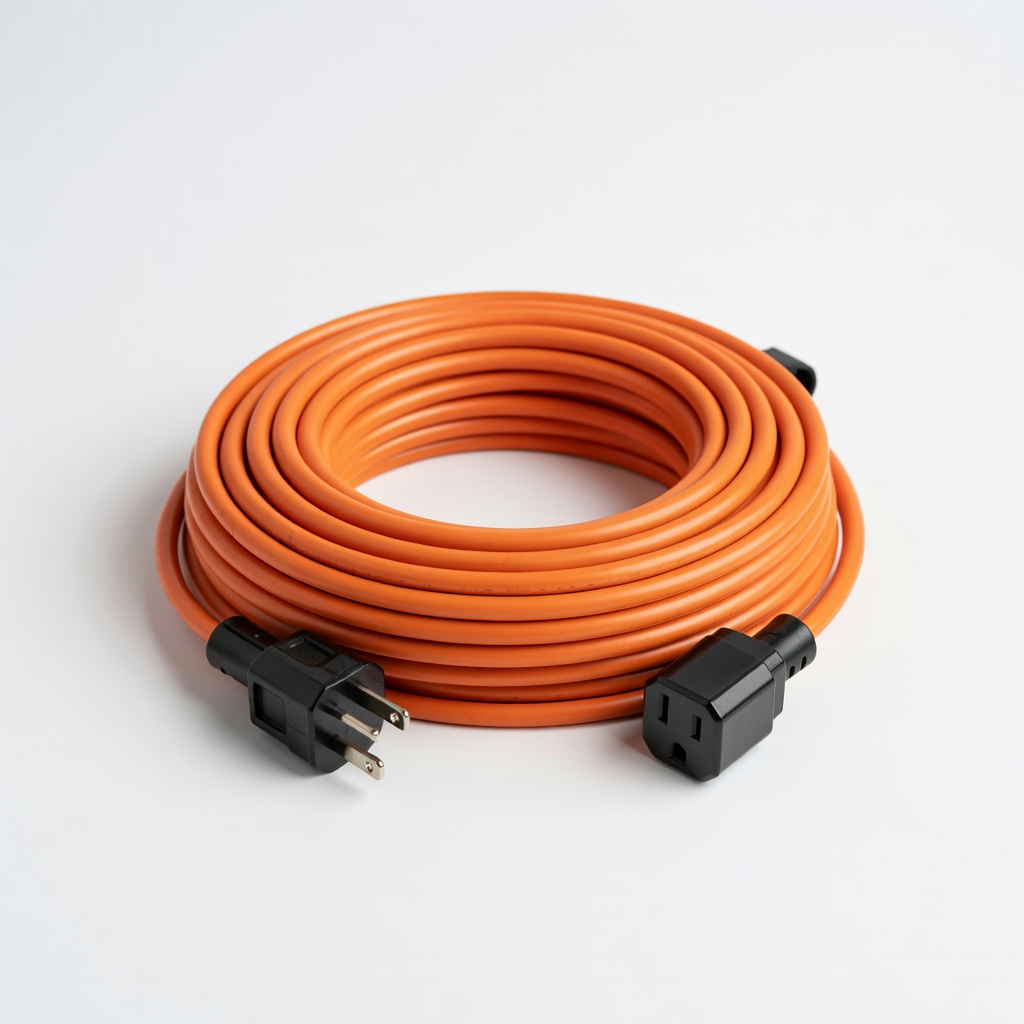
Amazon Basics Outdoor Extension Cord, 25 ft
Heavy-duty, weatherproof design prevents shorts in rain, with a grounded plug for safety.
Best for: Connects lights to power sources up to 25 feet away without voltage drop.
Price Range: $19.99
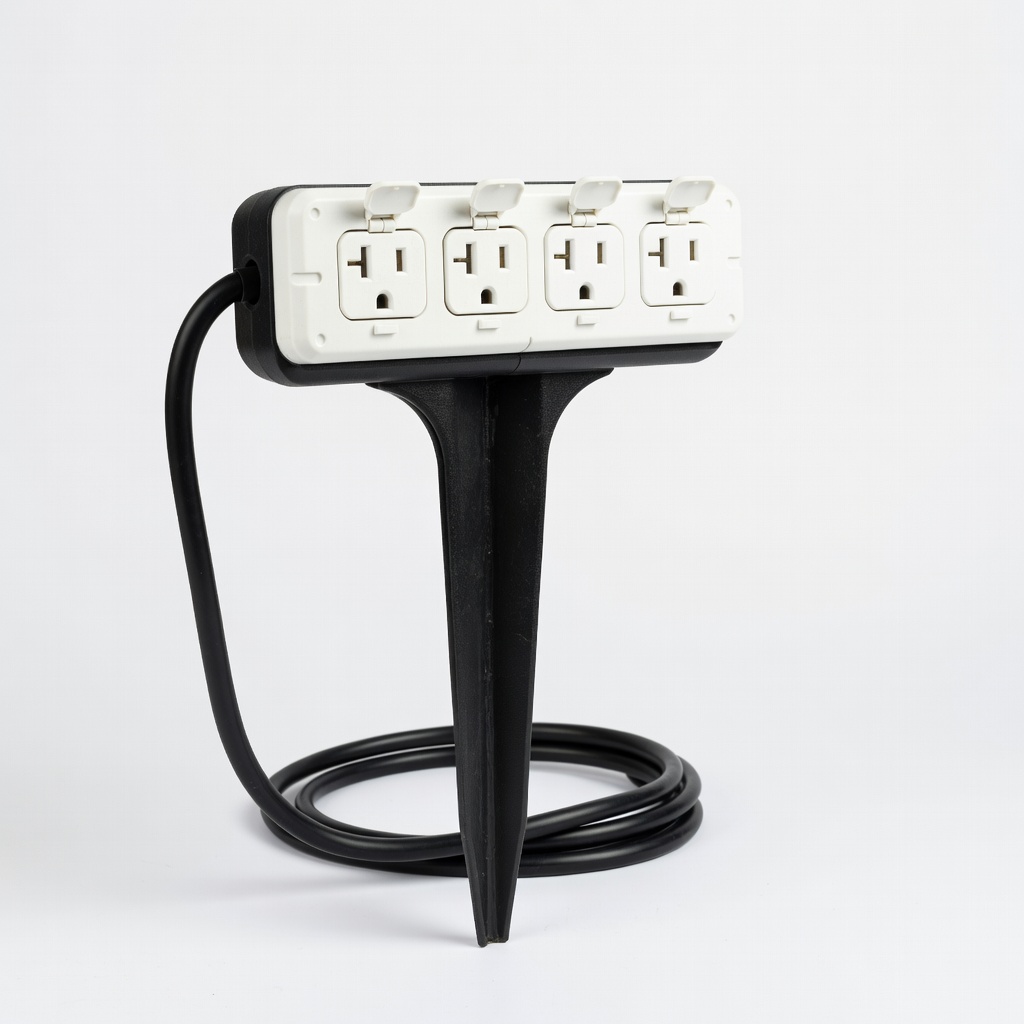
GE Weatherproof Outdoor Power Stake
Stakes into ground for hidden outlet extension, keeping cords off walkways.
Best for: Ideal if no nearby wall outlet; protects connections from moisture.
Price Range: $24.97
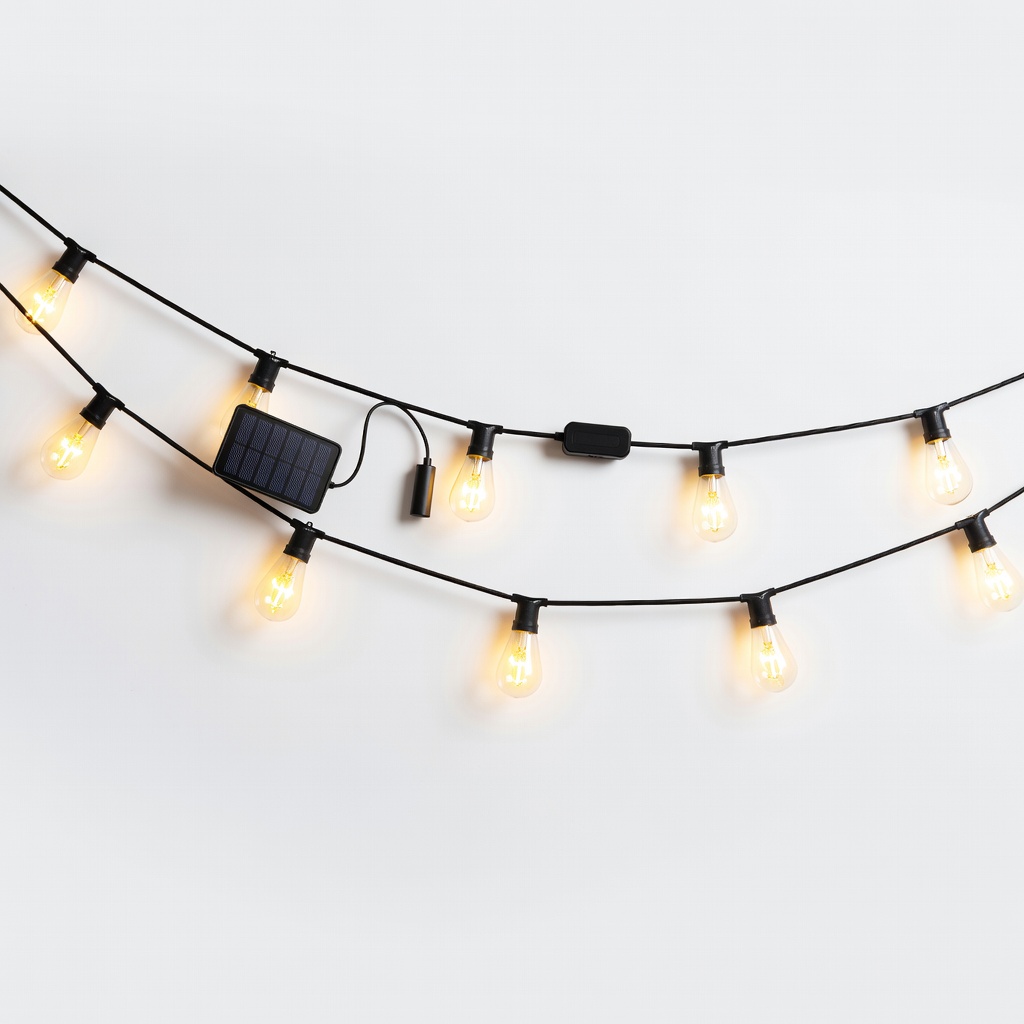
Brightech Solar Powered Outdoor String Lights
No wiring needed, with automatic dusk-to-dawn operation for eco-friendly setups.
Best for: Great for patios without easy power access; 27-foot length covers small areas.
Price Range: $29.99