
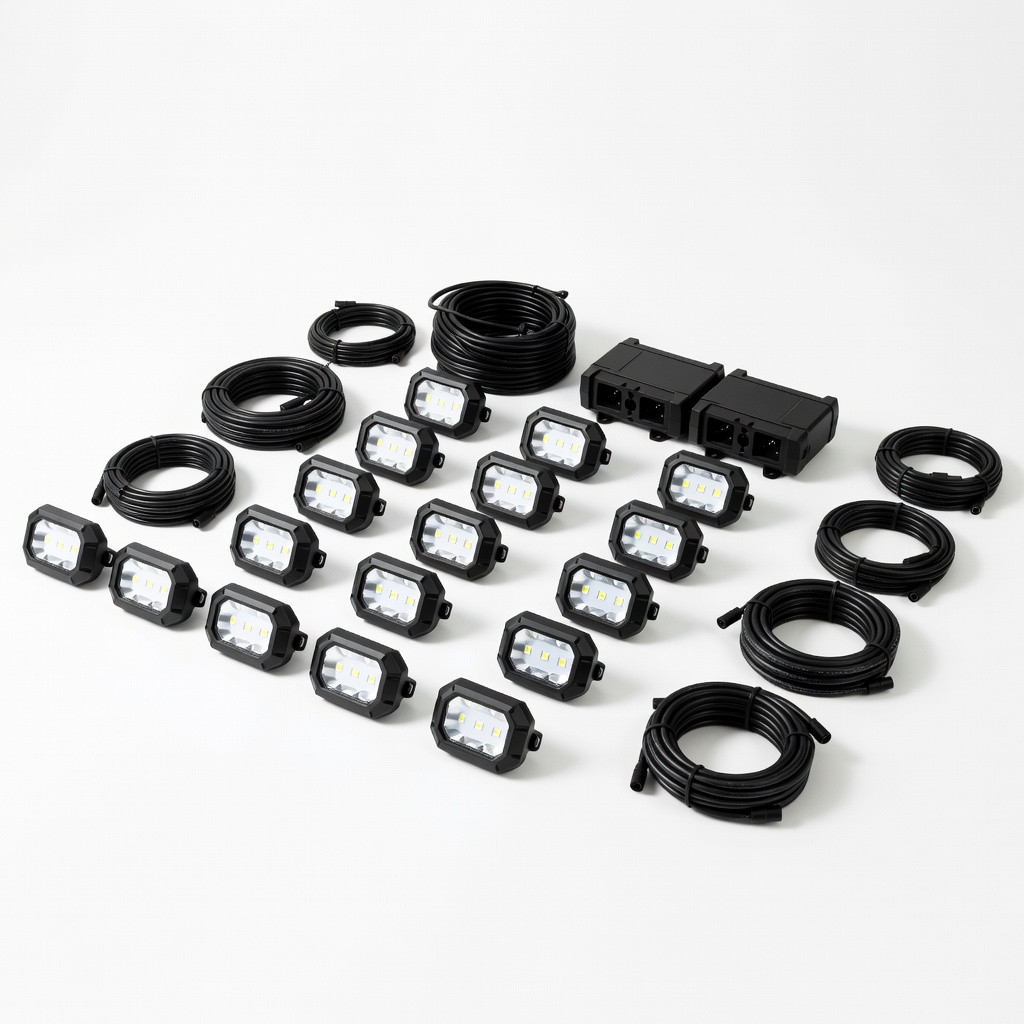
Nilight 24PCS LED Rock Lights Kit
Full underbody accent for JL/JK Wranglers.
$39.99
Nilight 24PCS LED Rock Lights Kit Affordable, IP68 waterproof RGB lights with Bluetooth control—perfect for Jeeps.
Get the App
Better experience on mobile
Learn to add stunning rock lights to your Jeep for better visibility and style on trails in just 1-2 hours.
Off-roading at night can be thrilling but dangerous without proper lighting. Off-road accent lights, like rock lights mounted under wheel wells, illuminate obstacles, rocks, and trails while giving your Jeep a custom glow. Many Jeep owners struggle with dim stock lights or complex wiring, but this guide simplifies it.
You'll learn to install durable LED accent lights safely and effectively on popular models like Wrangler JL, JK, or TJ. The process covers planning, mounting, wiring, and testing—tailored for intermediate DIYers with basic electrical knowledge.
Expect 1-2 hours total, depending on your Jeep model and light kit. No advanced fabrication needed, but work carefully to avoid electrical issues.
Estimated Time: 1-2 hours Difficulty: intermediate
Collect all materials and park your Jeep on a flat surface. Disconnect the negative battery terminal to prevent shorts.
Plan light positions: typically 2-4 lights per wheel well (front/rear), under bumpers, or along rock sliders. Sketch your layout for even coverage. Clean mounting surfaces with isopropyl alcohol.
Success looks like: Battery disconnected, surfaces prepped, lights test-fit without interference.
💡 Tips:
⚠️ Warnings:
Use included brackets, magnets, or 3M VHB tape to secure lights. For wheel wells, remove plastic liners partially with pry tools. Drill small pilot holes if using screws (avoid frame rails).
Secure with self-tapping screws or nuts. Position lights downward at 30-45 degrees for optimal ground illumination.
Success looks like: Lights firmly attached, no wobble, wires dangling for routing.
💡 Tips:
⚠️ Warnings:
Run wires from each light along the frame rail, using factory wiring paths or grommets. Bundle positives together, grounds separate. Avoid exhaust, suspension, and sharp edges—zip tie every 12 inches.
For rear lights, route under the Jeep to the cab. Feed wires through firewall grommet to interior (use fish tape).
Success looks like: Wires neatly routed, no pinch points, slack for suspension travel.
💡 Tips:
Mount the switch in your dash or A-pillar pod. Cut a hole if needed (match switch size). Connect switch pigtail: one wire to accessory power (fuse box tapped), other to light harness positive.
Use a multimeter to confirm 12V switched power.
Success looks like: Switch installed flush, preliminary wiring connected.
💡 Tips:
⚠️ Warnings:
Crimp ring terminals: All light negatives to chassis ground (sand paint for contact). Positives to harness main positive. Install inline fuse 6-12 inches from battery/power source.
Solder or crimp connections, seal with heat shrink. For RGB lights, connect controller wires.
Success looks like: All connections insulated, fuse in place.
💡 Tips:
⚠️ Warnings:
Reattach negative battery terminal. Turn on Jeep accessories, flip switch—lights should illuminate brightly without flicker.
Check all angles: wheel articulation, dimming. Cycle switch 10x.
Success looks like: Even lighting, no heat buildup, responsive control.
💡 Tips:
Trim excess wire, add final zip ties. Reinstall wheel well liners. Apply silicone sealant to exposed mounts if needed.
Drive test: Check for rattles or wire snags on trails.
Success looks like: Clean, trail-ready install.
⚠️ Warnings:
Problem: Lights flicker or dim
Solution: Check ground connection and wire gauge; add thicker wire or relay.
Problem: No power to lights
Solution: Verify fuse, switch wiring, and battery connection; test with multimeter.
Problem: One light out
Solution: Swap positions to isolate; check individual connections/water damage.
Problem: Overheating wires
Solution: Upgrade to relay; ensure <80% ampacity on wires.
Affordable, IP68 waterproof RGB lights with Bluetooth control—perfect for Jeeps.
Best for: Full underbody accent for JL/JK Wranglers.
Price Range: $39.99
Durable white LEDs with brackets, designed for off-road abuse.
Best for: Minimalist wheel well install on TJ/YJ.
Price Range: $79.95
Clean dash mount with fuses/relays for multiple accessories.
Best for: Control lights + winch/fog lamps.
Price Range: $29.99
Premium SAE-compliant pods for bumper accents.
Best for: Hybrid fog/rock lighting on high-end builds.
Price Range: $100-$150
Safe way to tap Jeep fuse box without rewiring.
Best for: Powered switch integration.
Price Range: $9.99
Full underbody accent for JL/JK Wranglers.
Nilight 24PCS LED Rock Lights Kit Affordable, IP68 waterproof RGB lights with Bluetooth control—perfect for Jeeps.
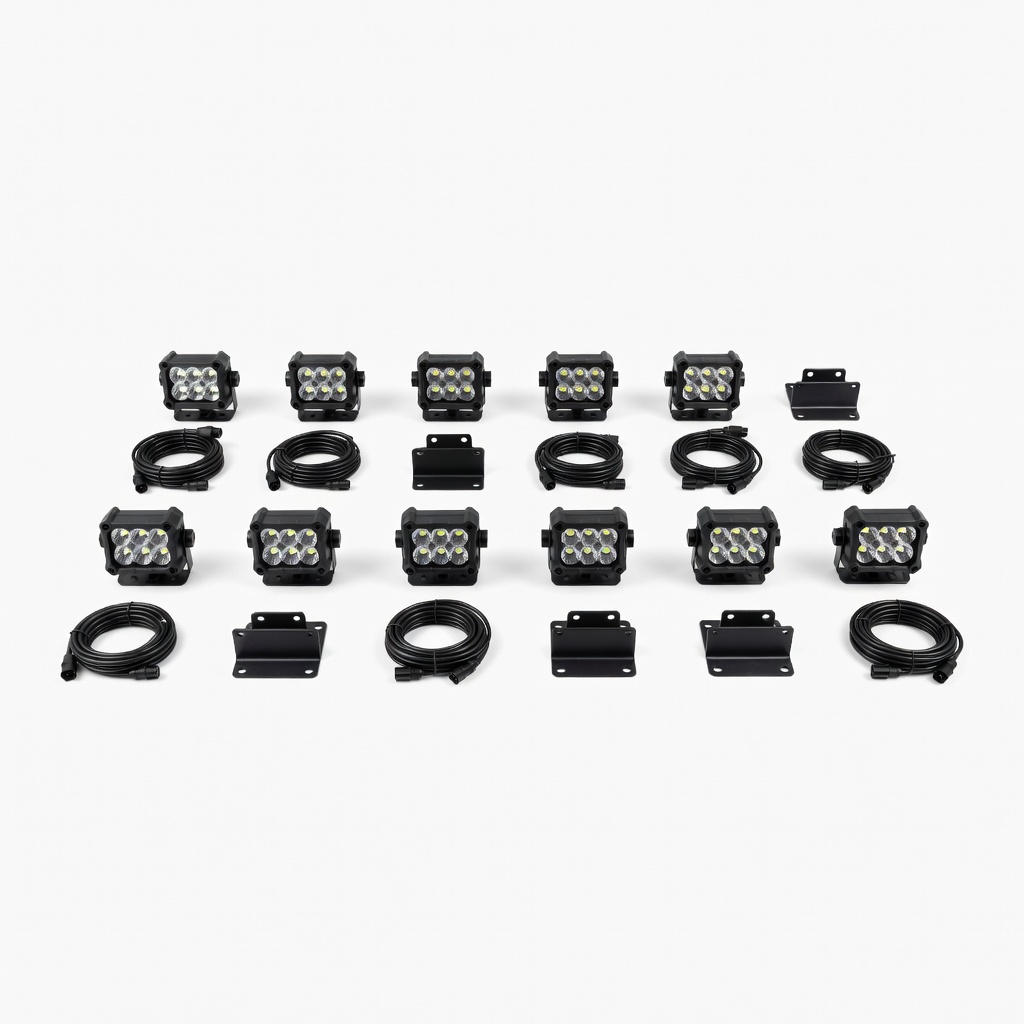
Minimalist wheel well install on TJ/YJ.
Rough Country 9-Piece Rock Light Kit Durable white LEDs with brackets, designed for off-road abuse.
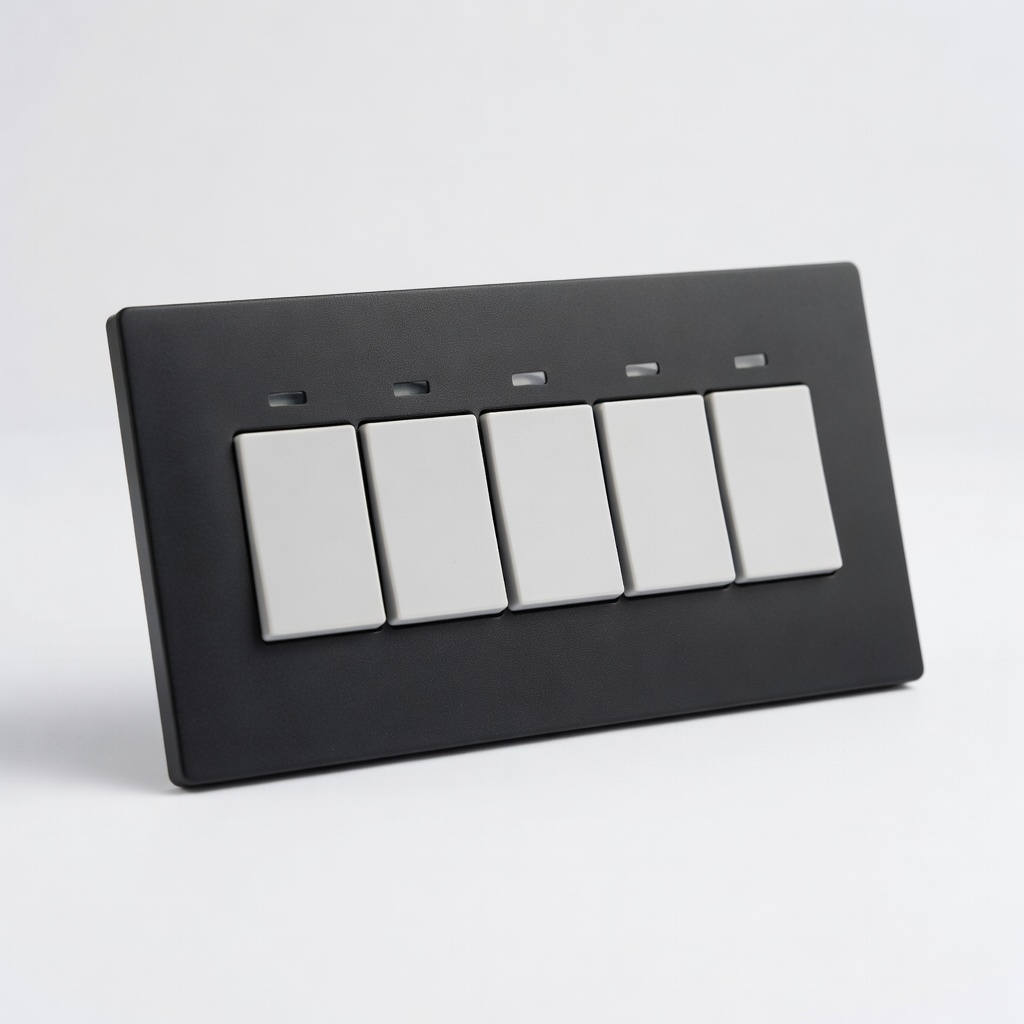
Control lights + winch/fog lamps.
Nilight 5 Gang Rocker Switch Panel Clean dash mount with fuses/relays for multiple accessories.
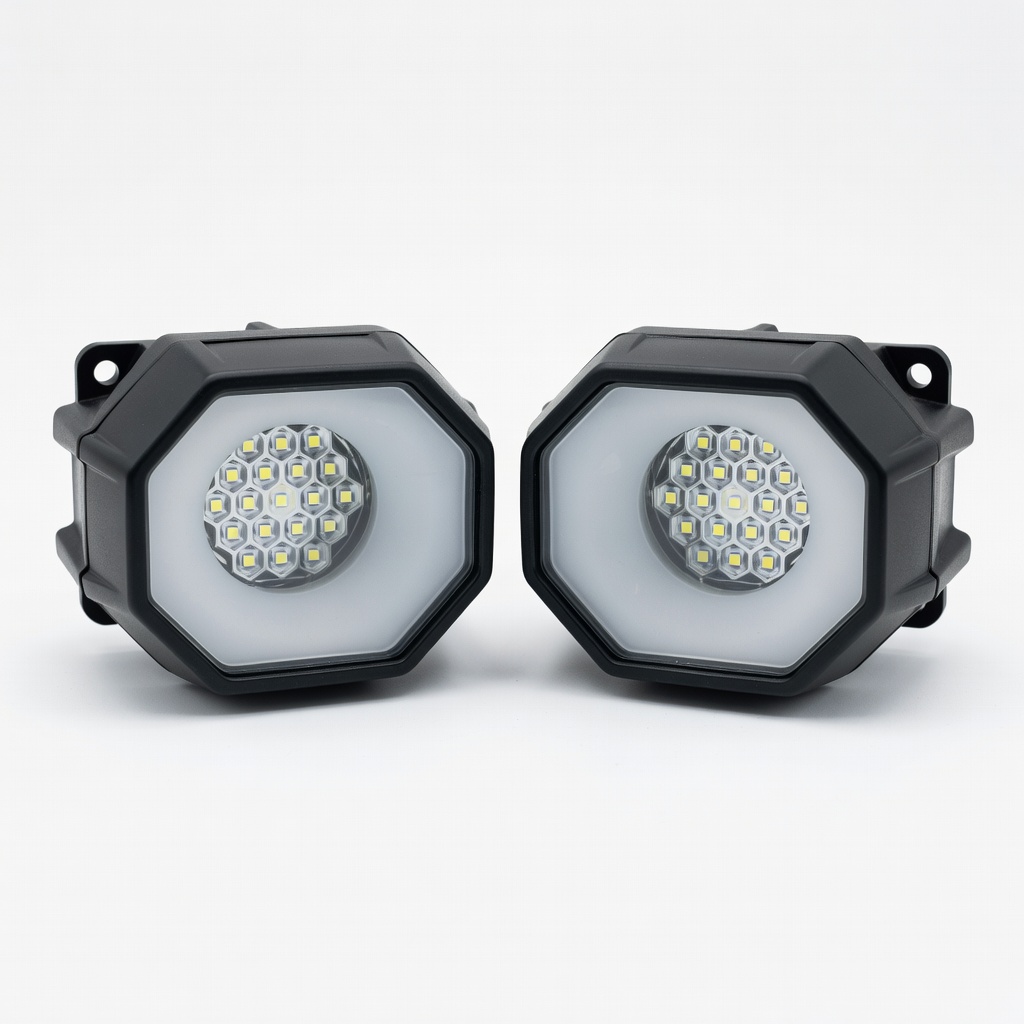
Hybrid fog/rock lighting on high-end builds.
Diode Dynamics SS3 Fog Light Pods (Accent Mode) Premium SAE-compliant pods for bumper accents.
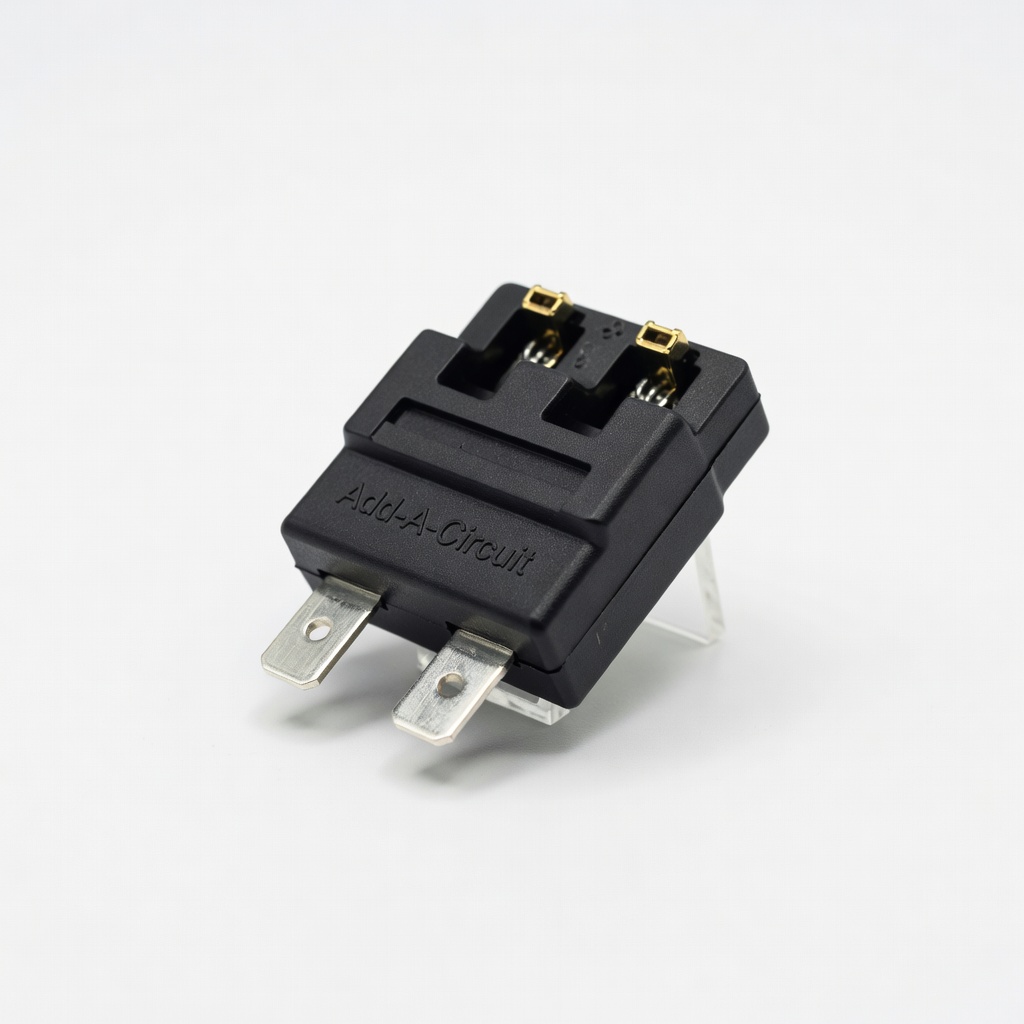
Powered switch integration.
Blue Sea Systems Add-A-Circuit Fuse Tap Safe way to tap Jeep fuse box without rewiring.