Slippery tile floors can turn a cozy rug into a hazard, leading to trips, falls, and damaged furniture. If you've ever dealt with a rug bunching up or sliding underfoot, installing a non-slip rug pad is the simple solution you've been missing. These pads grip both the rug and the floor, providing peace of mind for high-traffic areas like kitchens, bathrooms, or entryways.
In this guide, you'll learn the step-by-step process to install non-slip rug pads specifically on tile floors, ensuring a firm hold without damaging surfaces. We'll cover preparation, cutting, placement, and finishing touches. The process is straightforward for intermediate DIYers, requiring basic tools and no special skills.
Expect to spend about 15-30 minutes per rug, depending on size. By the end, your rugs will stay put, enhancing safety and extending their lifespan.
▸What You'll Need
- •Non-slip rug pad (felt or rubber-backed, sized to match your rug; required)
- •Area rug (the one you want to secure; required)
- •Measuring tape or ruler (required for accurate sizing)
- •Utility knife or heavy-duty scissors (required for cutting the pad)
- •Mild cleaner and soft cloth (required to clean the tile floor)
- •Vacuum or broom (optional, for initial floor prep)
- •Adhesive promoter spray (optional, for extra grip on very smooth tiles)
Estimated Time: 15-30 minutes
Difficulty: intermediate
▸Step-by-Step Instructions
Step 1: Measure Your Rug and Floor Area
Start by laying your area rug flat on the tile floor in its desired position. Use a measuring tape to note the exact dimensions of the rug—length and width—to ensure the pad fits perfectly underneath without bunching or overhanging.
Why this matters: Accurate measurements prevent waste of pad material and ensure full coverage for maximum slip resistance. On tile floors, which are often smooth and glossy, a properly sized pad distributes weight evenly to avoid shifting.
Expect the rug to sit stably once measured; mark the corners lightly with painter's tape if needed for reference.
💡 Tips:
- •Measure twice to avoid cutting errors.
- •Account for any furniture placement that might compress the rug.
⚠️ Warnings:
- •Don't guess sizes—overly large pads can curl up and create new trip hazards.
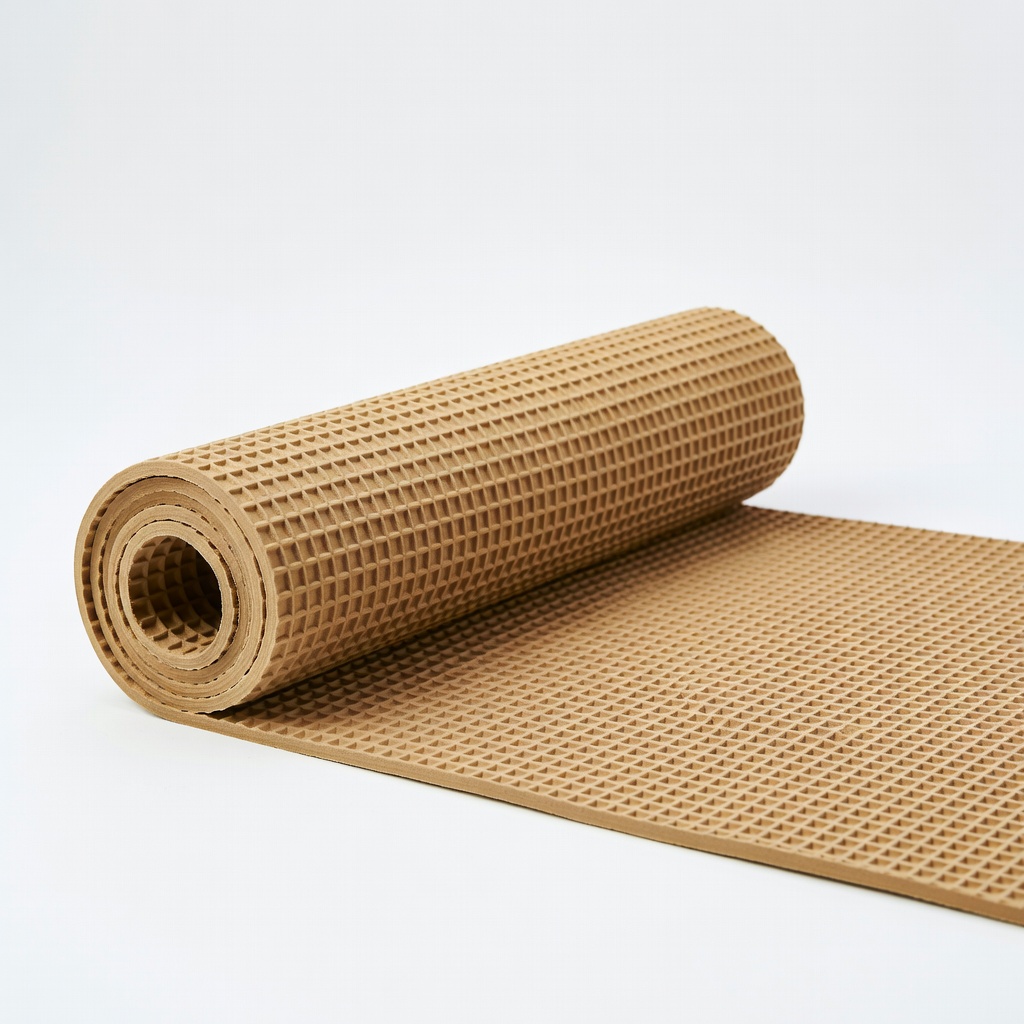
Step 2: Select and Unroll the Non-Slip Rug Pad
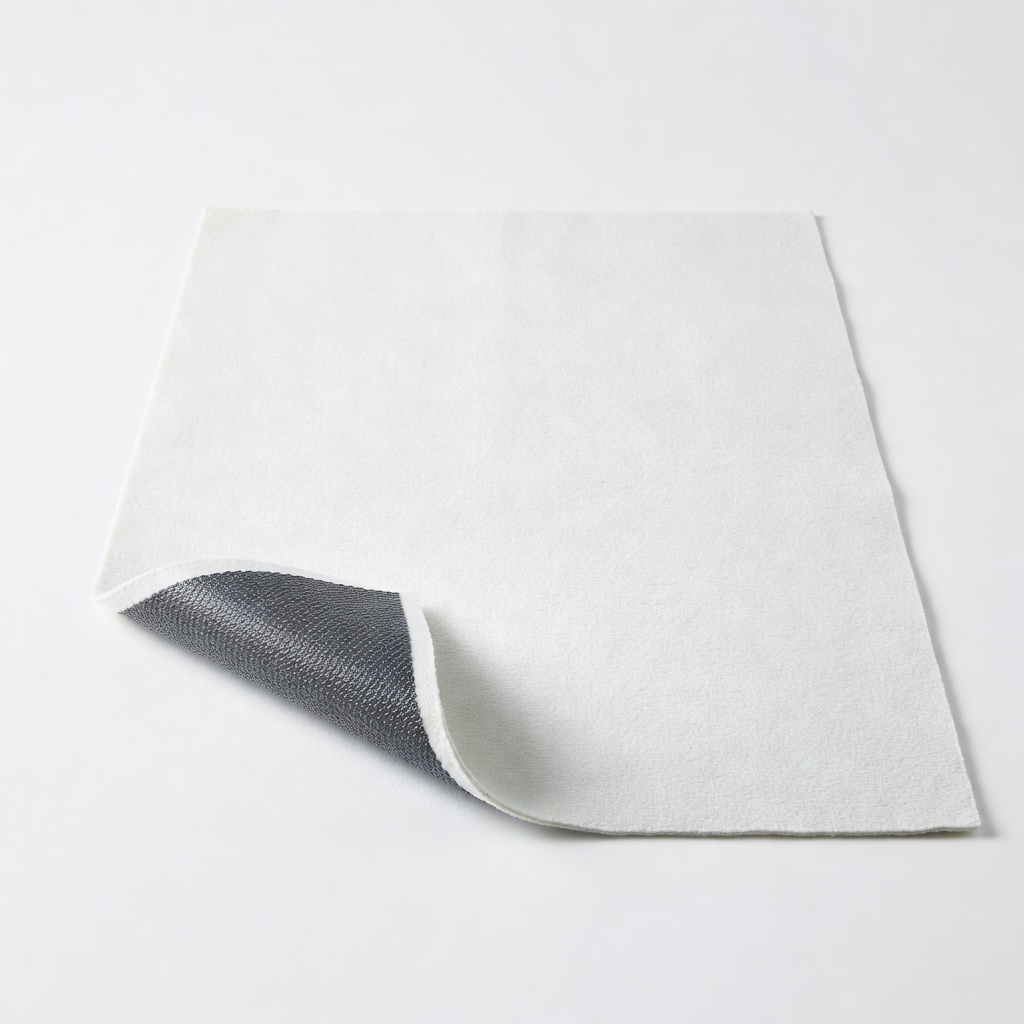
Choose a non-slip pad designed for hard surfaces like tile—felt pads are gentle and breathable, while rubber ones offer stronger grip. Unroll the pad on a clean, flat surface away from the installation area to let it relax and flatten.
This step is crucial because pads often arrive tightly rolled and need time to expand, ensuring they lay flat under the rug. For tile floors, opt for pads with a textured bottom to enhance adhesion without residue.
You'll see the pad's backing; inspect for any defects and trim minor imperfections now.
💡 Tips:
- •Felt pads work best for light rugs; rubber for heavier ones on high-traffic tiles.
⚠️ Warnings:
- •Avoid cheap pads that shed fibers, as they can mark tile grout.
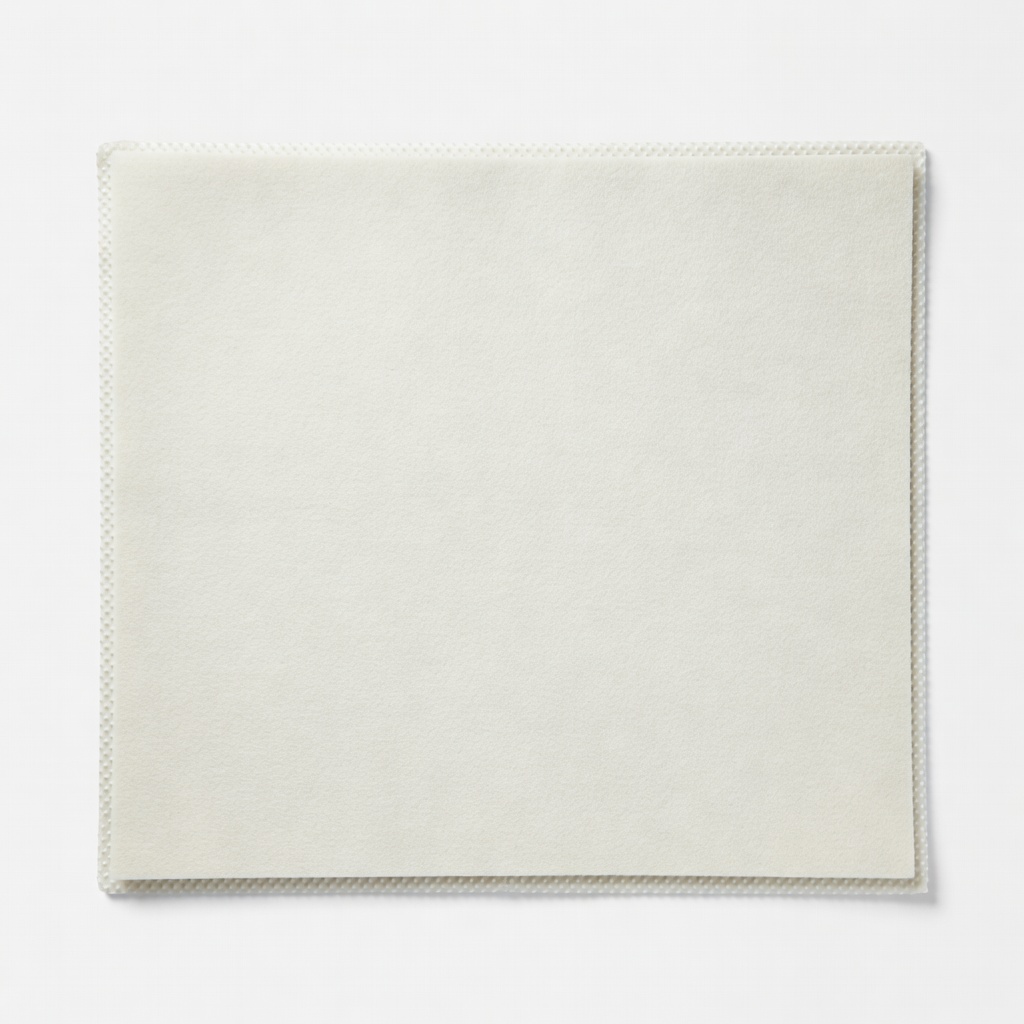
Step 3: Cut the Pad to Size
Using your measurements, mark the pad with a straight edge and pencil. Carefully cut along the lines with a utility knife, pressing firmly but not too deep to avoid jagged edges. For large pads, cut in sections and piece together if needed.
Precision cutting ensures the pad mirrors the rug's shape, providing uniform support. On tile, this prevents air pockets that could cause bubbling or uneven wear.
Success looks like a clean, straight-edged pad that matches the rug exactly—no more than 1-inch overhang.
💡 Tips:
- •Use a cutting mat to protect surfaces and get smoother cuts.
- •Cut slightly smaller than the rug (1/2 inch) for a snug fit.
⚠️ Warnings:
- •Dull blades can tear the pad; replace if needed to prevent slipping during install.
Step 4: Clean the Tile Floor Thoroughly
Vacuum or sweep the tile floor to remove dust, debris, and pet hair. Then, wipe with a mild cleaner (like dish soap and water) using a soft cloth, ensuring no residue remains—rinse if necessary and let dry completely.
A spotless floor is essential for the pad's grip; dirt or oils on tile can reduce adhesion, leading to slips over time. This step also protects your tile's finish from cleaner damage.
The floor should feel tack-free and dry to the touch, ready for placement.
💡 Tips:
- •For glossy tiles, use a vinegar-water mix for natural cleaning without streaks.
⚠️ Warnings:
- •Avoid harsh chemicals that could etch tile or leave slippery films.
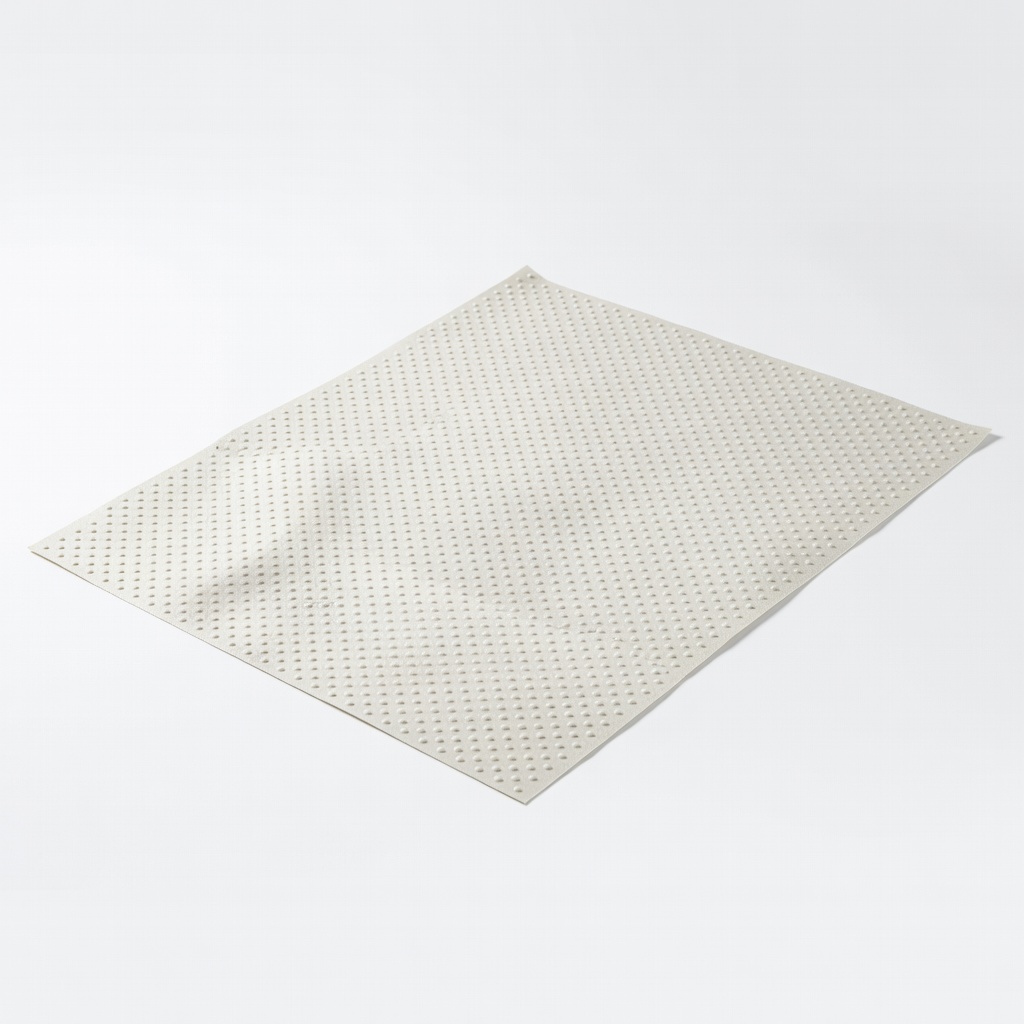
Step 5: Position the Cut Pad Under the Rug
Place the cut pad on the clean tile floor, aligning it perfectly with where the rug will go. Gently lay the rug over the pad, starting from one end and smoothing it out to eliminate wrinkles or bubbles.
This secures the non-slip layer directly against the tile, allowing the pad's grip to engage fully. Smoothing prevents air traps that could shift the setup.
Your rug should now feel stable when you walk on it—no sliding or bunching.
💡 Tips:
- •Have a helper hold the rug while you align the pad for larger pieces.
- •Press down firmly around edges to activate the grip.
⚠️ Warnings:
- •Don't drag the rug over the pad; lift and place to avoid misalignment.
Step 6: Test and Adjust for Stability
Walk across the rug several times, then try to pull or shift it gently. If it moves, lift the rug, reposition the pad, and smooth again. For extra hold on very slick tiles, apply an optional adhesive promoter around the pad's edges.
Testing confirms the installation's effectiveness, catching issues early. On tile, initial movement might occur but should stop after settling.
Success: The rug stays firmly in place with no give underfoot.
💡 Tips:
- •Place heavy objects like books on corners overnight to help it settle.
⚠️ Warnings:
- •If it still slips, the pad may not be suitable—consider a grippier type.
▸Pro Tips
- •Choose pads with ventilation holes to prevent moisture buildup under rugs on tile.
- •For runners in hallways, cut pads in continuous strips for seamless coverage.
- •Replace pads every 1-2 years or when they lose grip to maintain safety.
- •Use double-sided tape sparingly on pad edges for high-traffic areas without permanent residue.
- •Measure for irregularities in tile grout lines to ensure even pad placement.
- •Store extra pad scraps for future repairs or smaller accents.
- •Combine with rug anchors for outdoor tiles exposed to weather.
▸Common Mistakes to Avoid
- •Cutting the pad too large, causing curls and trip hazards—always measure precisely and cut smaller.
- •Skipping floor cleaning, leading to poor adhesion from dust—wipe thoroughly and dry completely.
- •Using the wrong pad type for tile, like thin carpet ones that slip—opt for hard-surface specific pads.
- •Not smoothing out bubbles, which create uneven wear and instability—take time to press flat.
- •Overlooking high-traffic testing, resulting in later shifts—walk and tug immediately after install.
▸Troubleshooting
Problem: Pad slips after a few days
Solution: Clean the floor and pad underside again; apply adhesive promoter or switch to a rubber-backed pad for better tile grip. If persistent, the tile may be too polished—consult a pro for surface treatment.
Problem: Rug wrinkles or bubbles form
Solution: Lift and reposition, smoothing from center outward. Use a heavy roller or furniture to weigh it down for 24 hours.
Problem: Pad leaves residue on tile
Solution: Choose natural felt over latex; clean with warm soapy water immediately. For removal, seek professional cleaning if needed.
Problem: Pad doesn't fit oddly shaped rugs
Solution: Cut in sections and seam with rug tape. For irregular shapes, trace the rug outline directly on the pad.
Mohawk Home Solid Non-Slip Rug Pad
This felt-backed pad provides excellent grip on tile without damaging surfaces, ideal for breathability in humid areas.
Best for: Best for medium-sized area rugs in living rooms or kitchens where moisture is a concern.
Price Range: $20-$40
Rug Pad USA 100% Natural Rubber Non-Slip Underlay
Durable rubber construction ensures superior traction on smooth tile floors, preventing any sliding even in high-traffic spots.
Best for: Perfect for runners or heavy rugs near entryways prone to dirt and movement.
Price Range: $25-$50
Smart Design Double-Sided Non-Slip Rug Gripper
Adhesive strips on both sides offer customizable grip without full pads, great for small or oddly shaped rugs on tile.
Best for: Use for accent rugs or when you want a low-profile, easy-to-remove solution.
Price Range: $10-$15
Furniture Co Non-Slip Rug Pad Protector
Eco-friendly felt material protects tile grout while providing firm hold, suitable for sensitive floors.
Best for: Ideal for bathrooms or kitchens with glossy tiles needing gentle, non-marking support.
Price Range: $15-$30