Struggling with leggy, yellowing plants in your aquarium? Proper LED lighting is the game-changer for vibrant, healthy growth in planted tanks. Without the right setup, plants suffer from insufficient light intensity or poor spectrum balance, leading to algae issues or stunted growth.
In this guide, you'll learn how to select, install, and optimize LED aquarium lights specifically for plant photosynthesis. We'll cover everything from sizing your fixture to fine-tuning timers and spectrum for species like Anubias, Java Fern, and carpeting plants. Expect a straightforward process taking 30-45 minutes for intermediate hobbyists familiar with basic tank maintenance.
By the end, your plants will thrive under full-spectrum LEDs delivering the perfect 6500K-10000K light for chlorophyll activation—no more guesswork.
▸What You'll Need
- •Compatible LED aquarium light fixture (full-spectrum, 6500K+ with red/blue channels)
- •Adjustable mounting legs or arms (included with most lights or buy separately)
- •Power strip or timer outlet (required for automation)
- •Screwdriver or pliers (for adjustable legs)
- •Measuring tape (to match tank dimensions)
- •Clean microfiber cloth (for wiping surfaces)
- •Optional: Silicone sealant or zip ties for secure mounting
Estimated Time: 30-45 minutes
Difficulty: intermediate
▸Step-by-Step Instructions
Step 1: Assess Your Aquarium Setup
Measure your tank's length and width to ensure the LED light covers at least 80-100% of the surface for even PAR (Photosynthetically Active Radiation) distribution. Note your tank height—deeper tanks (over 18 inches) need higher lumen output (50+ lumens per gallon).
Why it matters: Undersized lights cause 'hotspots' where center plants thrive but edges starve, leading to uneven growth. Success looks like a light span 1-2 inches shorter than tank length on each side for rim clearance.
Pro tip: Sketch a quick diagram labeling tank dimensions and plant zones (low, mid, high light).
💡 Tips:
- •Aim for 30-50 PAR at substrate for low-light plants, 100+ for carpeting species.
⚠️ Warnings:
- •Avoid lights wider than your tank—overhangs cause water damage.
Step 2: Unbox and Inspect the LED Light
Open your LED fixture and check for damage, included accessories (legs, adapters, manual), and warranty info. Verify it has plant-specific features like red/blue spectrum sliders, timer, and waterproof rating (IP67+).
Plug it in briefly (without mounting) to test all channels light up evenly—no flickering means good capacitors. Success: Bright, uniform glow across full spectrum.
This prevents DOA returns and ensures reliability for 50,000+ hour lifespans.
💡 Tips:
- •Download the app if it's a smart light for custom schedules.
⚠️ Warnings:
- •Don't submerge untested units—voids warranty.
Step 3: Prepare Your Tank Surface
Turn off and unplug all equipment. Wipe the tank rim and lid area with a microfiber cloth to remove dust or residue—clean surfaces ensure stable mounting.
Remove old lights or lids carefully to avoid scratching glass. If using a rimless tank, prepare cross-brace adapters.
Expect a spotless, dry rim ready for legs—slippery surfaces cause wobbles.
💡 Tips:
- •Work in a well-lit area to spot residue.
Step 4: Attach Mounting Legs or Arms
Extend the adjustable legs to match your tank height (2-4 inches above water for evaporation control and glare reduction). Secure with screws or thumbscrews per manual.
Place legs on tank rims, ensuring even weight distribution. For glass lids, cut slits if needed or use clip-on arms.
Success: Light hovers stably without rocking—test by gentle nudges.
⚠️ Warnings:
- •Over-tightening cracks thin rims—hand-tighten only.
Step 5: Position and Secure the Light
Center the fixture over the tank, aligning with your plant layout (more intensity over high-demand foreground). Use zip ties or silicone for extra security on open-top tanks.
Why: Proper positioning maximizes light penetration to 24-30 inches deep.
Check: No shadows on edges, cords routed away from water.
💡 Tips:
- •Tilt slightly forward for better substrate coverage.
Step 6: Connect Power and Set Timer
Plug into a grounded outlet via power strip. Set timer for 8-10 hours/day (e.g., 9 AM-7 PM) to mimic daylight, ramping up/down to prevent shock.
Activate full spectrum: 6500K white base + red boost for flowering.
Success: Smooth on/off cycle with no hum or heat buildup.
⚠️ Warnings:
- •Use GFCI outlet near water—safety first.
Step 7: Test and Optimize for Plants
Run for 30 minutes: Monitor intensity with a PAR meter app if available. Adjust height/spectrum for target PAR (50-150 µmol/m²/s).
Observe plants over 1-2 weeks—no algae spikes means success. Tweak timer for CO2/injection sync.
Final check: Vibrant greens, new growth pearls.
💡 Tips:
- •Start at 6 hours, gradually increase to acclimate plants.
▸Pro Tips
- •Use a dimmer channel initially to prevent algae blooms during cycling.
- •Pair with reflectors (aluminum foil hack) for 20% more light efficiency.
- •Schedule 'moonlight' blue mode overnight for fish viewing without plant stress.
- •Elevate light 1 inch higher for high-light stem plants like Rotala.
- •Clean lenses monthly with soft cloth—dust cuts 30% output.
- •Integrate with smart plugs like Kasa for app-controlled sunrise/sunset.
- •Monitor temps: LEDs run cool, but vents prevent 5-10°F rise.
▸Common Mistakes to Avoid
- •Choosing undersized lights: Leads to weak growth; measure twice.
- •24/7 lighting: Causes burnout and algae; stick to photoperiod.
- •Ignoring spectrum: Blue-only stunts roots; balance red/white.
- •Mounting too low: Splashing shorts electrics; keep 2+ inches up.
- •No timer: Inconsistent cycles stress plants; automate always.
▸Troubleshooting
Problem: Lights flicker or won't turn on
Solution: Check connections, reset timer, test outlet. Replace fuse if built-in.
Problem: Overheating or dimming
Solution: Ensure vents clear, improve airflow. Reduce runtime if >10 hours.
Problem: Uneven lighting or shadows
Solution: Reposition/lower legs, add diffuser panel. Check for obstructions.
Problem: Algae explosion post-install
Solution: Reduce intensity 20%, shorten photoperiod to 6 hours, dose fertilizers carefully.
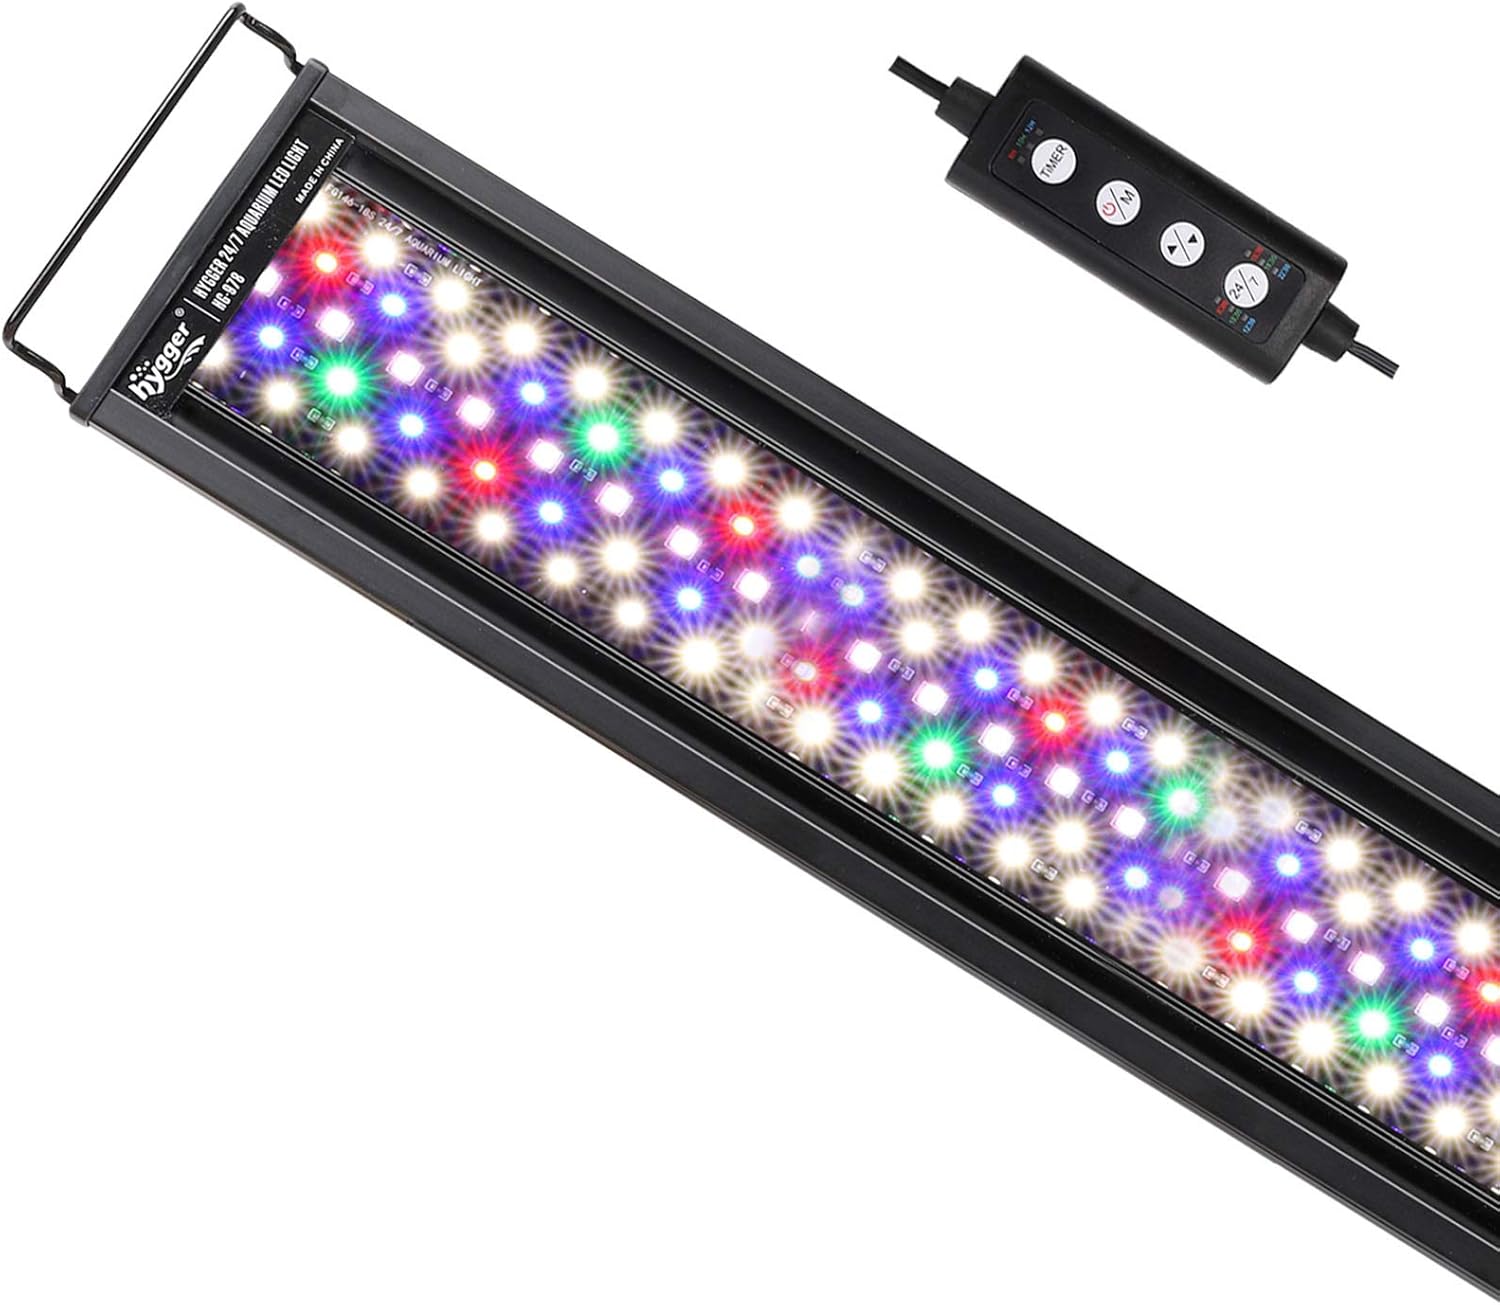
Hygger 24-36" Adjustable Full Spectrum LED Aquarium Light (ASIN: B08L5Y6Z3P)
Affordable, dimmable with red/blue channels ideal for plant growth, auto on/off timer included.
Best for: Best for 20-55 gallon planted tanks needing easy spectrum tweaks.
Price Range: $29.99-$39.99
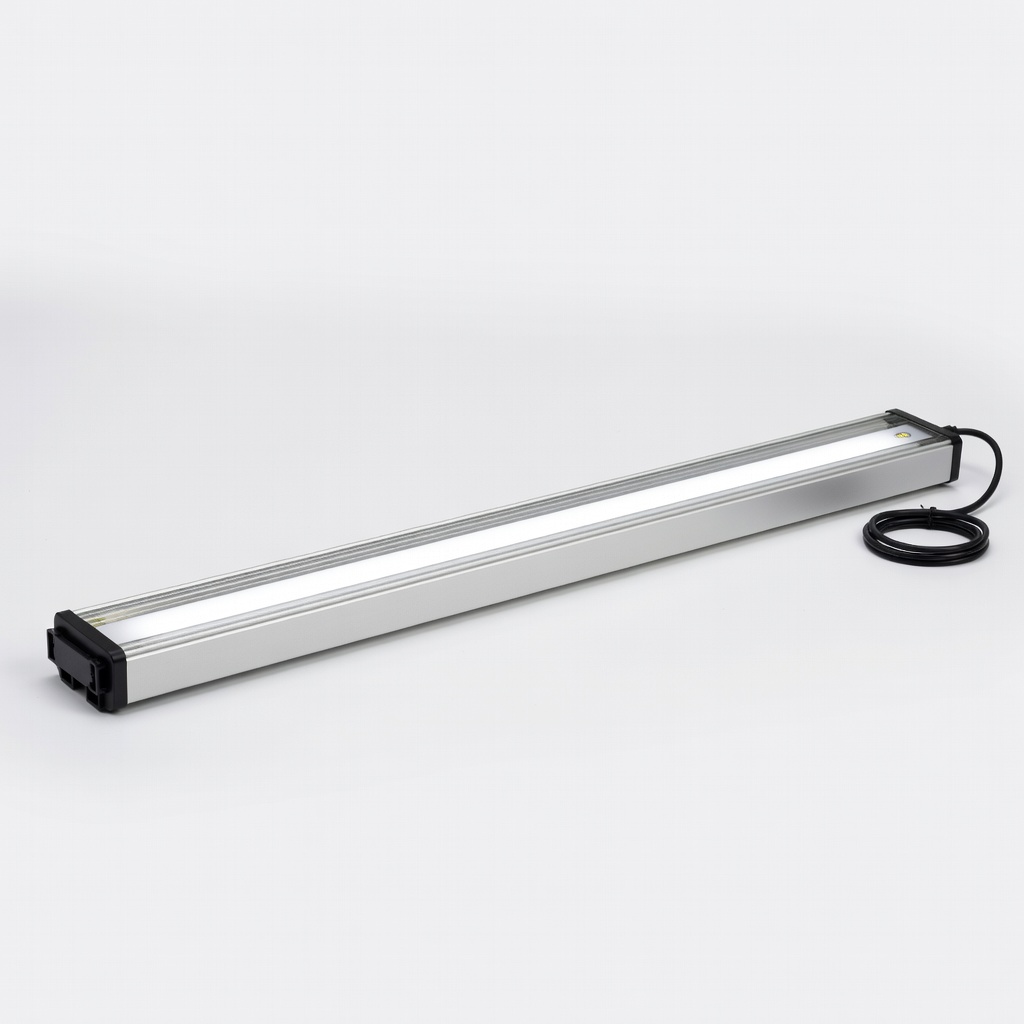
NICREW ClassicLED Plus 30/36" (ASIN: B07H4QJ8R2)
High PAR output at budget price, extendable legs fit most rims perfectly.
Best for: Intermediate setups with mid-light plants like Cryptocoryne.
Price Range: $25.99-$35.99
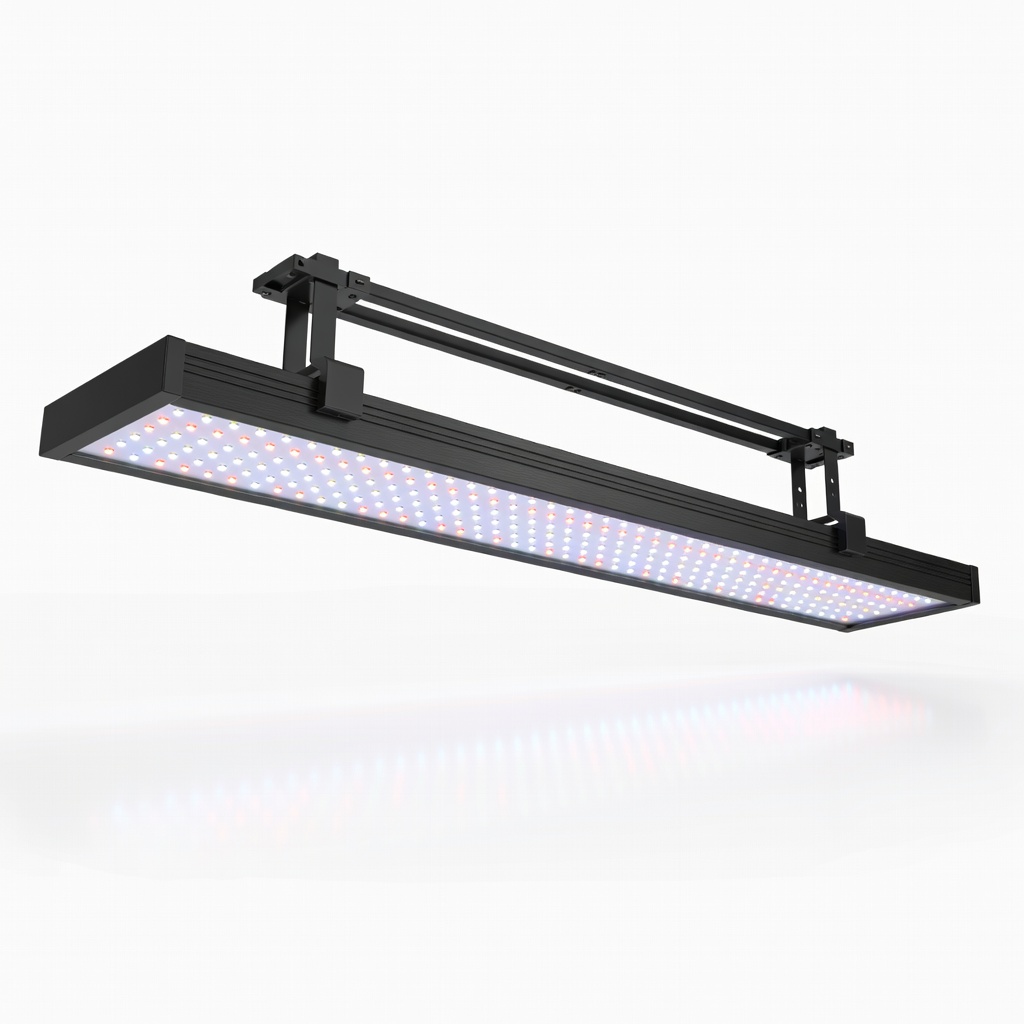
Finnex Planted+ 24/7 24" Automated LED (ASIN: B07G9L5Q5S)
Automated sunrise/sunset cycles with app control for precise plant schedules.
Best for: Advanced planted tanks with high-tech CO2 and demanding stem plants.
Price Range: $119.99-$129.99
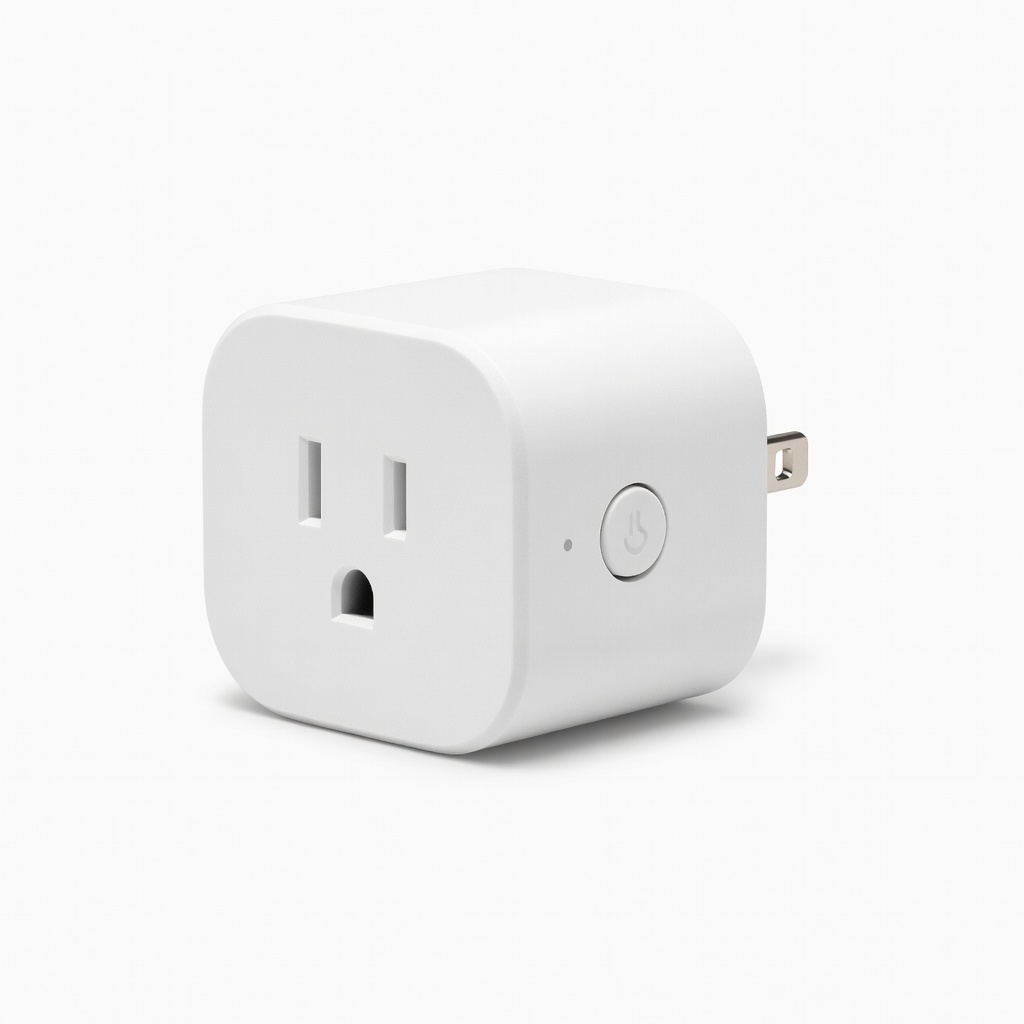
Kasa Smart Plug Mini (ASIN: B07D5WCJ5Q)
Reliable timer for any LED light, app integration for custom photoperiods.
Best for: Upgrading non-smart lights without buying new fixtures.
Price Range: $14.99