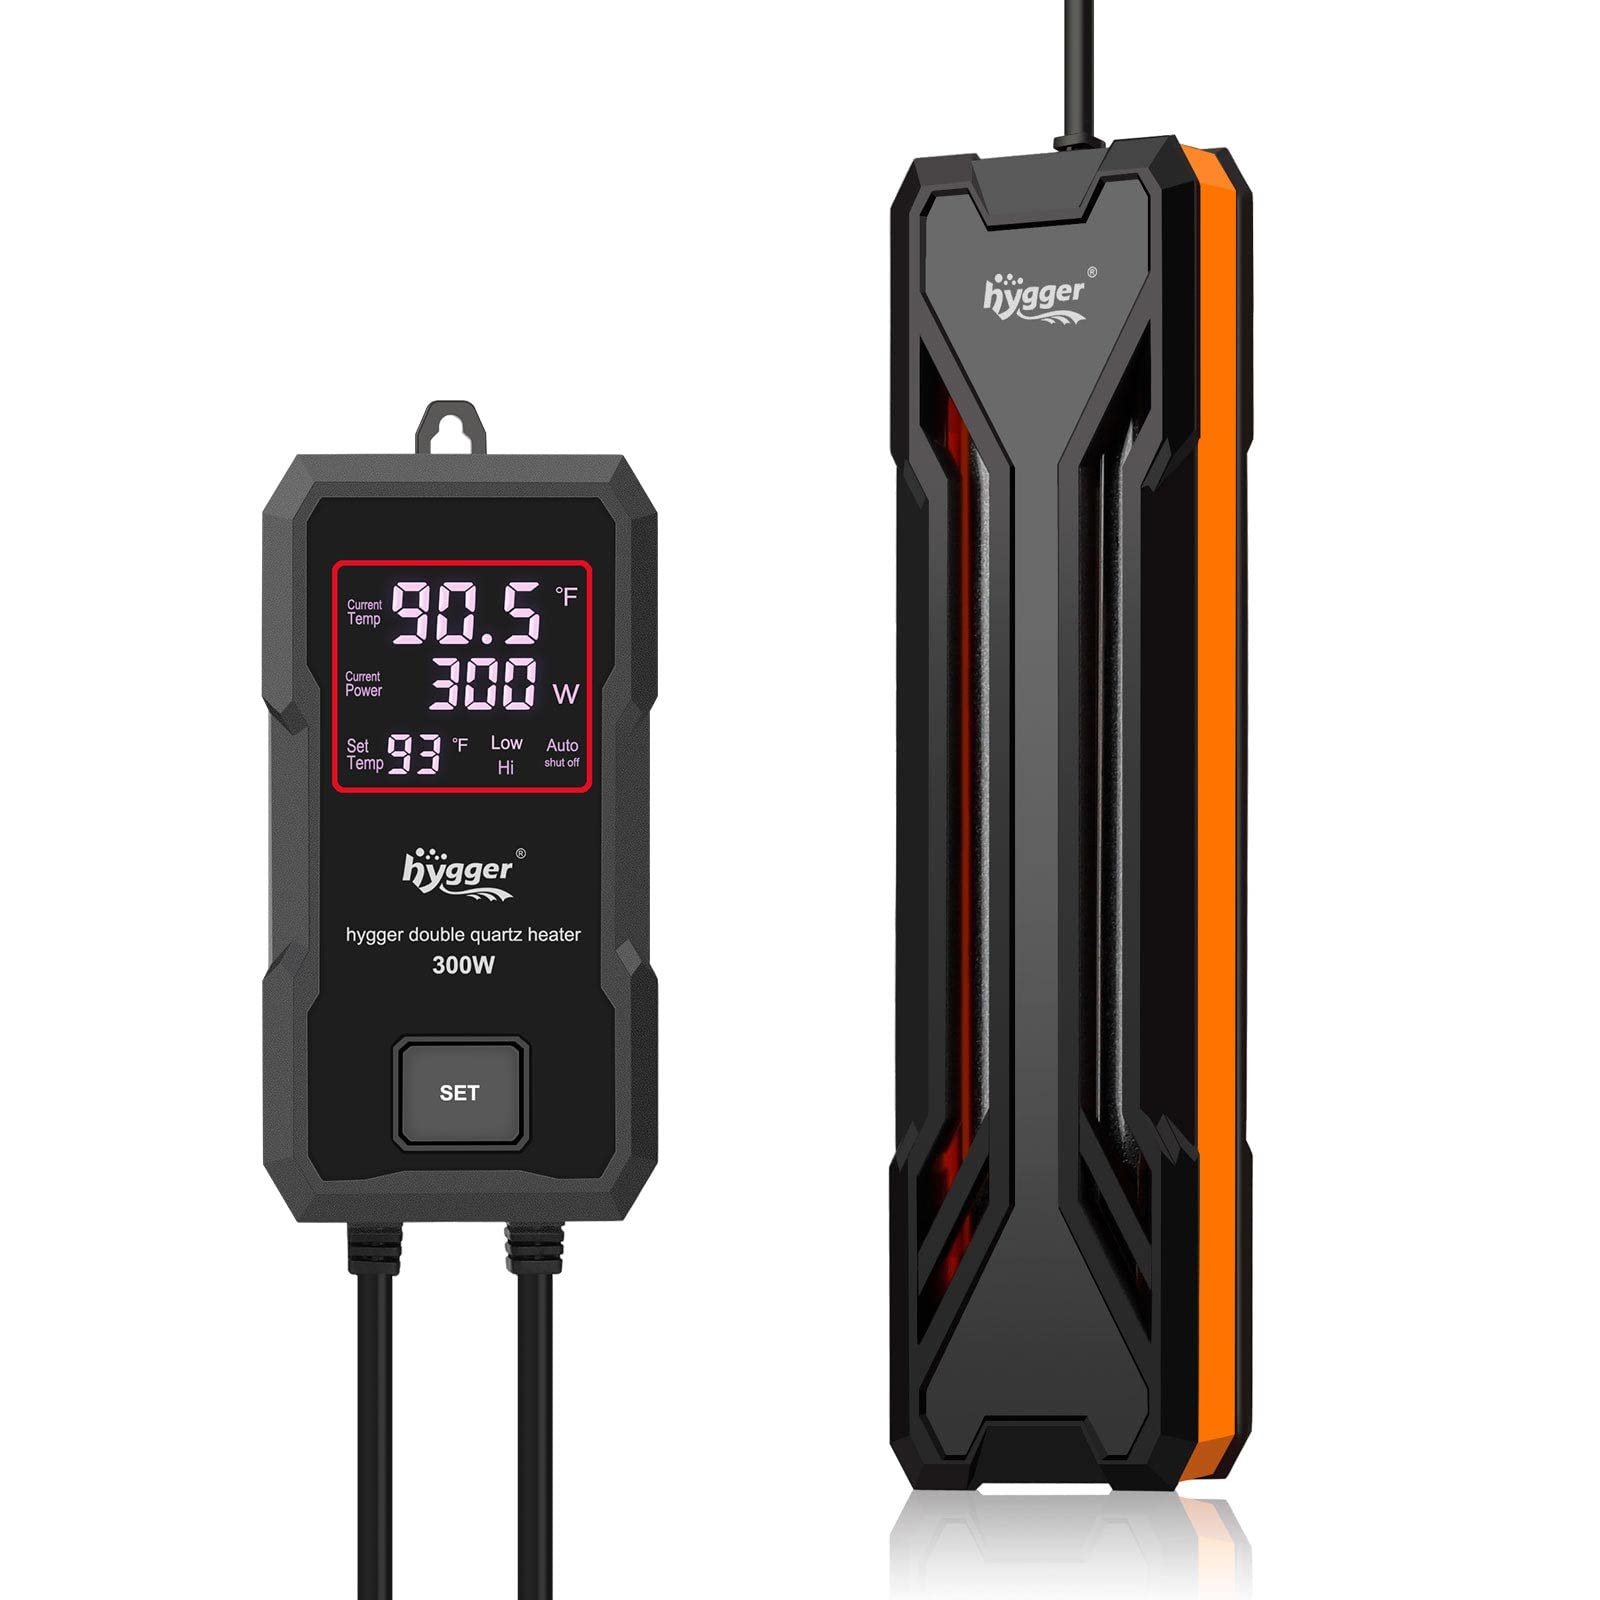
Hygger 300W Aquarium Inline Heater
Ideal for 75-200 gallon reef sumps with 400-800GPH flow.
$49.99
Hygger 300W Aquarium Inline Heater Titanium construction resists corrosion; adjustable 68-93°F with built-in thermostat for reliable sump heating.
Get the App
Better experience on mobile
Achieve precise, stable water temperatures in your reef or freshwater sump setup with this advanced step-by-step inline heater installation guide.
Maintaining consistent water temperatures is critical for advanced aquarium hobbyists, especially in reef tanks where even small fluctuations can stress corals or fish. Inline heaters installed in sumps offer superior heating efficiency over submersible models by warming water in the high-flow return line, reducing hot spots and improving energy use. However, improper installation can lead to leaks, electrical hazards, or ineffective heating.
In this guide, you'll learn how to safely install an inline aquarium heater in your sump's return chamber, including plumbing, electrical wiring, and controller integration. Perfect for advanced aquarists with existing sump systems. The process takes 45-90 minutes, depending on your setup complexity, and requires plumbing and electrical familiarity.
Expect a fully operational heater that maintains your target temp (±0.5°F) with minimal maintenance. We'll cover tools, steps, pro tips, and troubleshooting for success.
Estimated Time: 45-90 minutes Difficulty: advanced
Begin by turning off your main power strip, return pump, and any circulation pumps to ensure safety. Unplug all equipment and siphon out water from the sump until the return chamber is accessible and below the heater mounting point. This prevents electrical shocks or water spills.
Why it matters: Working with live water risks shorts or injury. Expect a dry, safe workspace; label cords to avoid confusion during reassembly.
Image description: Close-up of powered-off sump with water drained from return chamber, tools laid out nearby.
💡 Tips:
⚠️ Warnings:
Choose the return chamber of your sump, ideally after the pump but before the return line exit. Ensure 6-12 inches of vertical space for the heater body and adequate flow (match heater's GPH rating to your pump, e.g., 300W for 800GPH).
Measure and mark mounting holes if the heater brackets require drilling. Use a hole saw for clean cuts in acrylic or glass sumps.
Success: Heater positioned horizontally or vertically with inlet low and outlet high for natural flow.
💡 Tips:
⚠️ Warnings:
Secure the heater using included brackets, zip ties, or suction cups to the sump wall. Ensure it's stable and won't vibrate loose from pump flow.
Route inlet/outlet barbs toward your plumbing path. Dry-fit connections before finalizing.
What to expect: Firm, level mount with no wobble.
💡 Tips:
Cut tubing to length and push-fit onto heater barbs. Secure with hose clamps. Connect inlet to pump output (pre-heater) and outlet to return line using adapters or bulkheads.
Apply Teflon tape to threads. Prime lines by filling with tank water to expel air.
Why it matters: Tight seals prevent leaks; proper flow ensures even heating.
💡 Tips:
⚠️ Warnings:
Mount the controller outside the sump (e.g., on stand). Route the waterproof probe to the return chamber, positioning it 2-4 inches downstream of the heater outlet.
Secure probe with holder to avoid drifting.
Success: Probe submerged in flowing heated water for precise feedback.
💡 Tips:
Follow controller manual: Connect heater power cord to the 'heating' outlet on the controller. Use waterproof connectors if extending wires.
Test continuity with multimeter.
Why it matters: Automation prevents overheating; manual wiring ensures safety.
⚠️ Warnings:
Refill sump with tank or RO water matching salinity/temp. Restart return pump slowly to purge air from lines.
Monitor for leaks at all connections for 10-15 minutes.
Expect: Steady flow without bubbles or drips.
💡 Tips:
Power on controller, set target temp (e.g., 78°F for reefs). Monitor temp over 1-2 hours via controller display and secondary thermometer.
Adjust hysteresis if needed for stability.
Success: Temp holds within ±0.5°F with heater cycling properly.
💡 Tips:
⚠️ Warnings:
Problem: Heater not warming or cycling off
Solution: Check probe placement, controller settings, and flow rate. Test heater directly on outlet.
Problem: Leaks at connections
Solution: Tighten clamps, reapply sealant, or replace tubing. Dry-fit first.
Problem: Air locks or bubbles
Solution: Prime thoroughly; tilt heater to bleed air. Install inline air bleeder.
Problem: Temp fluctuations >1°F
Solution: Adjust controller hysteresis; ensure probe in main flow. Clean probe.
Problem: Overheating alarm
Solution: Verify probe accuracy with ice bath test. Reduce flow if too slow.
Titanium construction resists corrosion; adjustable 68-93°F with built-in thermostat for reliable sump heating.
Best for: Ideal for 75-200 gallon reef sumps with 400-800GPH flow.
Price Range: $49.99
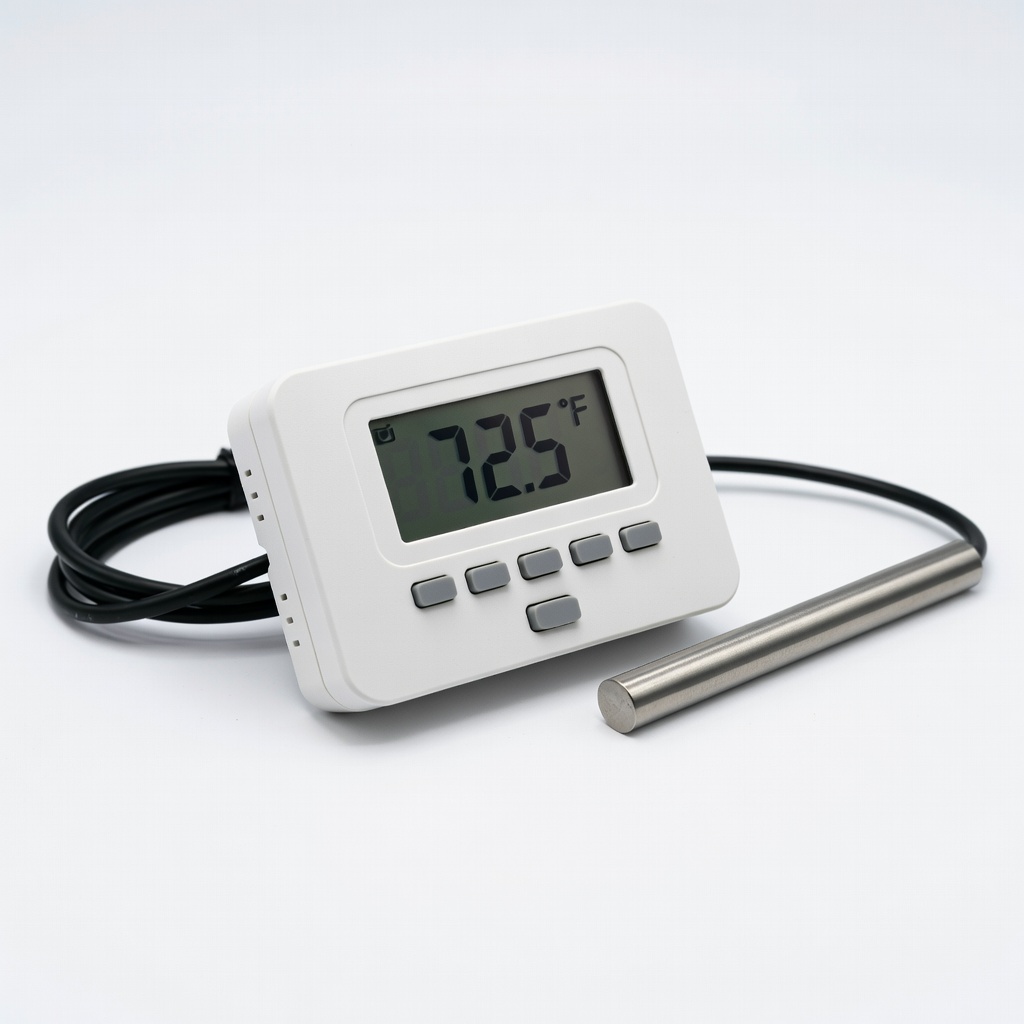
Precise ±0.1°C control with waterproof probe; dual relay for heater/chiller integration.
Best for: Automating any inline heater in advanced sumps for hands-off temp stability.
Price Range: $34.99
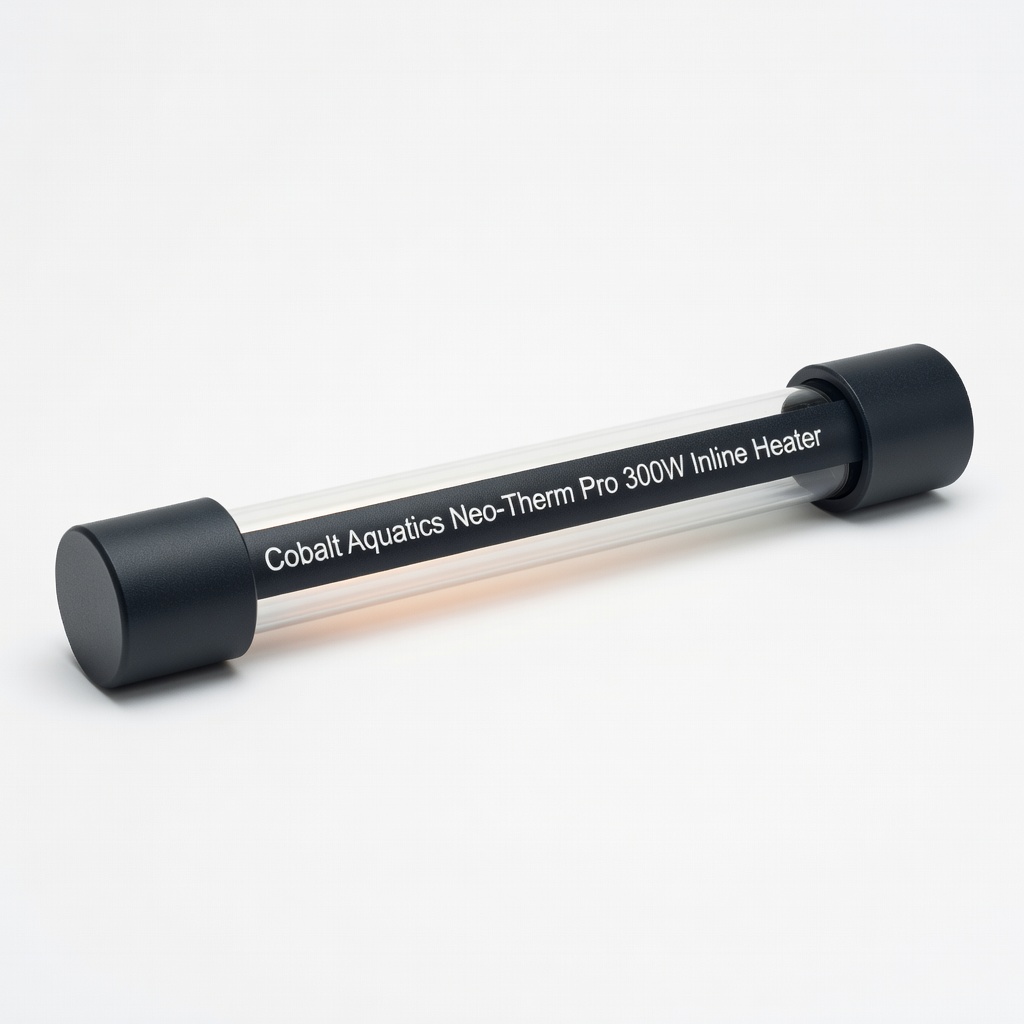
Pro-grade with thermal protection and accurate digital display; durable for high-flow sumps.
Best for: Larger 150+ gallon setups needing robust, precise heating.
Price Range: $99.99
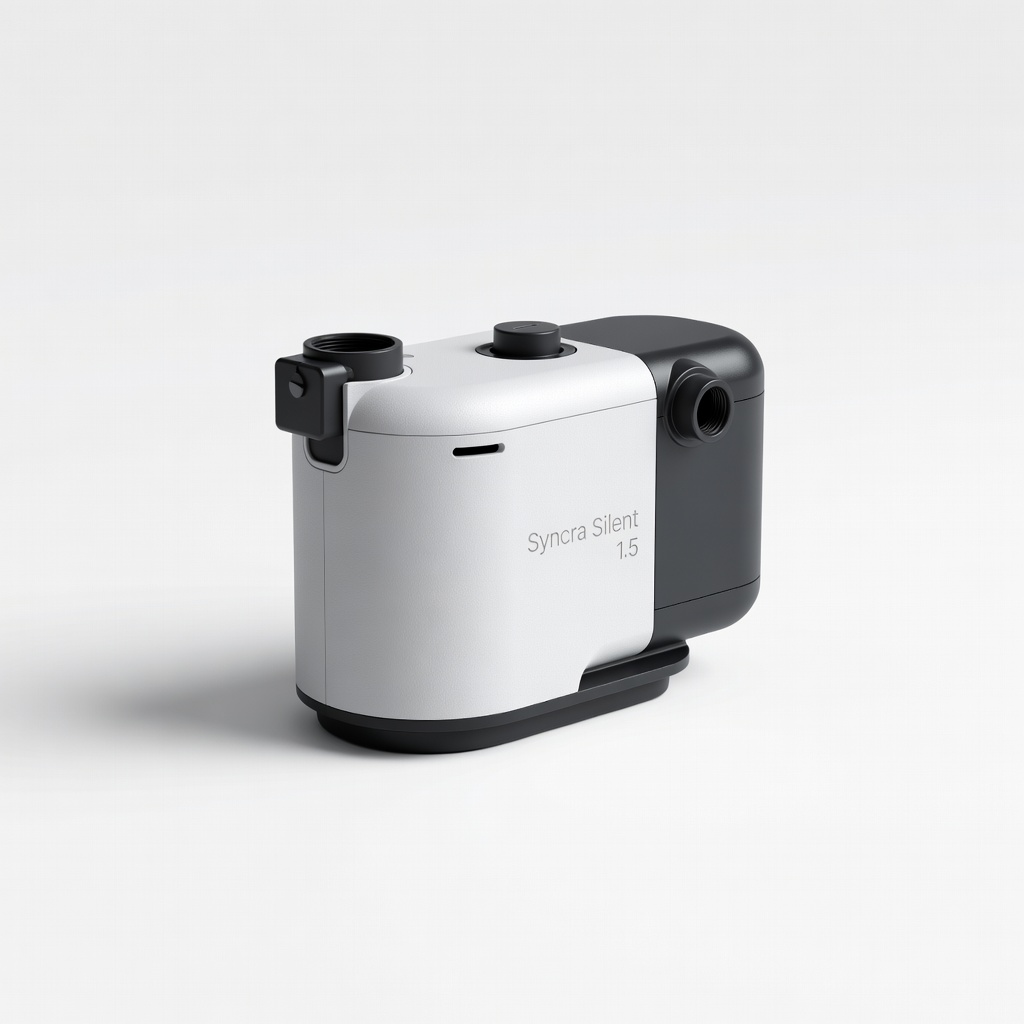
Quiet, reliable flow for heater priming; variable speed for optimal GPH matching.
Best for: Return pump upgrade to ensure consistent flow through inline heater.
Price Range: $105.00
Stainless steel for leak-proof, rust-free connections on barb fittings.
Best for: Securing all tubing joints during installation.
Price Range: $12.99
Ideal for 75-200 gallon reef sumps with 400-800GPH flow.
Hygger 300W Aquarium Inline Heater Titanium construction resists corrosion; adjustable 68-93°F with built-in thermostat for reliable sump heating.
Automating any inline heater in advanced sumps for hands-off temp stability.
Inkbird ITC-308 Digital Thermostat Controller Precise ±0.1°C control with waterproof probe; dual relay for heater/chiller integration.
Larger 150+ gallon setups needing robust, precise heating.
Cobalt Aquatics Neo-Therm Pro 300W Inline Heater Pro-grade with thermal protection and accurate digital display; durable for high-flow sumps.
Return pump upgrade to ensure consistent flow through inline heater.
Sicce Syncra Silent 1.5 Pump Quiet, reliable flow for heater priming; variable speed for optimal GPH matching.

Securing all tubing joints during installation.
Aquarium Hose Clamps Kit (Assorted Sizes) Stainless steel for leak-proof, rust-free connections on barb fittings.