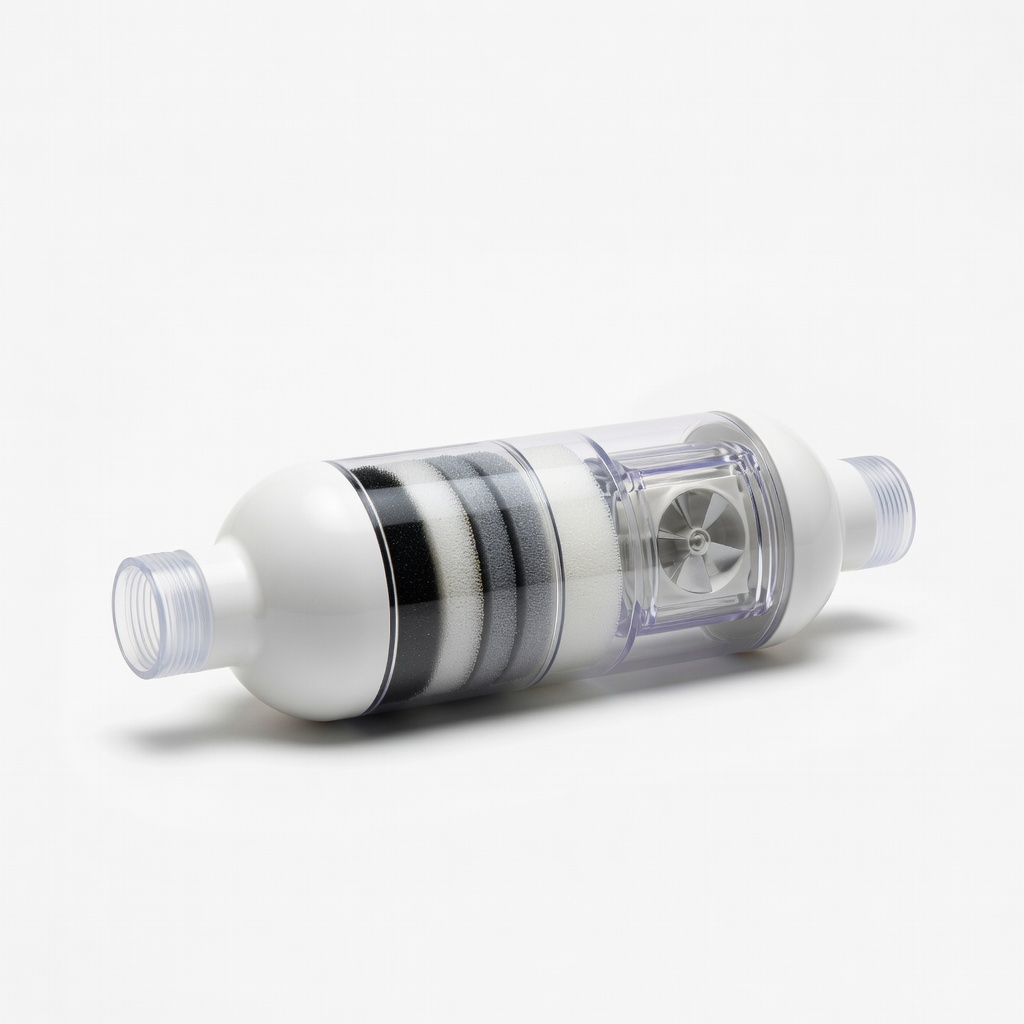
hygger Inline Aquarium Filter
Standard inline setup on sumps or HOB pumps.
$25-$30
hygger Inline Aquarium Filter Compact, adjustable flow with multi-stage media; perfect for 10-55 gallon tanks.
Get the App
Better experience on mobile
Master the step-by-step installation of inline aquarium filters for optimal water flow, crystal-clear tanks, and healthy fish in under 45 minutes.
Cloudy water, poor circulation, and stressed fish are common issues in aquariums without proper filtration. Inline aquarium filters solve this by fitting seamlessly into your existing pump and tubing setup, providing mechanical, biological, and chemical filtration without taking up tank space. They're ideal for sumps, refugiums, or hang-on-back systems.
In this guide, you'll learn how to install an inline filter correctly to avoid leaks, air locks, and flow restrictions. We'll cover everything from preparation to testing, ensuring your setup runs efficiently. Expect a straightforward process for intermediate hobbyists—no advanced plumbing required.
Time commitment: 30-45 minutes. Difficulty: Intermediate (basic plumbing knowledge helps). By the end, your filter will hum quietly with strong, bubble-free flow.
Estimated Time: 30-45 minutes Difficulty: intermediate
Collect all tools and parts listed in 'What You Need.' Inspect your inline filter for damage and confirm tubing size matches (usually 1/4" or 1/2" ID—check product specs).
Plan the filter's location: Mount it externally near the pump, ideally below tank level for gravity assist but above waste level to avoid siphoning. Sketch a quick diagram: pump → filter inlet → filter outlet → tank intake. This prevents kinks and ensures smooth flow.
Success looks like: All parts laid out, placement decided—no guesswork later.
![Image: Toolbox with inline filter, tubing, pump, and diagram sketch on table next to aquarium.]
💡 Tips:
⚠️ Warnings:
Turn off the pump/powerhead and any return pump. Unplug from power. Siphon or sponge out 10-20% water if needed to reduce pressure.
Disconnect existing tubing from pump outlet and tank intake carefully, draining residual water into a bucket. Wipe connections dry.
Success looks like: System silent, no water flow, clean dry fittings.
![Image: Hand turning off aquarium pump switch, water settling in tank.]
💡 Tips:
⚠️ Warnings:
Measure from pump outlet to filter inlet (add 6 inches slack), and filter outlet to tank intake. Cut straight with tubing cutter for tight seals—jagged cuts cause leaks.
Cut two pieces: one for pump-to-filter, one for filter-to-tank. Test-fit without pushing fully on.
Success looks like: Clean, square tubing ends that slide easily 1-2 inches into barbs.
![Image: Tubing cutter slicing silicone tube cleanly over cutting board.]
💡 Tips:
Prime the filter: Fill it with tank water via inlet/outlet to expel air. Install media (sponge, carbon, bio-rings) per manual—coarse to fine flow direction.
Push pump tubing firmly onto filter inlet barb (use soapy water lube). Secure with zip tie or clamp, twisting tight.
Success looks like: Filter full of water, no air pockets, secure inlet connection.
![Image: Close-up of tubing pushed onto filter barb, zip tie tightening.]
⚠️ Warnings:
Attach second tubing to filter outlet barb, secure similarly. Route to tank intake (e.g., spray bar or powerhead inlet). Install optional check valve or ball valve here.
Avoid sharp bends—use gentle curves to maintain flow.
Success looks like: Continuous tubing path from filter to tank, all secured.
![Image: Full tubing run from filter to aquarium intake, clamps in place.]
💡 Tips:
Mount filter using suction cups, brackets, or hang it securely. Zip-tie tubing to tank frame every 12 inches to prevent sags or kinks.
Double-check all connections for tightness.
Success looks like: Filter stable, tubing straight and supported.
![Image: Inline filter mounted on aquarium stand wall with zip-tied tubing.]
Reconnect pump. Fill any air gaps by running pump briefly into bucket. Place in tank, plug in, and observe: Steady flow, no leaks, minimal bubbles.
Adjust valves for 4-8x tank turnover/hour. Monitor 24 hours for issues.
Success looks like: Clear water flow, no drips, fish happy.
![Image: Running system with water cycling smoothly, no bubbles.]
💡 Tips:
⚠️ Warnings:
Problem: Leaks at connections
Solution: Re-cut tubing square, lube with silicone, replace with thicker-walled tubing or double-clamp.
Problem: Low or no flow
Solution: Check for air pockets (tap/prime), clogs (clean media), or kinks. Verify pump rating matches head height.
Problem: Excessive bubbles
Solution: Prime thoroughly, install check valve, elevate return above waterline.
Problem: Noisy operation
Solution: Secure mounts, add foam dampeners, check impeller for debris.
Compact, adjustable flow with multi-stage media; perfect for 10-55 gallon tanks.
Best for: Standard inline setup on sumps or HOB pumps.
Price Range: $25-$30
Durable, flexible, kink-resistant; standard size for most inline filters.
Best for: Replacing or extending tubing in installations.
Price Range: $10-$15
Quiet, reliable submersible pump with strong head pressure for driving inline filters.
Best for: Powering the filter in medium tanks (20-50gal).
Price Range: $20-$25
UV-resistant, safe for aquatic use; secures tubing without damage.
Best for: Mounting and bundling during install.
Price Range: $8-$12
Prevents back-siphoning and water loss during power outages.
Best for: Inline after pump for safety.
Price Range: $10-$15
Standard inline setup on sumps or HOB pumps.
hygger Inline Aquarium Filter Compact, adjustable flow with multi-stage media; perfect for 10-55 gallon tanks.

Replacing or extending tubing in installations.
Fluval Silicone Aquarium Tubing 1/2-Inch Durable, flexible, kink-resistant; standard size for most inline filters.
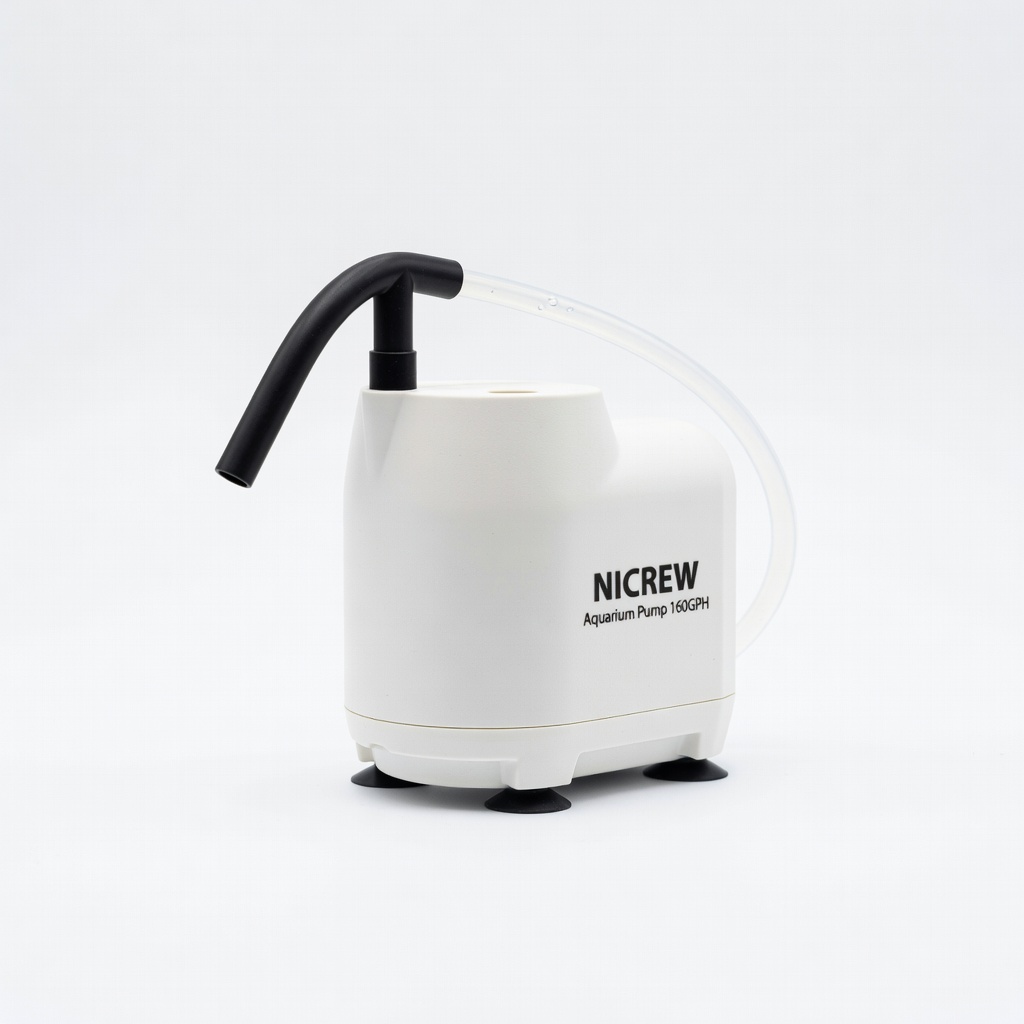
Powering the filter in medium tanks (20-50gal).
NICREW Aquarium Pump 160GPH Quiet, reliable submersible pump with strong head pressure for driving inline filters.
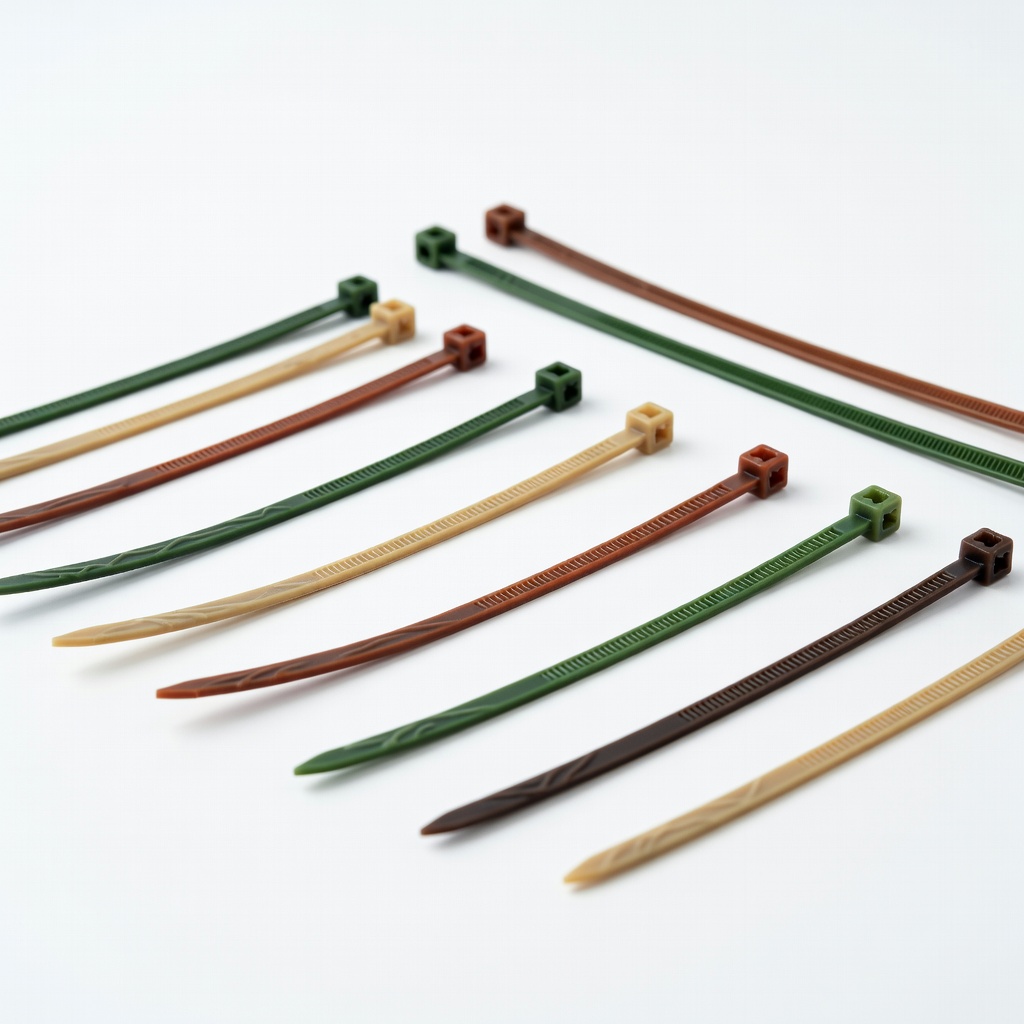
Mounting and bundling during install.
Jungle Aquascape Zip Ties for Aquariums UV-resistant, safe for aquatic use; secures tubing without damage.

Inline after pump for safety.
Aquarium Check Valve 1/2-Inch Prevents back-siphoning and water loss during power outages.