Bike theft is a frustrating reality for cyclists worldwide, with millions of bicycles stolen annually. Without proper security, even the most beloved ride can vanish in seconds. This guide empowers intermediate cyclists to fortify their bikes using proven anti-theft devices, reducing the risk of loss and saving you from costly replacements.
You'll learn how to select, prepare for, and install devices like U-locks, chain locks, and frame mounts. The process is straightforward but requires attention to detail for maximum effectiveness. By the end, your bike will be much harder for thieves to target.
Expect to spend 30-45 minutes on installation, depending on the device. This intermediate-level task assumes basic familiarity with bike tools and components—no advanced mechanical skills needed, but precision is key to avoid damaging your frame.
▸What You'll Need
- •Bicycle with frame suitable for mounting (most standard frames work)
- •Anti-theft device (e.g., U-lock, chain lock, or cable lock)
- •Lock mounting bracket or frame adapter (often included with the lock)
- •Allen keys or hex wrenches (3mm-6mm sizes, required for most installations)
- •Torque wrench (optional but recommended for precise tightening, 4-6 Nm)
- •Threadlocker (e.g., Loctite blue, optional for vibration resistance)
- •Cleaning supplies (rag and isopropyl alcohol for pre-install prep)
Estimated Time: 30-45 minutes
Difficulty: intermediate
▸Step-by-Step Instructions
Step 1: Choose the Right Anti-Theft Device
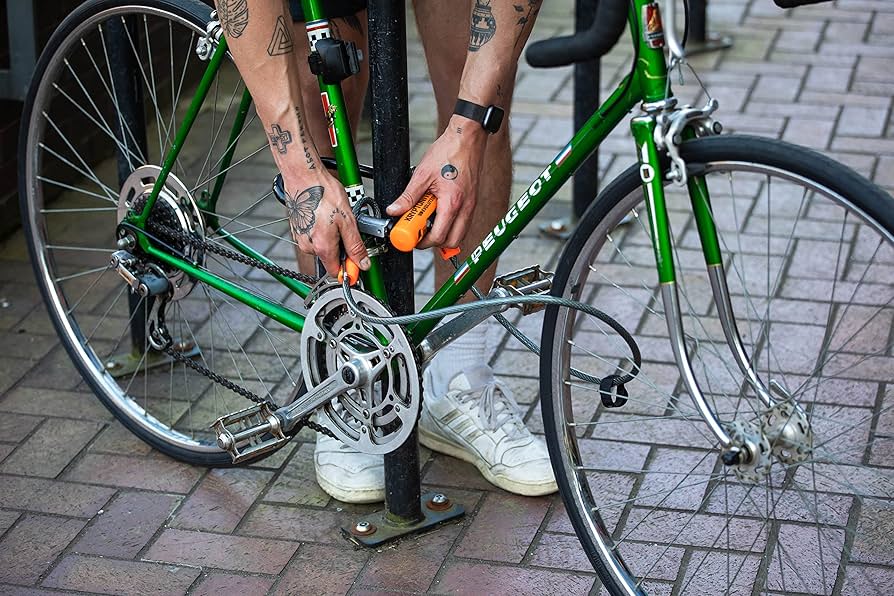
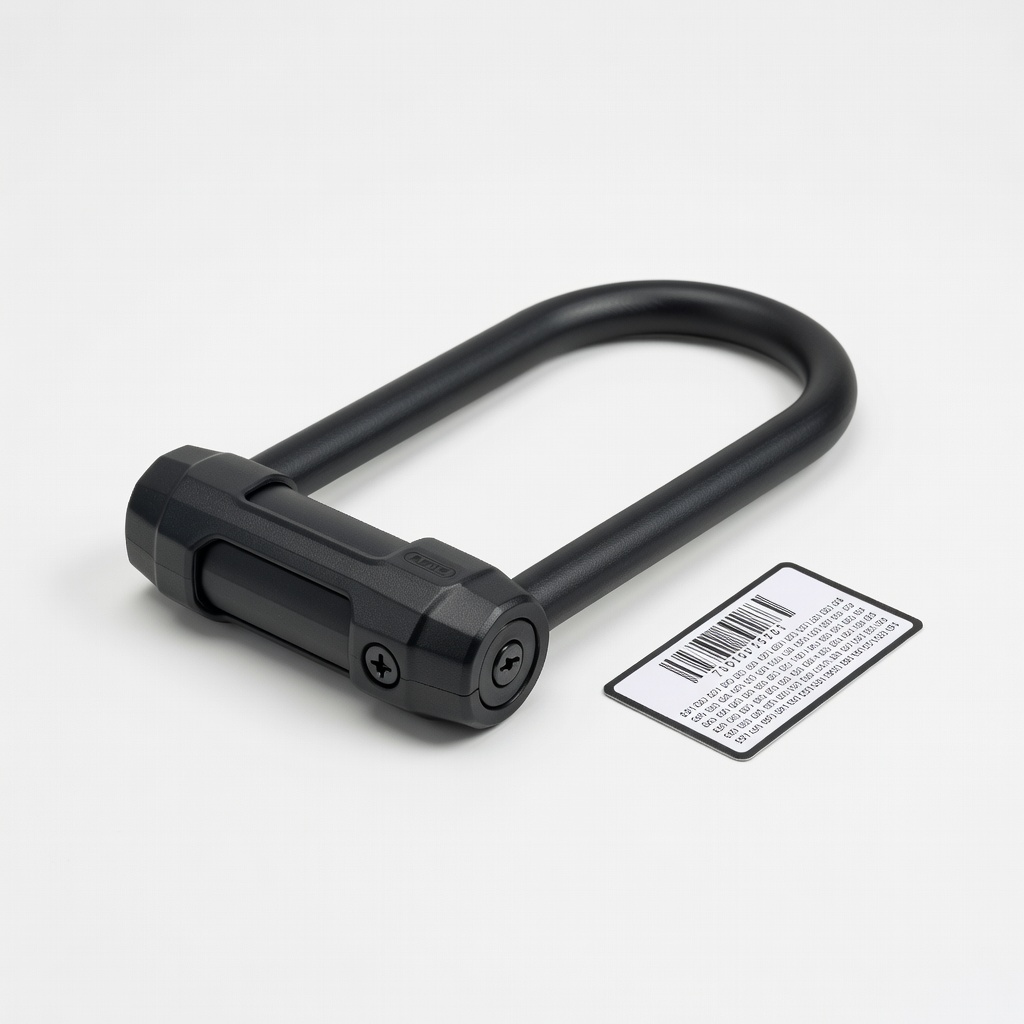
Before installation, select a device that matches your bike's frame and your security needs. For urban riding, opt for a heavy-duty U-lock; for portability, consider a folding lock or chain. Ensure it's rated highly by organizations like Sold Secure (Gold level for high-risk areas).
Why it matters: A mismatched lock can be ineffective or hard to install. Test the lock's fit by looping it around your frame's seat tube or rear wheel— it should secure the frame and wheel without excessive slack.
Success looks like: You've picked a device that fits snugly and meets your theft risk level, ready for mounting.
💡 Tips:
- •Check reviews on sites like Amazon for real-user theft resistance stories.
- •Consider your riding environment—indoor storage needs less robust locks.
⚠️ Warnings:
- •Avoid cheap no-name locks; they often fail under bolt cutter attacks.
Step 2: Gather and Prepare Your Tools
Lay out all required tools and clean the installation area on your bike. Wipe the frame tubes where the mount will attach using isopropyl alcohol to remove dirt and grease, ensuring a strong bond.
This step prevents slippage during installation and extends the life of both the lock and frame. For carbon fiber frames, be extra gentle to avoid scratches.
Success looks like: A spotless, dry frame section with tools organized nearby, no residue left behind.
💡 Tips:
- •Keep tools in a bike multi-tool kit for future maintenance.
- •If using threadlocker, apply sparingly to avoid over-tightening.
⚠️ Warnings:
- •Don't use abrasive cleaners on painted frames—they can strip finish.
Step 3: Locate the Optimal Mounting Spot
Identify a secure spot on the frame, typically the down tube or seat stays, away from moving parts like pedals or derailleurs. For U-locks, position the bracket so the lock can easily secure the frame and rear wheel when parked.
Positioning matters for quick access and deterrence—thieves prefer easy targets. Measure twice to ensure the mount doesn't interfere with bottle cages or pedaling.
Success looks like: A marked spot that's accessible, stable, and doesn't obstruct bike function.
💡 Tips:
- •Use painter's tape to mark the spot temporarily.
- •For full-suspension bikes, mount higher to avoid chainstay interference.
⚠️ Warnings:
- •Avoid welding points or thin frame sections—they're prone to cracking under stress.
Step 4: Attach the Lock Bracket to the Frame
Align the bracket with your marked spot and insert the Allen bolts through the bracket holes into the frame's mounting points (or use adhesive for non-drilled frames). Tighten gradually with an Allen key, aiming for 4-5 Nm torque if using a wrench.
Proper attachment ensures the bracket stays put during rides. Most modern bikes have pre-threaded holes, but check your frame manual.
Success looks like: Bracket firmly attached, no wobble when shaken, and lockable in place.
💡 Tips:
- •Start with hand-tightening, then use the tool for final torque.
- •Apply threadlocker to bolts for long-term vibration resistance.
⚠️ Warnings:
- •Over-tightening can strip threads or damage aluminum frames—use torque specs.
Step 5: Install the Lock into the Bracket
Slide or click the lock body into the bracket until it locks securely. For chain or cable locks, thread the end through the bracket's slot and secure with the provided clip or padlock.
This integrates the device seamlessly for easy carrying. Test the release mechanism to ensure smooth operation.
Success looks like: Lock mounted and removable with your key, ready for use without tools.
💡 Tips:
- •Lubricate the bracket's moving parts lightly for smoother engagement.
- •Practice locking/unlocking a few times to build muscle memory.
⚠️ Warnings:
- •Ensure the lock doesn't rattle—add rubber shims if needed to dampen noise.
Step 6: Test the Installation for Security
Park your bike as you would normally, lock it to a fixed object (like a rack), and tug firmly to check stability. Simulate theft attempts by pulling and twisting— the setup should hold without loosening.
Testing validates effectiveness and reveals any weak points early. Ride a short distance to ensure nothing shifts.
Success looks like: Secure, stable lock that withstands moderate force, with no frame damage.
💡 Tips:
- •Lock through the frame and rear wheel for best security.
- •Combine with a secondary device like a wheel lock for layered protection.
⚠️ Warnings:
- •Never leave your bike locked overnight without additional measures in high-risk areas.
▸Pro Tips
- •Layer security: Use a primary U-lock with a secondary cable for wheels—thieves hate multi-step cuts.
- •Register your lock with the manufacturer for free replacement if stolen (many brands offer this).
- •Mount the bracket on the non-drive side to avoid chain grease.
- •For frequent commuters, choose lightweight devices to minimize added weight.
- •Update firmware on smart locks via app for GPS tracking features.
- •Clean and lubricate locks monthly to prevent seizing in wet weather.
- •Practice quick-locking drills to shave seconds off your routine.
▸Common Mistakes to Avoid
- •Installing on weak frame sections, leading to easy prying—always choose reinforced tubes.
- •Forgetting to torque bolts properly, causing the bracket to loosen over bumps—use a wrench for 4-6 Nm.
- •Overlooking compatibility, like mounting a heavy chain on a slim road bike frame—measure first.
- •Skipping the cleaning step, resulting in poor adhesion and slippage—prep is essential.
- •Testing insufficiently, missing rattles or weak spots that fail in real scenarios—simulate theft aggressively.
▸Troubleshooting
Problem: Bracket won't stay tight after a few rides
Solution: Re-tighten bolts with threadlocker applied; if threads are stripped, replace with larger bolts or seek a bike shop.
Problem: Lock rattles annoyingly during pedaling
Solution: Add foam padding or rubber washers inside the bracket; ensure proper seating.
Problem: Frame scratches from installation
Solution: Apply frame protection tape before mounting; buff minor scratches with polish. For deep damage, consult a professional.
Problem: Key sticks in the lock
Solution: Clean with graphite lubricant (not WD-40, which attracts dirt); if jammed, take to a locksmith.
Kryptonite Evolution Mini-7 U-Lock with Cable
This Sold Secure Gold-rated U-lock offers robust 13mm hardened steel shackle protection against bolt cutters, ideal for urban security.
Best for: Best for daily commuters locking to street racks; the included cable secures wheels.
Price Range: $60-$70
ABUS Granit XPlus 540 U-Lock
Features advanced XPlus keyway for pick resistance and a flexible shackle for awkward angles, providing top-tier theft deterrence.
Best for: High-risk areas like city centers; pairs well with frame mounts for quick access.
Price Range: $90-$110
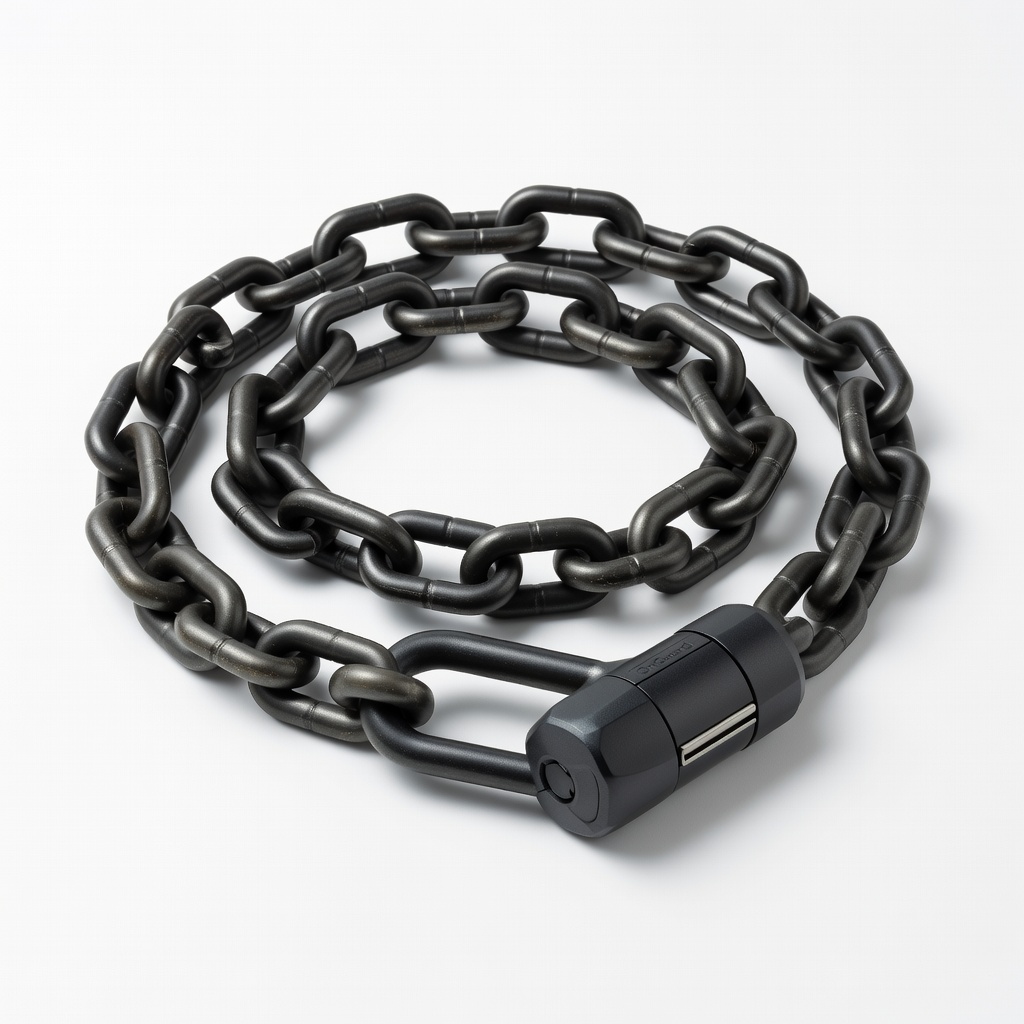
OnGuard Bulldog DT 185cm Chain Lock
Durable 8mm hardened steel chain with a weatherproof cover, versatile for wrapping around larger objects like poles.
Best for: For longer stops or when U-locks won't fit; lightweight for intermediate users carrying it on rides.
Price Range: $40-$50
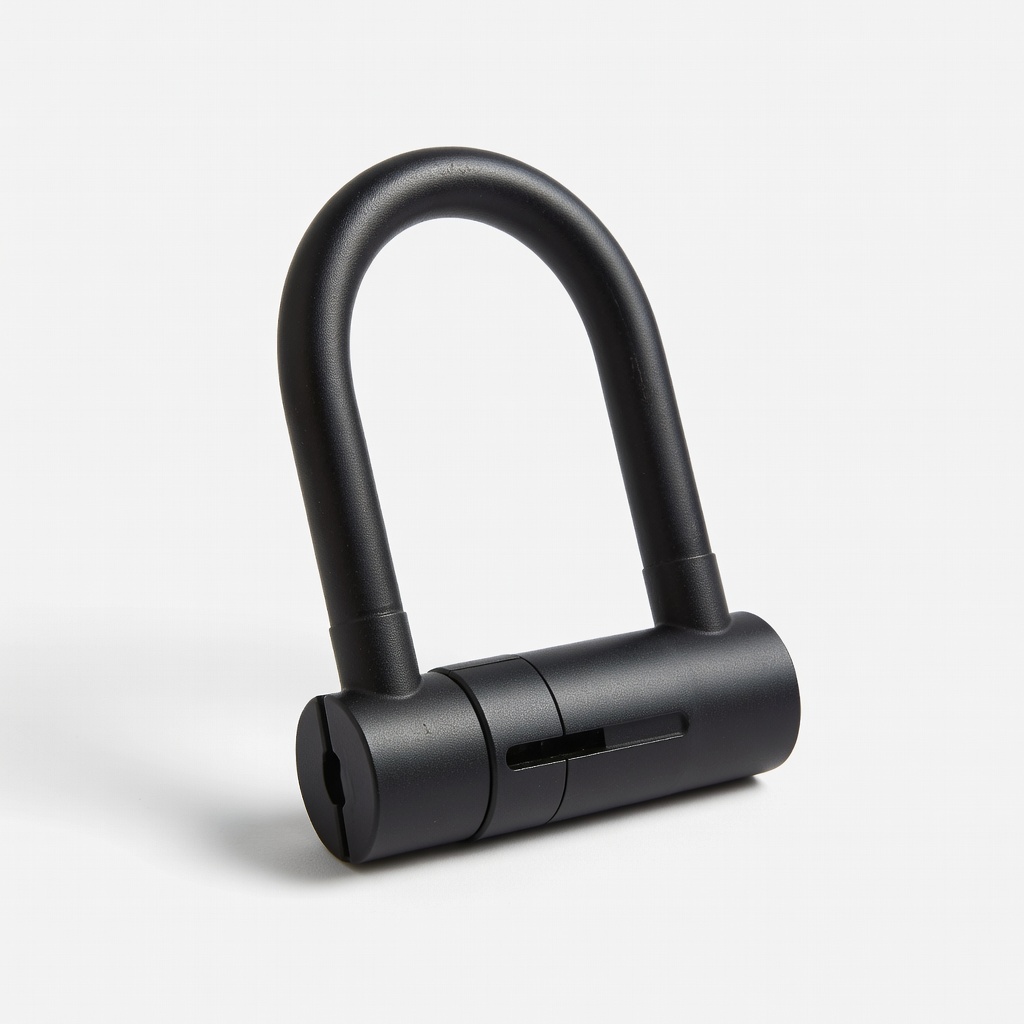
Kryptonite Keeper 12 Standard Frame Lock
Integrated frame lock with easy cable attachment, designed for seamless bike integration without extra bulk.
Best for: Short-term parking at cafes; mounts directly to frame for always-ready security.
Price Range: $25-$35
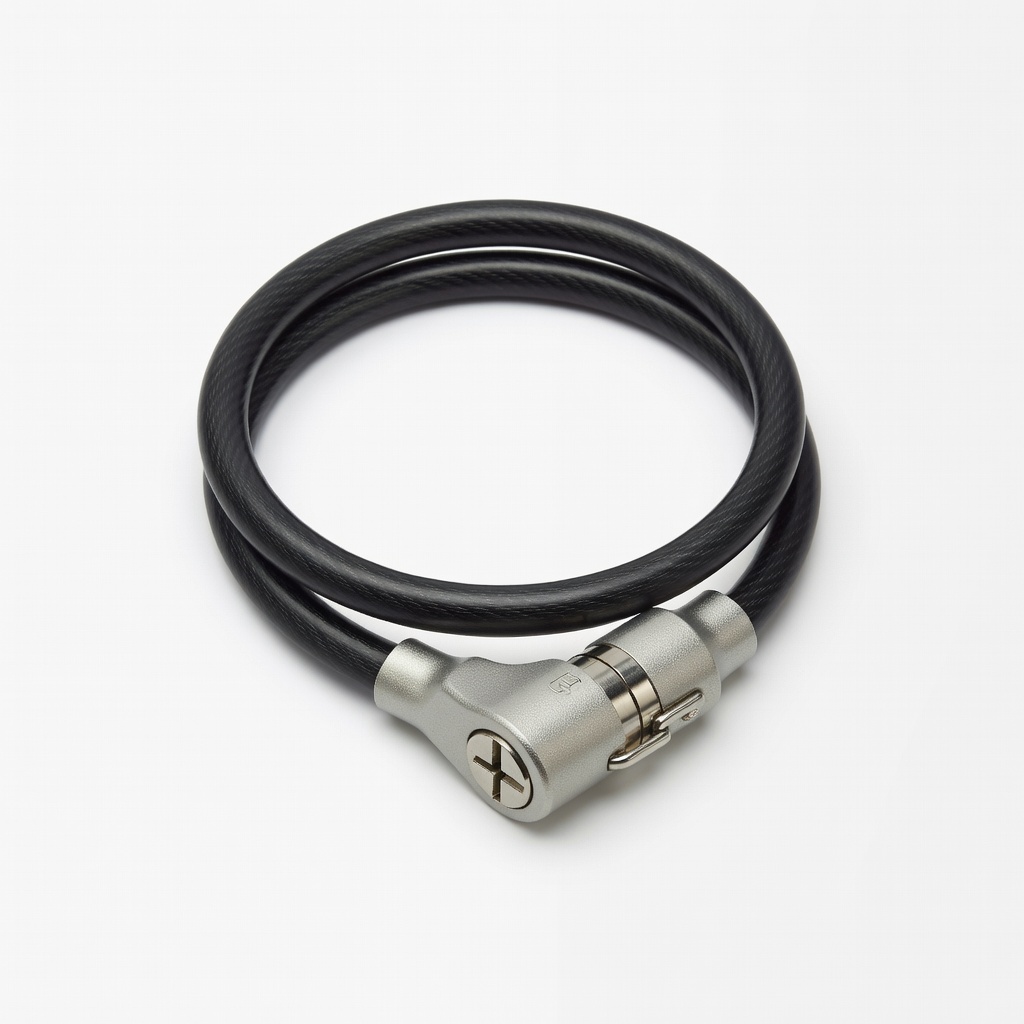
Master Lock Python Adjustable Cable Lock
Affordable, flexible cable for lightweight secondary security, coated to prevent frame scratches.
Best for: Budget option for low-risk areas or combining with primary locks; easy to install via frame loops.
Price Range: $15-$25