Struggling with fuzzy TV signals and dropped channels? Poor reception is a common frustration for cord-cutters relying on over-the-air antennas, especially in rural or obstructed areas. Installing an antenna topper—a signal booster or amplifier mounted at the antenna's peak—can dramatically improve reception by amplifying weak signals before they travel down the cable.
In this guide, you'll learn how to safely install an antenna topper on your outdoor TV antenna setup. We'll cover everything from preparation to testing, ensuring you achieve crystal-clear HD channels. The process is straightforward for those with basic DIY skills, focusing on rooftop or attic installations.
Expect to spend 30-45 minutes on the install, depending on your setup's accessibility. This intermediate-level task requires some height work, so prioritize safety. By the end, you'll have stronger reception and fewer frustrations during your favorite shows.
▸What You'll Need
- •Outdoor TV antenna (existing or new, e.g., Yagi or multi-directional model)
- •Antenna topper/amplifier (e.g., powered signal booster like Winegard LNA-200)
- •Coaxial cable (RG6 type, 50-100 ft, weatherproof)
- •Mounting hardware (U-bolts, brackets, or mast extensions if needed)
- •Screwdriver set (Phillips and flathead)
- •Coaxial cable crimper and connectors (F-type for secure connections)
- •Ladder or roof access equipment
- •Power inserter or amplifier power supply (often included with topper)
- •Optional: Cable ties or zip ties for securing wires
- •Optional: Multimeter for signal testing
Estimated Time: 30-45 minutes
Difficulty: intermediate
▸Step-by-Step Instructions
Step 1: Assess Your Current Antenna Setup
Before installing, evaluate your existing antenna's location and condition. Climb to your roof or attic to inspect the antenna mast for stability and height. Antenna toppers work best on outdoor setups at least 20-30 feet high for optimal signal capture. Note the direction your antenna faces and any obstructions like trees or buildings that could interfere.
Why this matters: Proper placement ensures the topper amplifies the right signals without adding unnecessary noise. Expect to identify if your mast needs extension—most toppers attach directly to the antenna boom or mast top.
Take photos of your setup for reference and measure the mast diameter to match mounting hardware.
💡 Tips:
- •Aim for a clear line-of-sight to broadcast towers; use apps like AntennaWeb.org to check signal strength in your area.
⚠️ Warnings:
- •Avoid installing during bad weather to prevent slips or electrical hazards.
Step 2: Gather and Prepare Materials
Lay out all tools and materials in a safe workspace. Unbox your antenna topper and read the manufacturer's instructions—most are plug-and-play but may require specific wiring. Test the topper's power supply on the ground by plugging it in; it should light up or hum softly if powered.
Cut your coaxial cable to length, leaving extra for routing down the house. Strip the ends using the crimper tool to expose the center conductor and shield without nicking them. This prep prevents signal loss later.
Success looks like organized tools and prepped cables ready for mounting—no frayed wires or missing parts.
💡 Tips:
- •Label cable ends (e.g., 'antenna' and 'TV') to avoid confusion during connection.
⚠️ Warnings:
- •Don't overtighten cable strips; it can damage the signal-carrying core.
Step 3: Mount the Antenna Topper on the Mast
Secure the topper to the top of your antenna mast using the provided brackets or U-bolts. Position it so the input faces the antenna elements and the output points downward toward the house. Tighten bolts firmly but not excessively to avoid stripping threads—most toppers weigh under 2 lbs, so no heavy reinforcement needed.
Why it matters: Correct orientation ensures amplified signals flow properly without reflection loss. If your mast is short, add an extension pole first for better elevation.
At this stage, the topper should be stably attached, with cables dangling loosely for the next steps.
💡 Tips:
- •Use lock washers on bolts for vibration resistance on windy roofs.
⚠️ Warnings:
- •Ensure the topper is weatherproofed; seal connections with coaxial sealant if not pre-applied.
Step 4: Connect the Coaxial Cables
Attach the short coaxial cable from the antenna output to the topper's input port. Then, connect the longer run from the topper's output to your home's downlead cable. Use F-connectors twisted securely or crimped for a tight fit—hand-tight plus a quarter-turn is ideal.
Route the power inserter cable (if separate) alongside the coax, securing it with zip ties to prevent tangling. The power supply typically goes indoors near your TV.
Expect a clean, strain-free connection; wiggle-test to ensure no loose fits, which could cause intermittent signal drops.
💡 Tips:
- •Apply dielectric grease to connections for corrosion protection in humid climates.
⚠️ Warnings:
- •Never connect power directly to the topper outdoors; use the inserter to avoid shocks.
Step 5: Route Cables Safely Down the House
Guide the coaxial cable from the roof to your TV location, avoiding sharp bends (minimum radius 4 inches) and drilling new holes if possible—use existing conduits or eaves. Secure the cable with clips every 2-3 feet to prevent sagging or animal damage.
Why this matters: Proper routing minimizes signal attenuation over distance. Seal any roof penetrations with silicone caulk to prevent leaks.
Success: Cable runs neatly without kinks, ready for indoor hookup.
💡 Tips:
- •For long runs over 50 ft, consider a higher-powered topper to compensate for loss.
⚠️ Warnings:
- •Avoid running cables near power lines or electrical outlets to reduce interference.
Step 6: Power Up and Test the Installation
Indoors, connect the downlead to the power inserter, plug it into an outlet, then run the output to your TV or splitter. Turn on the TV, scan for channels using the built-in tuner, and check signal strength meters if available.
Tune to known local channels; you should see improved clarity and fewer pixels. Use a multimeter on the signal line for voltage (around 12-18V from the amplifier).
If signals are stronger post-install, you're done—enjoy your enhanced reception!
💡 Tips:
- •Rescan channels after install, as the booster may reveal new ones.
⚠️ Warnings:
- •Unplug everything before testing to avoid shorts.
▸Pro Tips
- •Position the topper as high as possible on the mast to capture signals before major loss.
- •In stormy areas, ground your antenna system with a surge protector for lightning safety.
- •Test signal strength before and after using free apps like 'TV Signal Locator' on your phone.
- •For multi-TV homes, add a powered splitter after the topper to distribute amplified signal.
- •Clean antenna elements annually; dust reduces efficiency even with a topper.
- •If in a fringe area, combine with a larger antenna for 20-30% better results.
- •Use UV-resistant zip ties for outdoor securing—they last longer than standard ones.
▸Common Mistakes to Avoid
- •Installing without grounding: Leads to static or damage from surges; always add a grounding block.
- •Over-tightening connectors: Strips threads and causes poor contact; use just enough torque.
- •Ignoring cable length: Too long without amplification causes 3-6 dB loss per 50 ft; measure accurately.
- •Forgetting to power the amplifier: Topper won't work without 12V; check inserter placement.
- •Mounting in wrong direction: Input must face antenna; reversed setup amplifies noise instead.
▸Troubleshooting
Problem: Weak or no signal after install
Solution: Check power inserter is plugged in and voltage at the topper (use multimeter). Rescan channels and verify connections are tight.
Problem: Intermittent reception or static
Solution: Inspect for loose cables or water in connectors; reseal and add dielectric grease. Ground the system if not done.
Problem: Amplifier overheating
Solution: Ensure ventilation around the topper; if persistent, it may be faulty—replace under warranty. Seek pro if wiring issue suspected.
Problem: New channels not appearing
Solution: Adjust antenna direction toward towers (use FCC.gov map) and rescan. Topper may need repositioning.
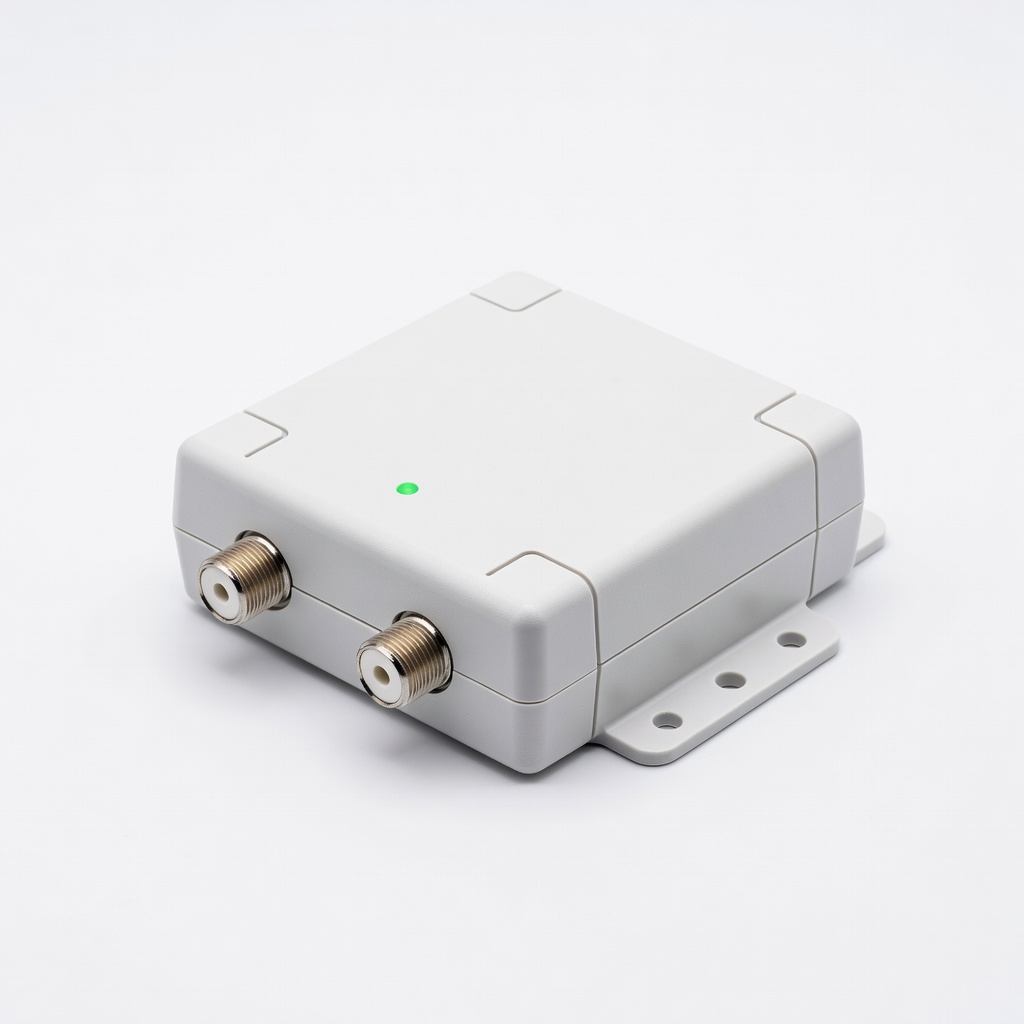
Winegard LNA-200 Boost XT Outdoor TV Antenna Amplifier
This powered topper boosts VHF/UHF signals by up to 20 dB with low noise, ideal for weak reception areas.
Best for: Best for rooftop installs in suburban or rural spots needing clear HD channels.
Price Range: $50-$60
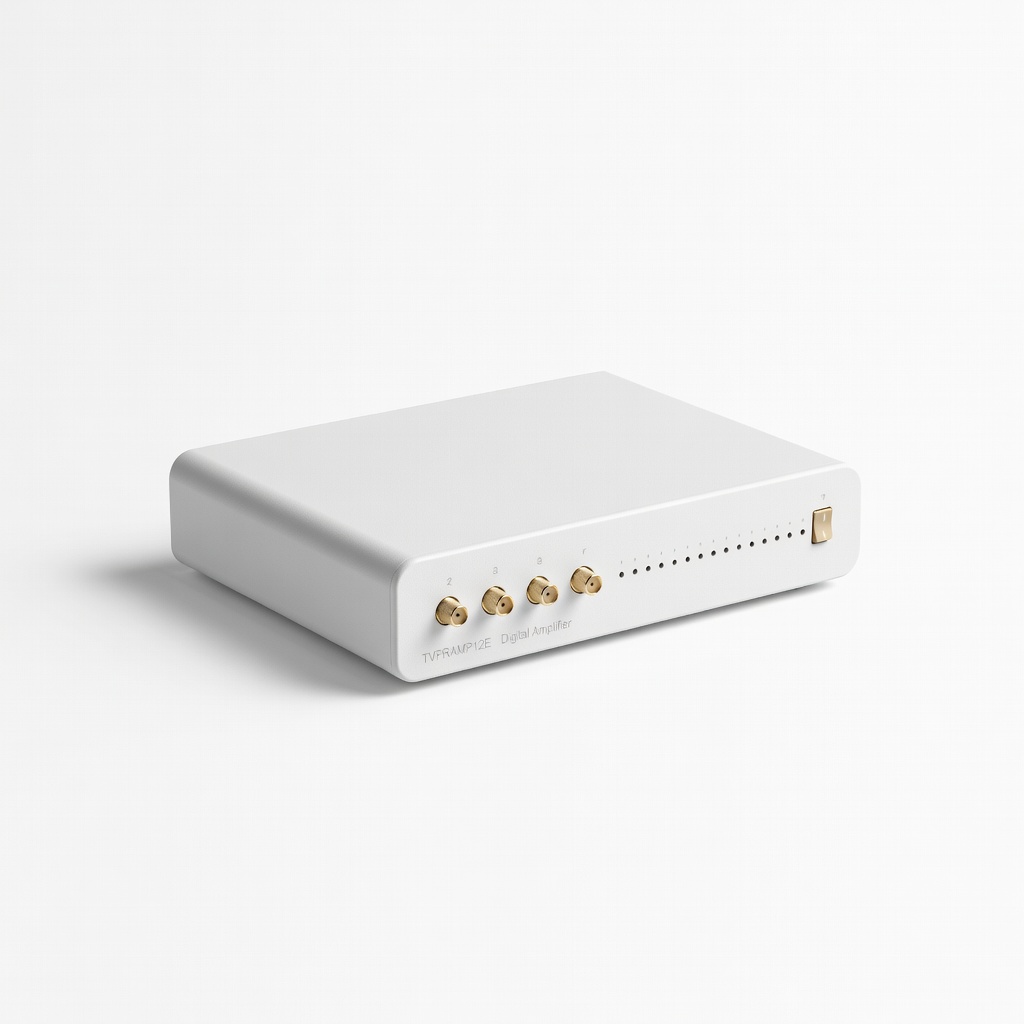
RCA TVPRAMP12E Digital Amplifier
Affordable, easy-to-install booster with built-in power supply that enhances signals without overwhelming strong areas.
Best for: Great for intermediate users upgrading indoor/outdoor antennas on a budget.
Price Range: $25-$35
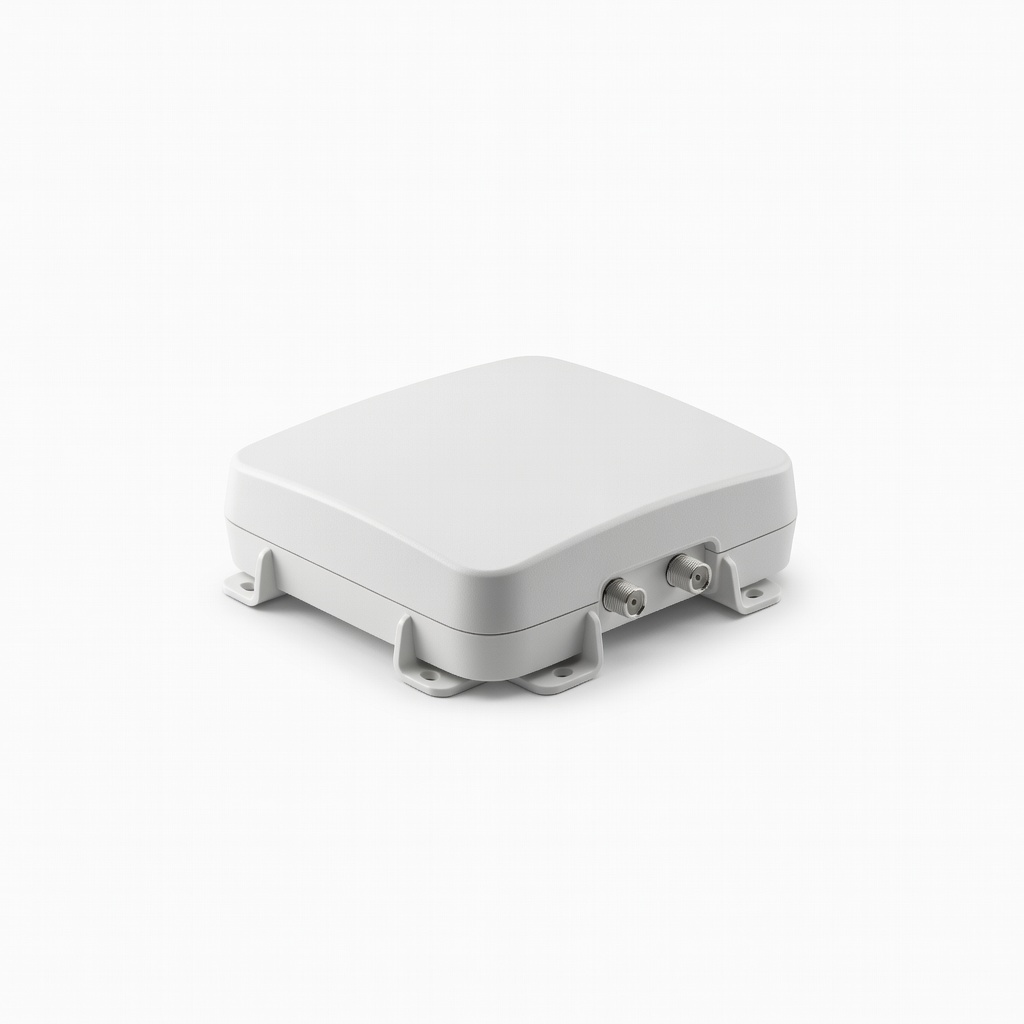
Channel Master Amplify XT Indoor/Outdoor TV Antenna Booster
Provides adjustable gain up to 25 dB and surge protection, making it versatile for various antenna types.
Best for: Use for homes with multiple TVs or long cable runs to maintain signal quality.
Price Range: $70-$80
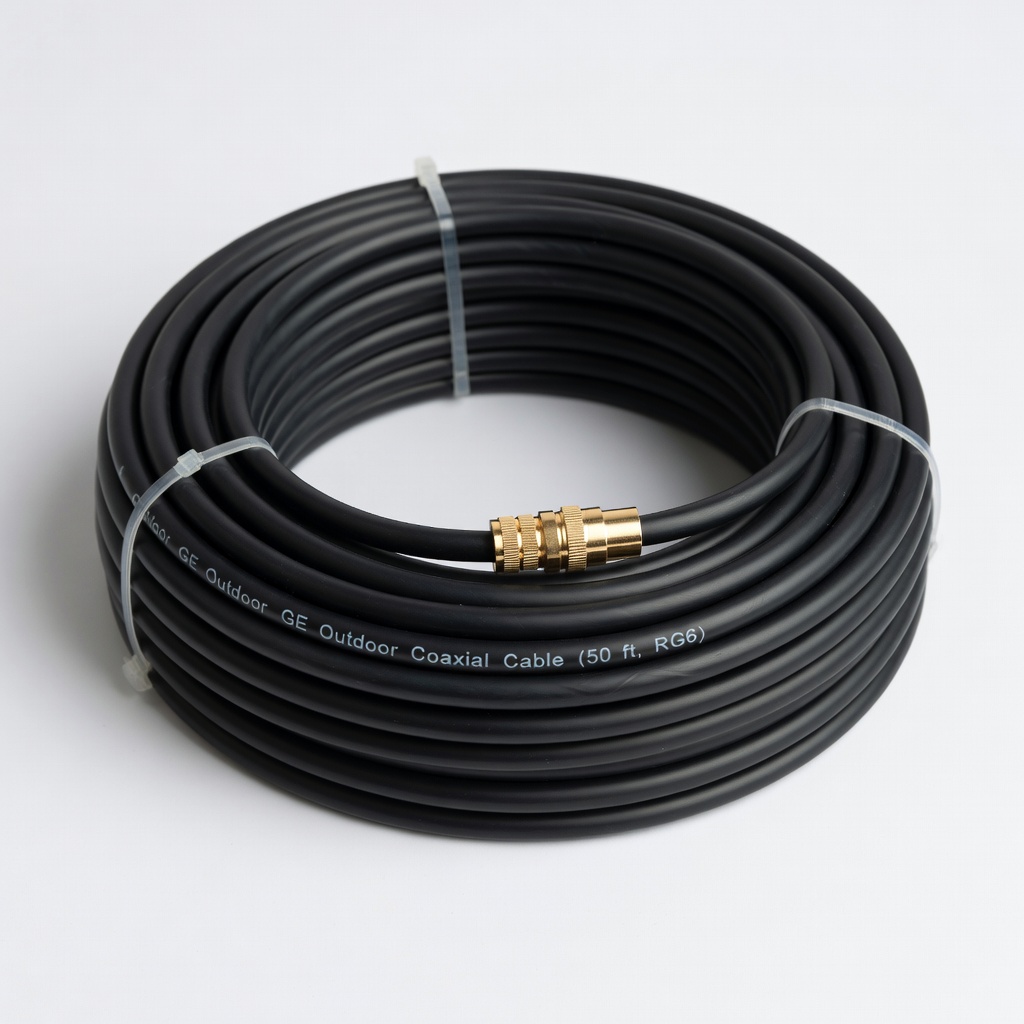
GE Outdoor Coaxial Cable (50 ft, RG6)
Quad-shielded for minimal signal loss and weather resistance, essential for reliable topper connections.
Best for: Replace old cables during install to maximize topper performance.
Price Range: $15-$20
PolyPhaser Coaxial Surge Protector
Protects your topper and antenna from lightning strikes, extending equipment life.
Best for: Mandatory add-on for outdoor setups in thunder-prone regions.
Price Range: $40-$50