Ever run out of plugs on your power strip during a busy workday or movie night? Multi-outlet strips with adapters are a quick fix, but improper installation can lead to overheating, tripped breakers, or fire hazards. This guide solves that pain point.
You'll learn simple, safe steps to install adapters correctly, ensuring stable power for all your devices. The process is straightforward—no tools required—and takes just 5-10 minutes.
By the end, you'll have a fully functional setup with extra outlets, organized cables, and peace of mind knowing you've followed best safety practices.
▸What You'll Need
- •Multi-outlet power strip (surge protector recommended)
- •Compatible electrical adapters (check amp/watt ratings)
- •Devices to plug in (optional for testing)
- •Cable ties or clips (optional for organization)
Estimated Time: 5-10 minutes
Difficulty: beginner
▸Step-by-Step Instructions
Step 1: Unplug the Power Strip
Start by unplugging the entire multi-outlet strip from the wall outlet. This is crucial for safety to avoid electric shock or short circuits.
Why it matters: Working with live electricity is dangerous. Expect the strip to be completely powered down—no lights or humming.
Success looks like: All outlets dark and strip cool to the touch.
💡 Tips:
- •Label cords before unplugging to avoid confusion later.
⚠️ Warnings:
- •Never install adapters on a live strip.
Step 2: Inspect the Strip and Adapters
Examine the power strip's outlets for damage, bent prongs, or burn marks. Check adapters for cracks, frayed wires, or mismatched plug types (e.g., ensure 3-prong to 3-prong).
Verify ratings: Power strip might be 15A/1875W; adapters should not exceed this when combined. Why? Overloading causes heat buildup.
Success looks like: All components undamaged and ratings compatible.
💡 Tips:
- •Use a surge protector strip for added protection against spikes.
⚠️ Warnings:
- •Discard any damaged items—don't risk it.
Step 3: Choose the Right Adapter Placement
Plan where to plug adapters—space them out to avoid blocking adjacent outlets. Prefer strips with widely spaced outlets for easier access.
Calculate total load: Add up device wattages (e.g., laptop 60W + charger 20W). Stay under 80% of strip's max rating for safety.
Success looks like: A mental map with no overcrowding.
💡 Tips:
- •Start with high-power devices directly in the strip.
Step 4: Insert the Adapter Firmly
Align the adapter's prongs with the strip's outlet and push straight in until it clicks or seats fully. Wiggle gently if tight, but don't force.
Why firm? Loose fits spark and overheat. Repeat for multiple adapters.
Success looks like: Adapter flush and stable—no wobbling.
💡 Tips:
- •Hold the strip steady on a flat surface.
⚠️ Warnings:
- •Avoid sideways force to prevent outlet damage.
Step 5: Plug in Your Devices
Connect your devices to the new adapter outlets. Distribute load evenly across adapters and original outlets.
Test fit before powering on—ensure cords aren't strained.
Success looks like: All plugs secure, no tight bends.
💡 Tips:
- •Group similar devices (e.g., chargers together).
Step 6: Reconnect and Test the Setup
Plug the strip back into the wall. Turn on devices one by one, checking for heat, unusual noises, or flickering.
Monitor for 5 minutes. If all good, you're set!
Success looks like: Everything powers up smoothly, no issues.
💡 Tips:
- •Use a power meter app or device to check total draw.
⚠️ Warnings:
- •Unplug immediately if hot or sparking.
Step 7: Organize Cables for Longevity
Use cable ties to bundle excess cords, preventing trips and strain on plugs.
Why? Neat setups last longer and stay cool.
Success looks like: Tidy, accessible setup.
💡 Tips:
- •Leave slack for easy unplugging.
▸Pro Tips
- •Opt for rotatable or flat-plug adapters to save space.
- •Label outlets for quick device swaps.
- •Use strips with individual switches for better control.
- •Check total wattage with a Kill-A-Watt meter.
- •Mount strips under desks with adhesive hooks.
- •Rotate usage monthly to even wear.
- •Combine with USB ports on modern strips for low-power devices.
▸Common Mistakes to Avoid
- •Overloading: Exceeding amp ratings causes fires—calculate loads first.
- •Loose plugs: Leads to arcing—push firmly and check periodically.
- •Blocking outlets: Crammed setups strain plugs—space them out.
- •Ignoring surge protection: Basic strips fail in storms—use protected ones.
- •Daisy-chaining: Never plug strips into adapters—amplifies risks.
▸Troubleshooting
Problem: Adapter won't fit or is loose
Solution: Clean prongs/outlets with compressed air; replace if damaged. Use grounded adapters only.
Problem: Strip trips breaker or overheats
Solution: Unplug high-draw devices; redistribute load. Upgrade to higher-rated strip.
Problem: No power after plugging in
Solution: Check reset button on surge protector; test wall outlet separately.
Problem: Sparks or burning smell
Solution: Unplug immediately, discard setup, consult electrician.
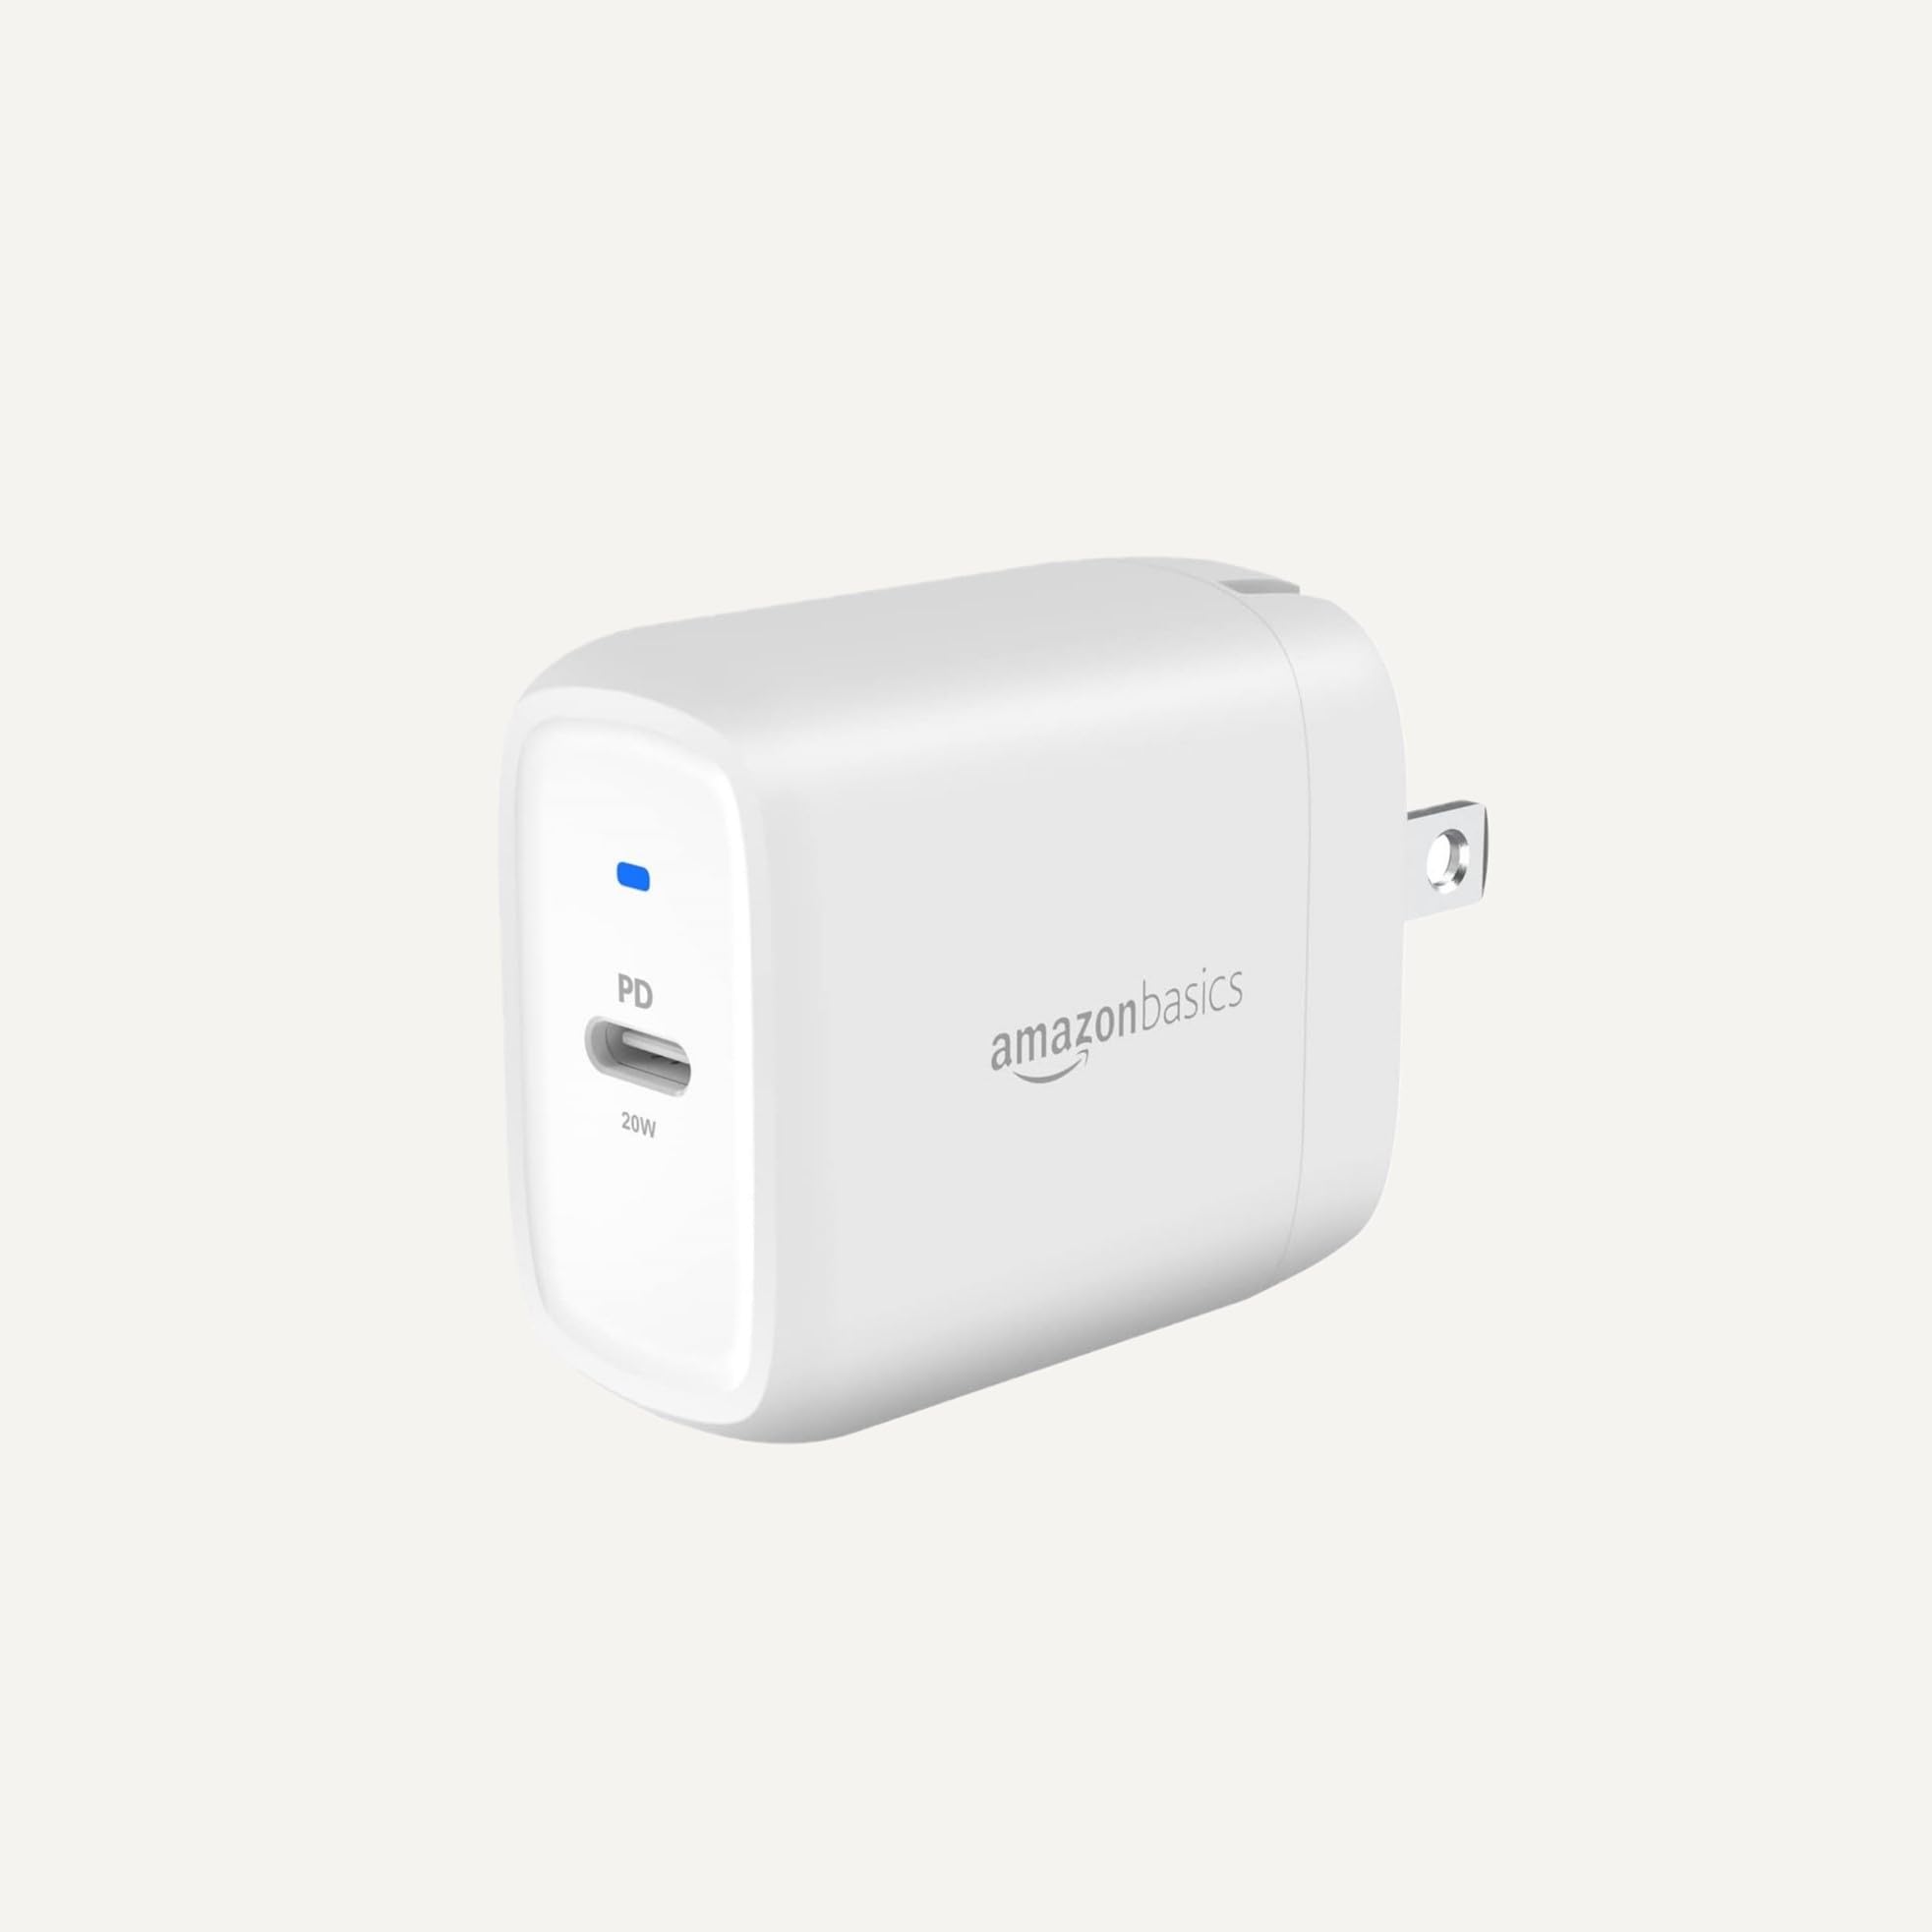
Amazon Basics 6-Outlet Surge Protector Power Strip
Reliable base with 1080 joules surge protection and 4.2ft cord—perfect for beginners adding adapters.
Best for: Everyday desk or home office with multiple adapters.
Price Range: $12-15
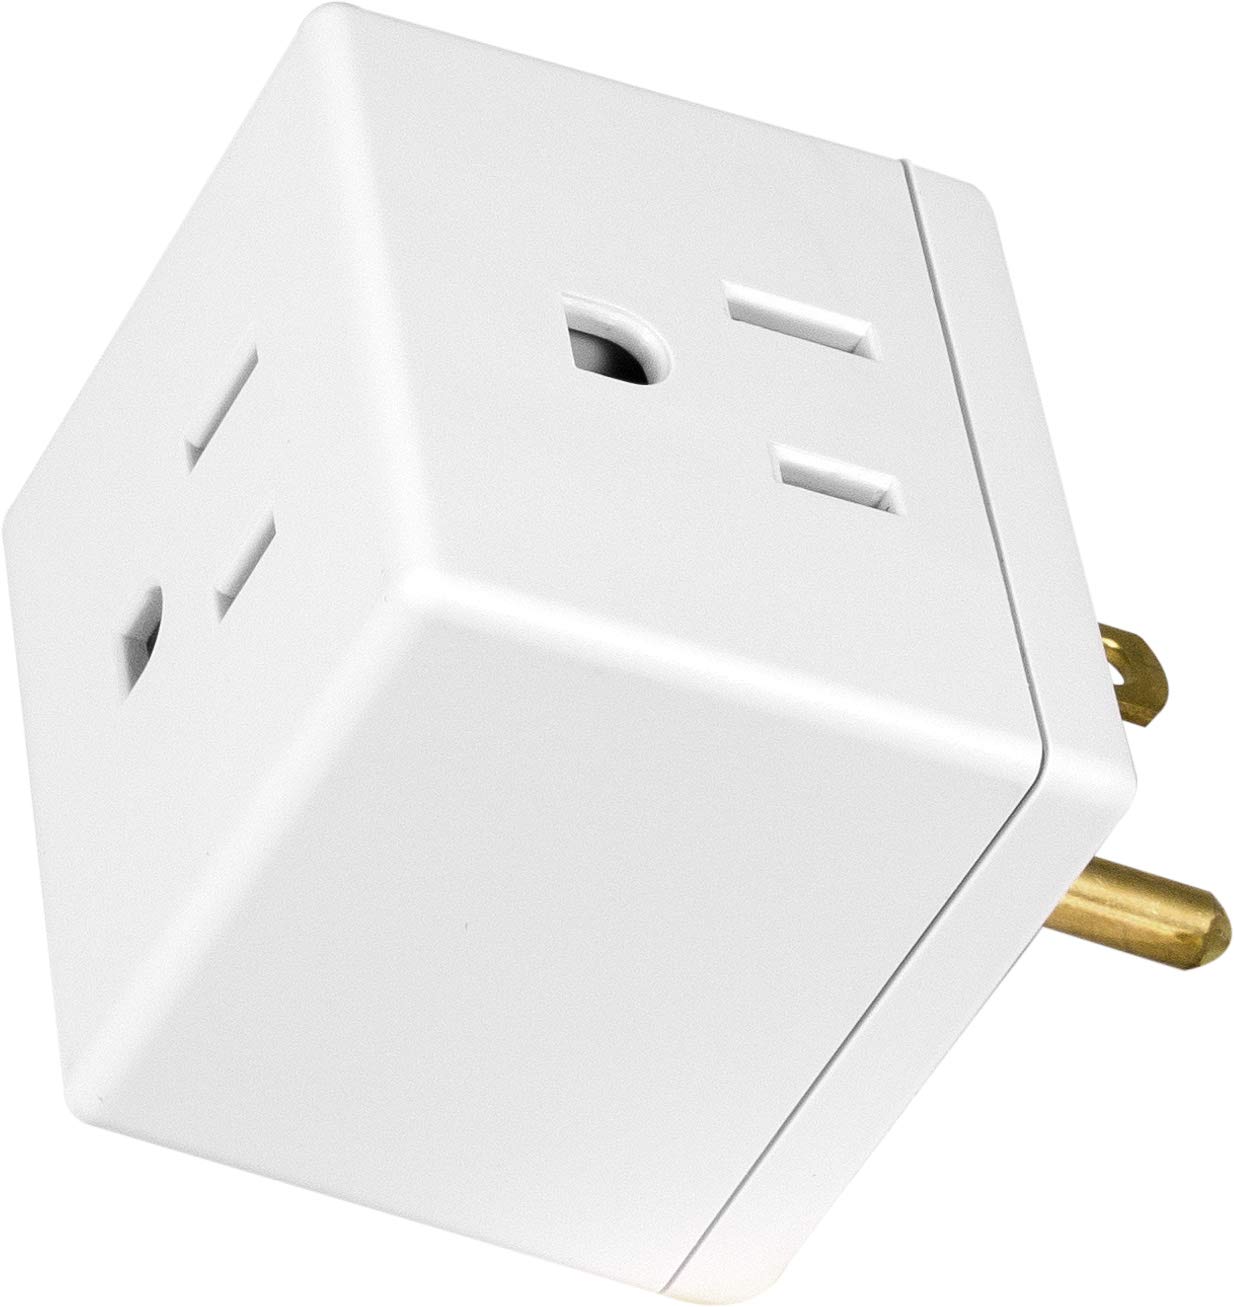
GE 3-Outlet Adapter Grounding Tap
Expands one outlet to three safely with tamper-resistant design and 15A rating.
Best for: Ideal for tight spaces when installing into power strips.
Price Range: $8-10
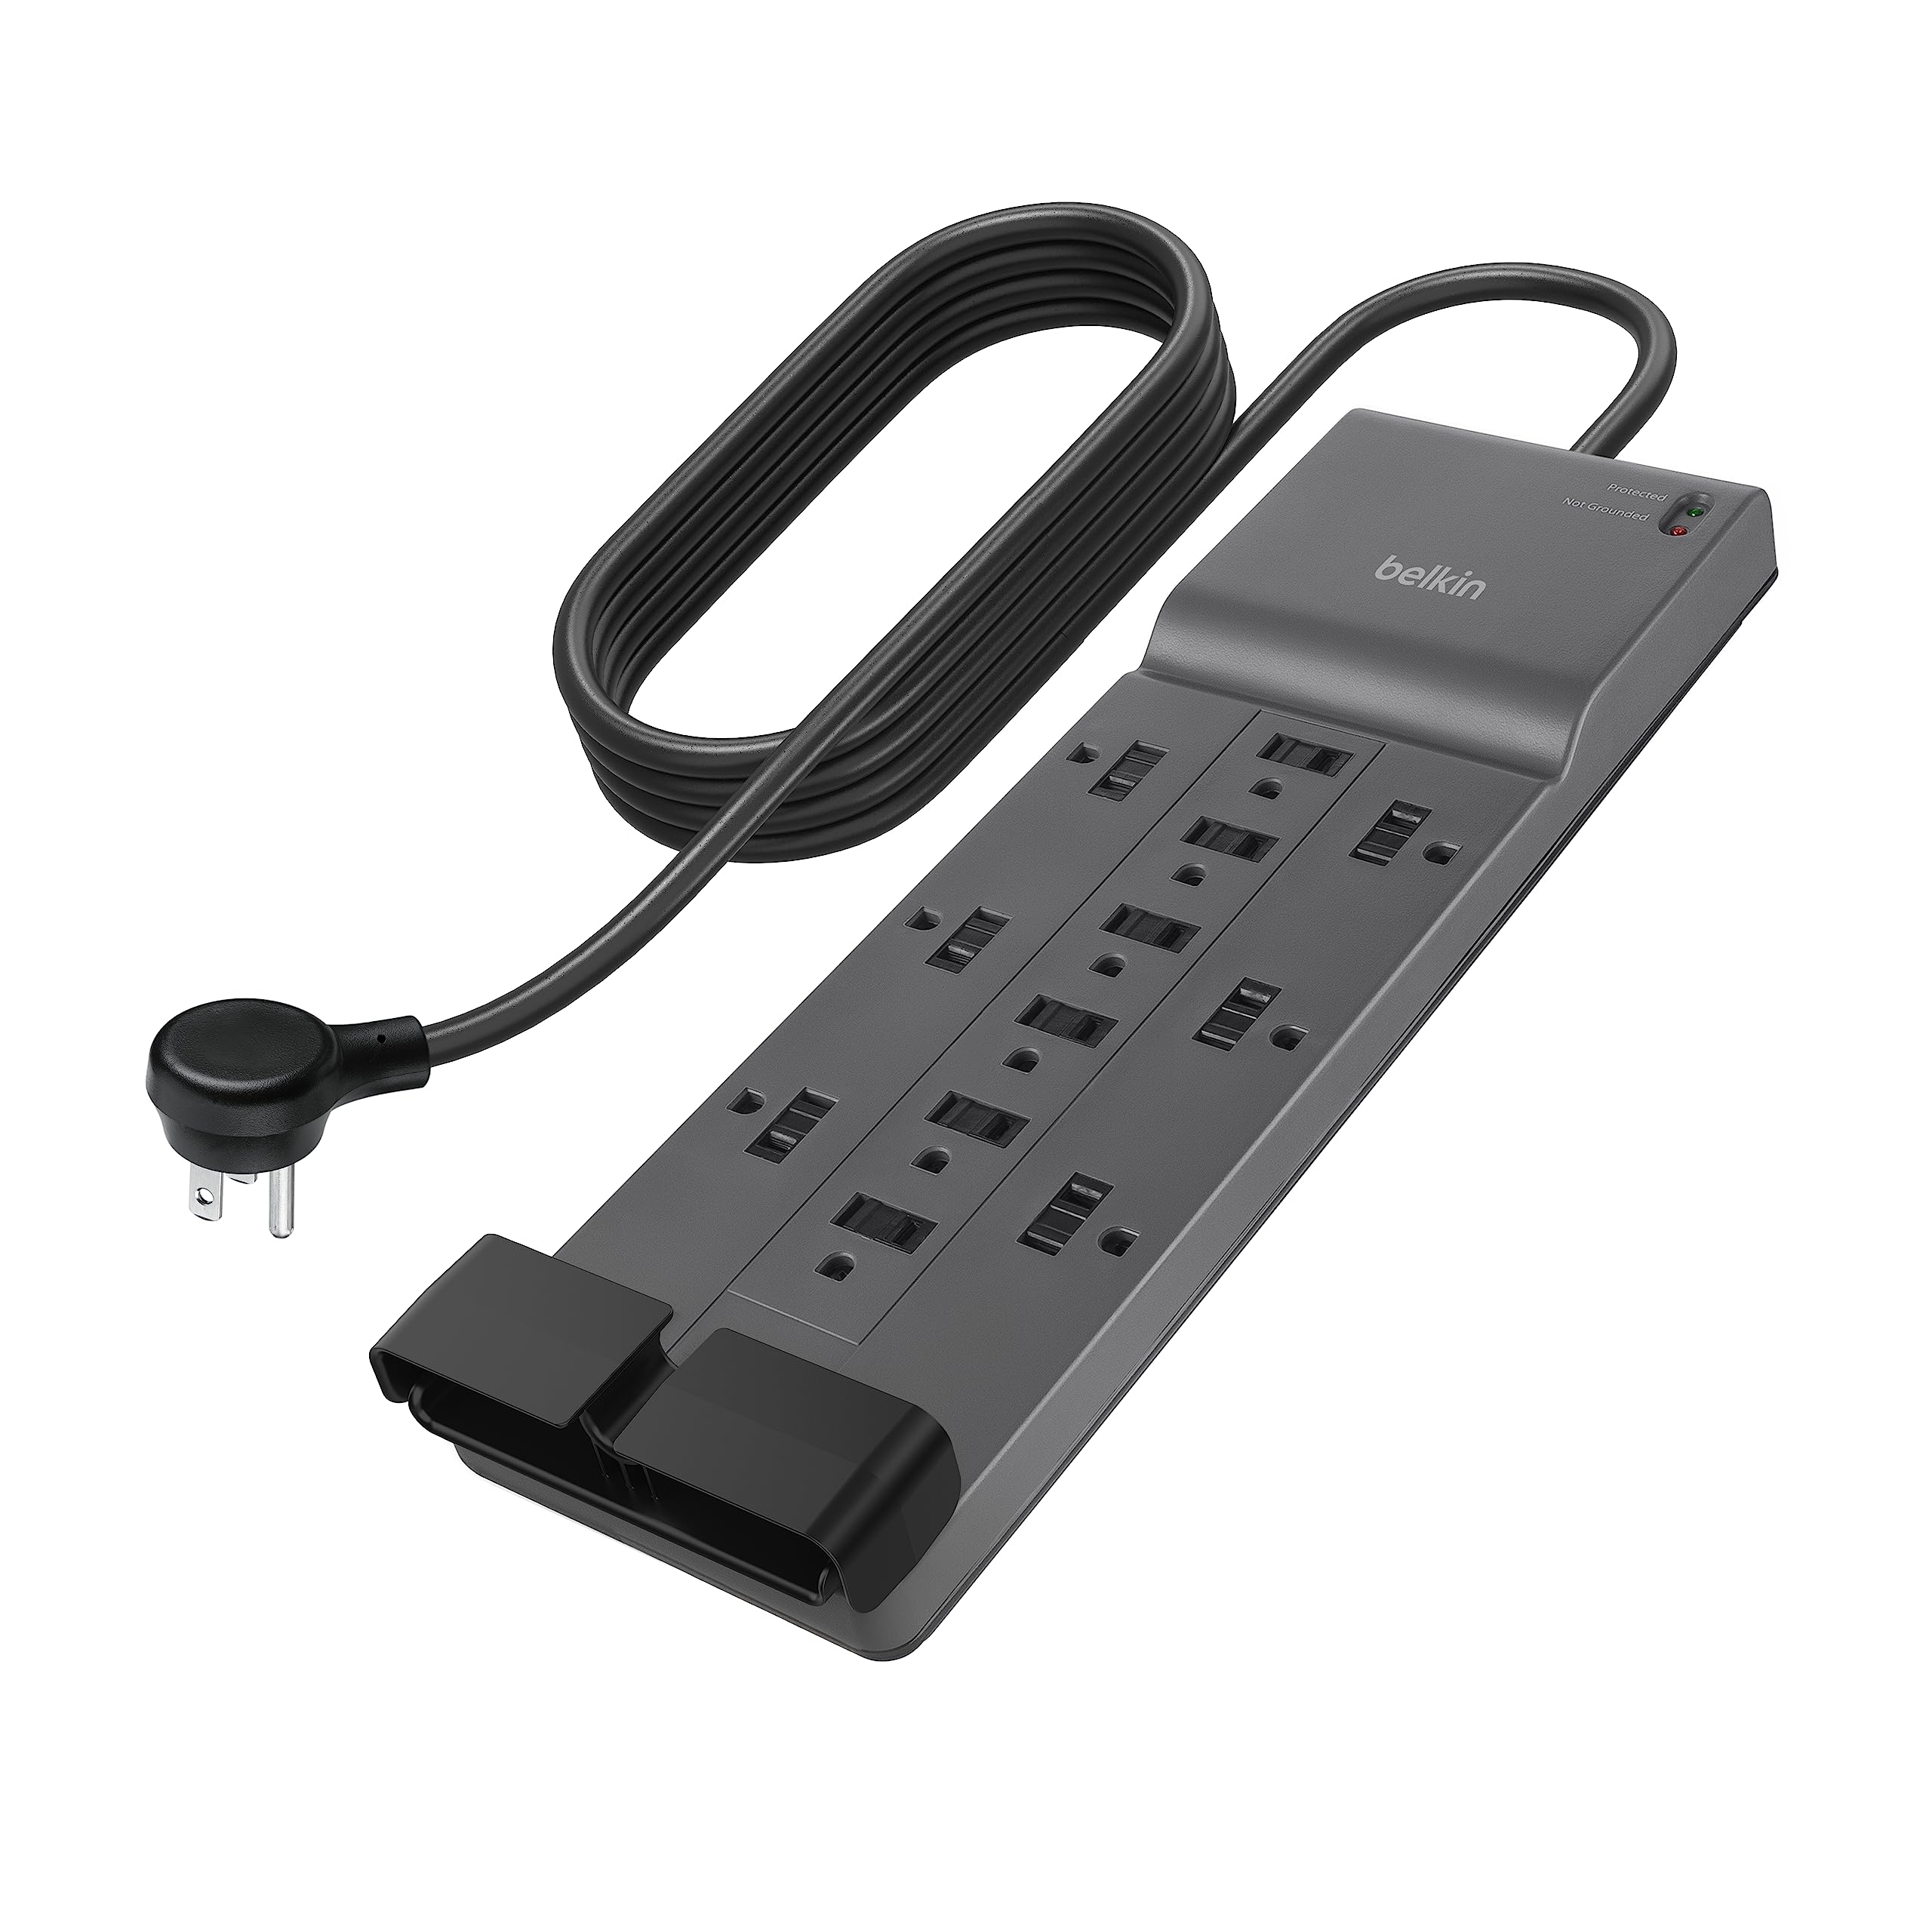
Belkin 12-Outlet Surge Protector Power Strip
12 widely spaced outlets minimize blocking; 4320 joules protection handles heavy adapter use.
Best for: High-demand setups like gaming rigs or home theaters.
Price Range: $25-35
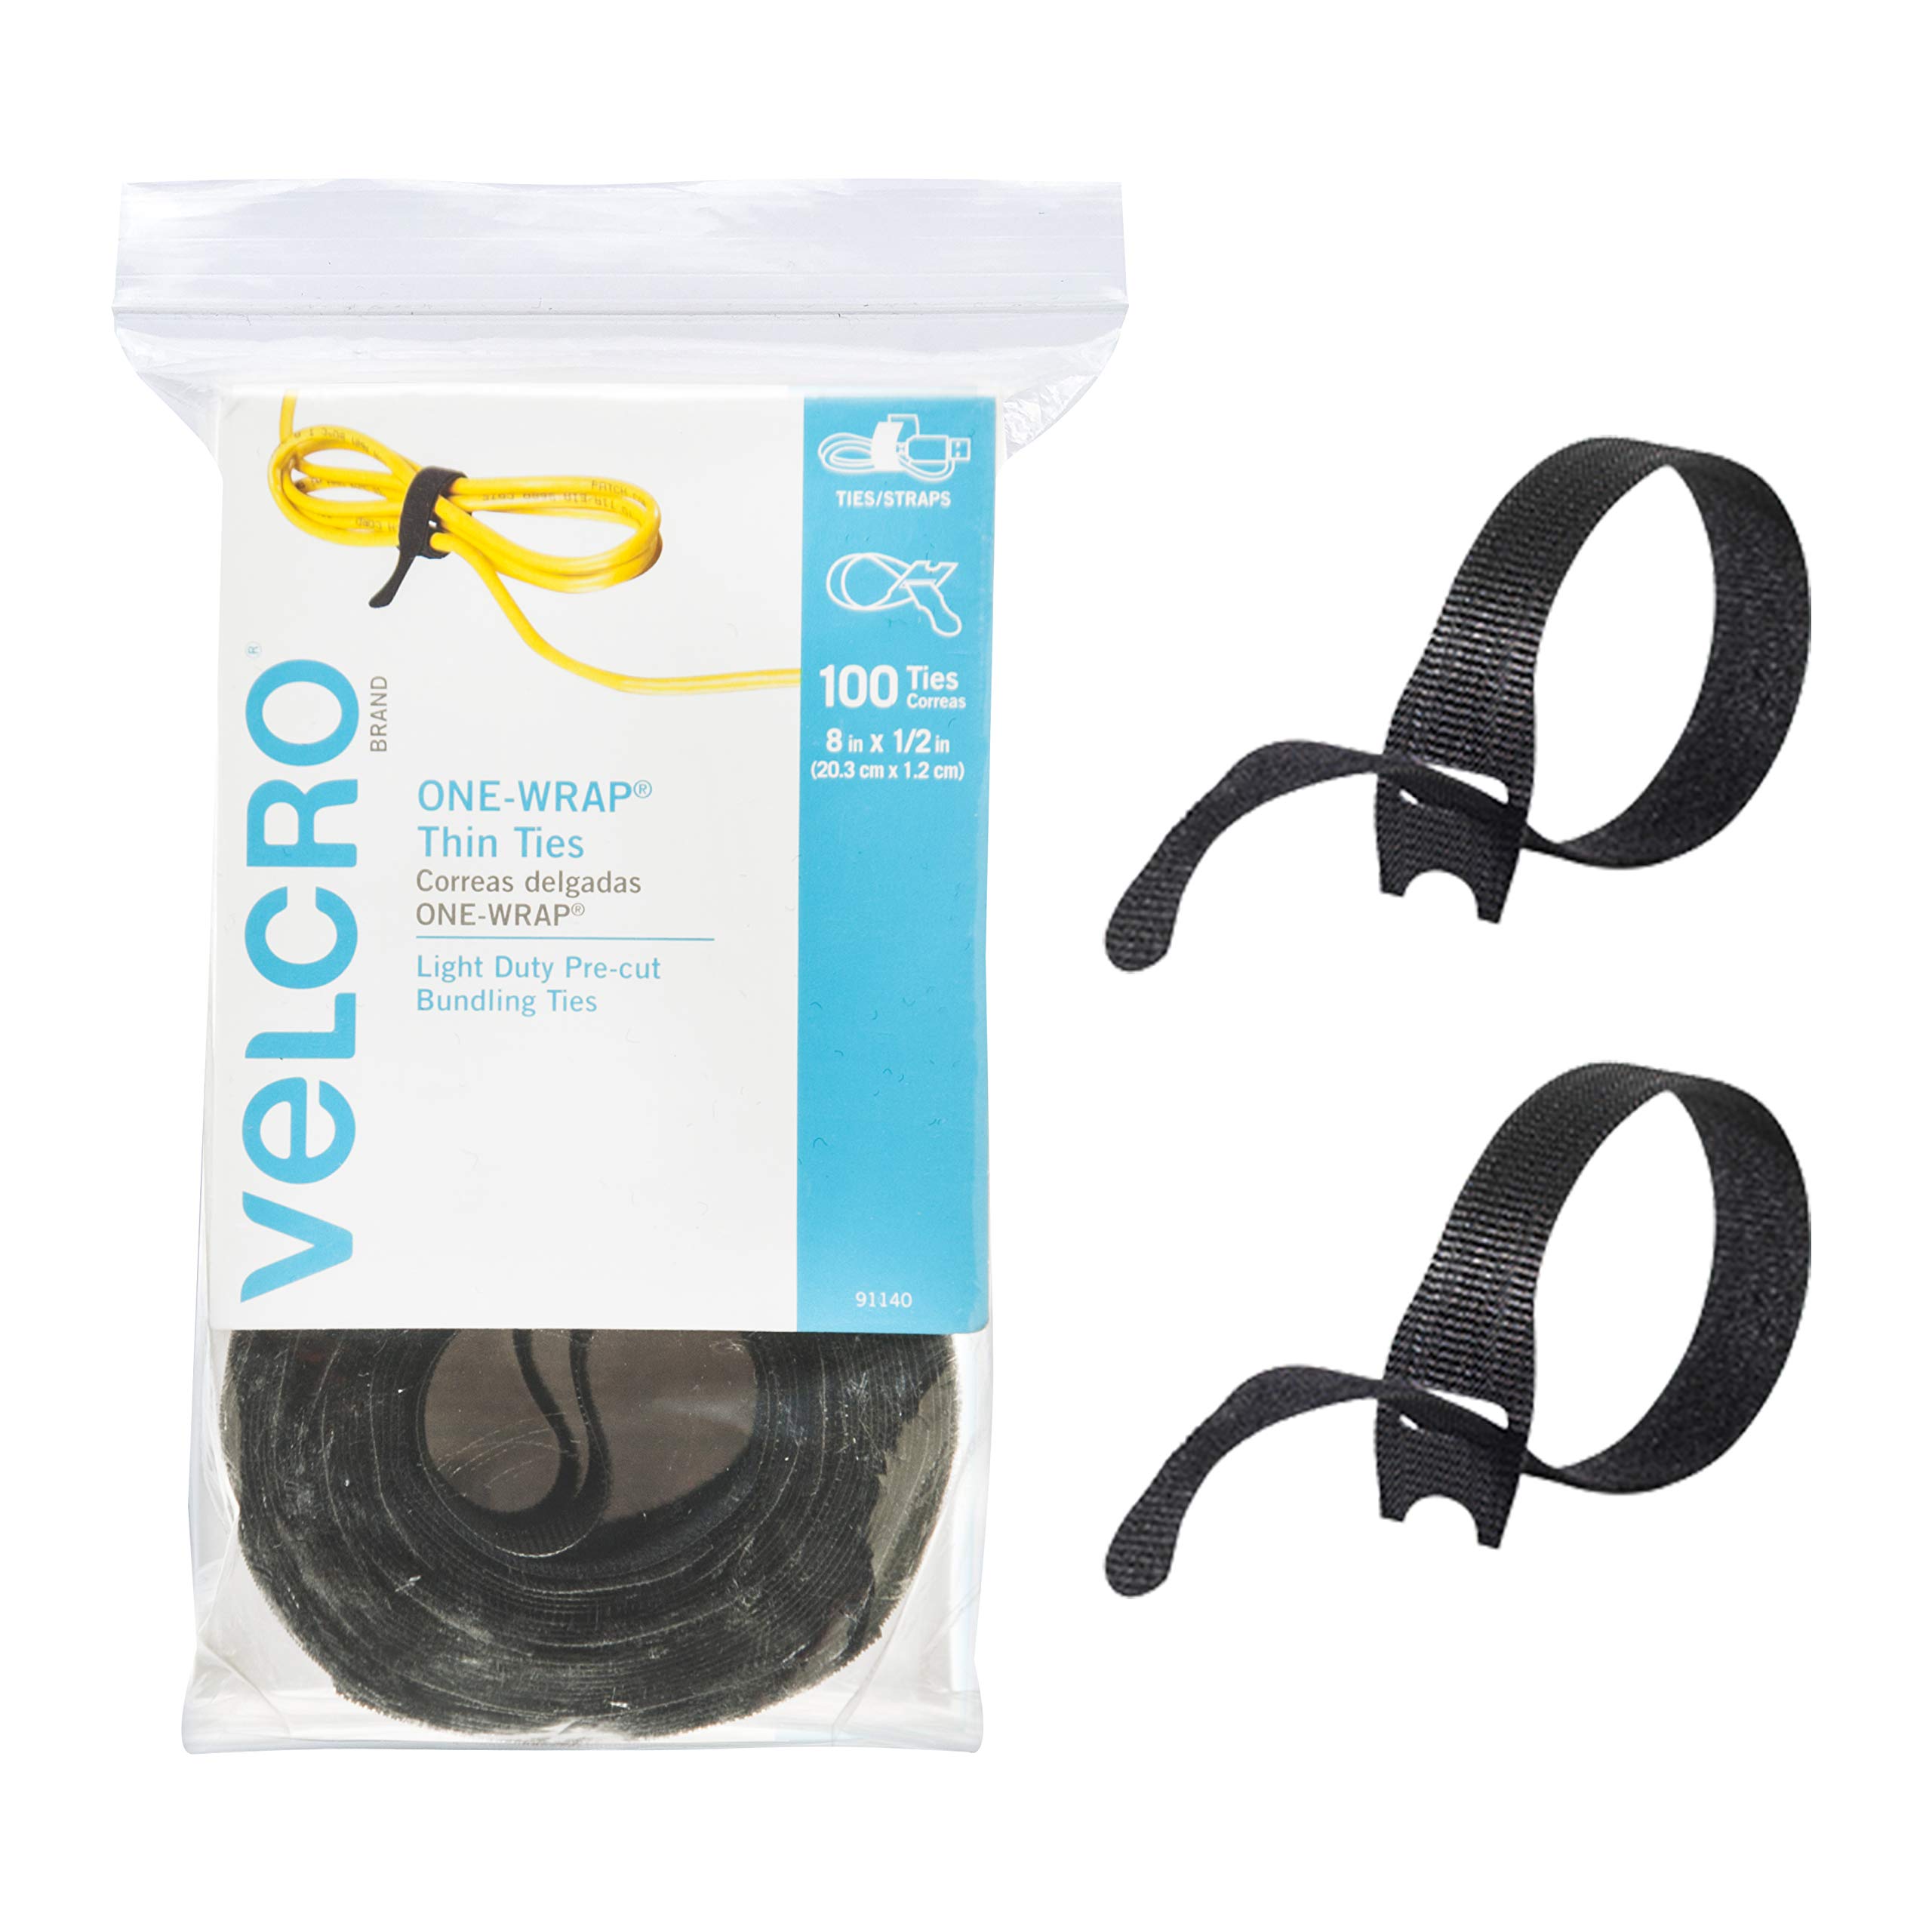
Velcro One-Wrap Cable Ties
Reusable for neat organization post-install, preventing cable strain.
Best for: Any setup to keep adapters and cords tidy.
Price Range: $10-15 (25-pack)