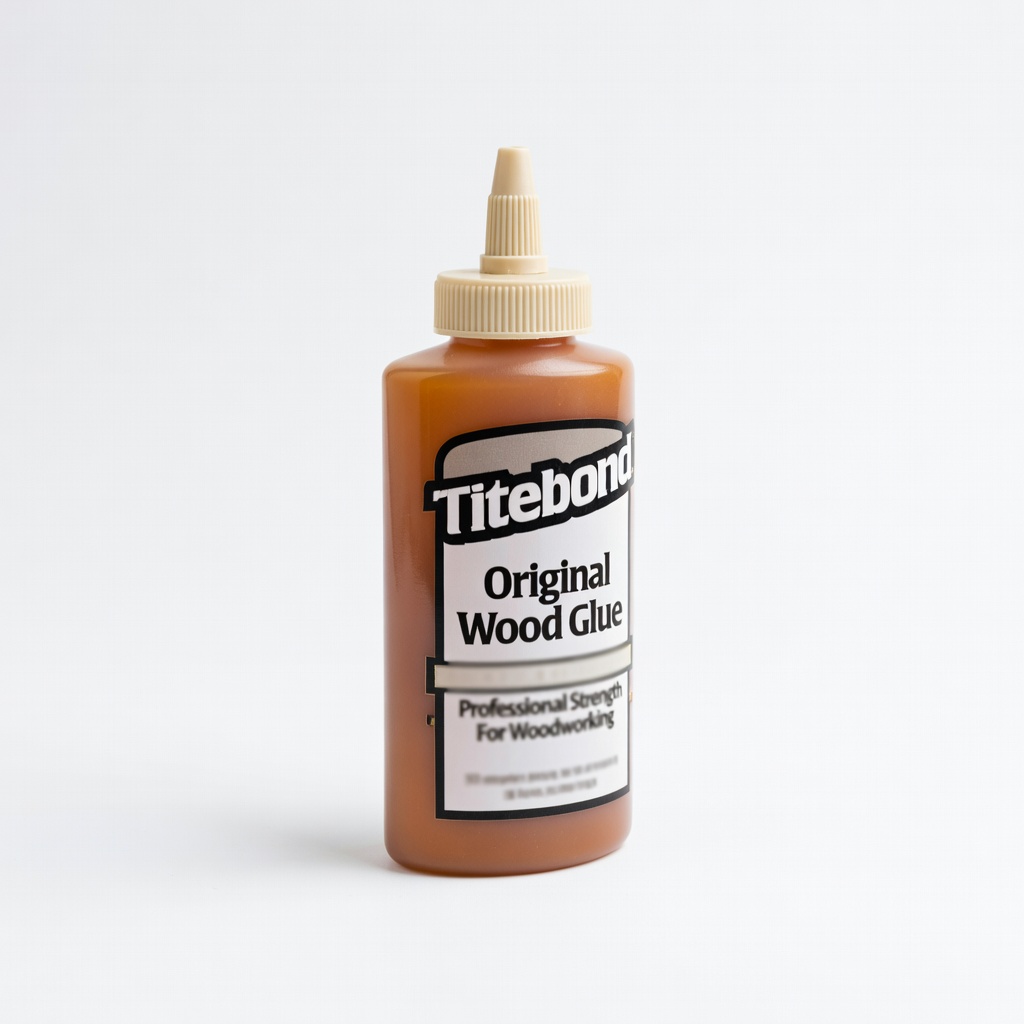
Titebond Original Wood Glue
Permanent installs on acoustic tops; waterproof once cured.
$5-$7
Titebond Original Wood Glue Industry standard for luthier work—strong, thin viscosity for precise pickguard bonding without excess squeeze-out.
Get the App
Better experience on mobile
Learn advanced techniques to professionally install a pickguard on your acoustic guitar, protecting the top from scratches with a flawless, custom fit.
Advanced guitarists and luthiers often customize their instruments to enhance protection and aesthetics. Pickguards prevent pick scratches on the soundboard near the soundhole—a common issue during aggressive strumming. A properly installed pickguard not only safeguards your guitar's top but also adds a personalized touch, like tortoise shell or custom shapes.
In this guide, you'll master the full process: from surface prep to precise gluing and finishing. Expect advanced skills like beveling edges and using hide glue for reversible installs. The process takes 1-2 hours active time plus 24-hour drying, suitable for those comfortable with guitar setup and minor woodworking.
By the end, your pickguard will sit flush, beveled, and professional-looking, elevating your guitar's value and playability.
Estimated Time: 1-2 hours active + 24 hours drying Difficulty: advanced
Start by loosening and removing all strings from your acoustic guitar. This provides clear access to the soundboard. Clean the top thoroughly with a microfiber cloth and denatured alcohol to remove oils and residue.
Measure and mark the pickguard position: typically 1/4" below the soundhole, centered, spanning 5-6" wide and 3-4" tall for standard dreadnoughts. Trace a template using paper or the guitar's bracing pattern underneath (visible via flashlight). Success looks like precise pencil lines matching your guitar's body shape.
Why it matters: Accurate positioning prevents misalignment, which could block bridge or interfere with tone.
💡 Tips:
⚠️ Warnings:
Lightly sand the marked area with 220-grit sandpaper in circular motions to create micro-abrasions for glue adhesion. Feather the edges to blend seamlessly. Wipe away dust with a tack cloth.
Inspect: The surface should feel slightly rough, matte, and dust-free. No deep scratches—goal is tooth, not removal of finish.
Pro insight: On nitrocellulose finishes, sand minimally to avoid cracking.
💡 Tips:
⚠️ Warnings:
Trace your template onto the pickguard material. Use an X-Acto knife for straight cuts or jeweler's saw for curves. Cut slightly oversized (1/16") for trimming later.
Bevel the bottom edges at 15-20 degrees using sandpaper on a flat surface or heat gun for celluloid (softens for shaping). Test-fit dry: It should sit flat without rocking.
Success indicator: Edges conform perfectly to the top's contour.
💡 Tips:
⚠️ Warnings:
Mix or apply thin layer of Titebond glue to the back of the pickguard using a brush or finger (wear gloves). Avoid excess—glue should transfer tacky but not squeeze out heavily.
For hide glue (advanced reversible option), heat to 140°F and apply hot. Spread evenly, working quickly as open time is short.
Why precise: Even glue prevents bubbles or lifting edges.
💡 Tips:
Align pickguard using your marks, pressing from center outward to squeeze out air. Place wax paper over it, then clamp with even pressure (do not overtighten—10-20 PSI).
Wipe squeeze-out immediately. Let cure 24 hours in stable environment (70°F, low humidity).
Expect: No movement; clamps hold flush.
⚠️ Warnings:
Remove clamps. Trim excess with scraper or chisel at 45-degree angle, following the top's curve. Sand flush with 400-grit, then buff to match finish.
Apply finish matcher (e.g., Tru-Oil) if needed. Re-string and tune.
Final success: Seamless integration, no visible glue lines.
💡 Tips:
Problem: Pickguard lifts at edges
Solution: Re-clamp with more even pressure or inject thin glue via syringe; if severe, remove and restart.
Problem: Bubbles under pickguard
Solution: Puncture with fine needle and press out air; prevent by rolling during install.
Problem: Finish mismatch after trimming
Solution: Buff lightly and apply color-matched toner; seek luthier for nitro recoat.
Problem: Cracks in top post-install
Solution: Stop immediately; professional repair needed—likely from over-sanding.
Industry standard for luthier work—strong, thin viscosity for precise pickguard bonding without excess squeeze-out.
Best for: Permanent installs on acoustic tops; waterproof once cured.
Price Range: $5-$7
Pre-cut, self-adhesive grits perfect for controlled sanding without gouging guitar finish.
Best for: Surface prep and edge finishing on curved tops.
Price Range: $15-$20
Even pressure on irregular guitar shapes; quick-adjust for multiple clamps.
Best for: Secure clamping during 24-hour cure without marring.
Price Range: $25-$30
Authentic material matches vintage acoustics; easy to cut and bevel.
Best for: Custom shaping for Martin/Taylor-style guitars.
Price Range: $20-$40
Surgical precision for clean cuts on thin celluloid without chipping.
Best for: Tracing and trimming pickguards.
Price Range: $10-$15
Permanent installs on acoustic tops; waterproof once cured.
Titebond Original Wood Glue Industry standard for luthier work—strong, thin viscosity for precise pickguard bonding without excess squeeze-out.
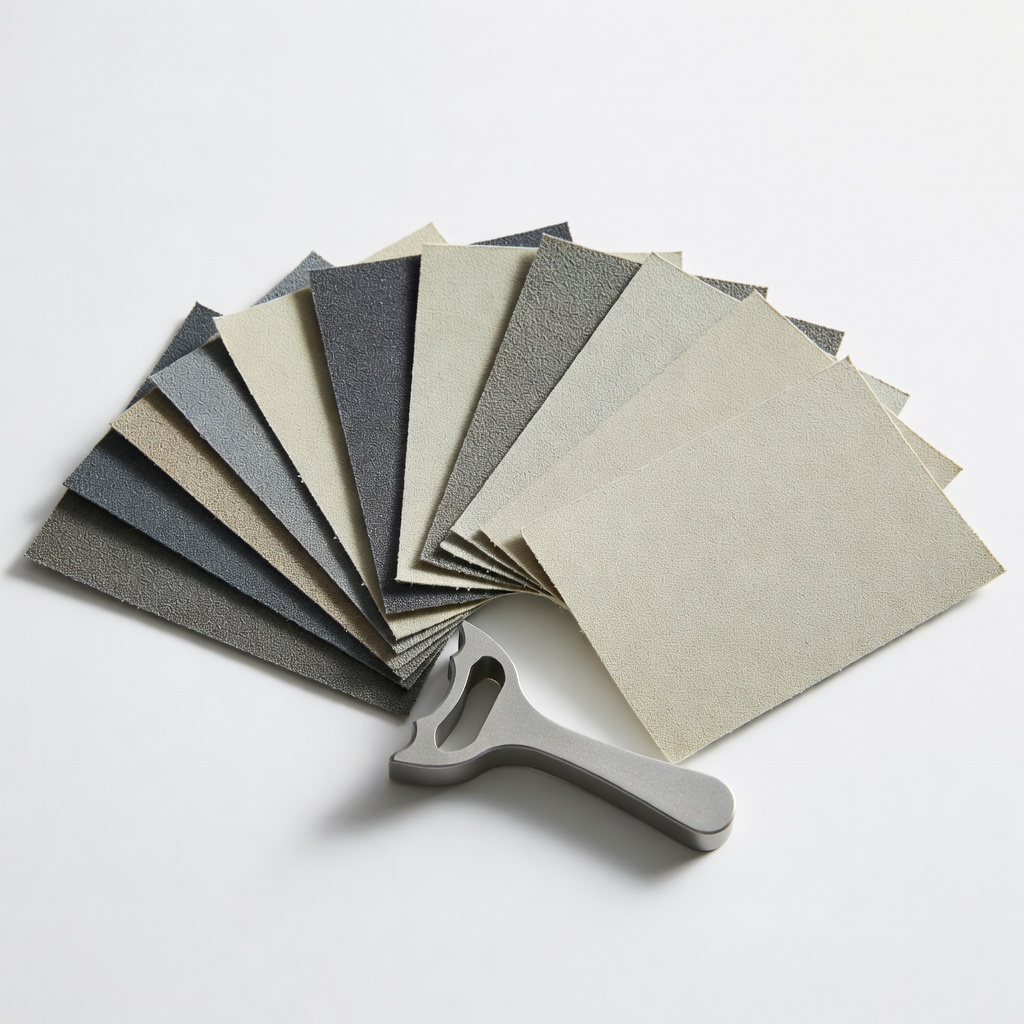
Surface prep and edge finishing on curved tops.
StewMac Fret Rocker Sandpaper Assortment Pre-cut, self-adhesive grits perfect for controlled sanding without gouging guitar finish.
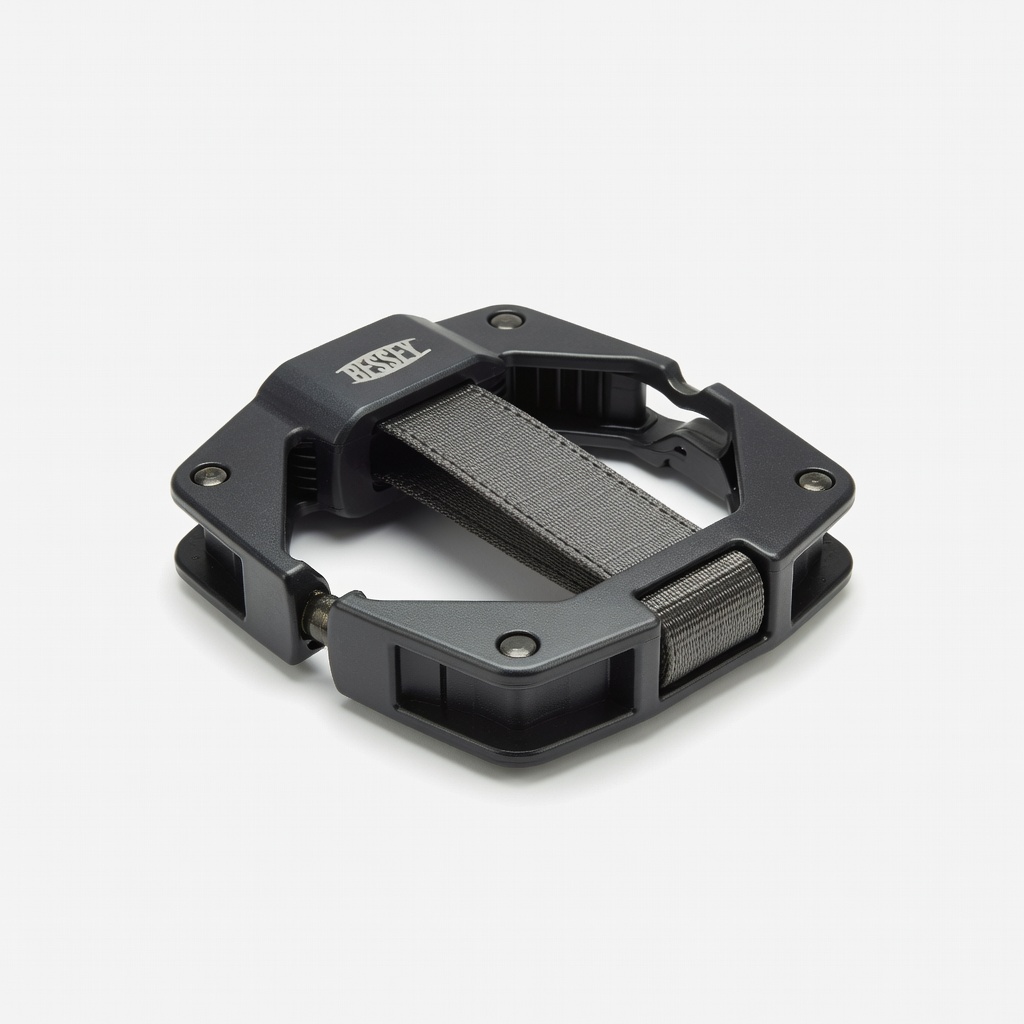
Secure clamping during 24-hour cure without marring.
Bessey VAS-23 Variable Angle Strap Clamp Even pressure on irregular guitar shapes; quick-adjust for multiple clamps.

Custom shaping for Martin/Taylor-style guitars.
LMI Celluloid Tortoise Pickguard Blank Authentic material matches vintage acoustics; easy to cut and bevel.
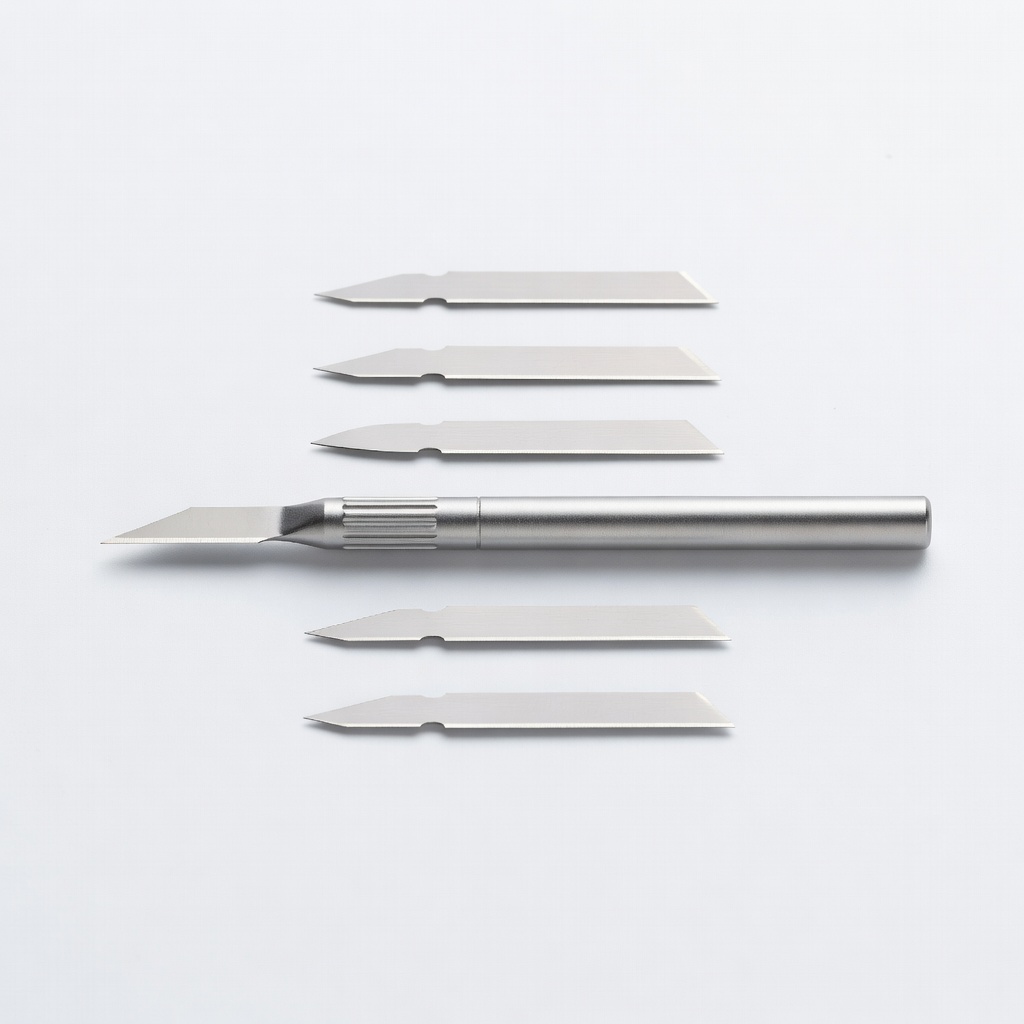
Tracing and trimming pickguards.
X-Acto #1 Precision Knife Set Surgical precision for clean cuts on thin celluloid without chipping.