
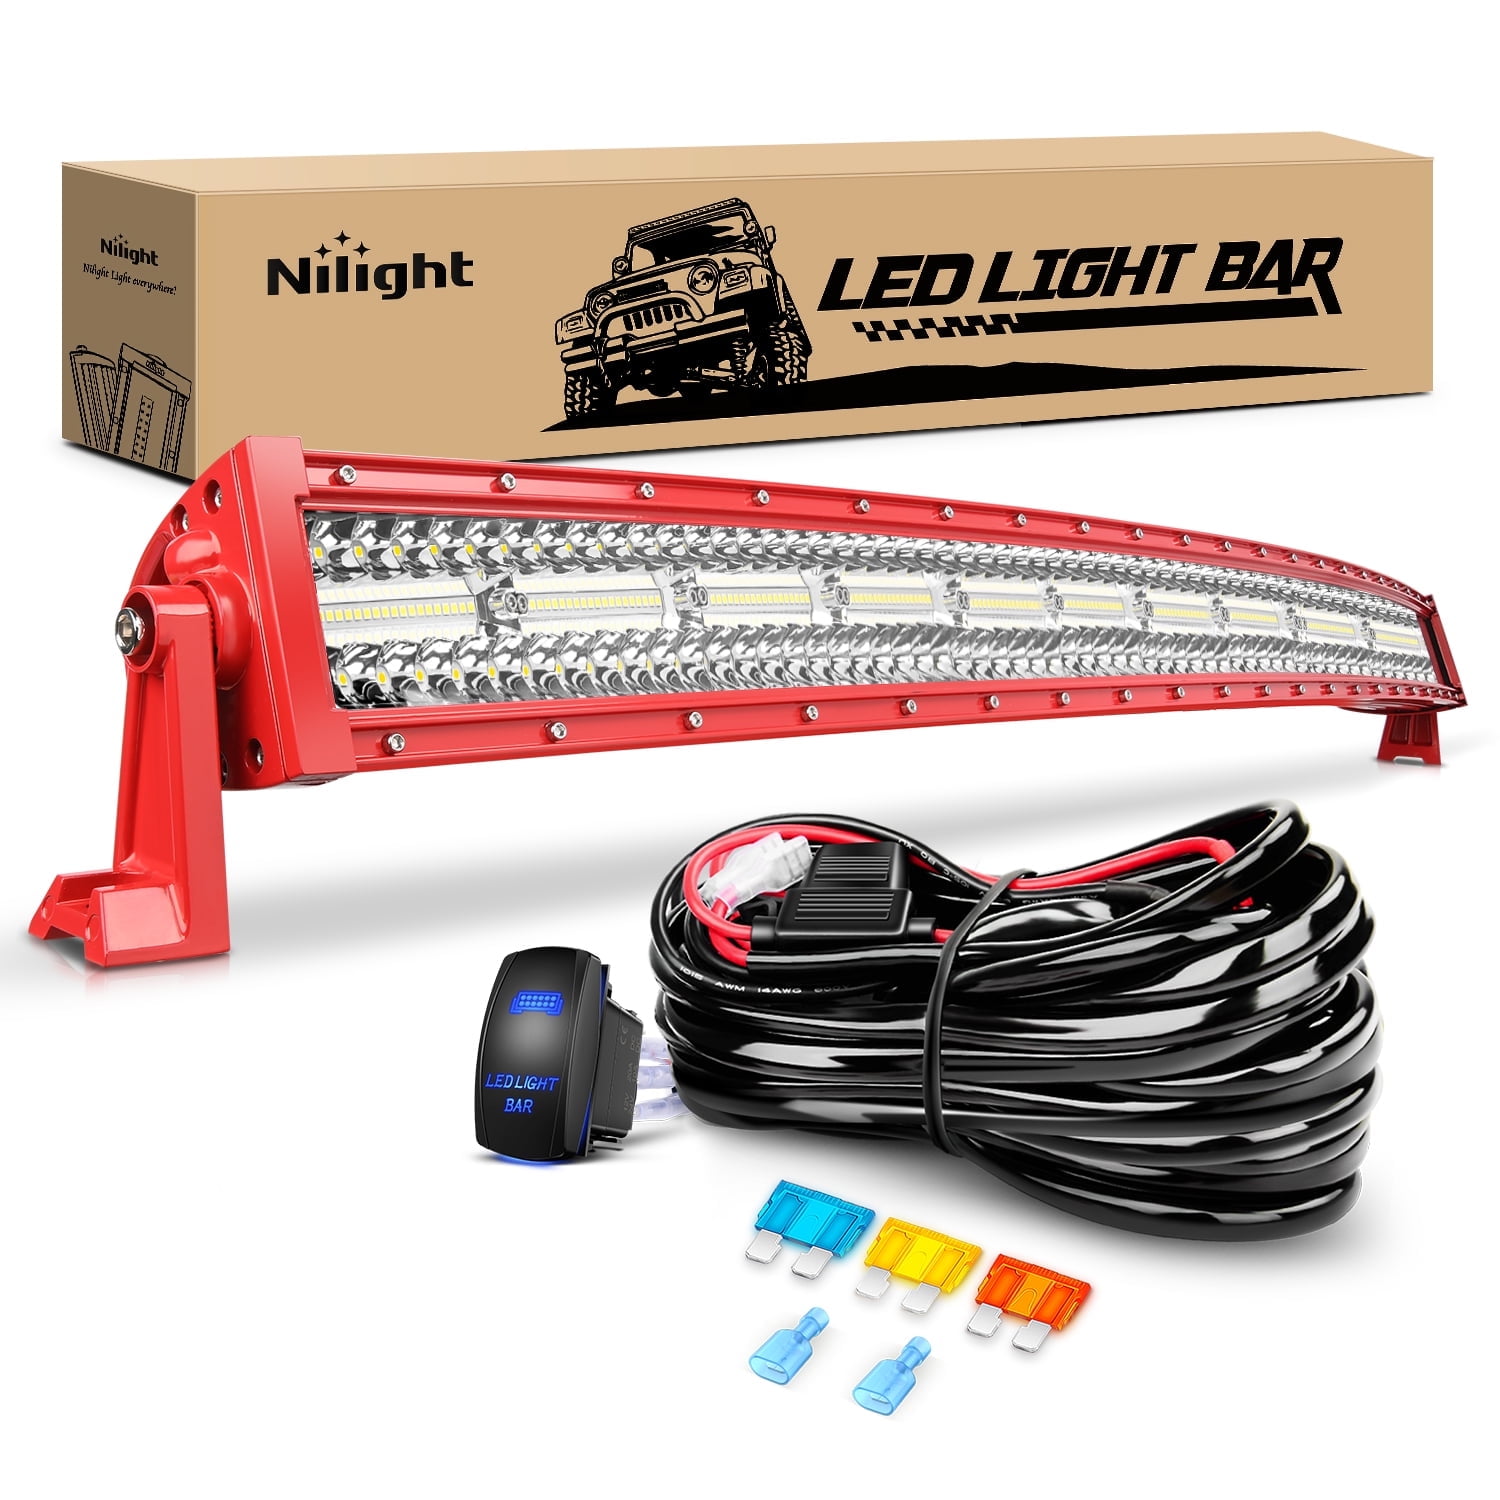
Nilight 42Inch 420W Triple Row LED Light Bar
Main roof or bumper light for trails.
$80-$100
Nilight 42Inch 420W Triple Row LED Light Bar Bright, durable IP67 waterproof bar with combo beam for versatile off-road use.
Get the App
Better experience on mobile
Transform your truck with custom accent lighting and powerful off-road beams in 3-5 hours for better visibility and style.
Off-roading at night or cruising dark roads without proper lighting can be risky and frustrating. Adding accent lights for style and off-road lights for illumination solves this, making your truck safer, more visible, and head-turning. This guide targets intermediate DIYers ready to tackle wiring and mounting.
You'll learn a complete step-by-step process to install LED accent strips and off-road light bars/pods on common spots like bumpers, roofs, and wheel wells. Expect hands-on work with tools and electrics—no prior lighting install needed, but basic truck mod experience helps.
The process takes 3-5 hours total, depending on your truck model (e.g., Ford F-150, Chevy Silverado). We'll cover planning, mounting, wiring, and testing for a pro finish.
Estimated Time: 3-5 hours Difficulty: intermediate
Sketch your truck and mark light positions: accent strips along rockers, wheel wells, or cab; off-road bar on roof rack or bumper, pods on A-pillars or grille.
Check local laws (e.g., no flashing accent lights on roads). Measure distances for wire runs—add 20% extra. Success: A diagram ensuring no interference with wipers or hood.
Why? Prevents rework and ensures balanced aesthetics/illumination.
💡 Tips:
⚠️ Warnings:
Pop the hood, loosen the negative (-) battery terminal with a wrench, and set aside. This prevents shorts during wiring.
Success: No lights or accessories work when key is on—confirms power off.
Why it matters: Safety first; avoids shocks or fires.
💡 Tips:
⚠️ Warnings:
Clean surfaces with alcohol. Peel adhesive backing on strips or drill small holes for brackets in wheel wells/rockers. Secure with screws or 3M tape, route wires inward avoiding pinch points.
Test fit: Lights should hug contours without sagging. Trim strips if needed.
Expect: Secure, flush mounts ready for wiring.
💡 Tips:
⚠️ Warnings:
Attach brackets to bar/pods per instructions. Position on roof rack, bumper, or pillars—drill if needed, use anti-seize on bolts.
Tighten to spec (usually 10-15 ft-lbs). Aim preliminarily straight ahead.
Success: Lights vibrate-free when truck shakes.
💡 Tips:
⚠️ Warnings:
Feed harness from lights through firewall grommet (poke hole if needed, seal with silicone). Bundle wires with zip ties along frame rails, away from exhaust/heat.
Label wires: power, ground, trigger. Leave slack at mounts.
Expect: Neat, protected runs—no chafing.
💡 Tips:
⚠️ Warnings:
Mount relay near battery. Crimp ring terminals: red to battery +, black to -, blue trigger to accessory hot (fuse box or switch).
Splice light leads to harness outputs with heat shrink.
Success: Clean crimps, no exposed wire.
💡 Tips:
⚠️ Warnings:
Mount switch panel in cab (drill dash hole or use pod). Connect trigger wires, ground to chassis.
Accent lights may need controller for colors/modes.
Expect: Switches click smoothly, accessible.
💡 Tips:
⚠️ Warnings:
Reconnect battery. Cycle key, test switches: lights on bright, no flicker. Adjust aim with truck on level ground.
Secure loose wires, apply sealant to entries. Drive test for rattles.
Success: Full bright output, no issues.
💡 Tips:
⚠️ Warnings:
Problem: Lights flicker or dim
Solution: Check loose grounds/connections; upgrade wire gauge if voltage drops below 12V.
Problem: No power to lights
Solution: Verify relay click and fuses; test trigger wire with multimeter.
Problem: Water intrusion
Solution: Re-seal entries with silicone; add boots to connectors.
Problem: Overheating
Solution: Ensure airflow around lights; check for pinched wires.
Bright, durable IP67 waterproof bar with combo beam for versatile off-road use.
Best for: Main roof or bumper light for trails.
Price Range: $80-$100
Compact, fog/spot combo pods easy to mount on pillars or grille.
Best for: Auxiliary lighting for close-range visibility.
Price Range: $40-$60
Plug-and-play with relay/fuse for safe, reliable power.
Best for: All lighting installs—handles up to 360W.
Price Range: $20-$30
App-controlled accent strips with strong magnets/adhesive.
Best for: Underglow for wheel wells and rockers.
Price Range: $50-$70
Weatherproof panel controls multiple lights cleanly.
Best for: Dash mount for organized switching.
Price Range: $25-$35
Main roof or bumper light for trails.
Nilight 42Inch 420W Triple Row LED Light Bar Bright, durable IP67 waterproof bar with combo beam for versatile off-road use.
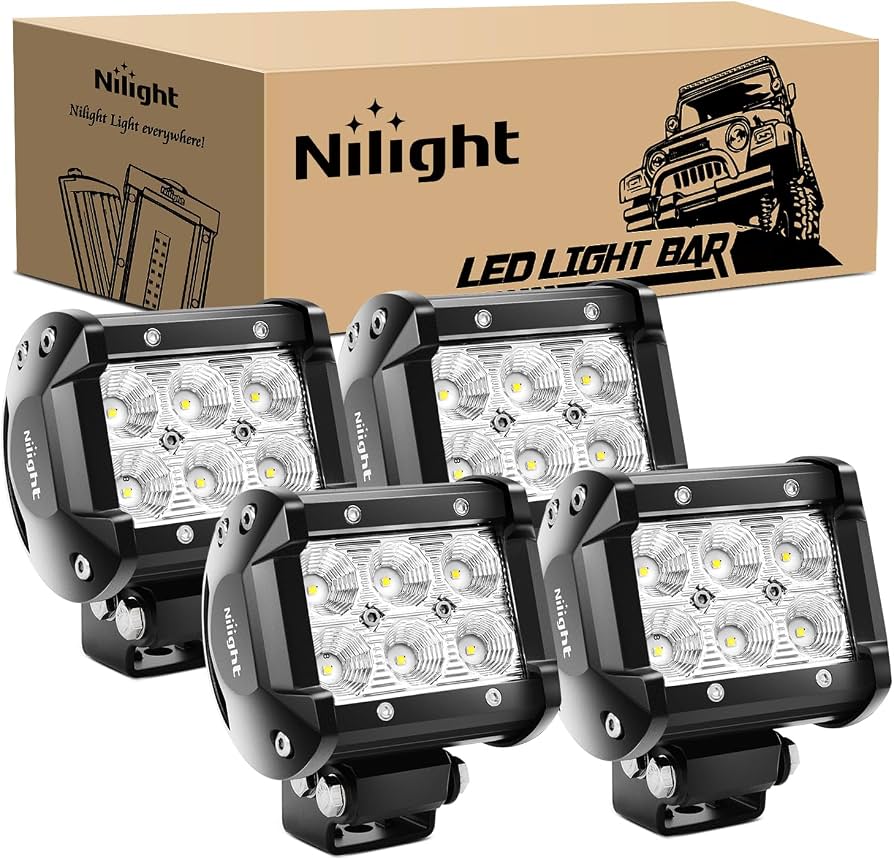
Auxiliary lighting for close-range visibility.
Nilight 4PCS 18W LED Pods Compact, fog/spot combo pods easy to mount on pillars or grille.
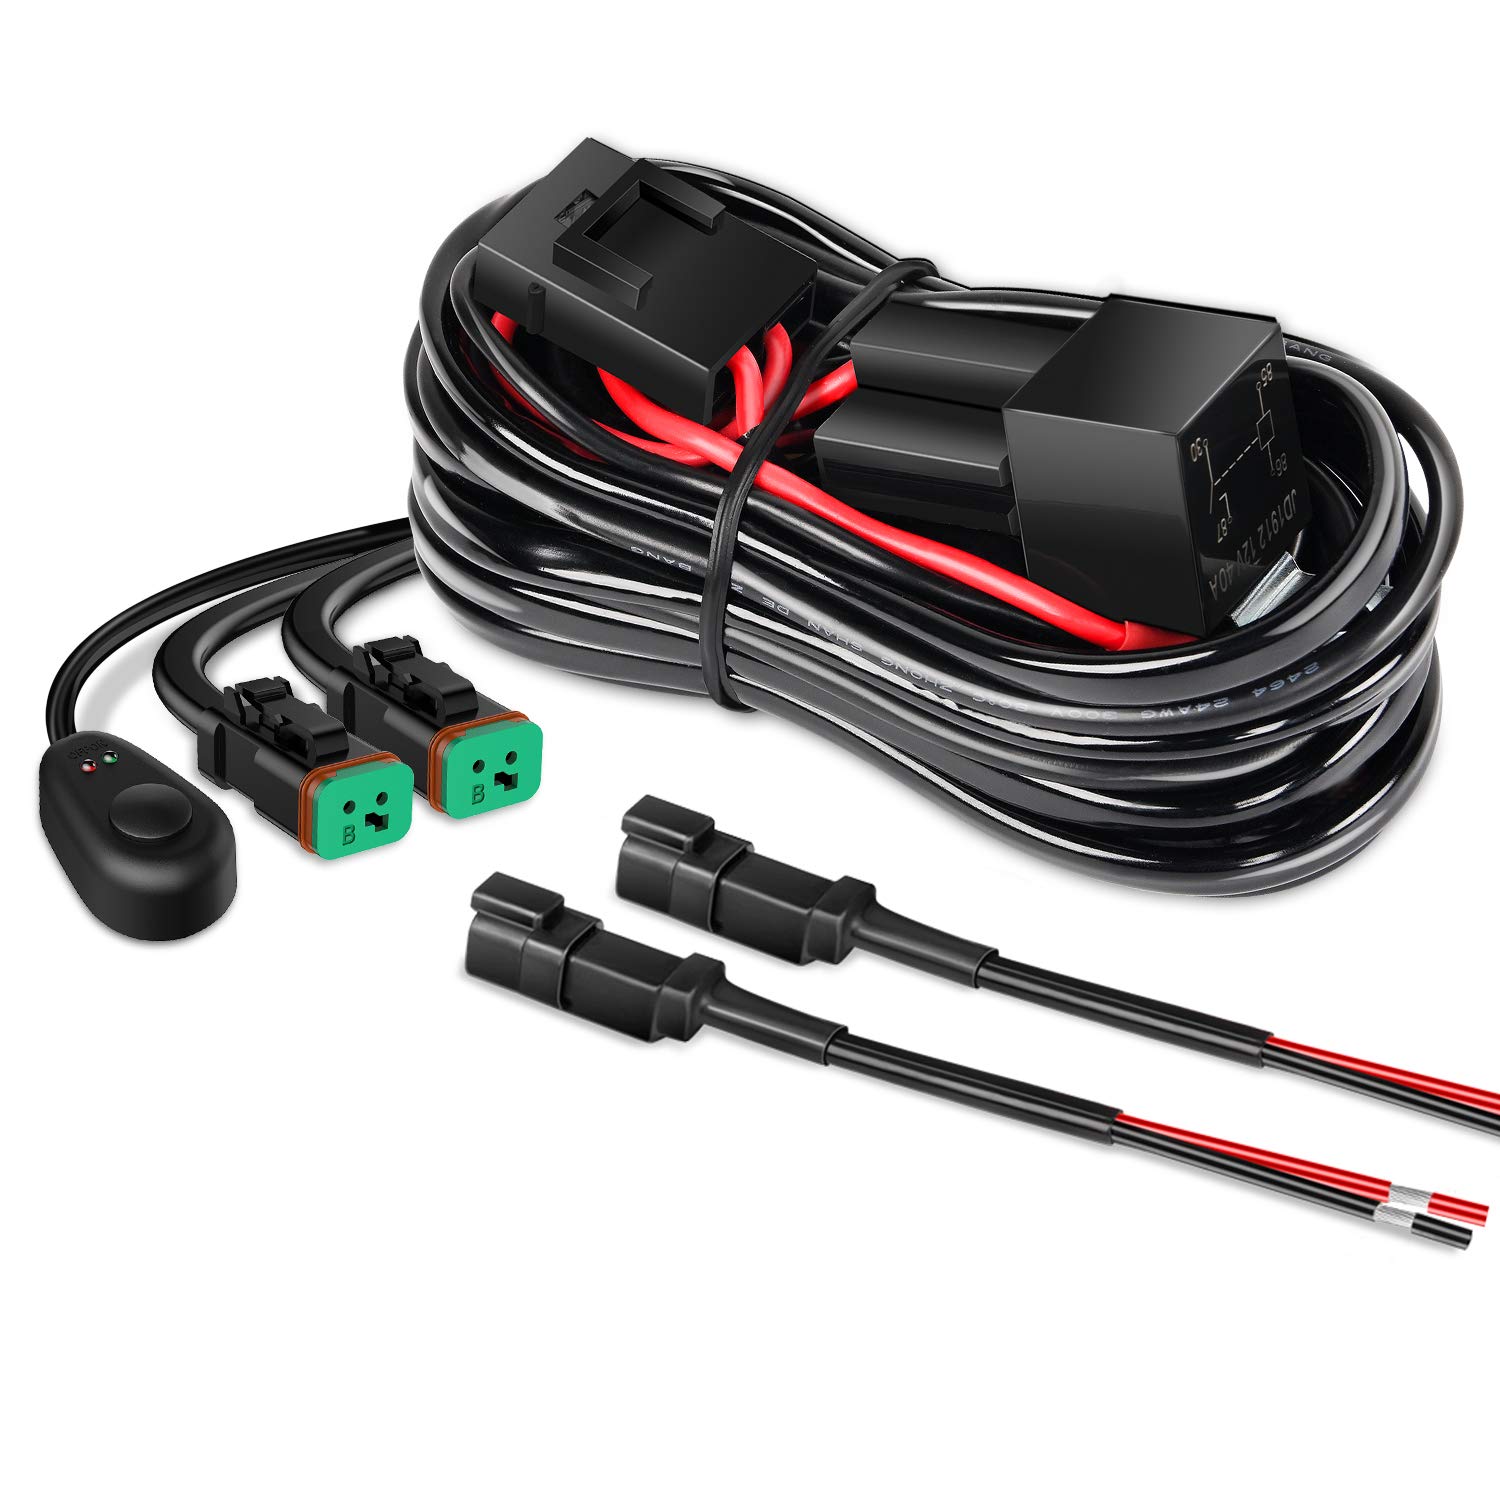
All lighting installs—handles up to 360W.
Nilight Universal Wiring Harness Kit Plug-and-play with relay/fuse for safe, reliable power.
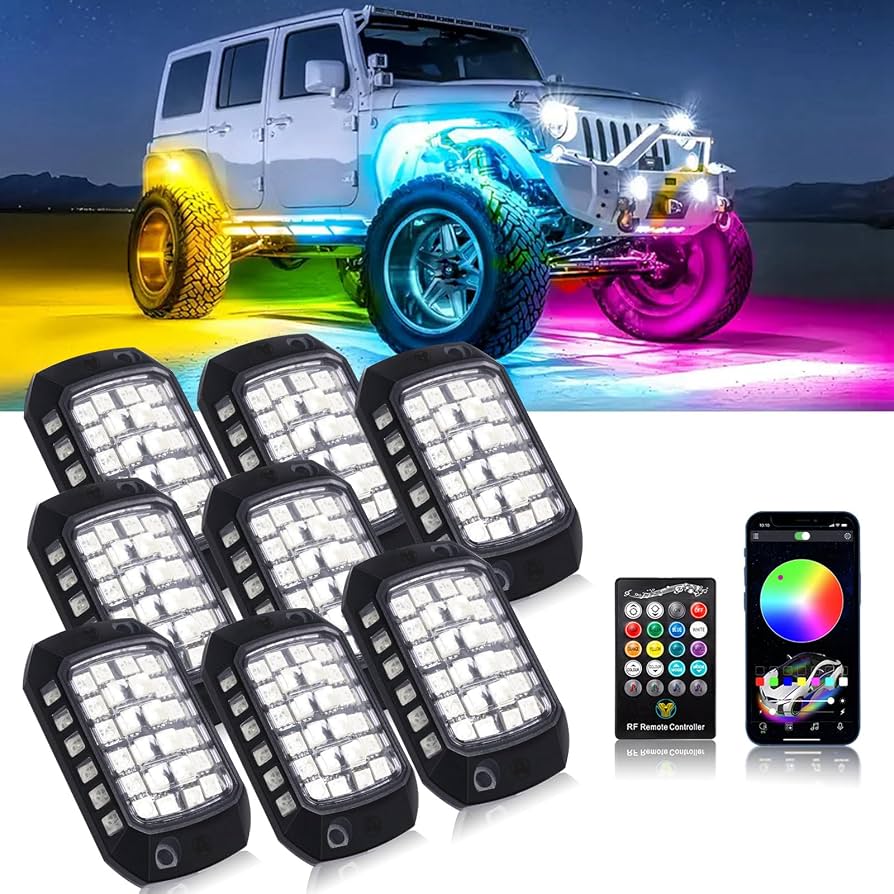
Underglow for wheel wells and rockers.
KEINOW 8PCS RGB LED Rock Lights App-controlled accent strips with strong magnets/adhesive.
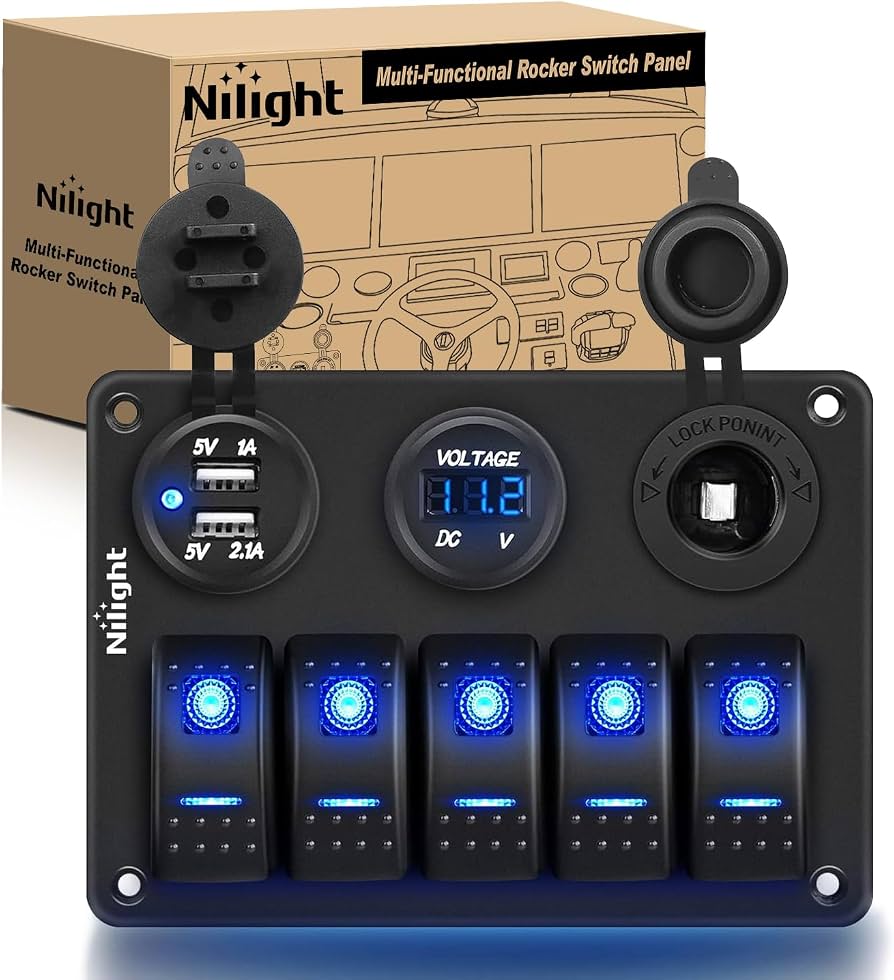
Dash mount for organized switching.
Nilight 5 Gang Switch Panel Weatherproof panel controls multiple lights cleanly.