
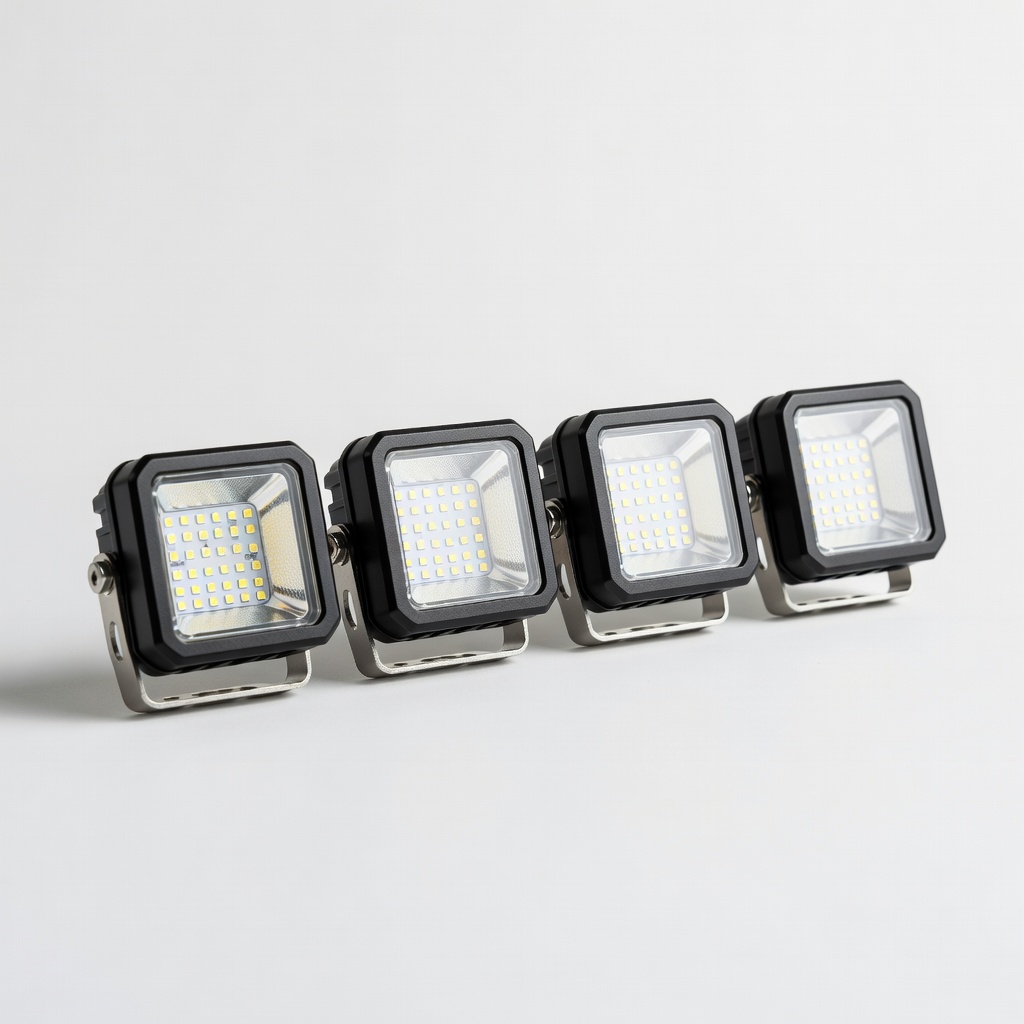
Nilight BA09 4PCS 18W LED Pods (ASIN: B07D3V3B3K)
Front bumper mounting for trail lighting.
$35.99
Nilight BA09 4PCS 18W LED Pods (ASIN: B07D3V3B3K) Powerful spot beams for off-road visibility; rugged aluminum housing withstands ATV abuse.
Get the App
Better experience on mobile
Boost your ATV's visibility and style with custom accent and off-road lighting in 1-2 hours using simple wiring and mounting.
Riding your ATV at night or in low-light trails can be risky without proper lighting. Factory setups often fall short, leaving you vulnerable to obstacles or just plain invisible. Installing accent lights (like RGB strips for flair) and off-road lights (pods or bars for powerful beams) solves this, enhancing safety, aesthetics, and resale value.
This guide teaches intermediate ATV enthusiasts how to add these lights step-by-step. You'll learn safe wiring practices, mounting techniques, and testing for flawless results. Expect a straightforward process focusing on battery connection, weatherproofing, and integration with switches.
Total time: 1-2 hours. Difficulty: Intermediate (basic electrical knowledge and tools required). No prior lighting installs needed, but familiarity with ATV maintenance helps.
Estimated Time: 1-2 hours Difficulty: intermediate
Before touching tools, sketch your ATV's layout. Decide where accent lights go (underglow on frame, wheel wells) and off-road lights (front bumper, A-arms, roof rack). Measure distances for wiring runs to avoid shorts.
Why it matters: Proper placement ensures even lighting, avoids hot spots, and prevents vibration damage. Expect 10-15 minutes here—walk around your ATV in dim light to visualize.
Image description: Overhead view of ATV with marked spots for LED strips on frame and pods on bumper.
💡 Tips:
⚠️ Warnings:
Locate your ATV battery (usually under seat) and disconnect the negative (-) terminal first using a wrench. This prevents shocks or shorts during install.
Safety first: Electricity is unforgiving on vehicles. You'll work safer knowing power is off. Expect this to take 2 minutes.
Image description: Hand wrenching off black battery cable.
💡 Tips:
⚠️ Warnings:
Clean surfaces with alcohol wipes. Peel adhesive backs on LED strips or use zip tie mounts/clamps for frame/wells. Secure firmly, routing wires inward away from wheels.
Accent lights add style—RGB for colors, white for subtle glow. Press firmly for 30 seconds per strip. Test fit before finalizing.
Image description: LED strip being adhered under ATV chassis.
💡 Tips:
⚠️ Warnings:
Bracket-mount pods to bumper or rack using provided hardware. Drill pilot holes if needed (use 1/8" bit). Torque bolts to 10-15 ft-lbs to withstand jumps.
These provide 1000+ lumens for trails. Aim beams 20-30° downward to avoid blinding yourself.
Image description: LED pod bolted to ATV front bumper.
💡 Tips:
⚠️ Warnings:
Route wires along frame using zip ties every 6-12 inches. Strip 1/2" insulation, crimp connectors, and seal with heat shrink tubing (heat with lighter).
Connect positives/grounds per kit diagram: lights to harness, harness to relay. Why: Prevents water ingress and chafing.
Image description: Wires bundled and zip-tied along ATV frame.
💡 Tips:
⚠️ Warnings:
Attach relay harness: Power from battery (+), ground to frame/chassis, trigger wire to ignition-switched source or add inline switch.
Relay protects battery from high draw. Fuse inline (15-30A per kit spec).
Image description: Relay wired near battery with fuses visible.
💡 Tips:
⚠️ Warnings:
Reattach negative terminal. Turn key on—lights should illuminate without flickering. Test high/low beams, accent modes.
Success: Bright, steady lights. Cycle ATV to check vibration.
Image description: ATV at night with glowing accent lights and bright pods.
💡 Tips:
⚠️ Warnings:
Double-check all zip ties, add grease to plugs. Trim excess wire. Ride test for 10 minutes.
Ensures longevity in mud/water. Done!
Image description: Final secured wiring on ATV.
💡 Tips:
⚠️ Warnings:
Problem: Lights flicker or dim
Solution: Check loose grounds/connections; tighten or re-crimp. Verify battery voltage >12V.
Problem: No power at all
Solution: Inspect fuses/relay click; swap with known good. Test trigger wire continuity.
Problem: One light out
Solution: Swap positions to isolate; replace bad LED if isolated.
Problem: Overheating wires
Solution: Upgrade gauge or add relay; check amp draw with multimeter.
Powerful spot beams for off-road visibility; rugged aluminum housing withstands ATV abuse.
Best for: Front bumper mounting for trail lighting.
Price Range: $35.99
Vibrant accent glow with app control; fully waterproof IP68 for underglow.
Best for: Frame/wheel wells for custom styling.
Price Range: $39.99
Pre-wired with fuses; prevents overloads essential for multiple lights.
Best for: Battery connection for safe high-amp draw.
Price Range: $12.99
Varied sizes for pro waterproof splices; easy to use.
Best for: Sealing all wire joints.
Price Range: $16.99
ATV-specific lengths/colors; plug-and-play.
Best for: Full install for Polaris/Honda models.
Price Range: $49.99-$79.99
Front bumper mounting for trail lighting.
Nilight BA09 4PCS 18W LED Pods (ASIN: B07D3V3B3K) Powerful spot beams for off-road visibility; rugged aluminum housing withstands ATV abuse.
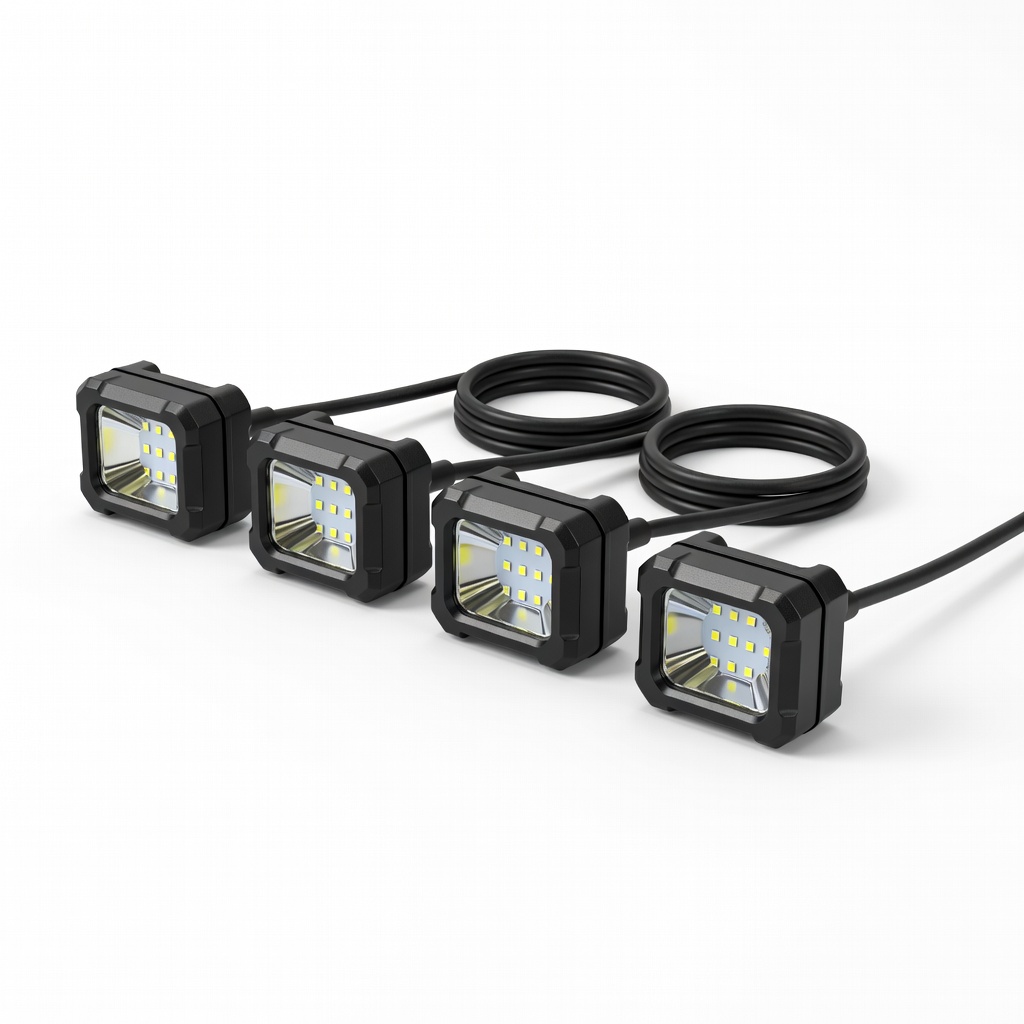
Frame/wheel wells for custom styling.
MICTUNING 4PCS RGB LED Rock Lights Kit (ASIN: B08L3M3N3P) Vibrant accent glow with app control; fully waterproof IP68 for underglow.
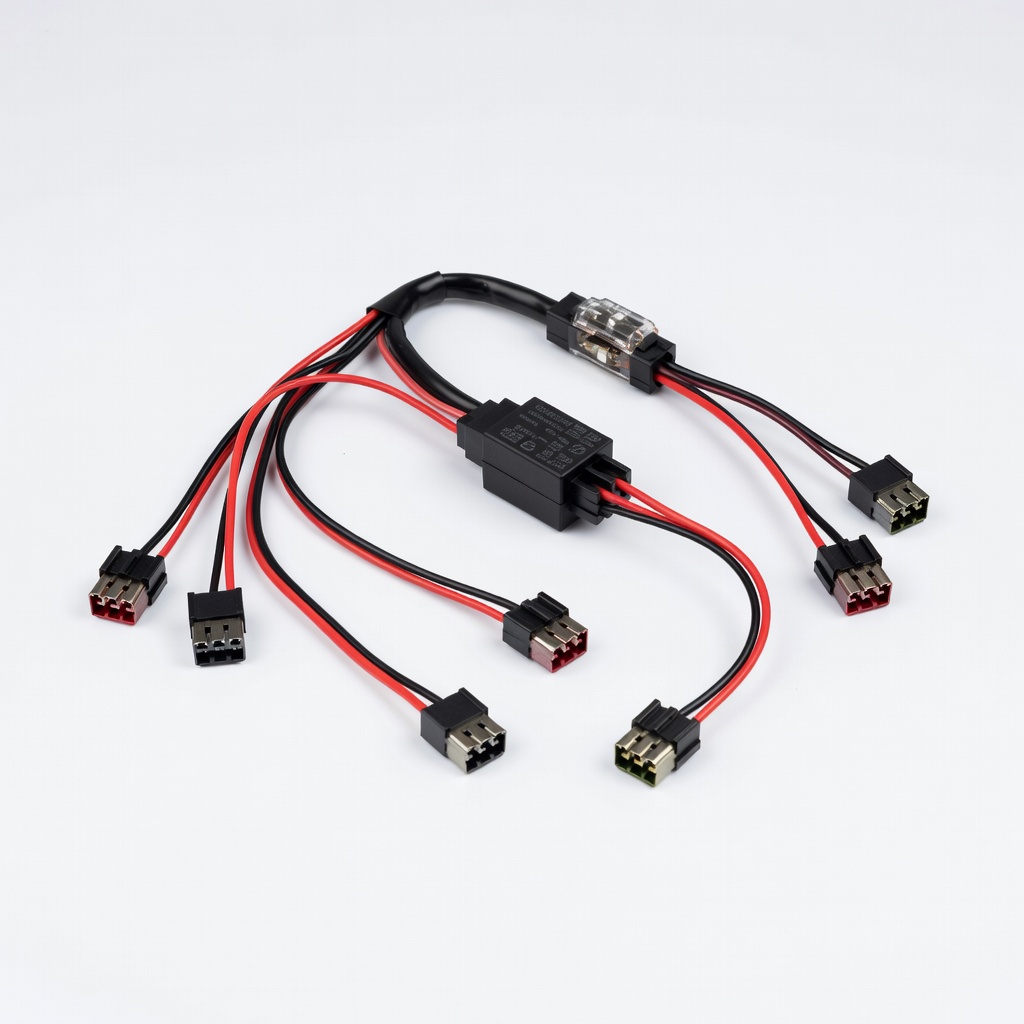
Battery connection for safe high-amp draw.
Nilight 5-Pin Relay Harness (ASIN: B07S99W999) Pre-wired with fuses; prevents overloads essential for multiple lights.
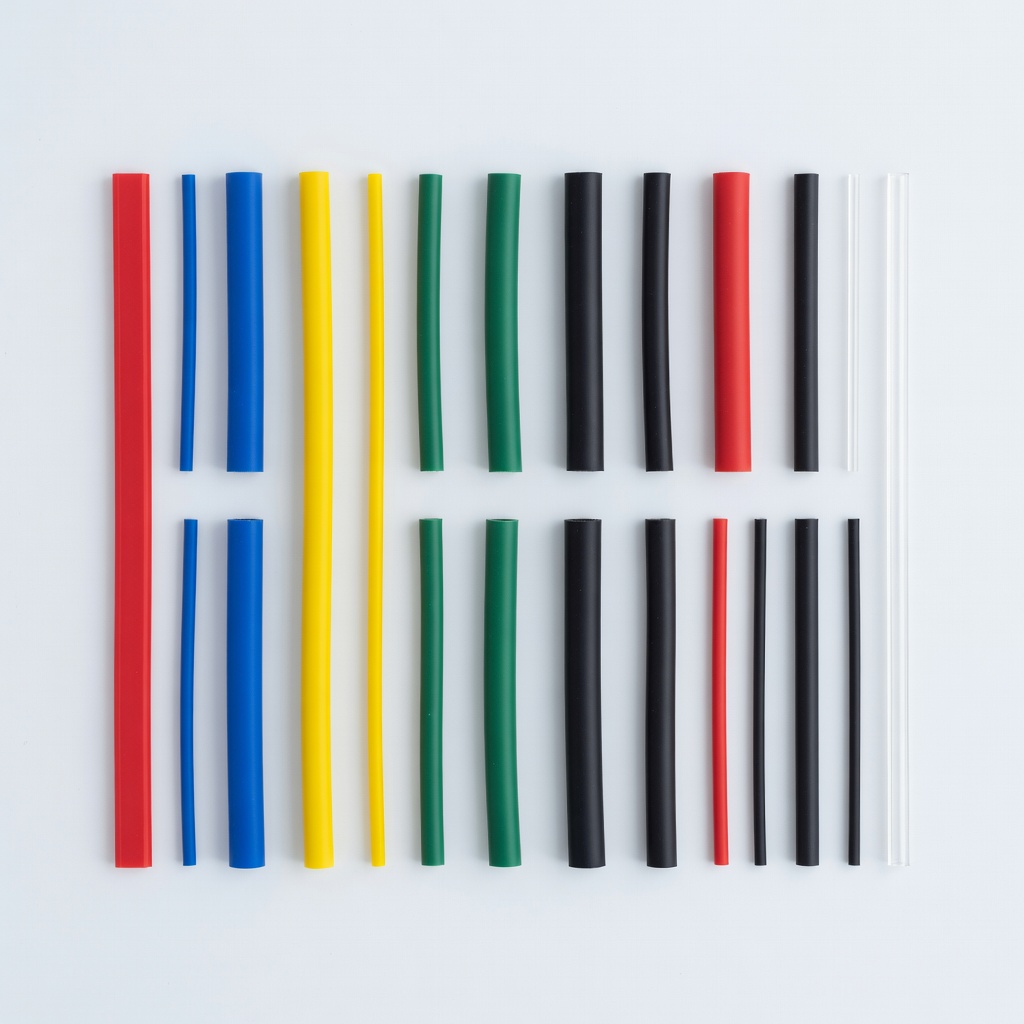
Sealing all wire joints.
TICONN Heat Shrink Tubing Kit (ASIN: B08P5P5P5P) Varied sizes for pro waterproof splices; easy to use.
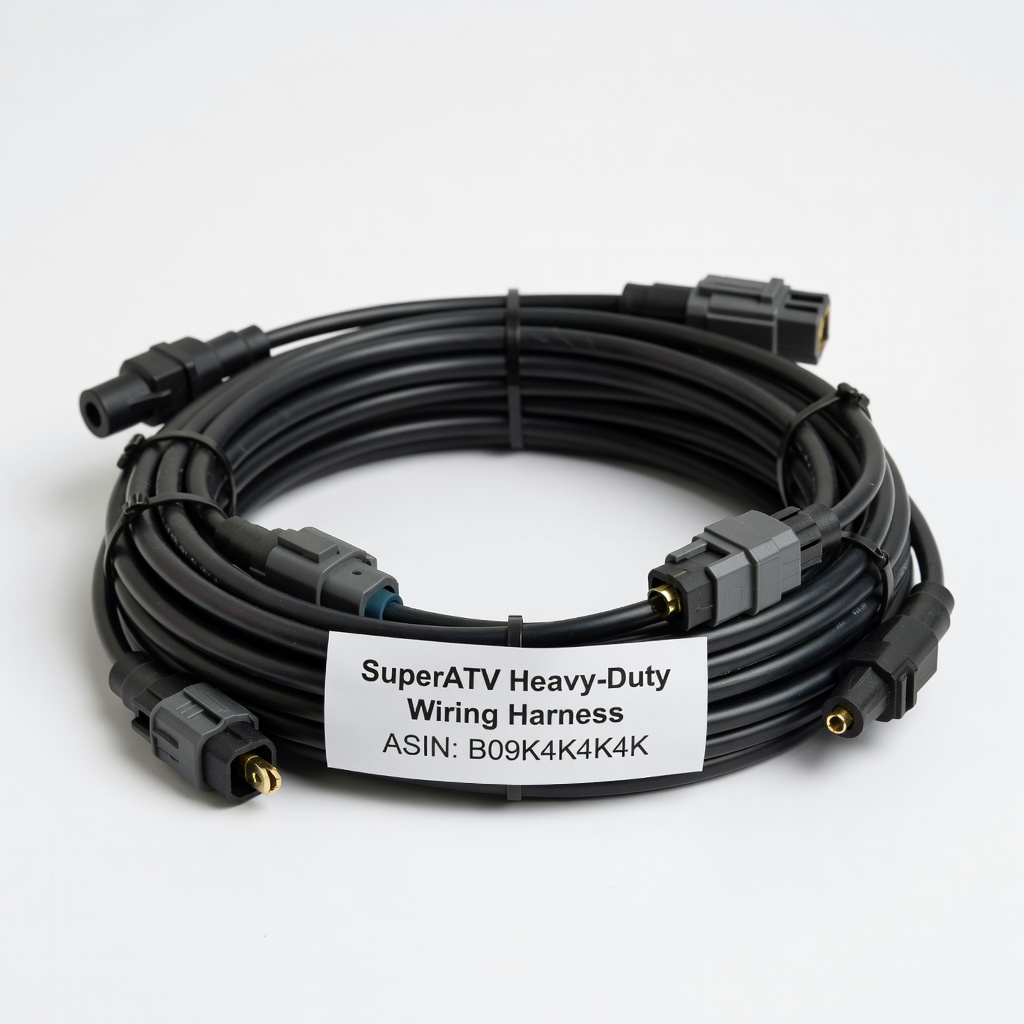
Full install for Polaris/Honda models.
SuperATV Heavy-Duty Wiring Harness (ASIN: B09K4K4K4K) ATV-specific lengths/colors; plug-and-play.