
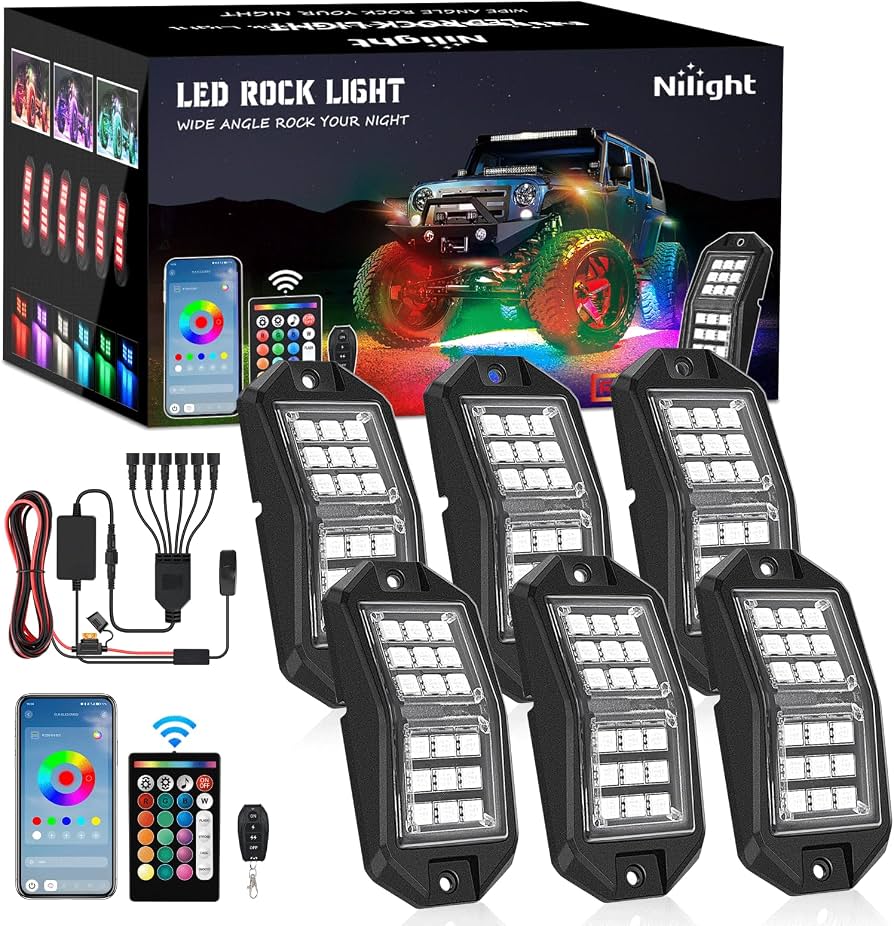
Nilight 6PCS RGB LED Rock Lights Kit
Primary accent lights for off-road visibility and style.
$39.99
Nilight 6PCS RGB LED Rock Lights Kit Wireless app control, IP68 waterproof, perfect for wheel wells with 120° beam.
Get the App
Better experience on mobile
Add stunning customizable glow to your truck's underbody and wheel wells in 1-2 hours with this intermediate DIY guide.
Off-road trucks demand more than just power—they need style and visibility for night adventures. Dull underbodies and wheel wells can make your rig look ordinary, but accent lighting like RGB rock lights transforms it into a showstopper, improving safety with better ground illumination while turning heads at the trailhead.
This guide teaches you how to safely install accent lighting, focusing on popular rock lights and LED strips for wheel wells and chassis. You'll learn planning, wiring, mounting, and testing—everything for a pro finish. Expect 1-2 hours for most trucks, assuming intermediate skills like basic wiring and drilling.
No need for a shop; this DIY saves hundreds. Follow sequentially for flicker-free, waterproof results that withstand mud and water crossings.
Estimated Time: 1-2 hours Difficulty: intermediate
Sketch your truck's undercarriage, marking wheel wells, frame rails, and engine bay access. Decide on 4-8 lights for even coverage—wheel wells for rock lights, chassis strips for underglow.
Why it matters: Proper placement avoids hot spots and ensures wiring routes away from exhaust/moving parts. Expect to spend 10 minutes here; use painter's tape to mock up positions.
Image: Diagram of truck underbody with marked light positions and wire routes.
💡 Tips:
⚠️ Warnings:
Locate your truck's battery (usually under hood), loosen negative (-) terminal with wrench, and tape it aside.
This prevents shorts during install. Success: No dashboard lights or accessories work—confirm with key turn.
Image: Close-up of battery terminal being disconnected.
💡 Tips:
⚠️ Warnings:
Clean surfaces with alcohol. Drill pilot holes if needed (use bracket mounts), secure lights with provided screws or heavy-duty adhesive.
Start at rear wheel wells, work forward. Torque snug but not overtight—vibration loosens. Expect rubber gaskets for waterproofing.
Why: Secure mount survives off-road abuse. Test fit before finalizing.
Image: Drilling into wheel well liner and screwing in rock light.
💡 Tips:
⚠️ Warnings:
Feed wires from lights along frame rails using zip ties every 12 inches. Run to firewall or battery compartment, avoiding pinch points.
Use loom tubing for protection. Success: Wires reach power source without kinks.
Image: Wires zip-tied along truck frame.
💡 Tips:
⚠️ Warnings:
Mount inline switch on dash (drill small hole or use existing) or app controller if Bluetooth-enabled. Crimp connectors per kit diagram.
Why: On/off control prevents drain. Expect color-changing if RGB.
Image: Wiring switch into dash panel.
💡 Tips:
⚠️ Warnings:
Attach harness red wire to battery + via fuse/relay, black to -. Crimp, solder optional, cover with heat shrink.
Use multimeter to verify 12V. Success: Clean, insulated connections.
Image: Crimping wires to ring terminals.
💡 Tips:
⚠️ Warnings:
Reconnect battery, turn on switch. Cycle colors/modes—check for flickers or dim spots.
Fix loose wires now. Drive short test for vibration issues.
Image: Truck wheel well glowing blue at night.
💡 Tips:
⚠️ Warnings:
Double-check ties, add silicone sealant to mounts. Reinstall panels.
Enjoy trail-ready lighting!
Image: Final secured wiring under truck.
💡 Tips:
Problem: Lights flicker or won't turn on
Solution: Check connections, grounds, and fuse. Use multimeter for 12V at lights.
Problem: One light dim
Solution: Inspect wire damage or loose crimp. Swap positions to test.
Problem: Colors not changing
Solution: Verify controller wiring and app pairing. Reset unit.
Problem: Water ingress after rain
Solution: Reseal mounts with silicone. Ensure IP67+ rating.
Wireless app control, IP68 waterproof, perfect for wheel wells with 120° beam.
Best for: Primary accent lights for off-road visibility and style.
Price Range: $39.99
Pre-wired with relay/fuse for safe high-power installs.
Best for: Connecting multiple lights to battery without voltage drop.
Price Range: $16.99
Music-sync, 16M colors, adhesive-backed for chassis underglow.
Best for: Continuous glow along frame rails.
Price Range: $69.99
Weatherproof switches for easy on/off control.
Best for: Dash mounting for multiple light zones.
Price Range: $29.99
Durable aluminum housing for forward-facing accents.
Best for: Bumper or roof mounts as supplements.
Price Range: $49.99
Primary accent lights for off-road visibility and style.
Nilight 6PCS RGB LED Rock Lights Kit Wireless app control, IP68 waterproof, perfect for wheel wells with 120° beam.
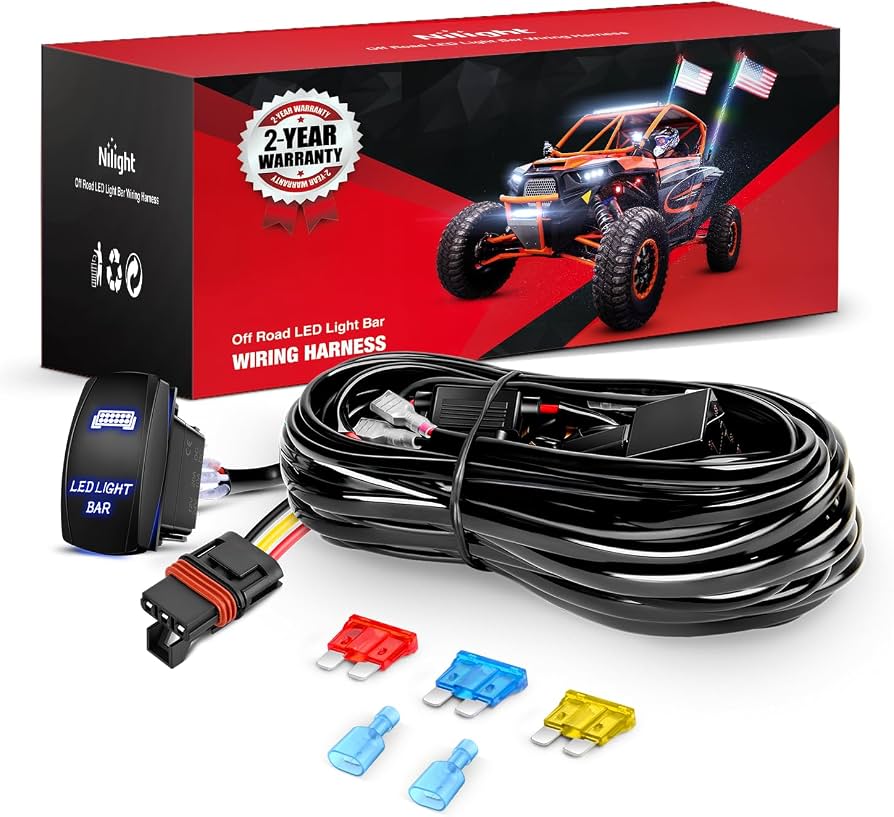
Connecting multiple lights to battery without voltage drop.
Nilight 14AWG Wiring Harness Kit Pre-wired with relay/fuse for safe high-power installs.
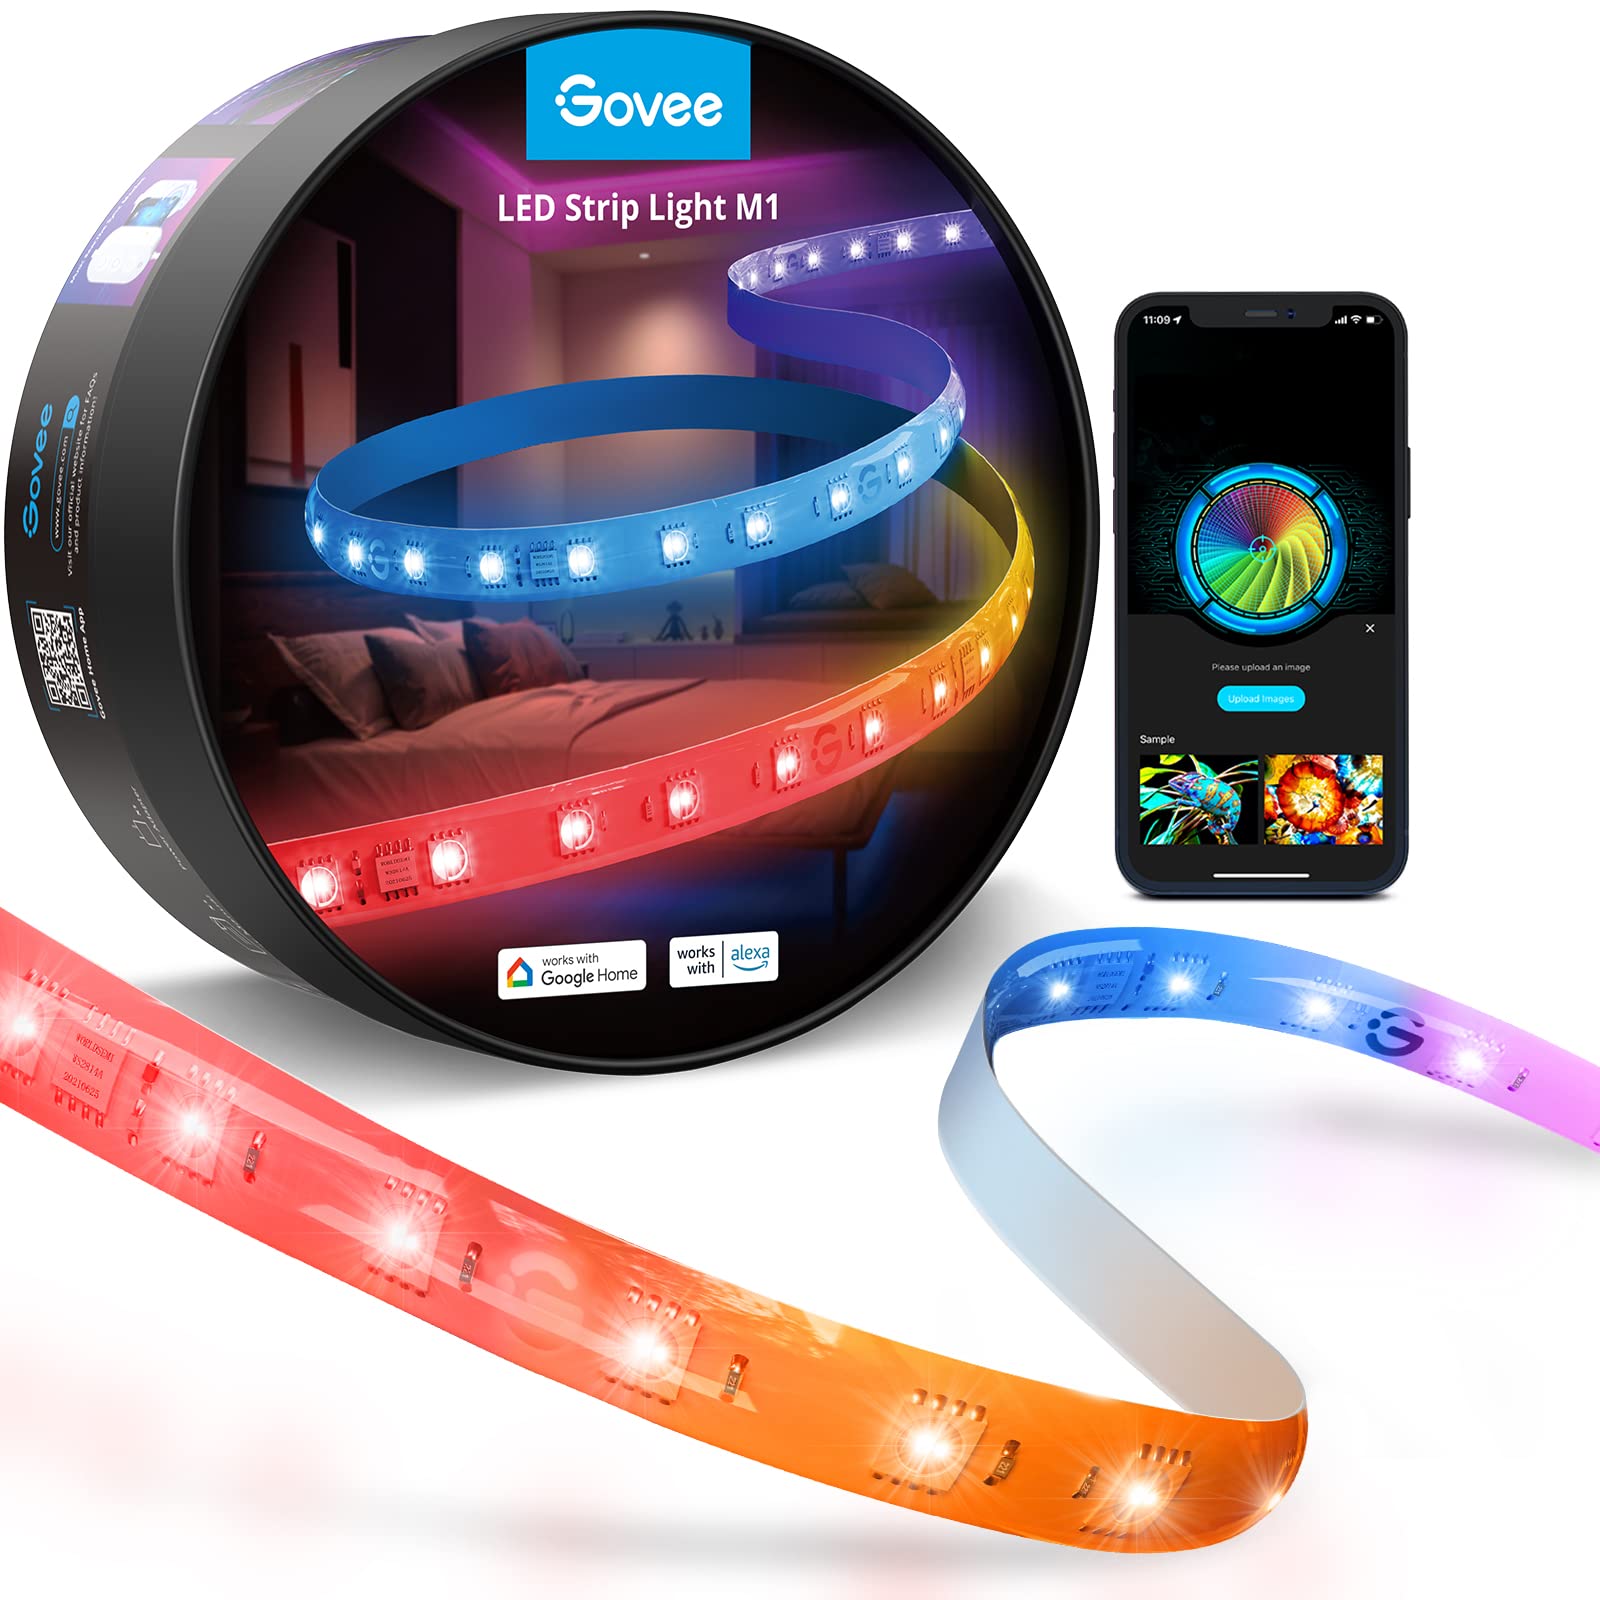
Continuous glow along frame rails.
Govee M1 RGBIC LED Strip Lights for Trucks Music-sync, 16M colors, adhesive-backed for chassis underglow.
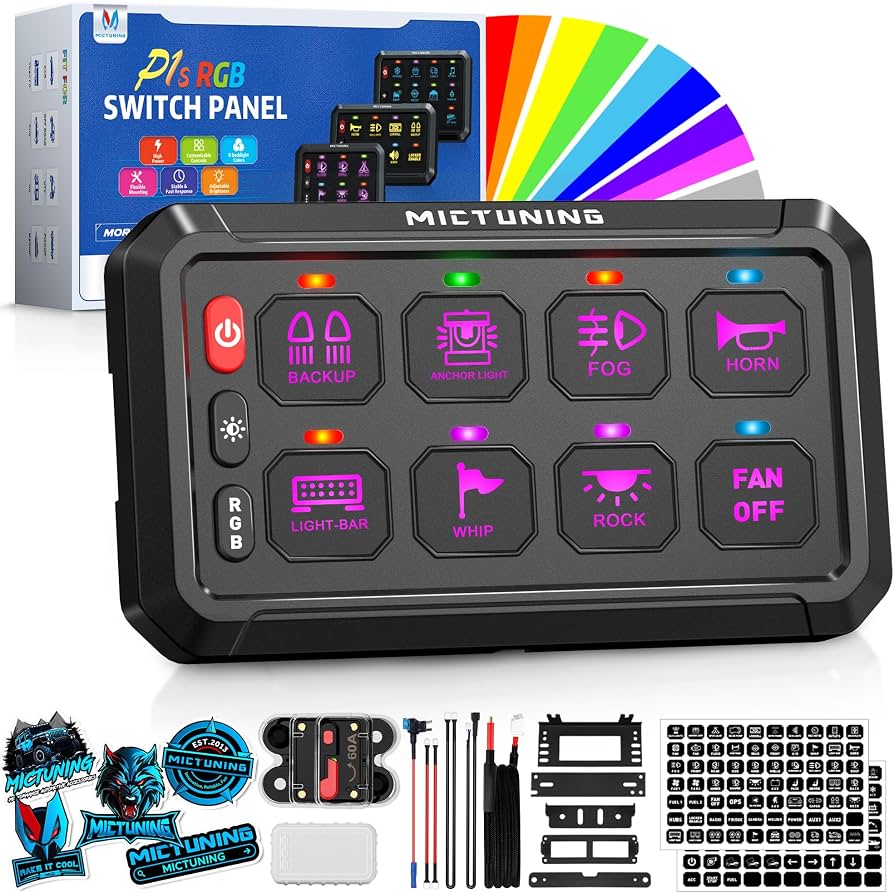
Dash mounting for multiple light zones.
MICTUNING Heavy Duty Rocker Switch Panel Weatherproof switches for easy on/off control.
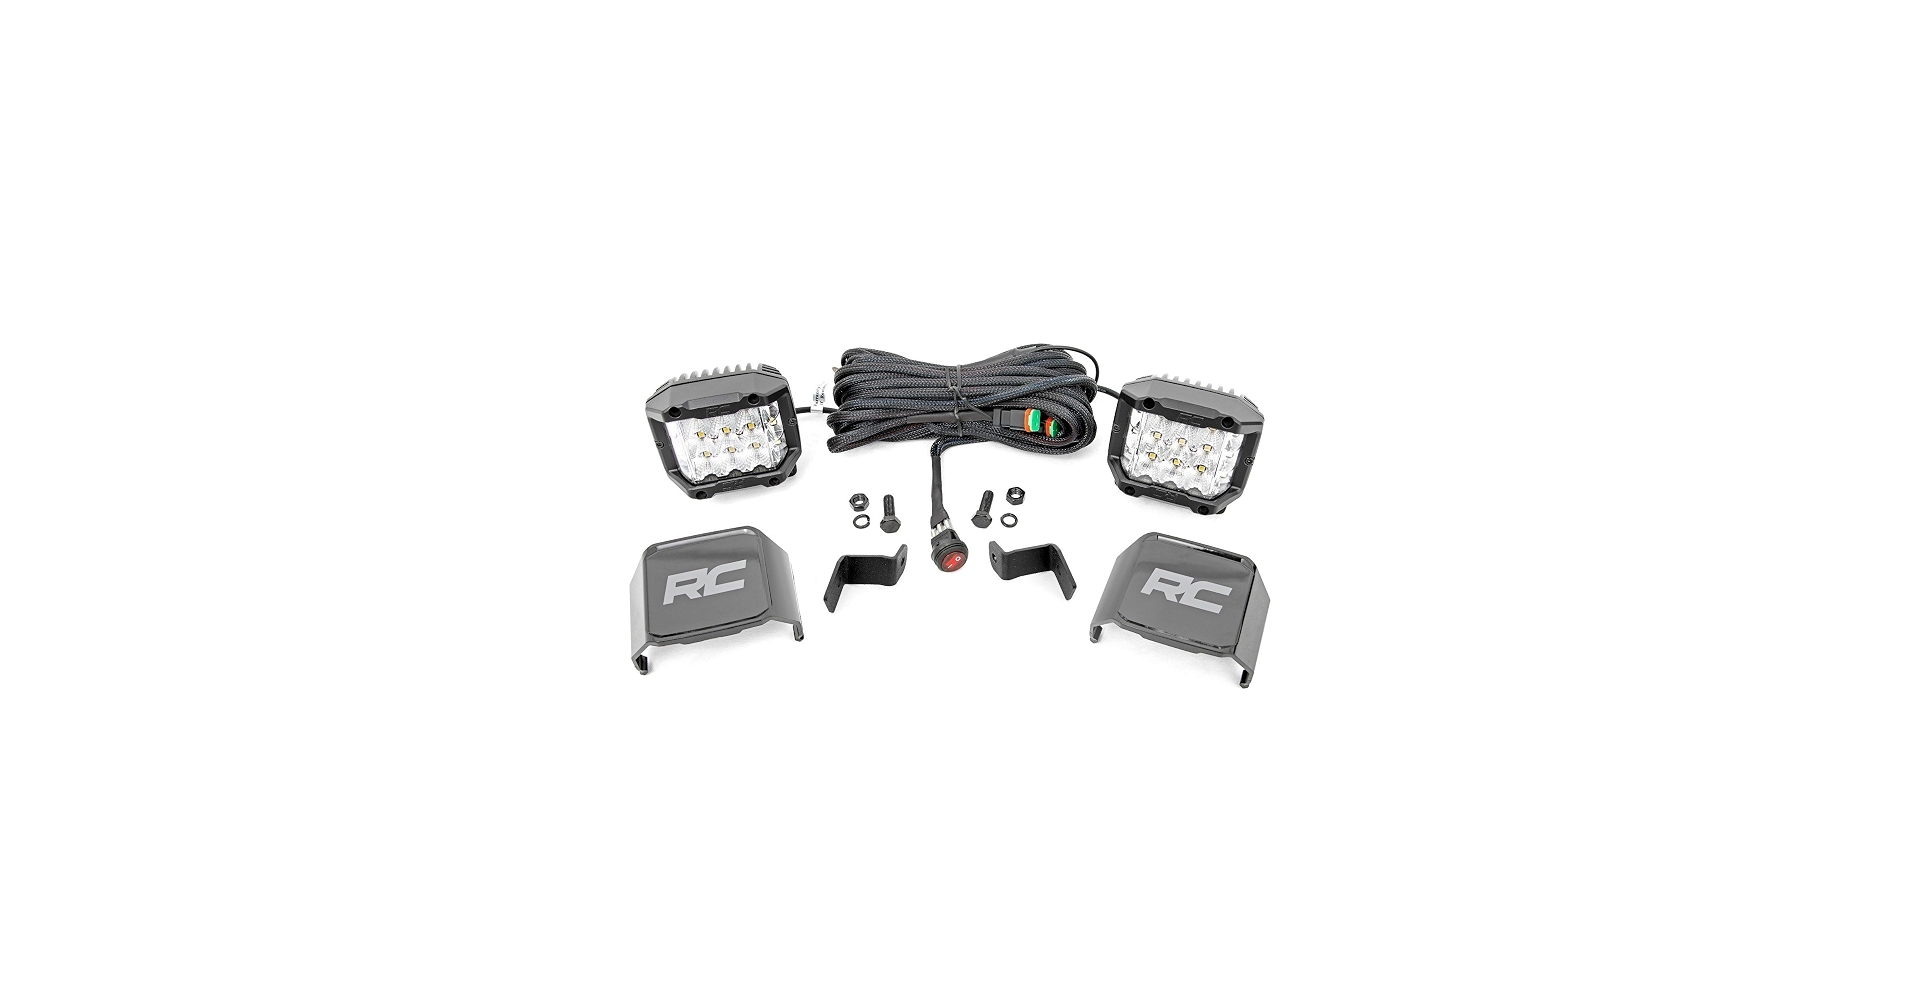
Bumper or roof mounts as supplements.
Rough Country 3" Cube LED Pods Durable aluminum housing for forward-facing accents.